
Today I am going to show you how to use PowerShell cmdlet to disable TEAM for all users in office 365.
-
Download the 64-bit version of the Microsoft Online Services Sign-in Assistant from following link.
https://www.microsoft.com/en-us/download/details.aspx?id=41950

-
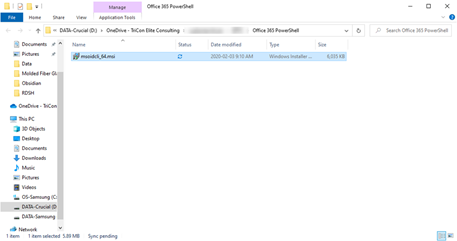
Double-click the msoidcli_64.msc to start install Microsoft Online Services Sign-in Assistant for IT Professionals RTW.
-
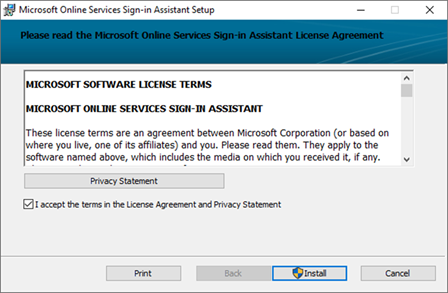
On the License Agreement page, select I accept the terms in the License Agreement and Privacy Statement, click Install.
-
On the Completed the Microsoft Online Services Sign-in Assistant Setup Wizard page, click Finish.
-
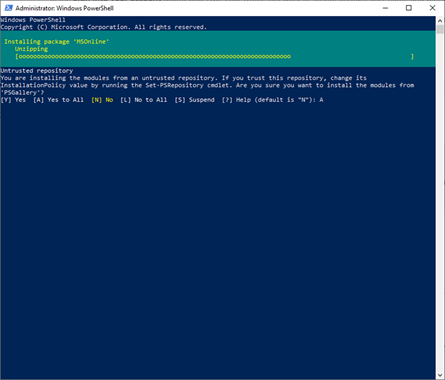
Enter following PowerShell cmdlet to Install the Microsoft Azure Active Directory Module for Windows PowerShell.
Install-Module MSOnline
-
If prompted to install the module from PSGallery, type A and press ENTER.
-
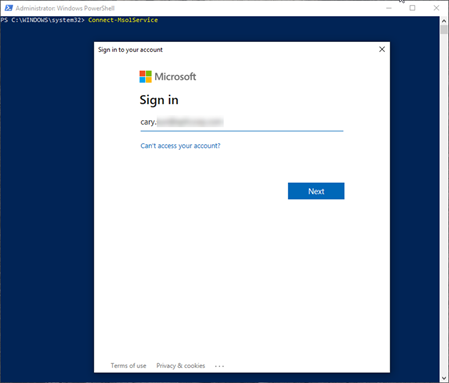
Enter following PowerShell cmdlet to connect to Azure AD for your Office 365 subscription.
Connect-MsolService
-
In the Sign into your account dialog box, type your Office 365 work or school account username, click Next.
-
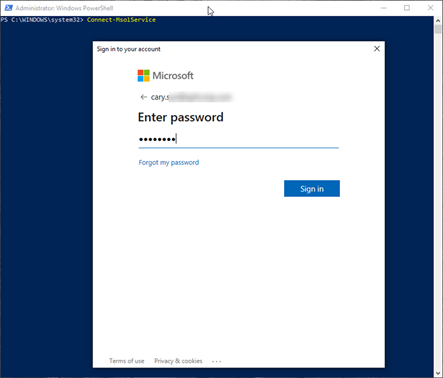
In the Sign into your account dialog box, type your Office 365 work or school account password, click Sign in.
-
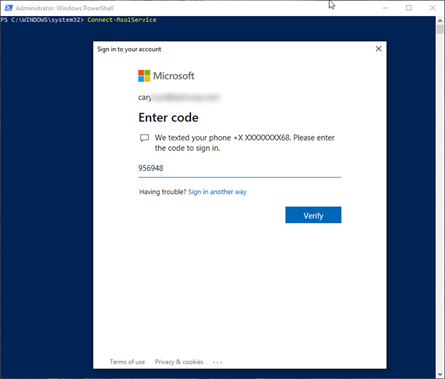
If you are using MFA, follow the instructions in the additional dialog boxes to provide more authentication information, such as a verification code.
-
Make sure there are no errors on the Windows PowerShell prompt.

-
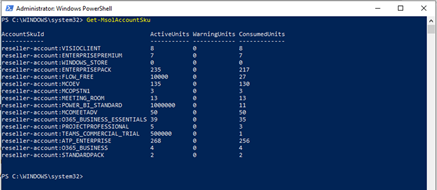
Using following PowerShell cmdlet to view your available licensing plans.
Get-MsolAccountSku
-
To use following PowerShell cmdlets to disable TEAM for all users.
$acctSKU="reseller-account"

$x = New-MsolLicenseOptions -AccountSkuId $acctSKU -DisabledPlans "TEAMS_COMMERCIAL_TRIAL"

Get-MsolUser | Where-Object {$_.licenses[0].AccountSku.SkuPartNumber -eq  ($acctSKU).Substring($acctSKU.IndexOf(":")+1,  $acctSKU.Length-$acctSKU.IndexOf(":")-1) -and $_.IsLicensed -eq $True} |  Set-MsolUserLicense -LicenseOptions $x
Hope you enjoy this post.
Cary Sun @SifuSun