In Microsoft Defender for Office 365, Safe Attachments is a feature that helps protect your organization from malicious email attachments. It automatically scans email attachments for potential threats, such as malware or viruses, before delivering them to recipients’ mailboxes.
The Built-in Protection preset security policy automatically protects all recipients from Safe Attachments. Recipients designated in standard or strict preset security rules and custom Safe Attachments policies are unaffected.
To create a Safe Attachment policy in Microsoft Defender for Office 365, you can follow these general steps:
1.Login to the Microsoft Defender portal using your organization’s credentials.
https://security.microsoft.com/
2.Expand the Email & collaboration on the Microsoft Defender page and select Policies & rules.
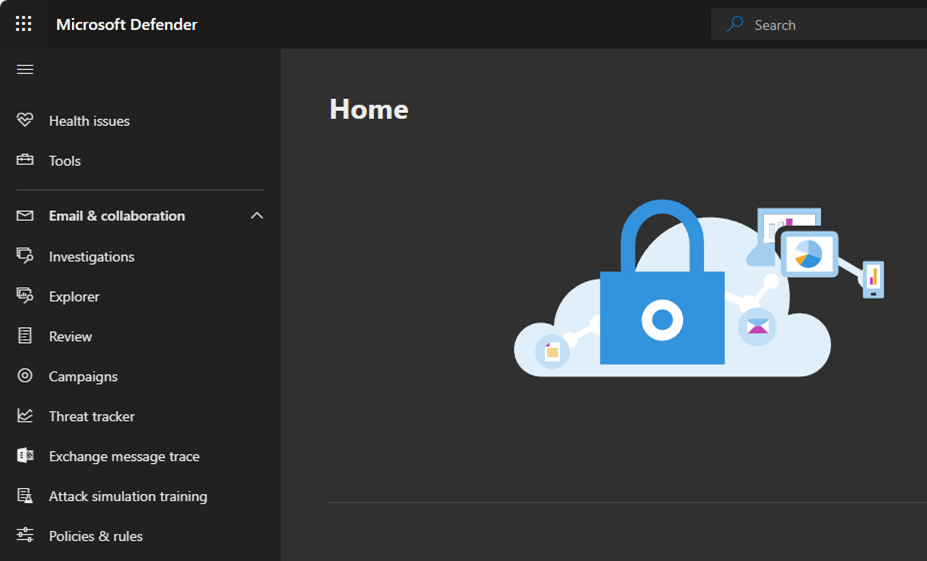
3.Select Threat policies on the Policies & rules page.
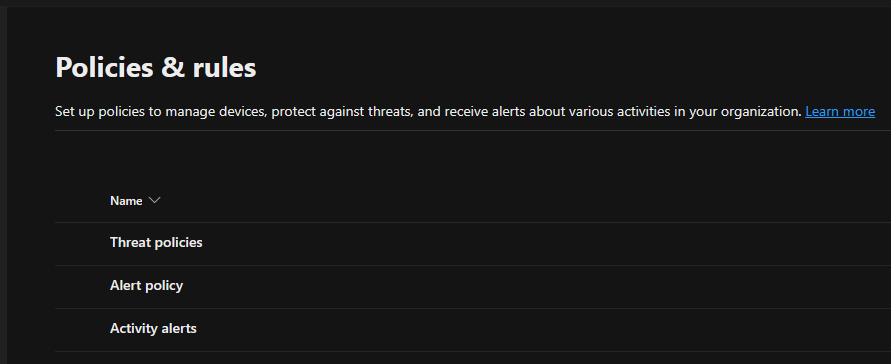
4.Select Safe Attachments in the Policies.

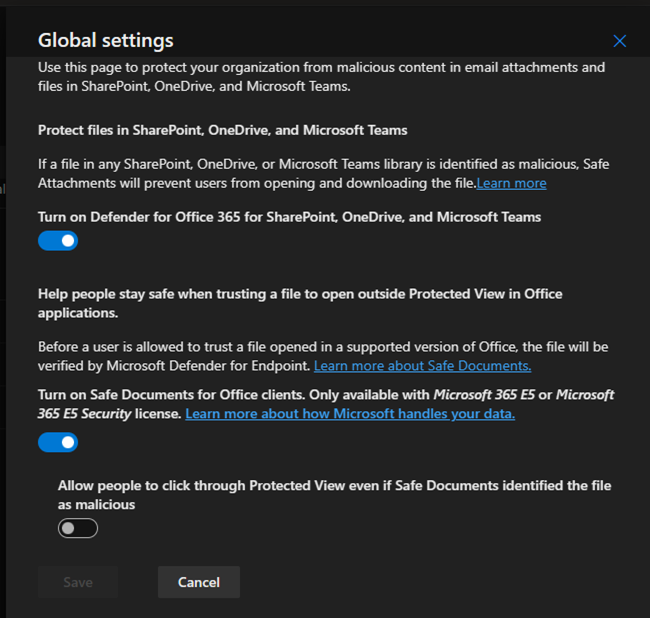
5.Click Global settings on the Safe attachments page.

6.On the Global settings page, you can turn Safe Attachments on for emails and SharePoint, OneDrive, and Microsoft Teams. You can also turn on Safe Documents for office clients, but the E5 license requirement. Keep the default settings in Global settings.
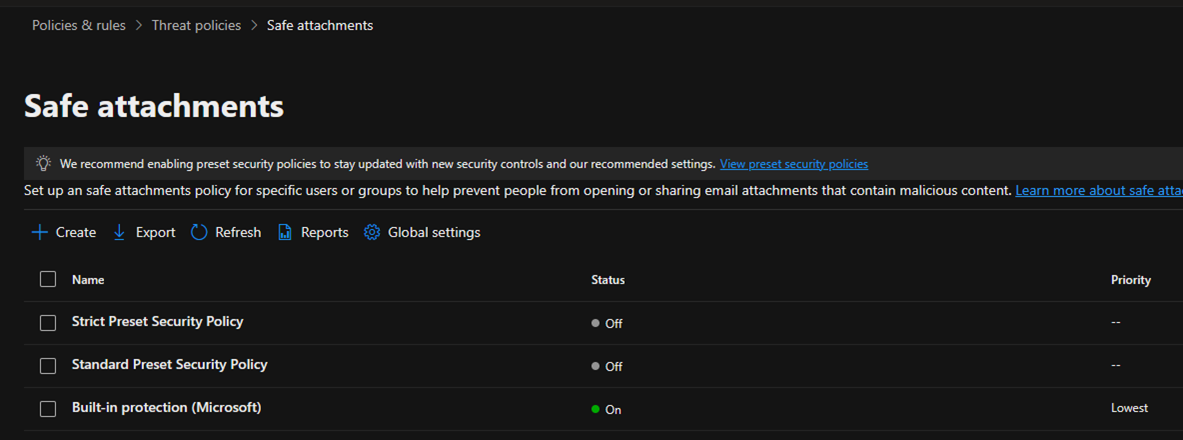
7.Click Create on the Safe attachments page.
Note:
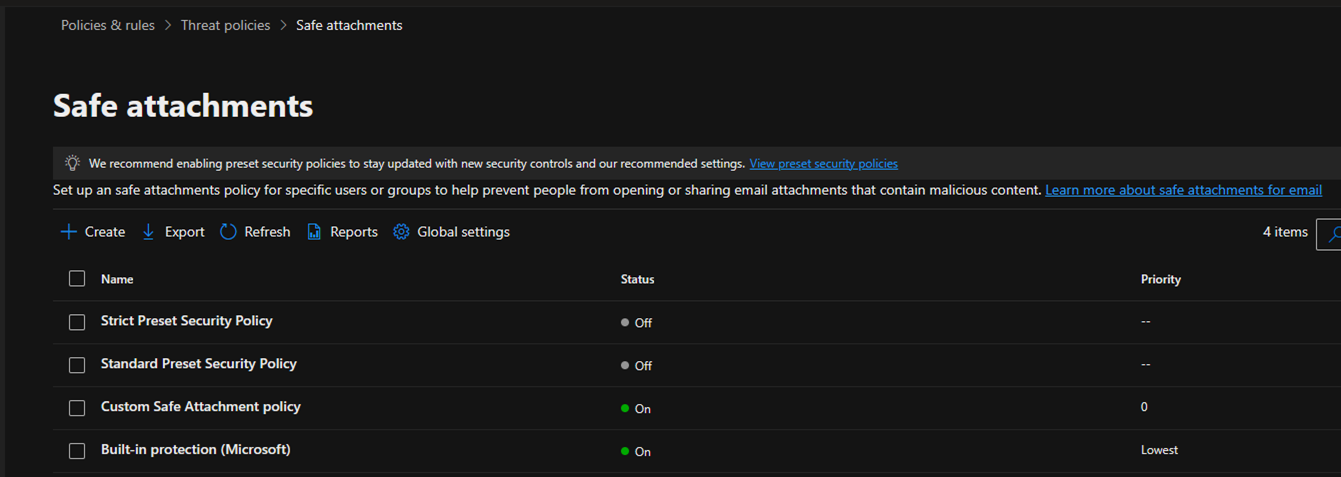
The Default Built-in protection (Microsoft) is part of the preset security policies. It’s lowest priority.
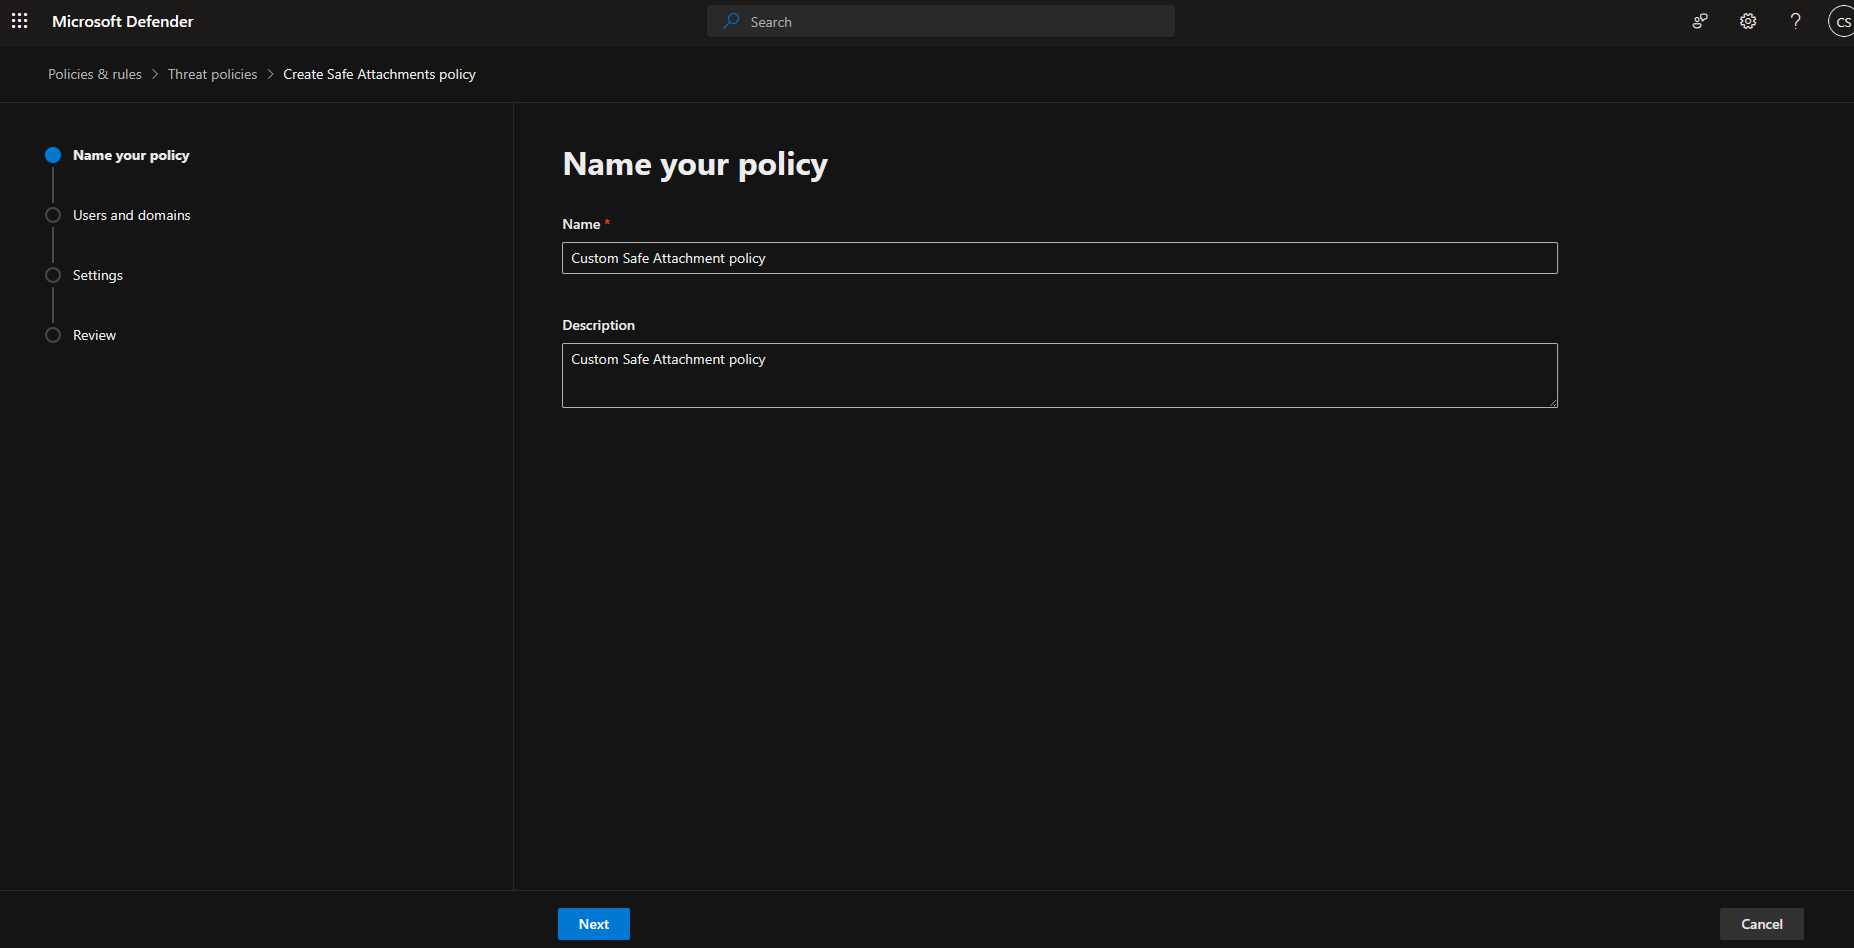
8.On the Name your policy page, enter a unique Name and description for the policy. Click Next.
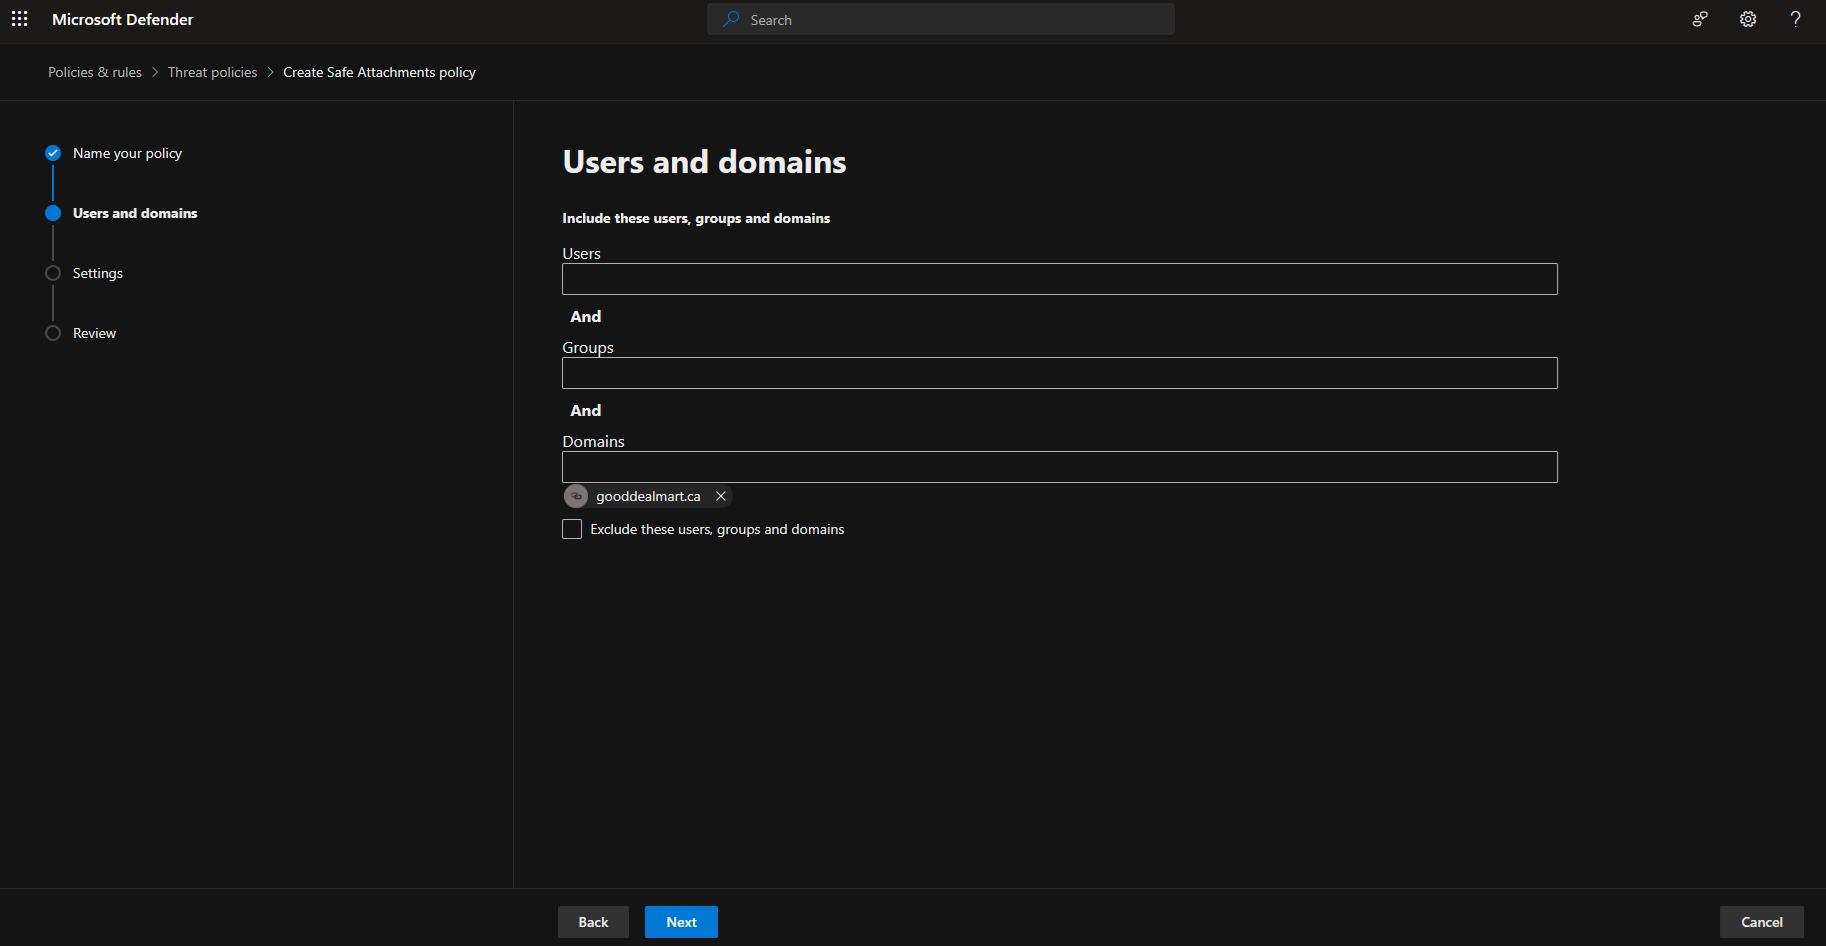
9.On the Users and domains page, you can select the internal recipients to which the policy applies and click Next.
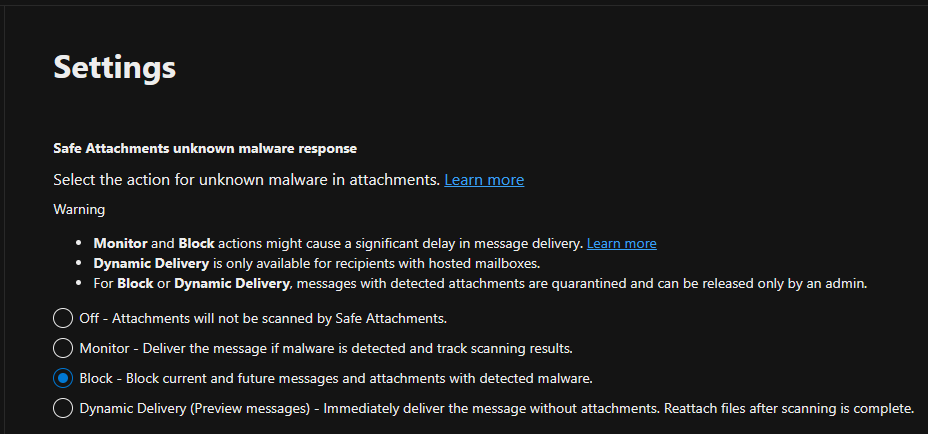
10. There are four options for unknown malware response on the Settings page. Select the Block.
Note:
If you are using Standard and Strict preset security policies, it’s the default and recommended setting.
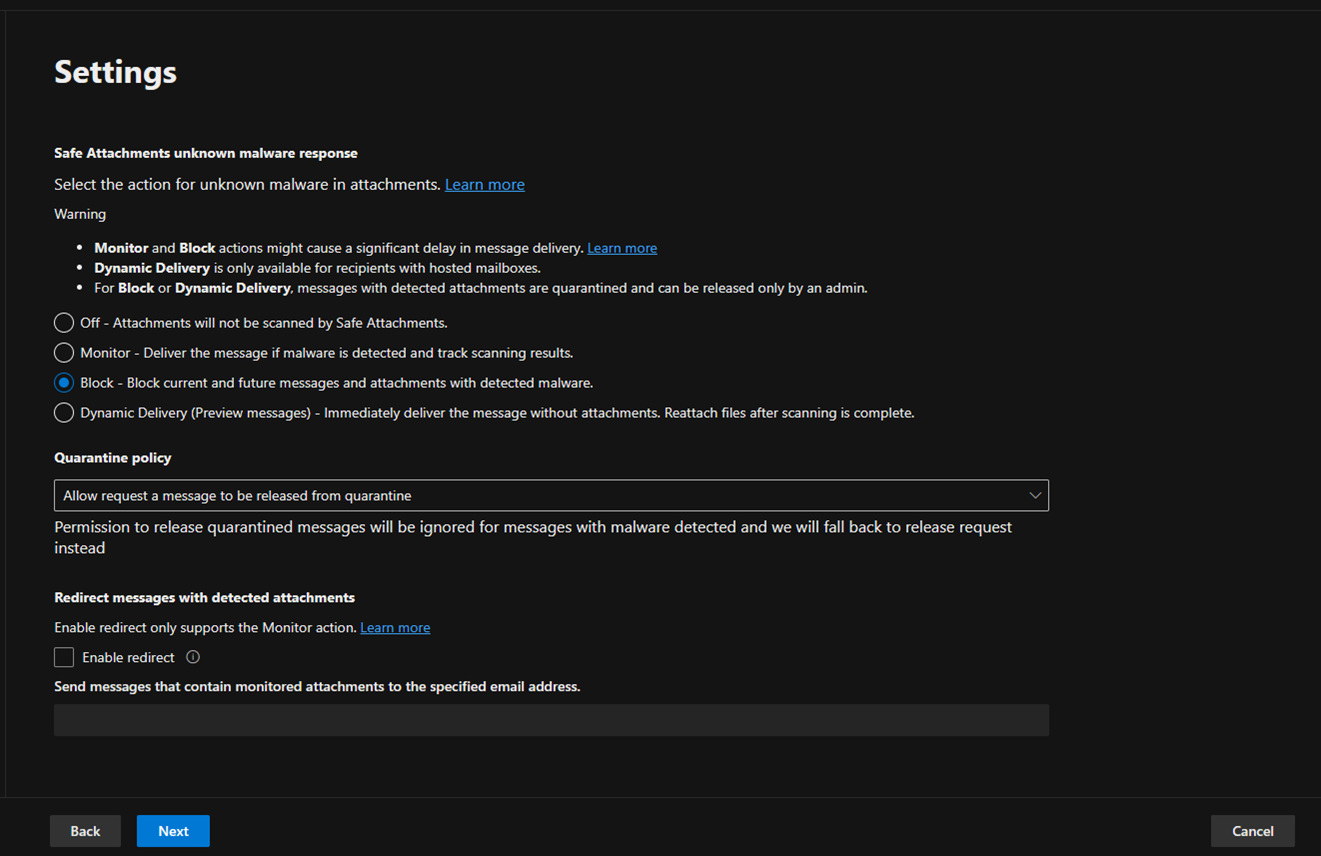
11.Select the custom quarantine policy from the drop-down list if you created previously and click Next. The default is AdminOnlyAccessPolicy.

12.If you chose the Monitor as the Safe Attachments unknown malware response, you can select Enable redirect and send it to the specified email address.
13.Click Submit on the Review page.
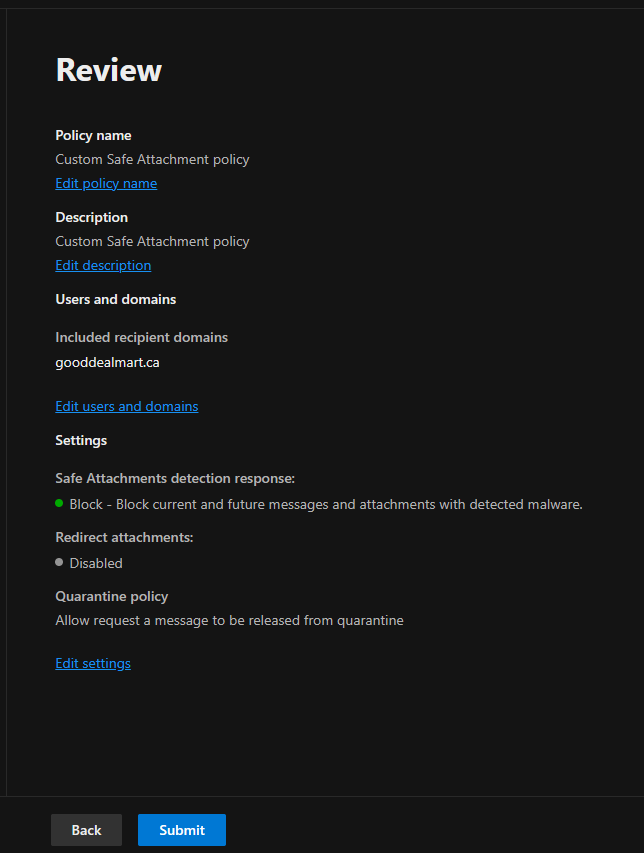
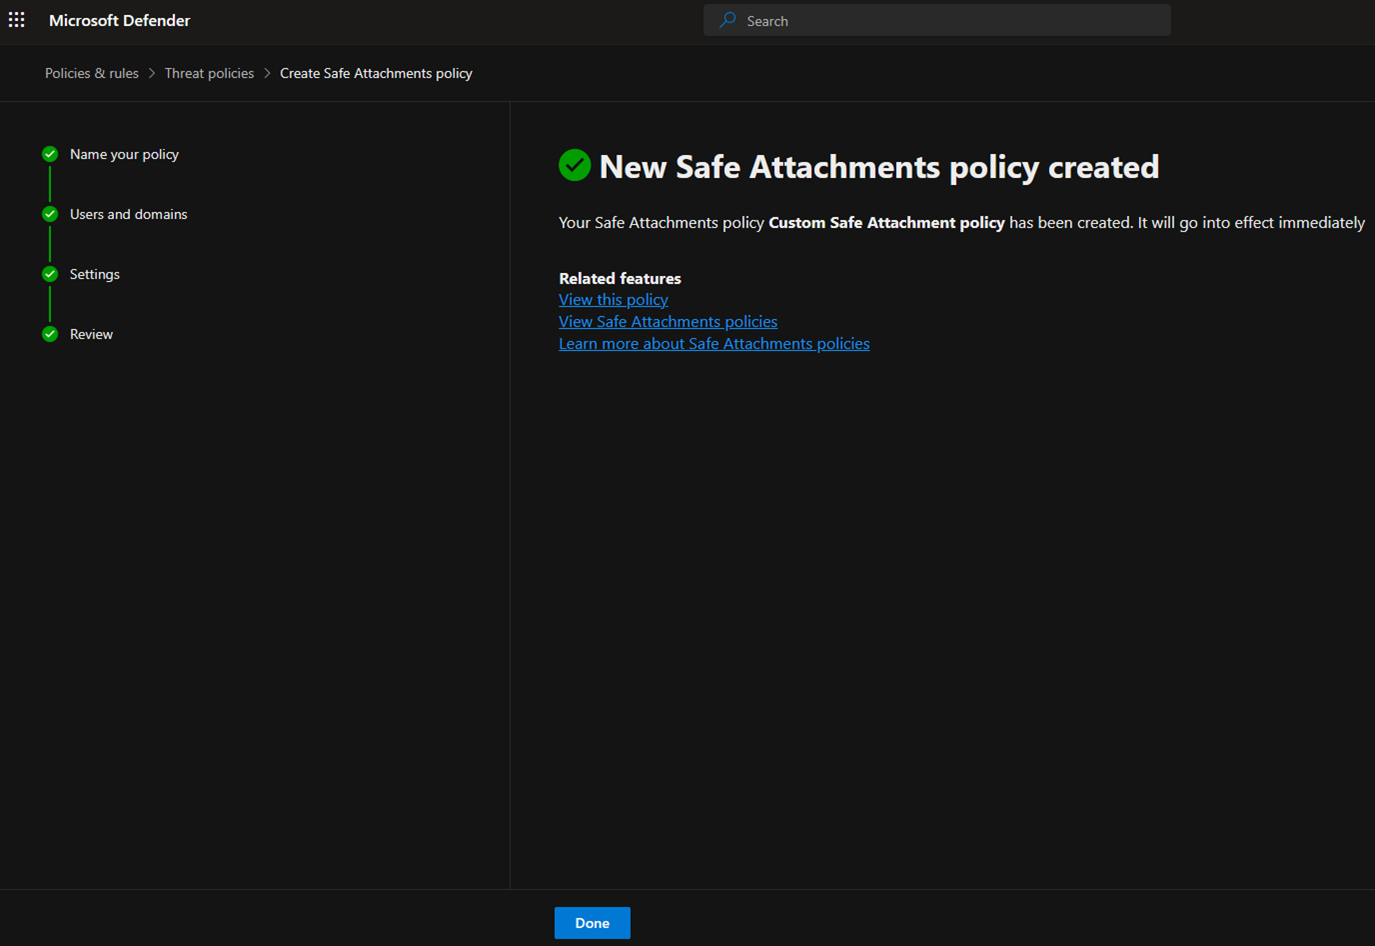
14.Ensure the New Safe Attachments policy is created and click Done.
15.The priority value of the new Safe Attachments policy is 0.
I hope you enjoy this post.
Cary Sun
X: @SifuSun
Web Site: carysun.com
Blog Site: checkyourlogs.net
Blog Site: gooddealmart.com
Amazon Author: Amazon.com/author/carysun
