
Today, I am going to show you how to step by step to install Citrix Virtual Apps 7 1909 at Microsoft Windows Server 2019.
-
Sign in your Citrix account from citrix.com.
-
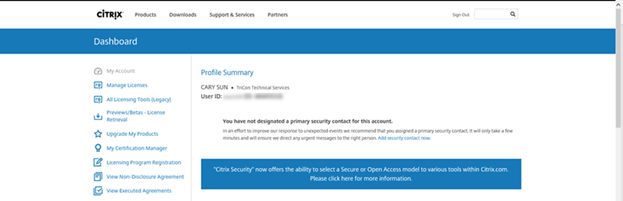
On the Dash page, select Downloads.
-
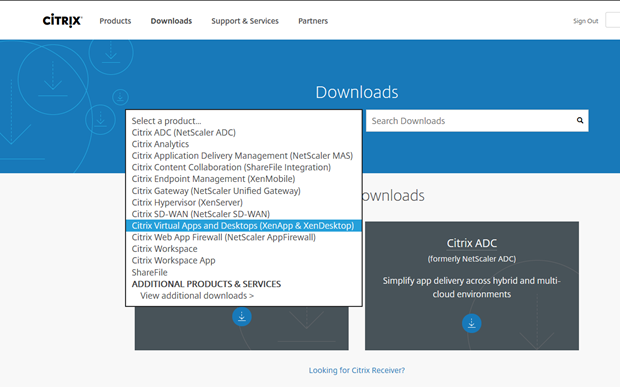
Click Select Product, select Citrix Virtual Apps and Desktops (XenApp & XenDesktop).
-
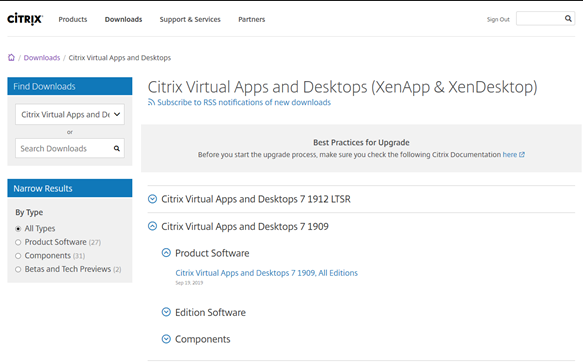
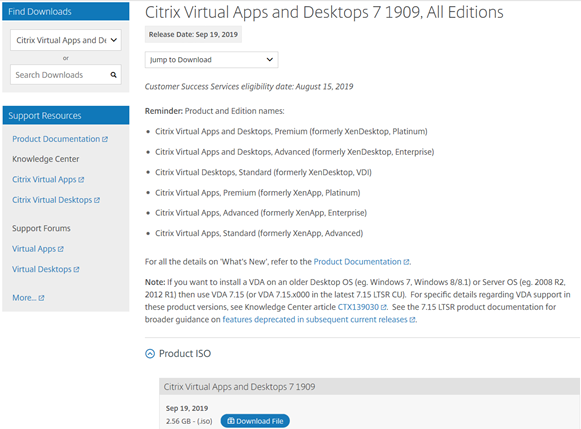
On the Citrix Virtual Apps and Desktops (XenApp & XenDesktop), expand Citrix Virtual Apps and Desktops 7 1909, expand Product Software, click Citrix Apps and Desktops 7 1909, All Editions.
-
On the Citrix Virtual Apps and Desktops 7 1909, All Editions page, select Product ISO, click Download file.
-
On the Download Agreement page, select I have read and certify that I comply with the above Export Control Laws, click Accept.
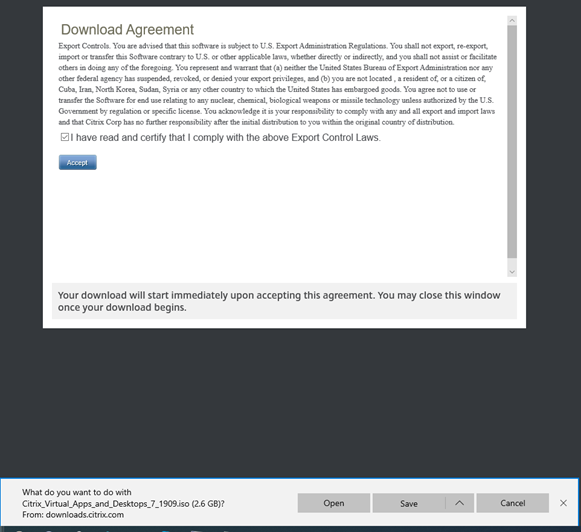
- Save the ISO file to Windows Server 2019.
-
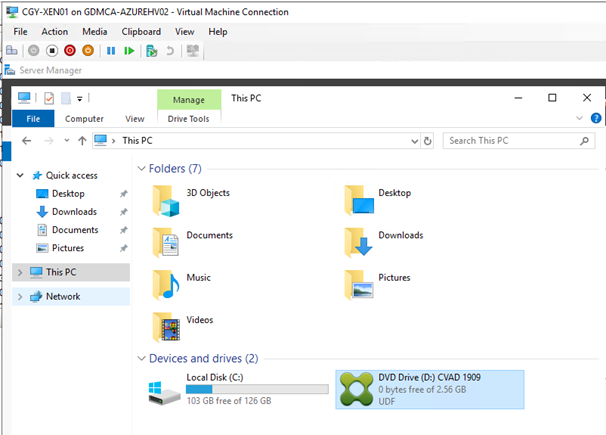
Login to Windows Server 2019 server (in my case, the server name is CGY-Xen01) and mount ISO file, double click DVD Drive.
-
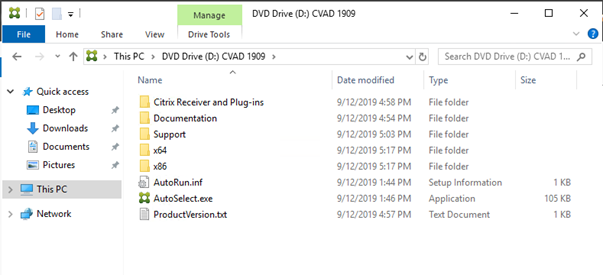
Double click AutoSelect.exe.
-
Click Yes on the User Account Control page.

-
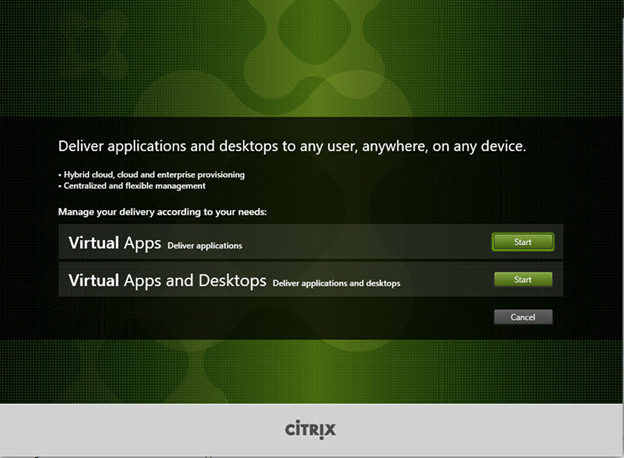
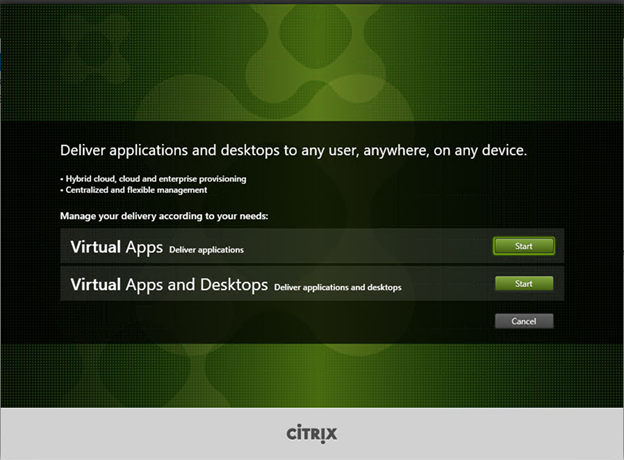
On the Deliver applications and desktops to any users, anywhere, on any device page, click Start at Virtual Apps Delivery application.
-
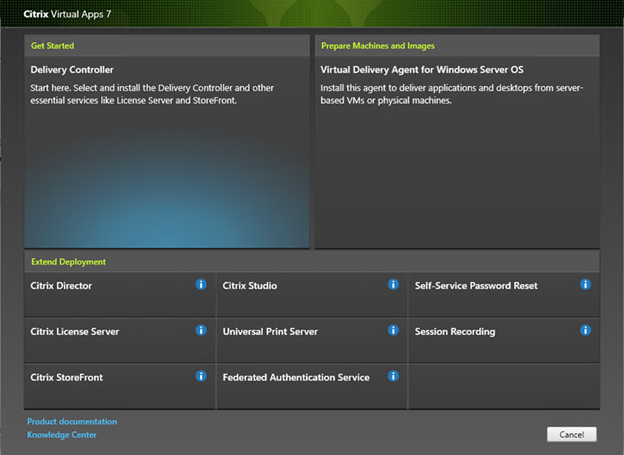
I am going to install Delivery Controller and Virtual Delivery Agent at separate servers, click Delivery Controller.
-
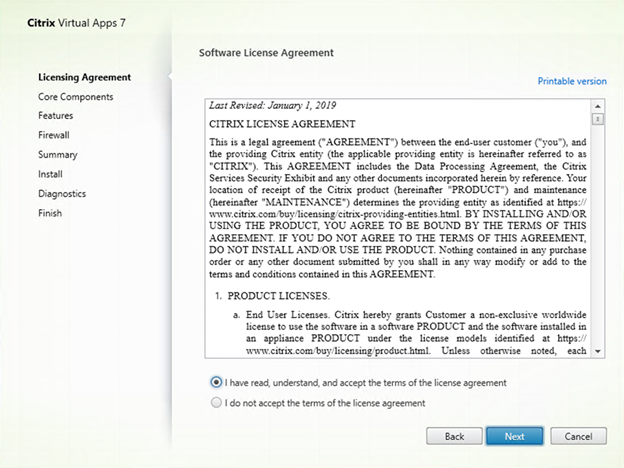
On the License Agreement page, select I have read, understand and accept the terms of the license agreement, click Next.
-
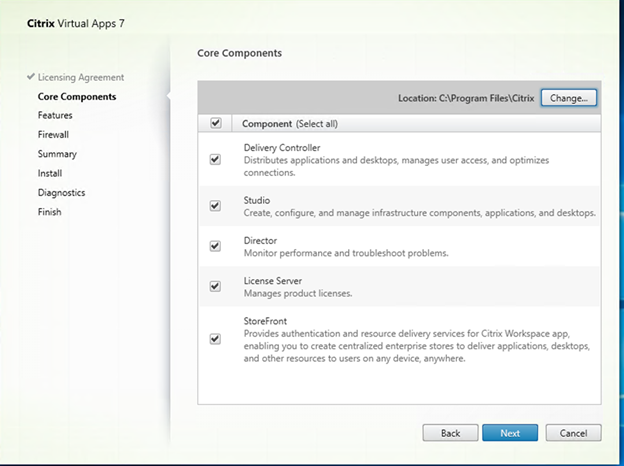
On the Core Components page, select all, click Next.
-
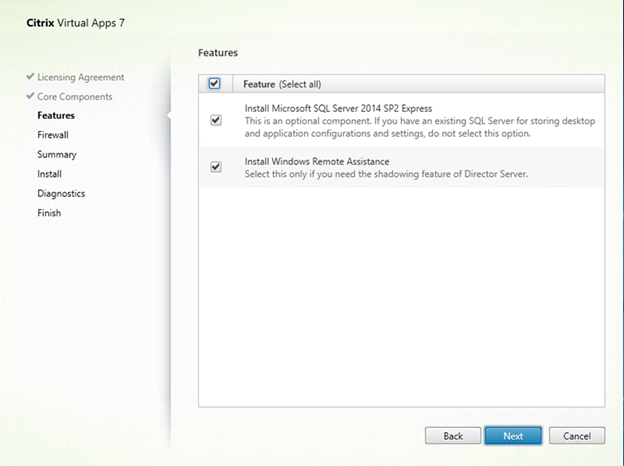
On the Features page, select all, click Next.
-
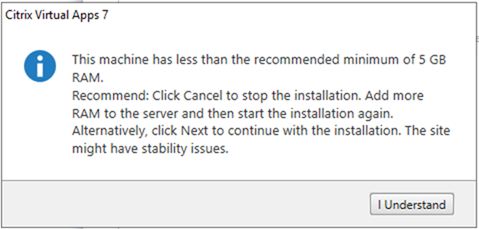
If the server has less than the recommend minimum of 5GB RAM, if it has less than 5 GB RAM, it will pop up the warning message, click I Understand.
-
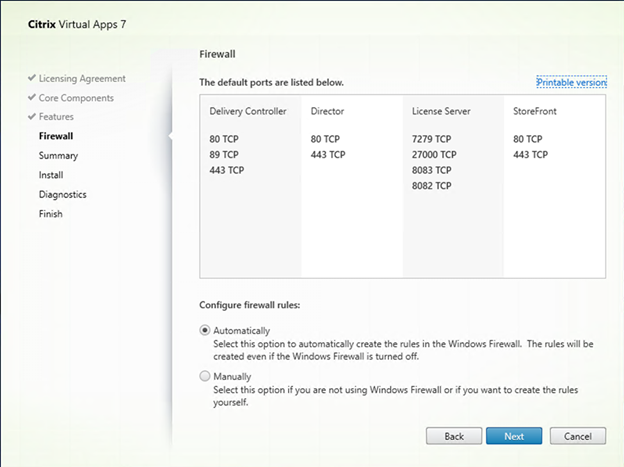
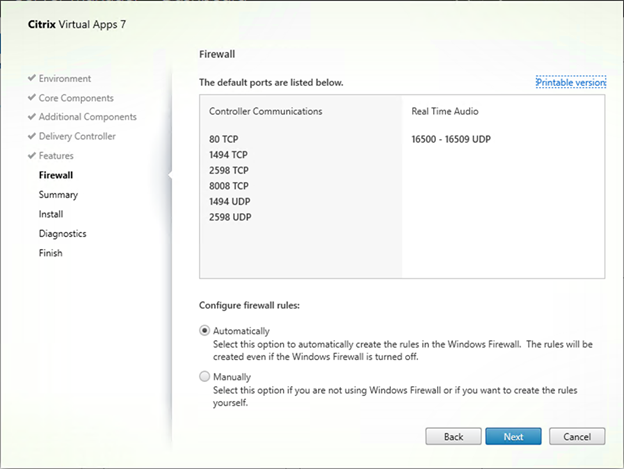
On the Firewall page, click Automatically configure firewall rules, click Next.
-
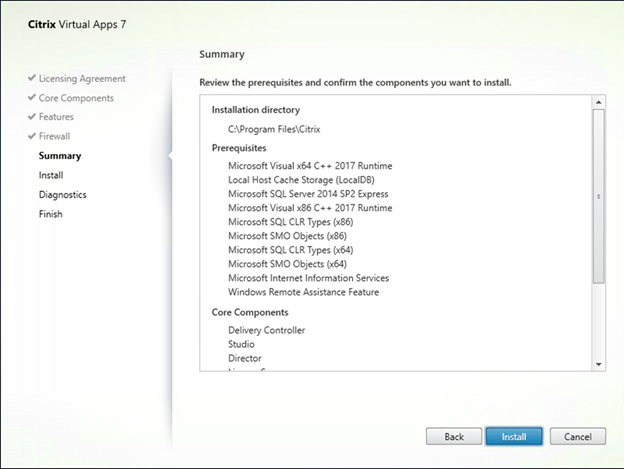
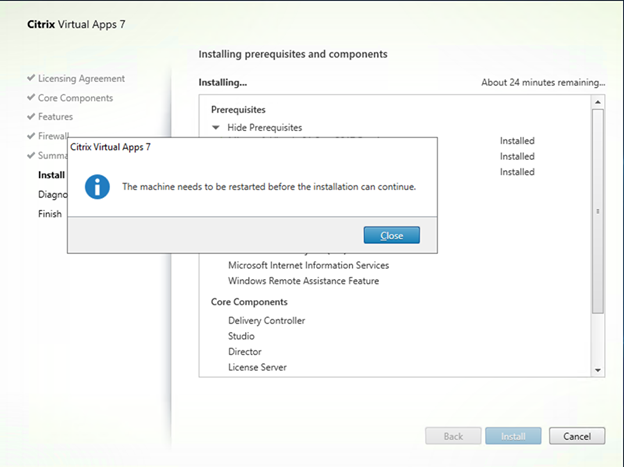
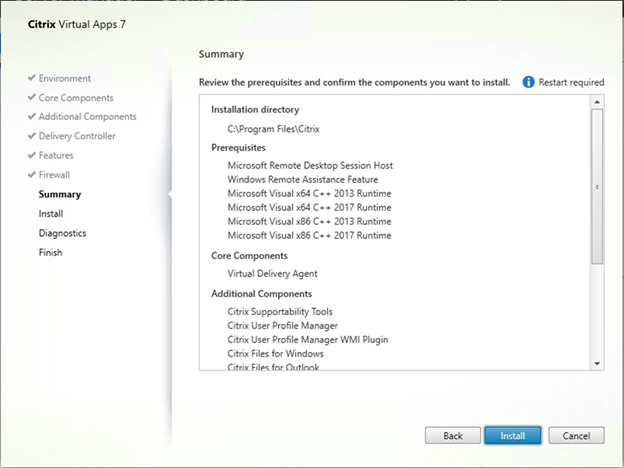
On the Summary page, click Install.
-
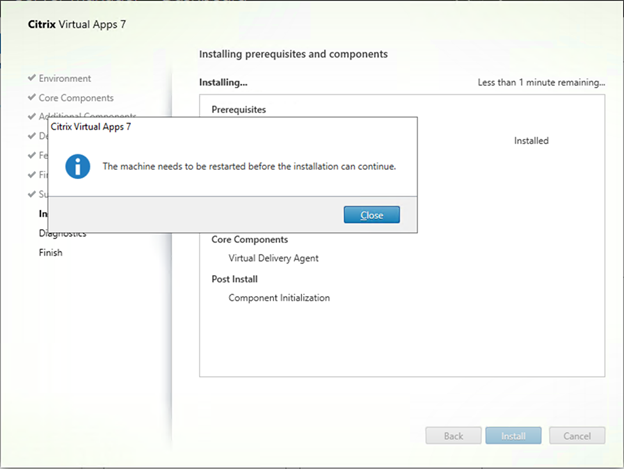
The server needs to restart at Installation process.
-
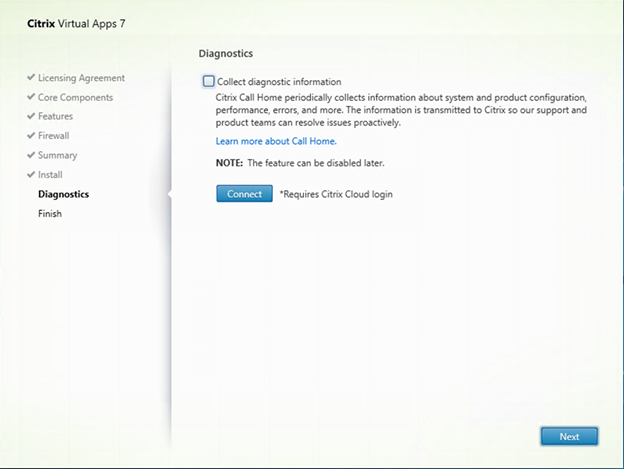
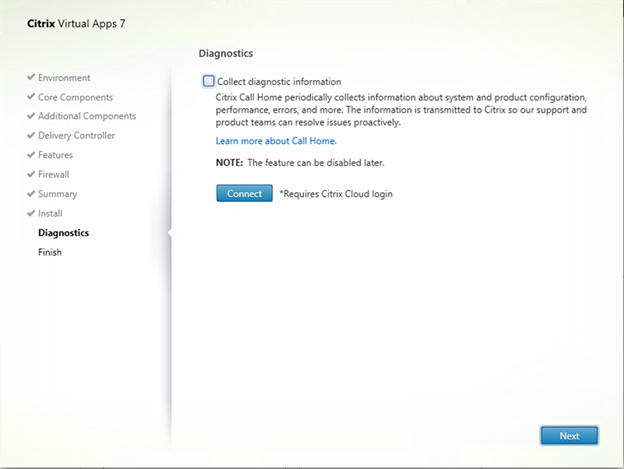
On the Diagnostics page, uncheck Collect diagnostic information if you don’t have Citrix Cloud account, click Next.
-
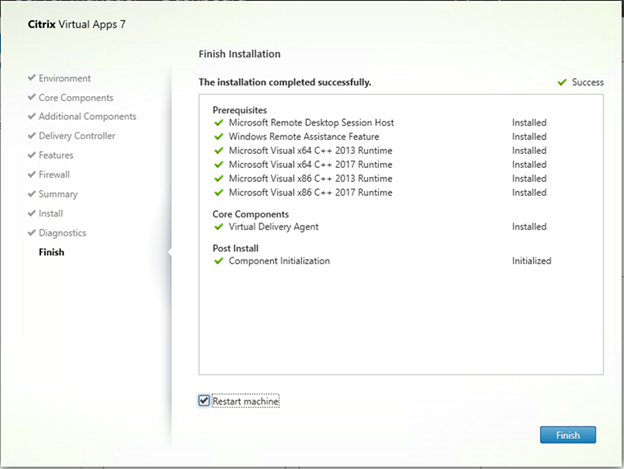
On the Finish Installation page, select Launch Studio, click Finish.

-
On the Welcome to Citrix Studio page, click Delivery applications and desktops to your users.

-
On the Introduction page, select A fully configured, production-ready Site (recommended for new users), enter site name to Site name filed. In my case, the site name is GDMVAN, click Next.

-
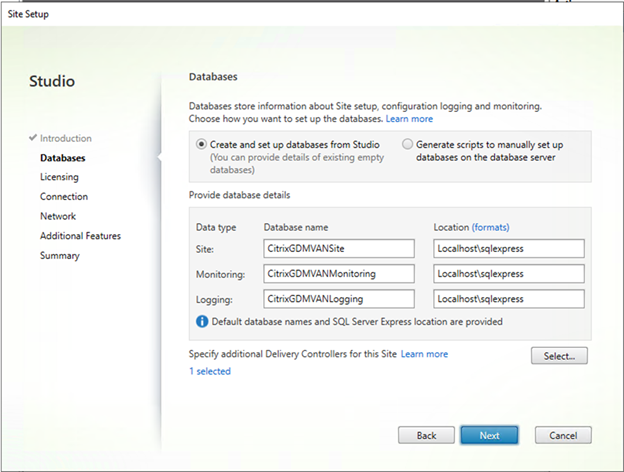
On the Database page, select Create and setup database from Studio, keep the default settings, click Next.
-
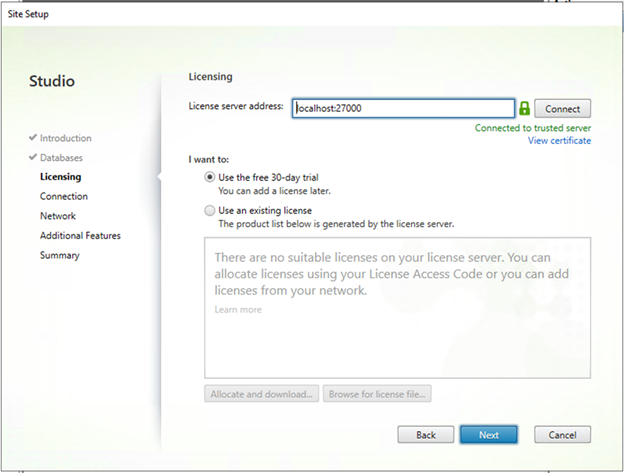
On the Licensing page, if you have an existing license server or existing license file, you can enter IP address of the license server or install exiting license file, if not, keep the default setting to use 30 days trial, click Next.
-
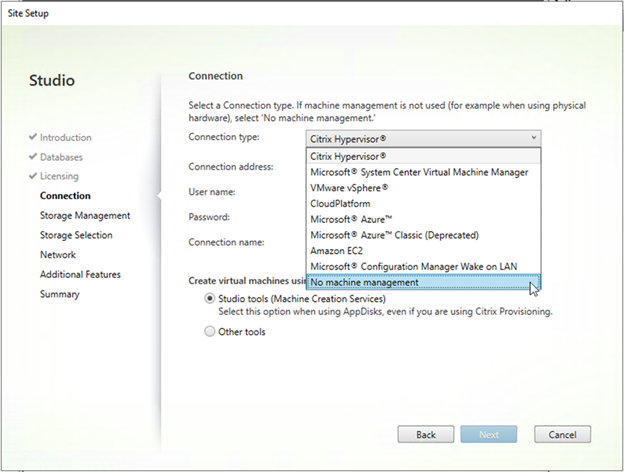
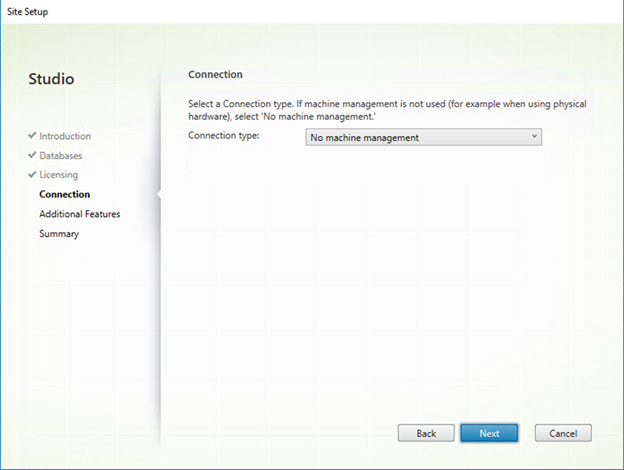
On the connection page, select No machine management as Connection type, because we are going to use Virtual Apps features only, click Next.
-
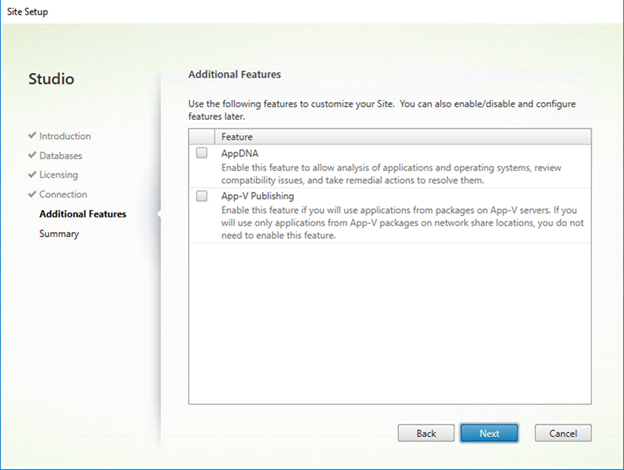
On the Additional Features page, we won’t use AppDNA and APP-V Publishing features, unselect them and then click Next.
-
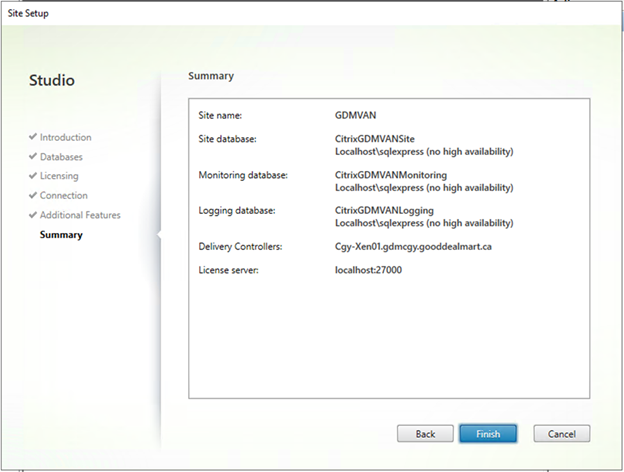
On the Summary page, click Finish.
-
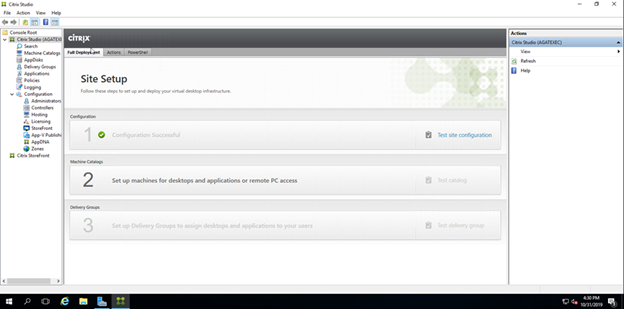
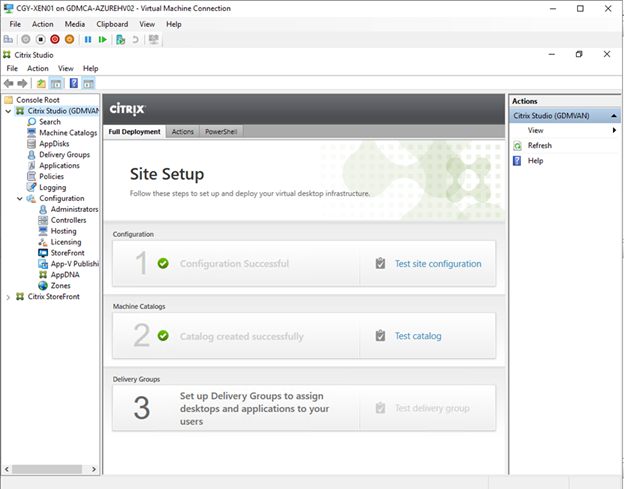
Make sure Configuration successful, click Test site configuration.
-
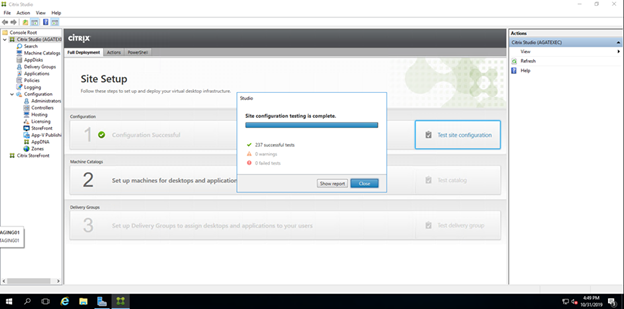
Make sure all of configuration tests successful, click Close.
-
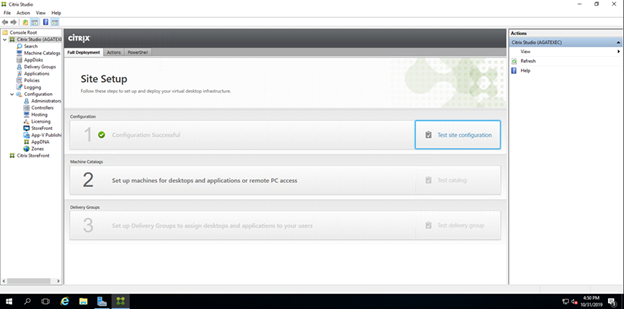
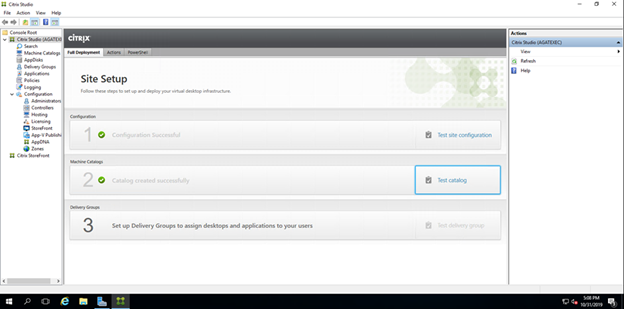
On the Site Setup page, click Setup machines for desktops and applications or remote PC access.
-
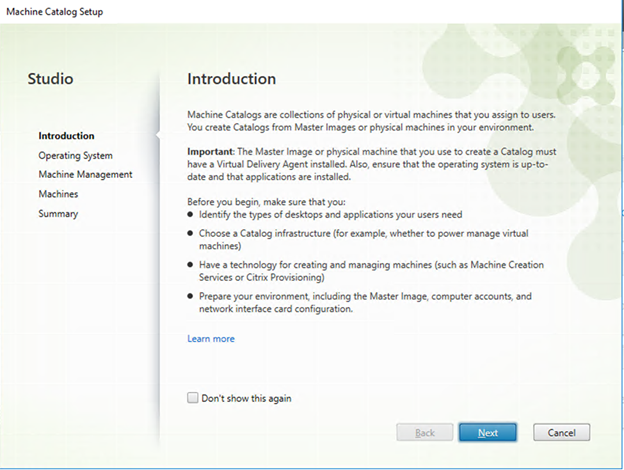
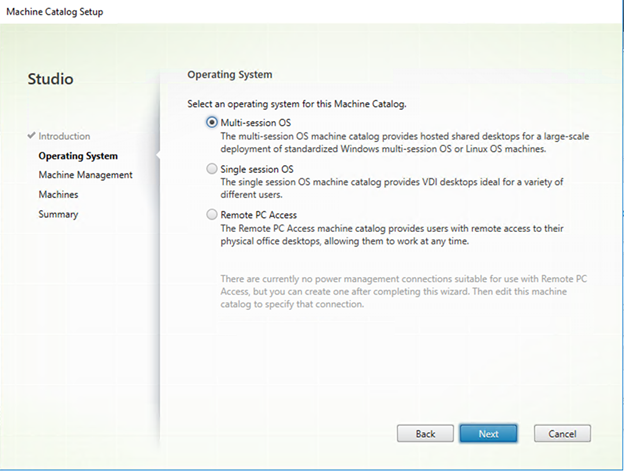
On the Introduction page, click Next.
-
On the Operating System page, select Multi-session OS, click Next.
-
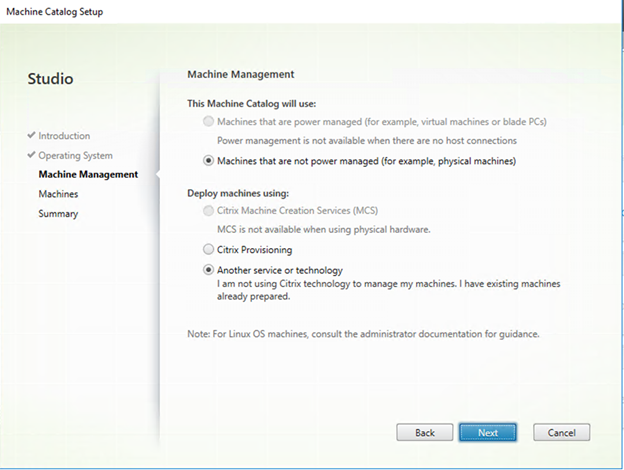
On the Machine Management page, keep the default settings (select Machines that are not power managed, Another service or technology), click Next.
-
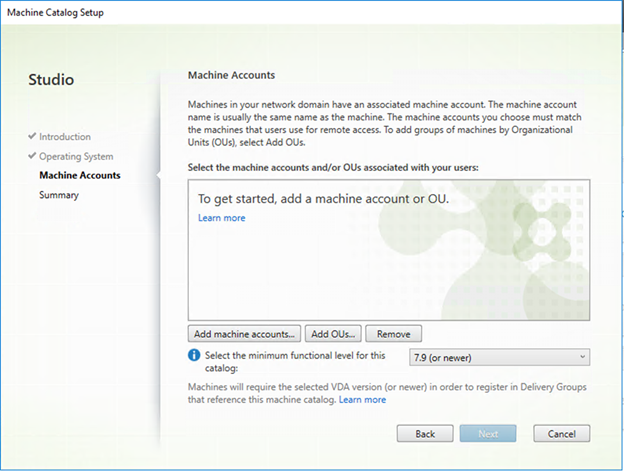
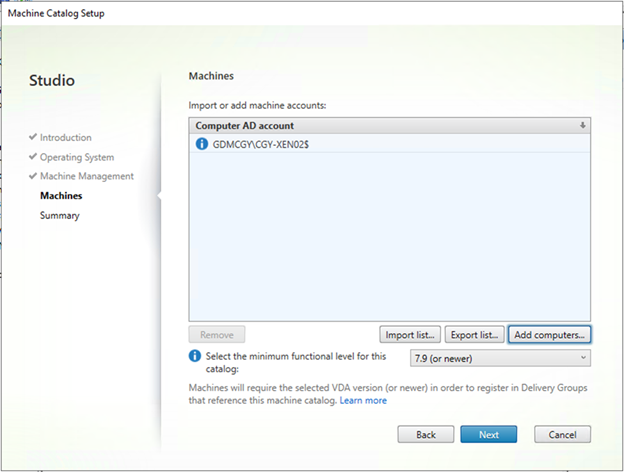
On the Machine Accounts, click Add machine accounts…
-
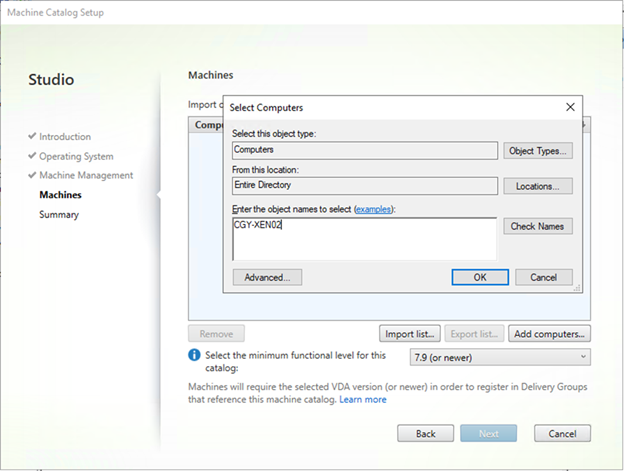
Enter server name of another windows server 2019, it will be a VDA server (Virtual Delivery Agent for Windows Server OS), click OK.
-
on the Machines page, click Next.
-
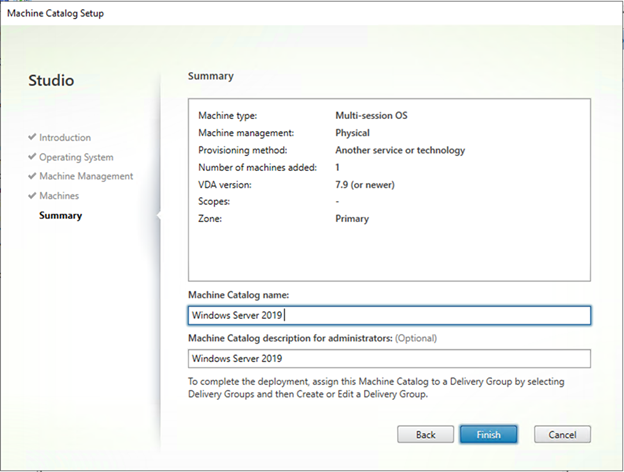
on the Summary page, enter your Machine Catalog name and Machine Catalog description for administrators, click Finish.
-
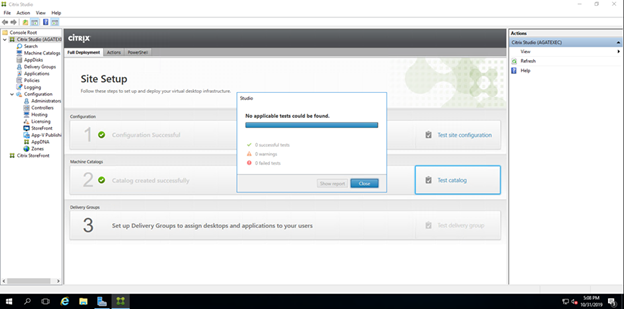
on the Site Setup page, click Test Catalog, make sure there is no error, click Close.
-
I am going to install VDA to another server before Setup Delivery Groups to assign desktops and applications to your users.
-
Login to another Windows server 2019 server (in my case, the server name is CGY-XEN02), mount Citrix virtual Apps ISO image, Click Start at Virtual Apps Delivery applications.
-
Select Virtual Delivery Agent for Windows Server OS.

-
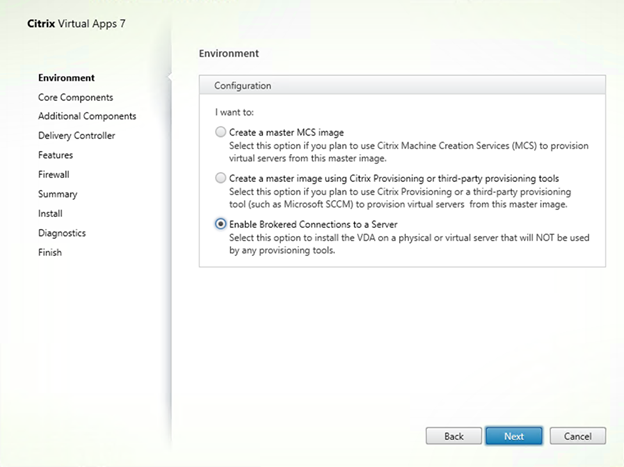
On the Environment page, select Enable Broker Connections to a Server, click Next.
-
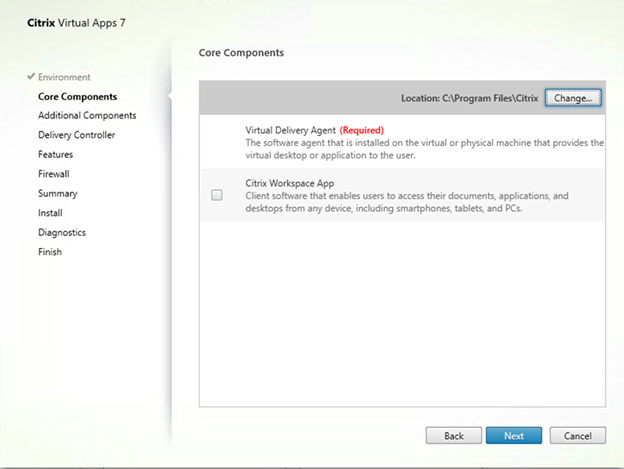
On the Core Components page, keep the default settings, click Next.
-
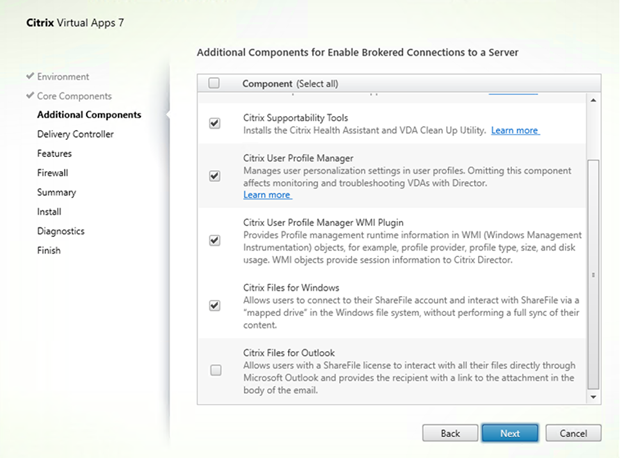
On the Additional Components for Enable Brokered Connections to a Server page, select Citrix Supportability Tools, Citrix User Profile Manager, Citrix User Profile Manager WMI Plugin and Citrix Files for Windows, click Next.
-
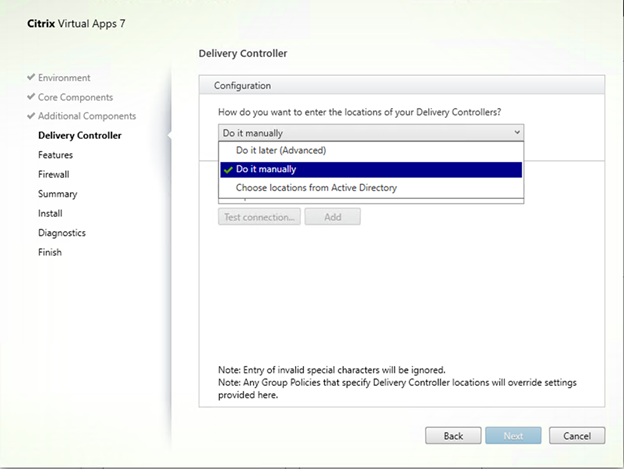
On the Delivery Controller page, Select Do it manually at Configuration.
-
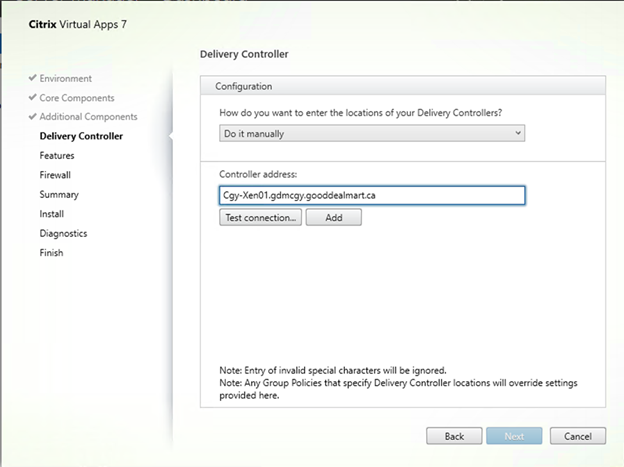
Enter the server FQDN at Controller address, click Test connection…. In my case, the controller name is CGY-Xen01.gdmcgy.gooddealmart.ca
-
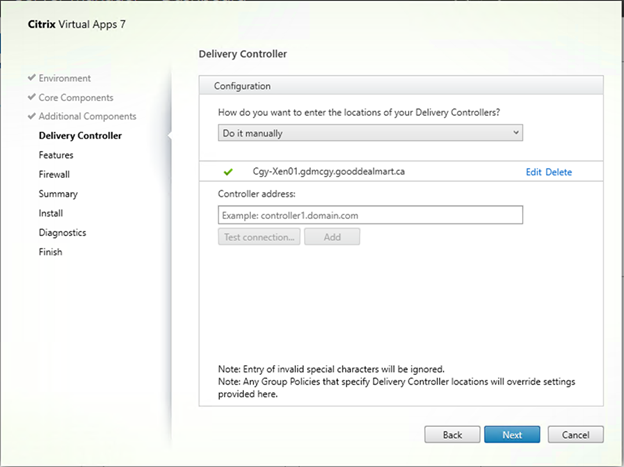
Make sure connection test without issues, click Add and then click Next.

-
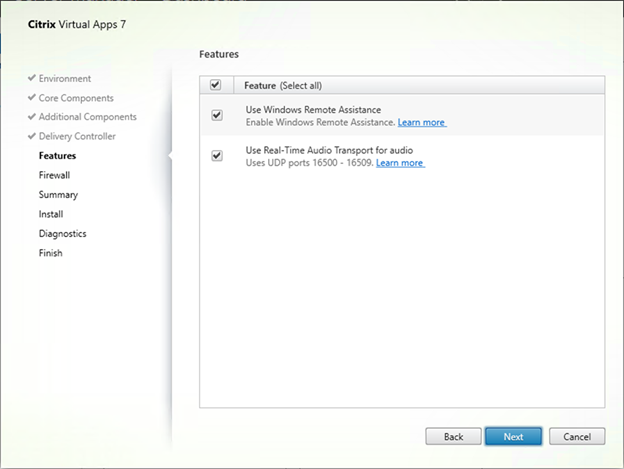
On the Features page, select all, click Next.
-
On the Firewall page, select Automatically to Configure firewall rules, click Next.
-
On the Summary page, click Install.
-
The server might need to restart several times at Installation process.
-
On the Diagnostics page, unselect Collect diagnostic information, click Next.
-
On the Finish Installation page, select Restart machine, click Finish.
-
Login back to controller server (in my case, the controller server name is CGY-Xen01), click Set up Delivery Groups to assign desktops and applications to your users.
-
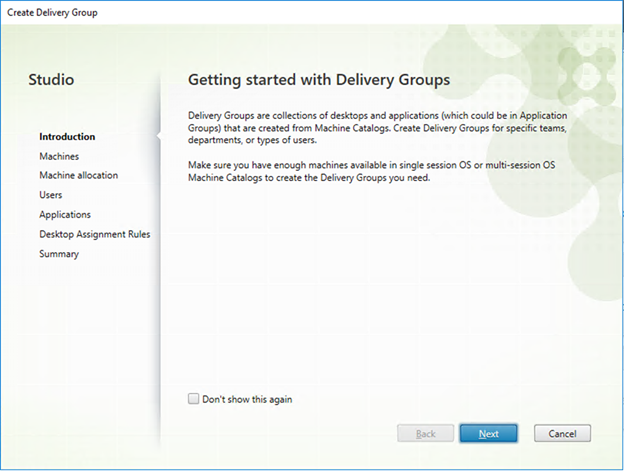
On the Getting started with Delivery Groups page, click Next.
-
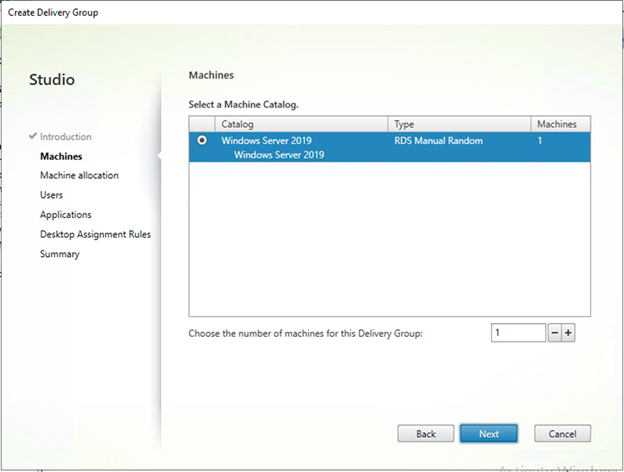
On the Machines page, select the exiting Machine Catalog (we create it previously), click Next.
-
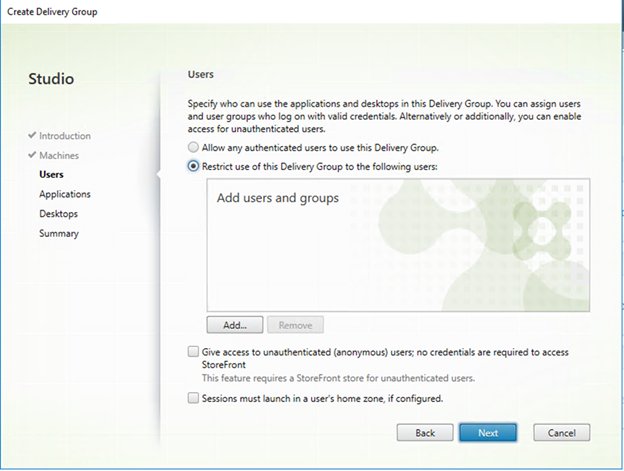
On the Users page, select Restrict use of this Delivery Group to the following users, click Add.
-
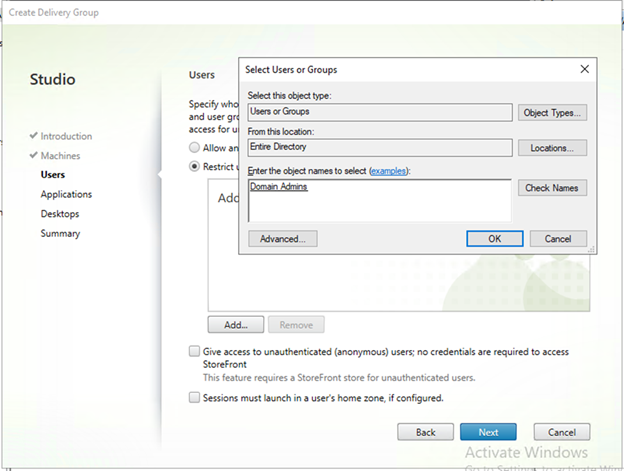
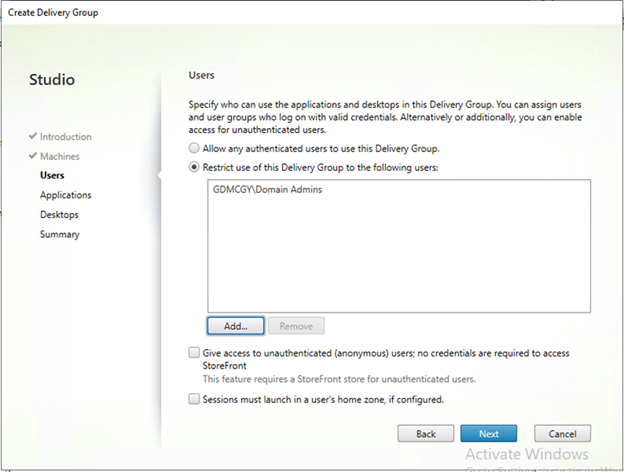
Enter your users or group name, click OK. (in my case, I am going to allow Domain admins to use only).
-
On the Users page, click Next.
-
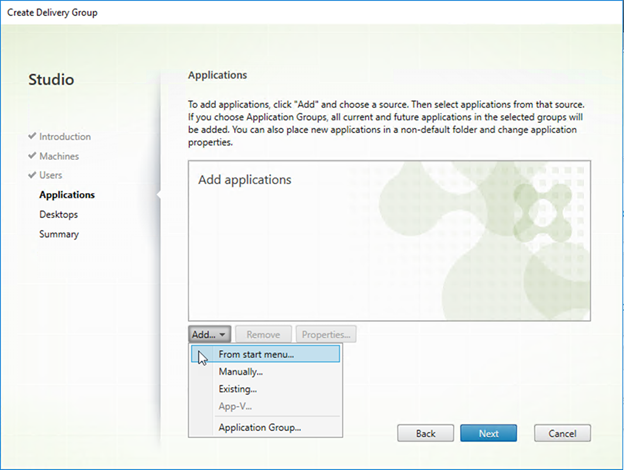
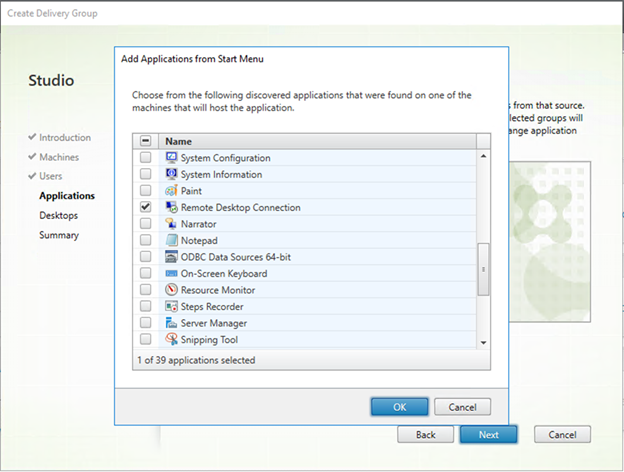
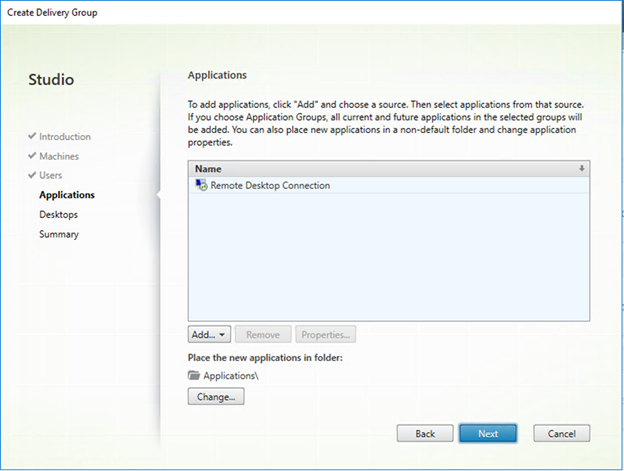
On the Applications page, click Add and select From start menu…
-
It will list all applications from start menu of VDA server (in my case is cgy-xen02), select the applications and click OK.
-
Click Next after you select applications.
-
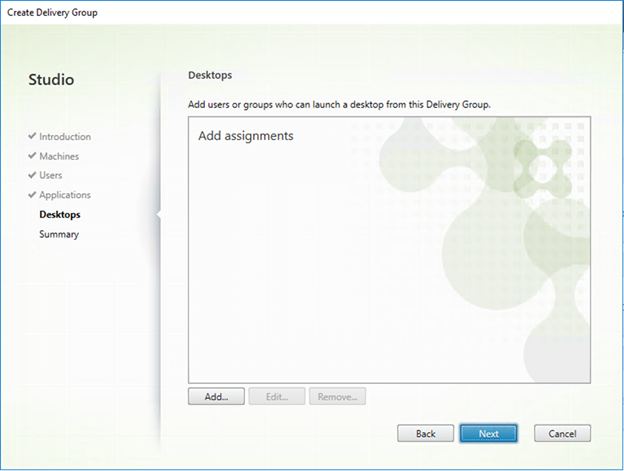
On the Desktops page, because we won’t use this feature, so we don’t add any assignment, click Next.
-
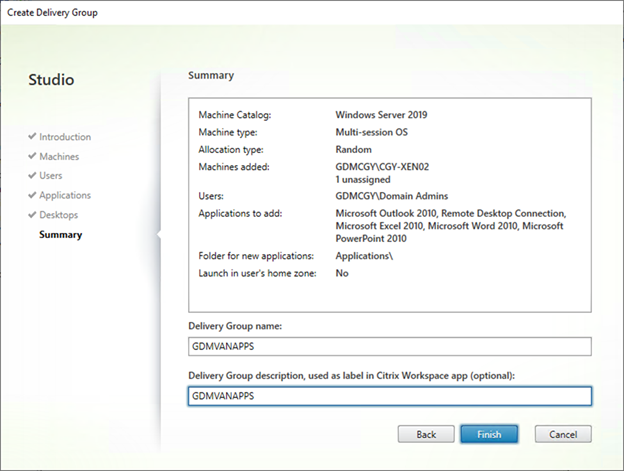
On the Summary, enter your Delivery Group name and Delivery Group description, click Finish.
-
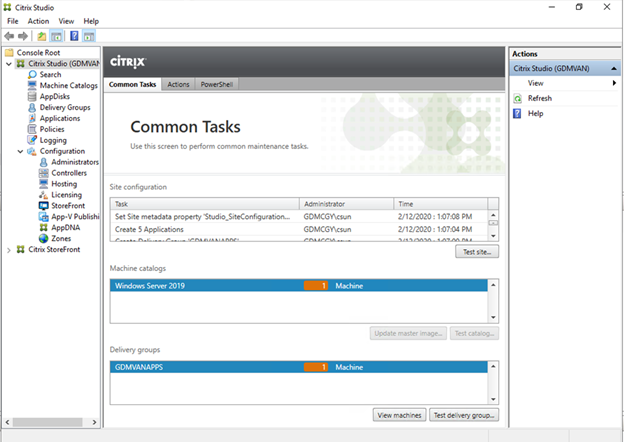
On the Citrix Studio page, you will see the Machine catalogs and Delivery groups which you just created them.
Hope you enjoy this post.
Cary Sun
Twitter: @SifuSun