
Hello everyone, how’s the weekend going? Have you tried to build your personal website at Azure? As my previously blog said, today I am going to show you how to redirect the Azure website name to your own domain name.
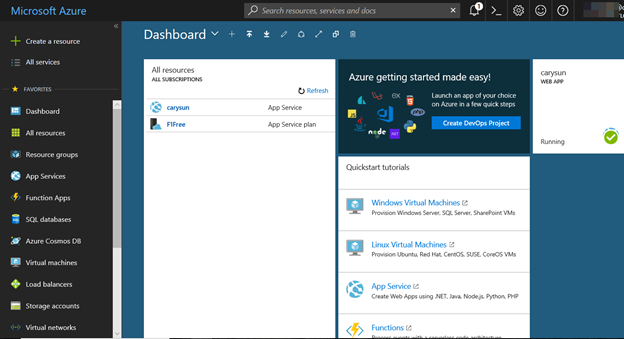
- Access the Azure portal and login via your Azure account.
- On Azure Portal Dashboard page, select App Services.
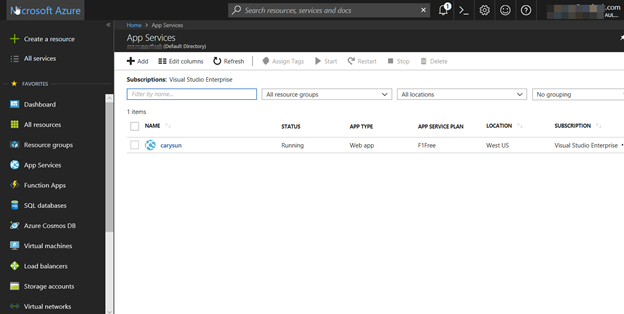
3. On the APP Services page, click your website name.
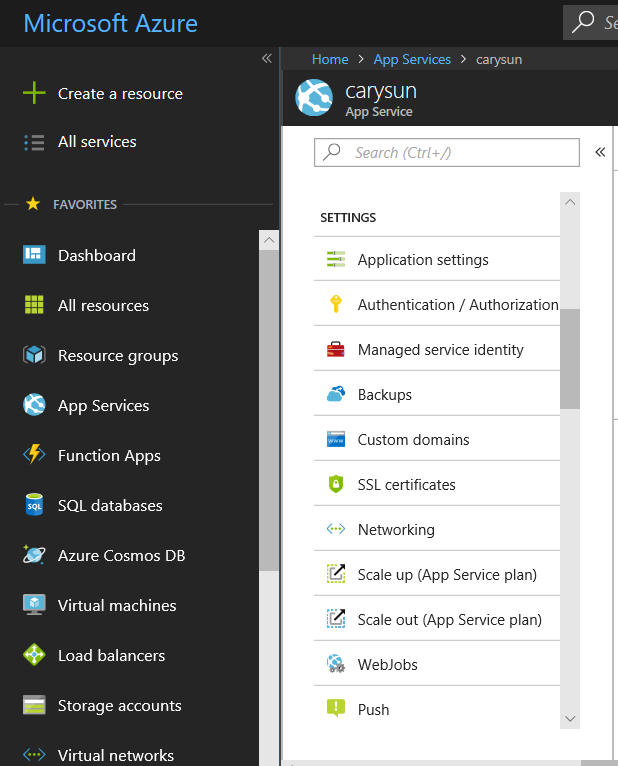
4. On your website App service page, select Scale up (App Service plan).
5. On the Choose your pricing tier page, you must change your plan from F1 Free to other and click Select.
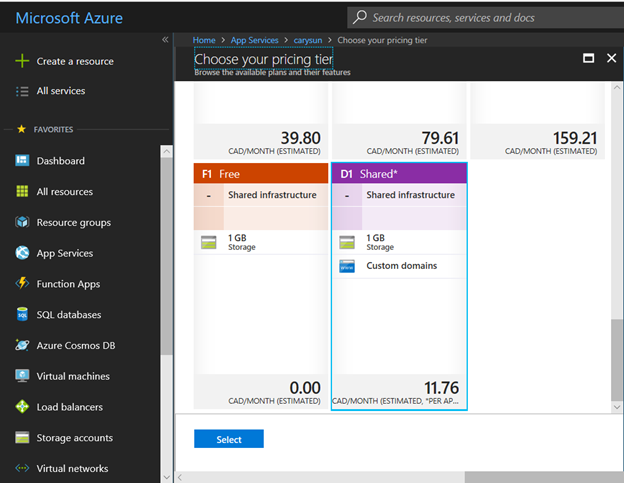
6. Close the Choose your pricing tier page after you changed plan.
7. On your website App service page, select Custom domains.

8. Before adding custom domains, you need to access DNS records with domain provider and add some records as follow.
9. Add an A record to map the Azure website app’s IP address.
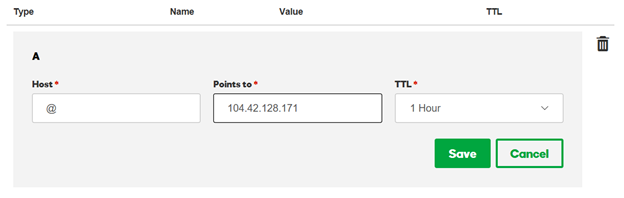
10. Add TXT record to map the Azure website app’s default name.

11. Add a CNAME record for the www subdomain.
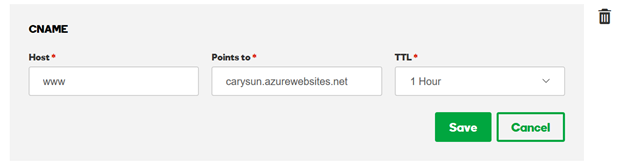
12. Add a CNAME record to map a wildcard name to the Azure website app’s host name.

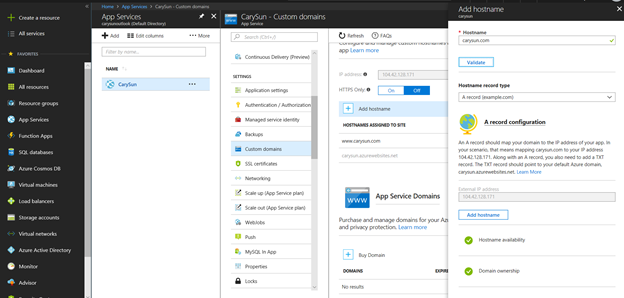
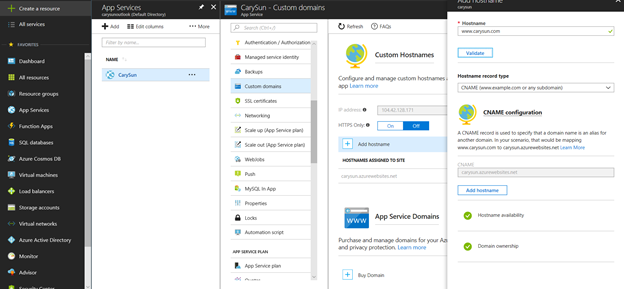
13. On the Custom Hostnames page, click + Add host name.

14. On the Add hostname page, enter your own domain and then click Validate.

15. Click Add hostname after Validate successful.
16. On the Custom Hostnames page, click + Add host name.

17. On the Add hostname page, enter the www subdomain and then click Validate.
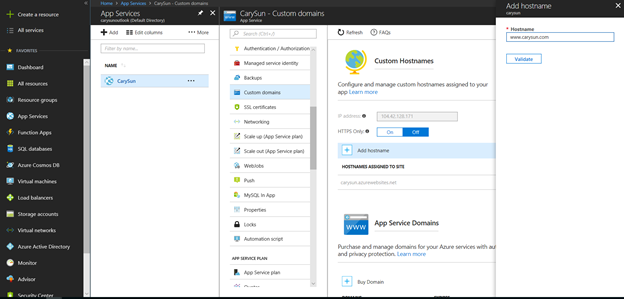
18. Click Add hostname after Validate successful.
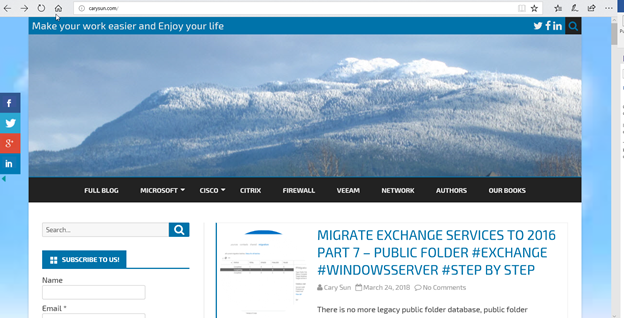
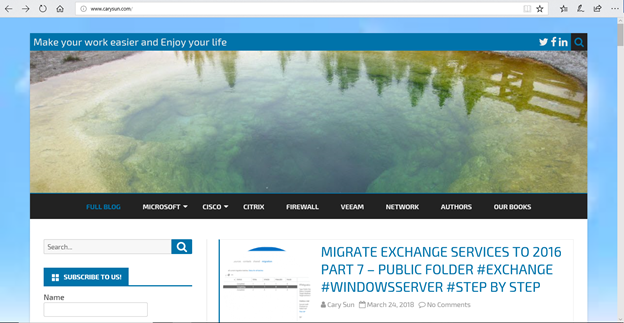
Congratulation! You have your personal website with your own domain name now.
Hope you enjoy this post.
Cary Sun
Twitter: @SifuSun