Do you need a powerful browser-based management tool (not monitor only)? Microsoft Project Honolulu is your right choice.
It can full control server infrastructure, allow you to manage them from anywhere with Microsoft Edge or Google Chrome. Let’s follow step by step to deploy it.
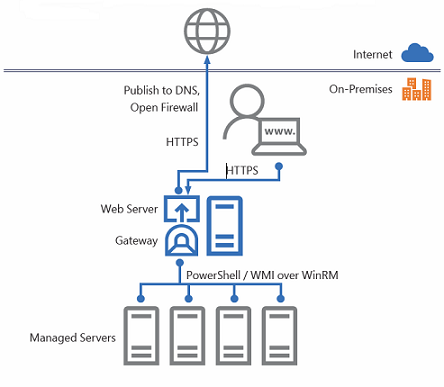
The Project Honolulu is still on technical preview (but coming soon!), here are its current capabilities:
- Displaying resources and resource utilization
- Certificate Management
- Event Viewer
- File Explorer
- Firewall Management
- Configuring Local Users and Groups
- Network Settings
- Viewing/Ending Processes and Creating Process Dumps
- Registry Editing
- Managing Windows Services
- Enabling/Disabling Roles & Features
- Managing Hyper-V VMs & Virtual Switches
- Managing Storage
- Managing Windows Update
There are 3 options to deployment Microsoft Project Honolulu as follow:
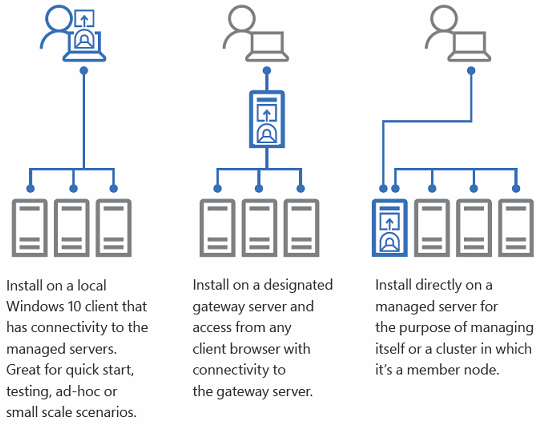
I am going to use option 2 to deployment Microsoft Project Honolulu. Project Honolulu requires PowerShell features that are not included in windows 2012 and 2012 R2 server, you need to follow steps to install it if you are using windows 2012 and windows 2012 R2 as a Project Honolulu Gateway or managed node
- Download and install WMF 5.1 for Project Honolulu Gateway or managed node (reboot server needed).
https://www.microsoft.com/en-us/download/details.aspx?id=54616
2. Register and download Project Honolulu software from follow link:
https://www.microsoft.com/en-us/evalcenter/evaluate-windows-server-honolulu
3. Logon to Gateway Server.
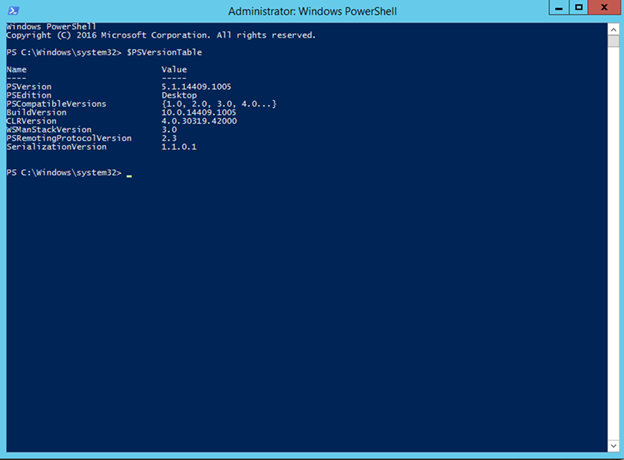
4. Open PowerShell and run follow cmdlet to make sure the Windows Management Framework 5 or higher loaded.
$PSVersionTable
5. Register and download Project Honolulu from follow link:
https://www.microsoft.com/en-us/evalcenter/evaluate-windows-server-honolulu
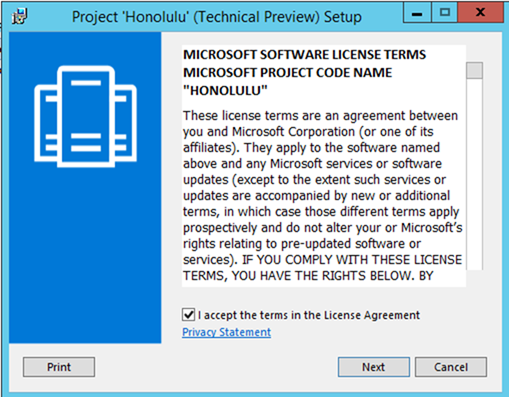
6. Double click HonoluluTechnicalPreview1709-20016.msi.

7. Select I accept the terms in the License Agreement and then click Next.
8. Select Allow Project “Honolulu” to modify this machine’s trusted hosts settings and Create a desktop shortcut to launch Project “Honolulu” then click Next.
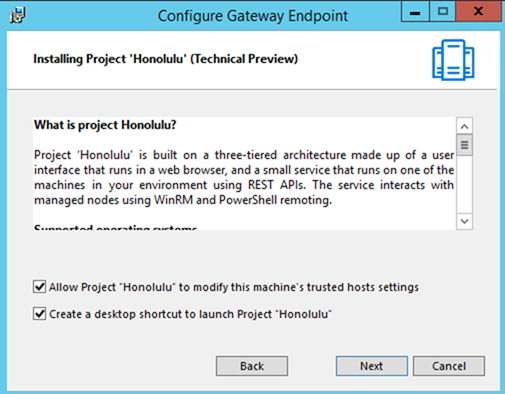
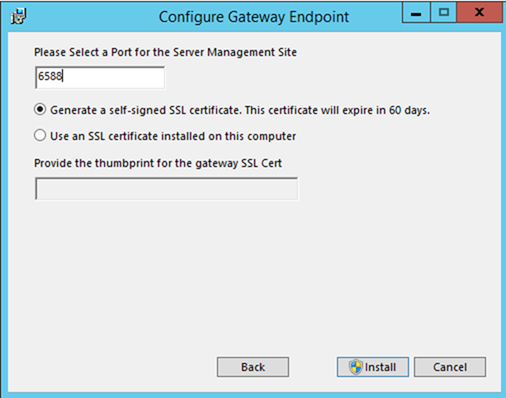
9. On the Configure Gateway Endpoint page, type port number and then click Install.
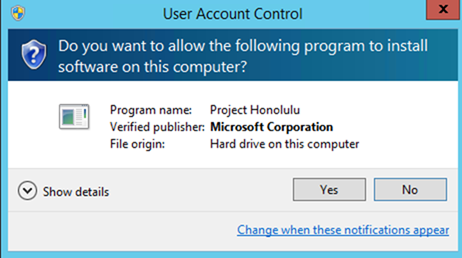
10. Click Yes on the User Account Control prompt.
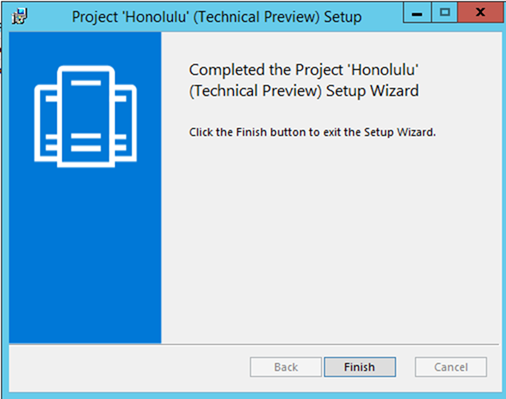
11. Click Finish after install completed and you will see a Project ‘Honolulu’ icon on the desktop.
12. Double click Project ‘Honolulu’ icon and enter the user name and password.
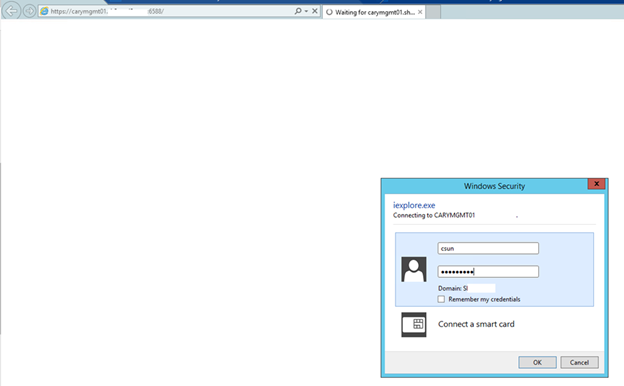
13. Because Project ‘Honolulu’ doesn’t support IE so It will show Unfortunately, Project ‘Honolulu’ doesn’t support this browser error message.

14. You need to open the url https://GATEWAY SERVER’s FQDN:management port number to open Project ‘Honolulu’ management web interface.
15. The Welcome to Project Honolulu page will pop up, click Next.
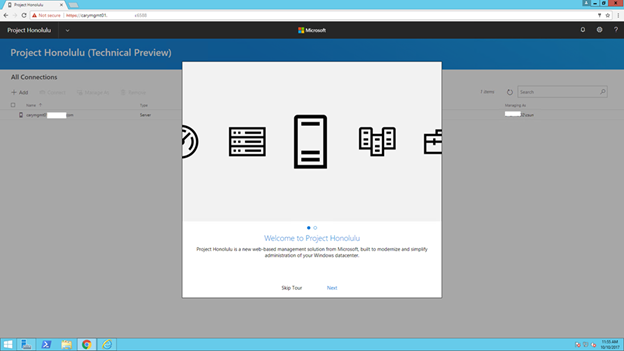
16. On the Help us build the future of Management page, click Finish.
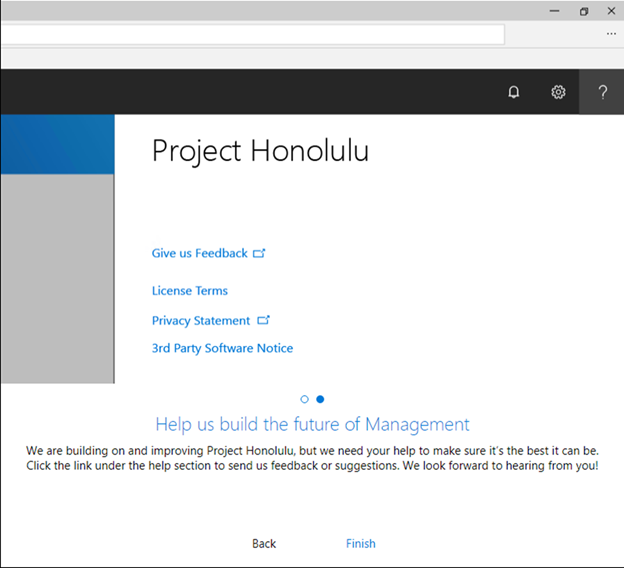
17. You will see the gateway server be added already.

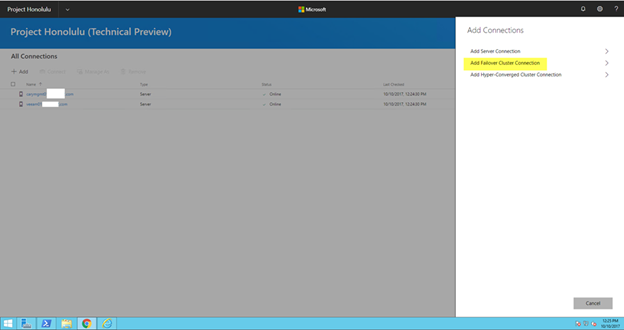
18. Click +ADD from web management Interface to add new connection.
19. Select Add Server Connection on Add Connection page.
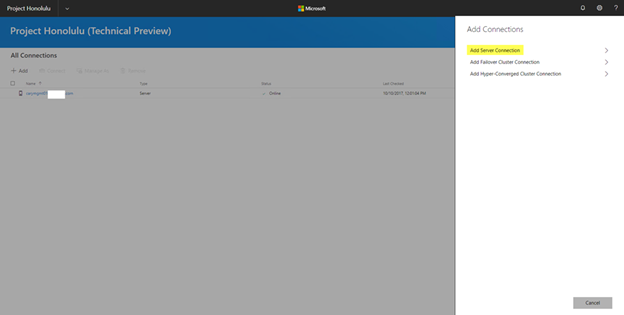
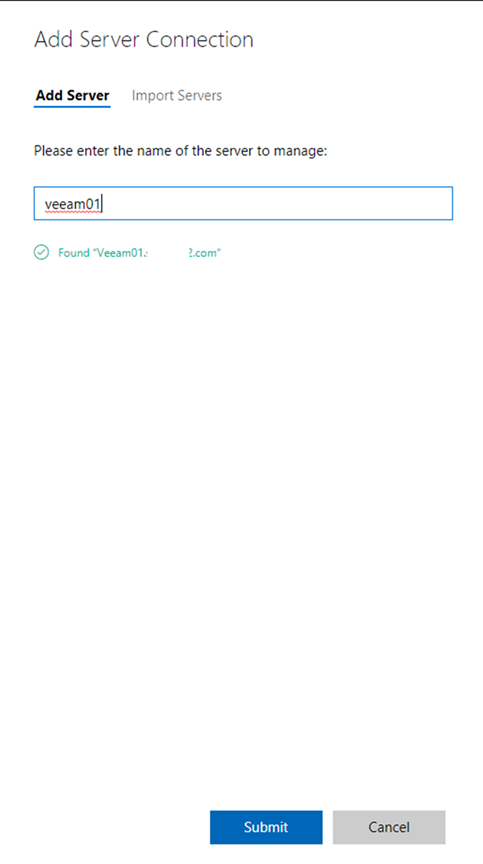
20. Enter the server name and it will found the FQDN name automatically and then click Submit (you also can select import servers to import all of servers from txt file).
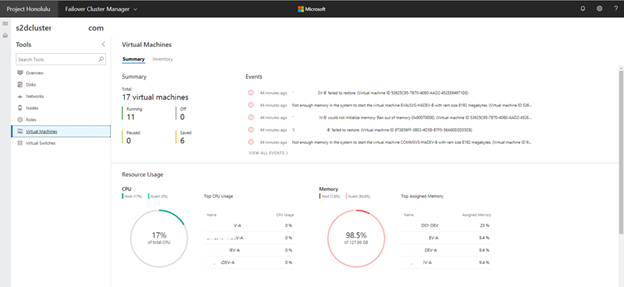
21. You can repeat the steps to Add Failover Cluster Connection and Add Hyper-Converged Cluster Connection.
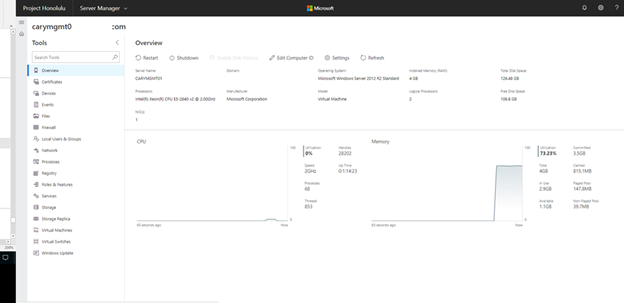
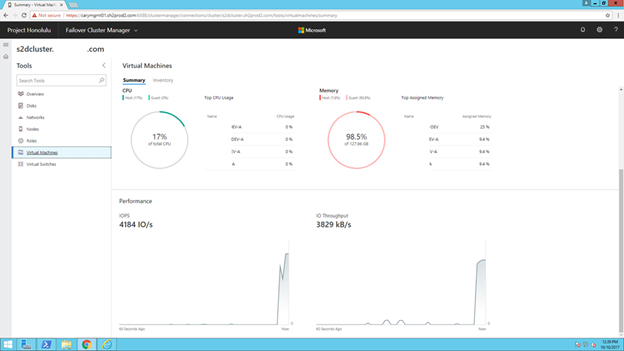
22. Click server name which you would like to manage and you will see the detail monitor items and management tools that you can use to change the settings for the server.
Hope you enjoy this post!!
Cary Sun @SifuSun
