
Hello there GDM fans, today I will be showing all of you how you can add an image to the sidebar of your website that contains a link inside of it! So, let’s get straight into this easy and simple tutorial!
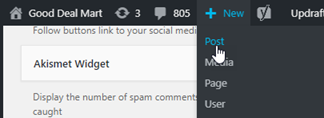
1. First, go to the “New” section in your dashboard by going to the top of the page and hovering your mouse over the + sign, and select post.
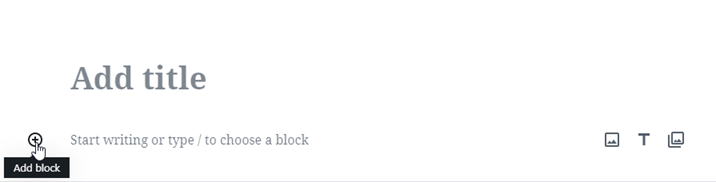
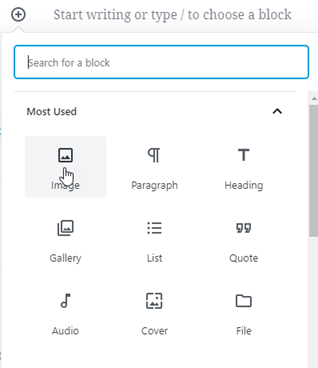
2. Now, click on the Start writing section and look for the add image icon. To do this, click on the + sign with a circle around it and select image.
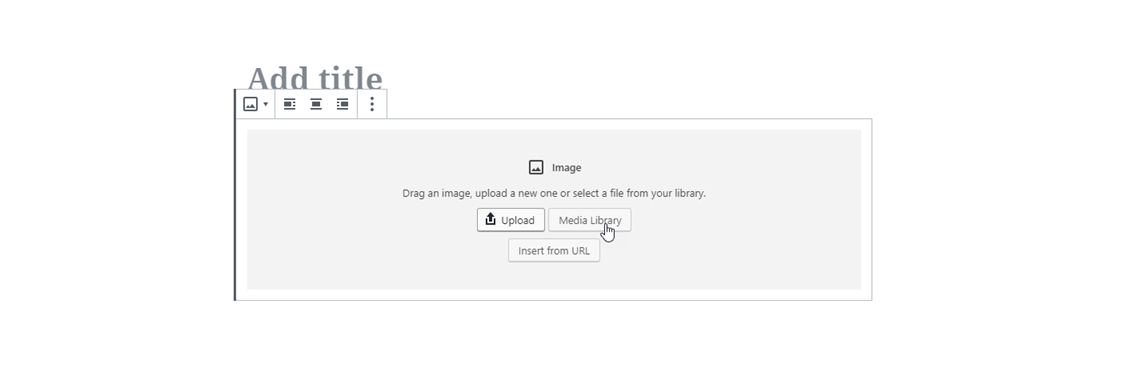
3. Once you’re done that, select the image you want to use for the linked image that will be on your sidebar. You can either upload it from your computer or the Media Library, I already have it in the Media Library so I will upload from there.
4. Once you’re done uploading your image, click on the gear on the top right corner and this menu should pop up.
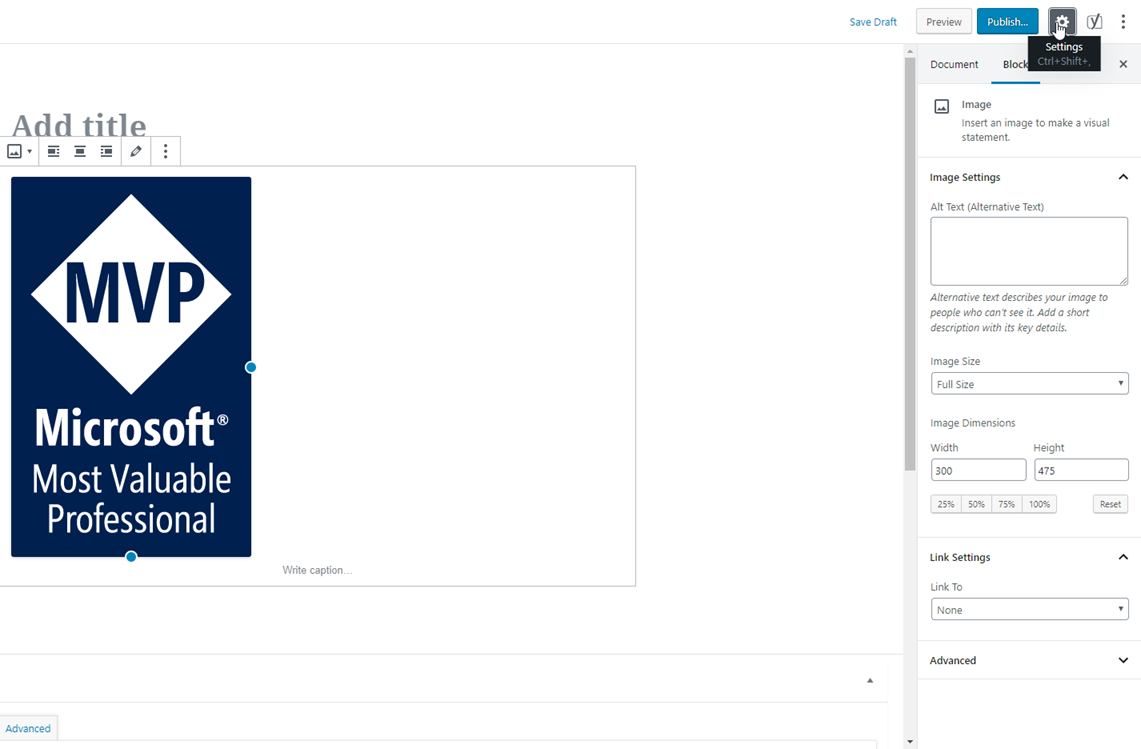
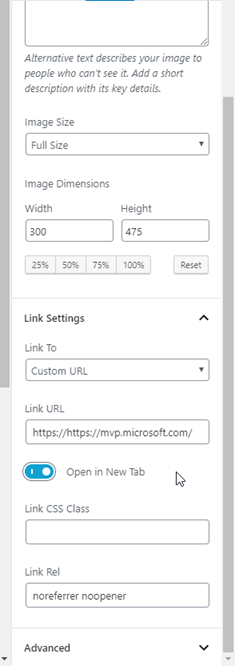
5. Now, to make it so that the image contains a link once you click on it, go to link settings and change it from none, to custom URL. Then, paste in the link you want to redirect the person to. Make sure to select “Open in New Tab” as well.
Once that’s done you may exit out of settings.
6. Now click on the image and select the three dots that are above it. After that is done, click on “Edit as HTML”
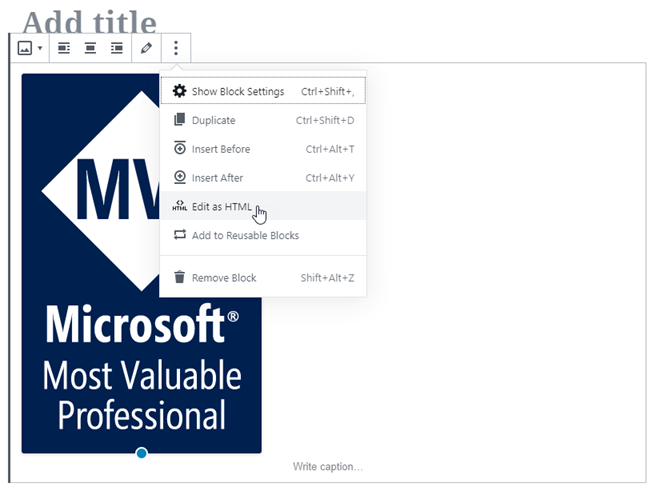
7. Once that’s done, copy the HTML code.

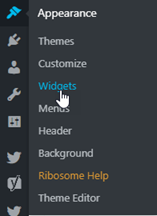
8. After that’s done, go to Appearance, and the Widgets.
9 Then, go and drag “Text” into the spot where you want the linked picture to be located at.
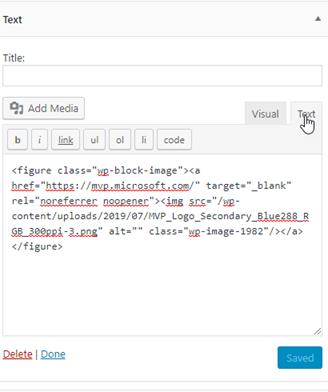
10. Now, click on text and paste in the HTML code, then press save. Now visit your website and there you have it! An image where if you press on it, it redirects the user to the site you put in!
I hope you have all enjoyed this tutorial and have found it useful, anyways, I’ll be seeing all of you in the next one!
Twitter @FrostedFright