
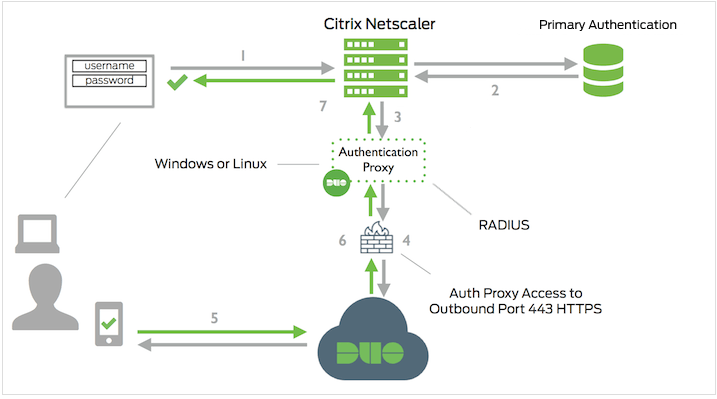
To add Duo two-factor authentication to your Citrix Gateway with nFactor you’ll configure the Duo Authentication Proxy as a secondary RADIUS authentication server. Primary authentication happens directly between the Citrix Gateway and your Active Directory, LDAP, or other identity store, which enables additional features such as AD password resets.
Before starting, make sure that Duo is compatible with your Citrix Gateway device. Log on to your Citrix Gateway via the web interface and verify that your Citrix Gateway firmware is version 12.1-51.16 or later and your Citrix Receiver or Citrix Workspace clients support 12.1 or later.
Also verify that your Citrix Gateway is licensed for Advanced Authentication Policy. As of Citrix Gateway release 13.0-67.x, the “Standard” license also includes nFactor for Gateway/VPN, while Citrix ADC requires an “Advanced” or “Premium” license to use nFactor.
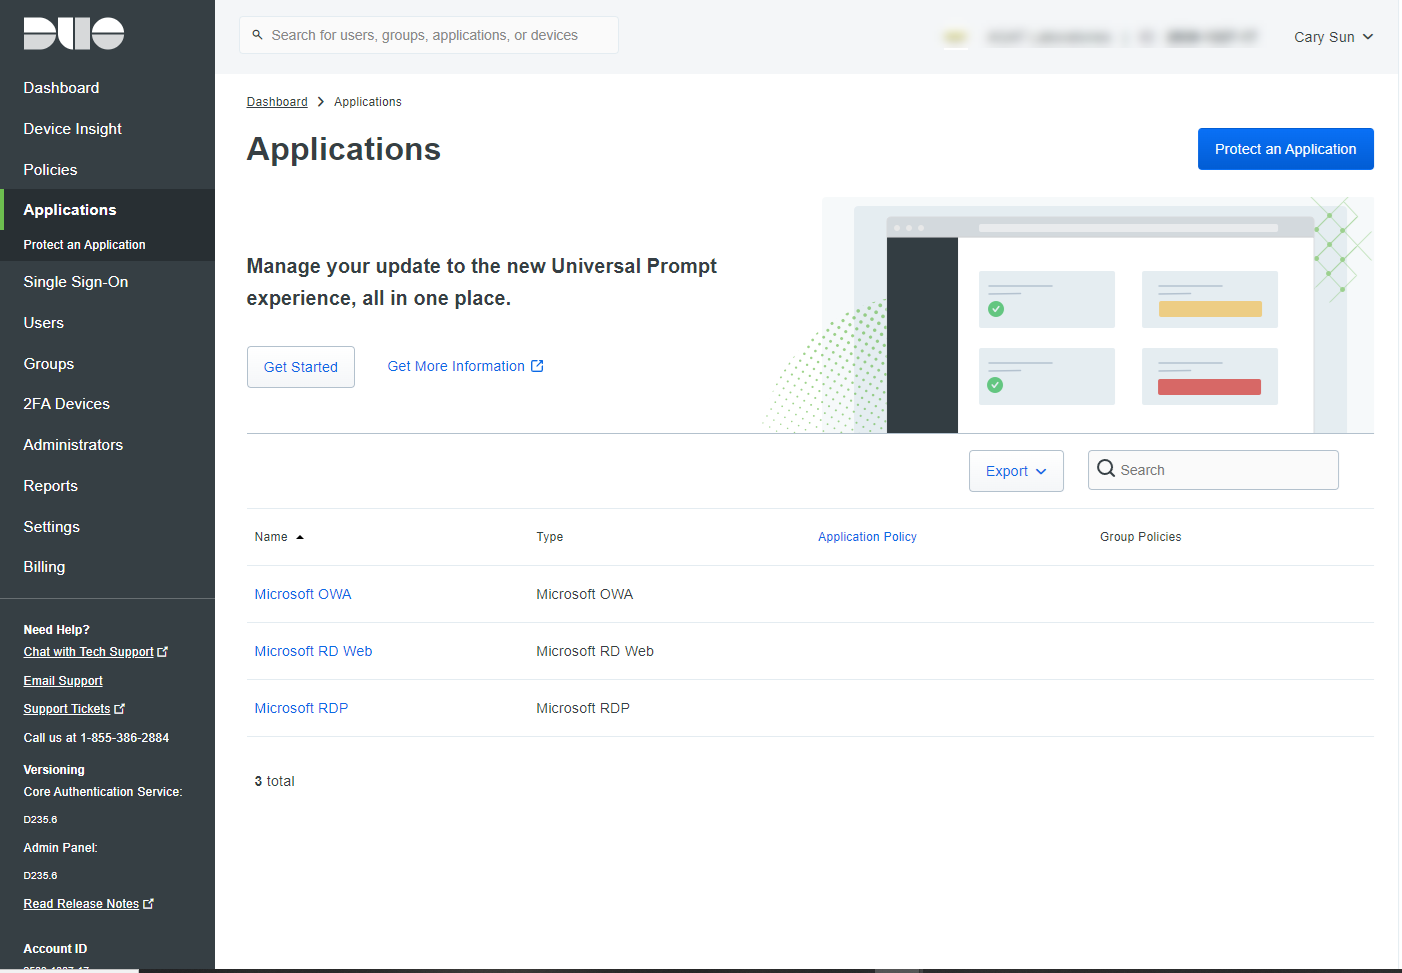
1.Log in to the Duo Admin Panel and navigate to Applications.
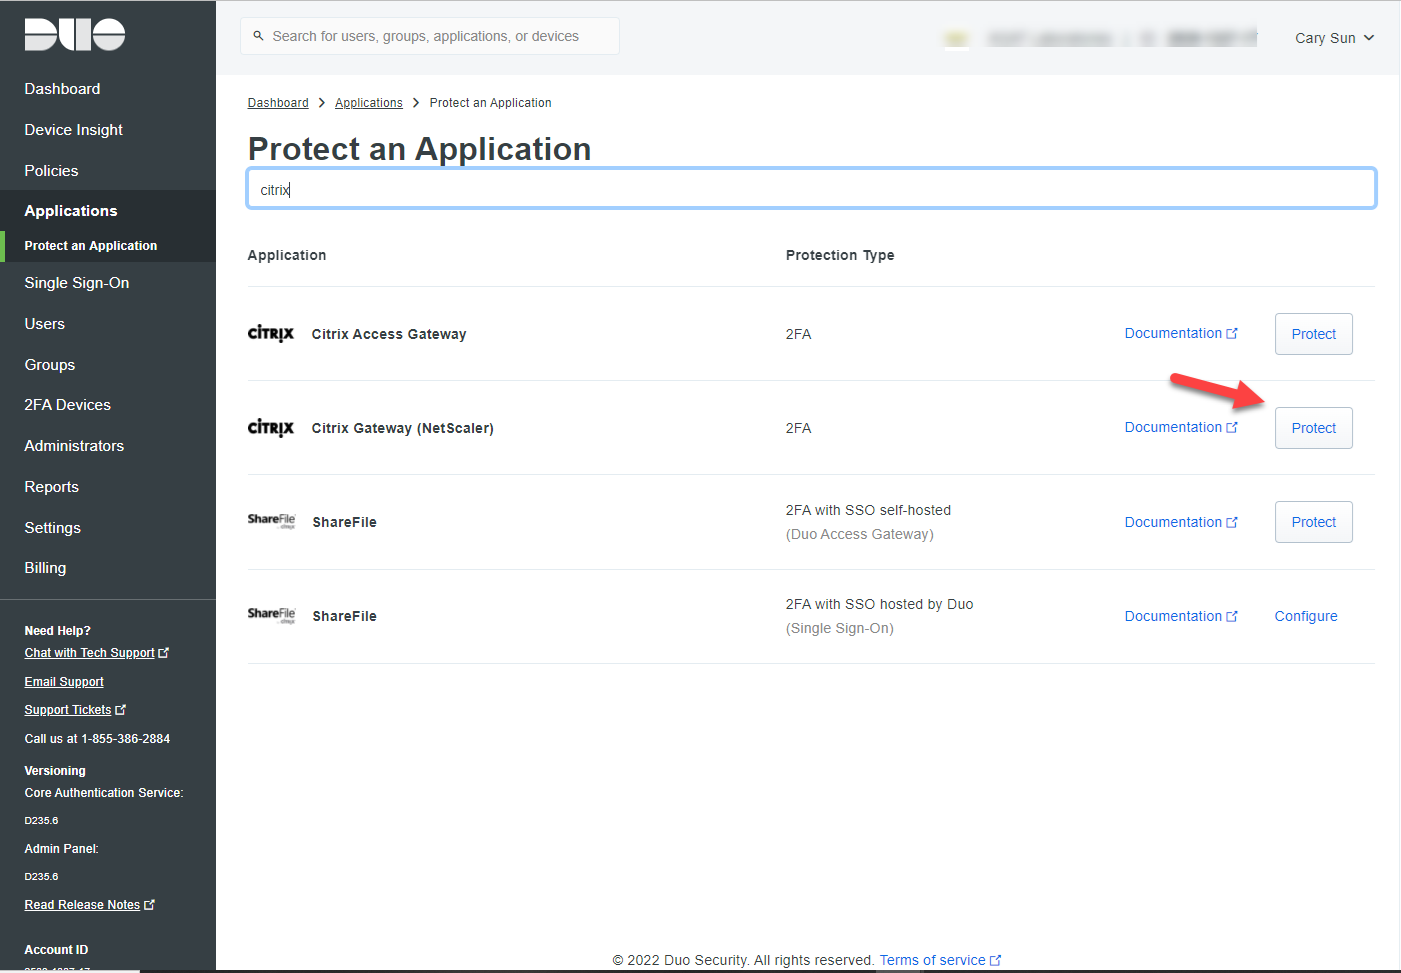
2.Click Protect an Application and locate Citrix Gateway (NetScaler) in the applications list.
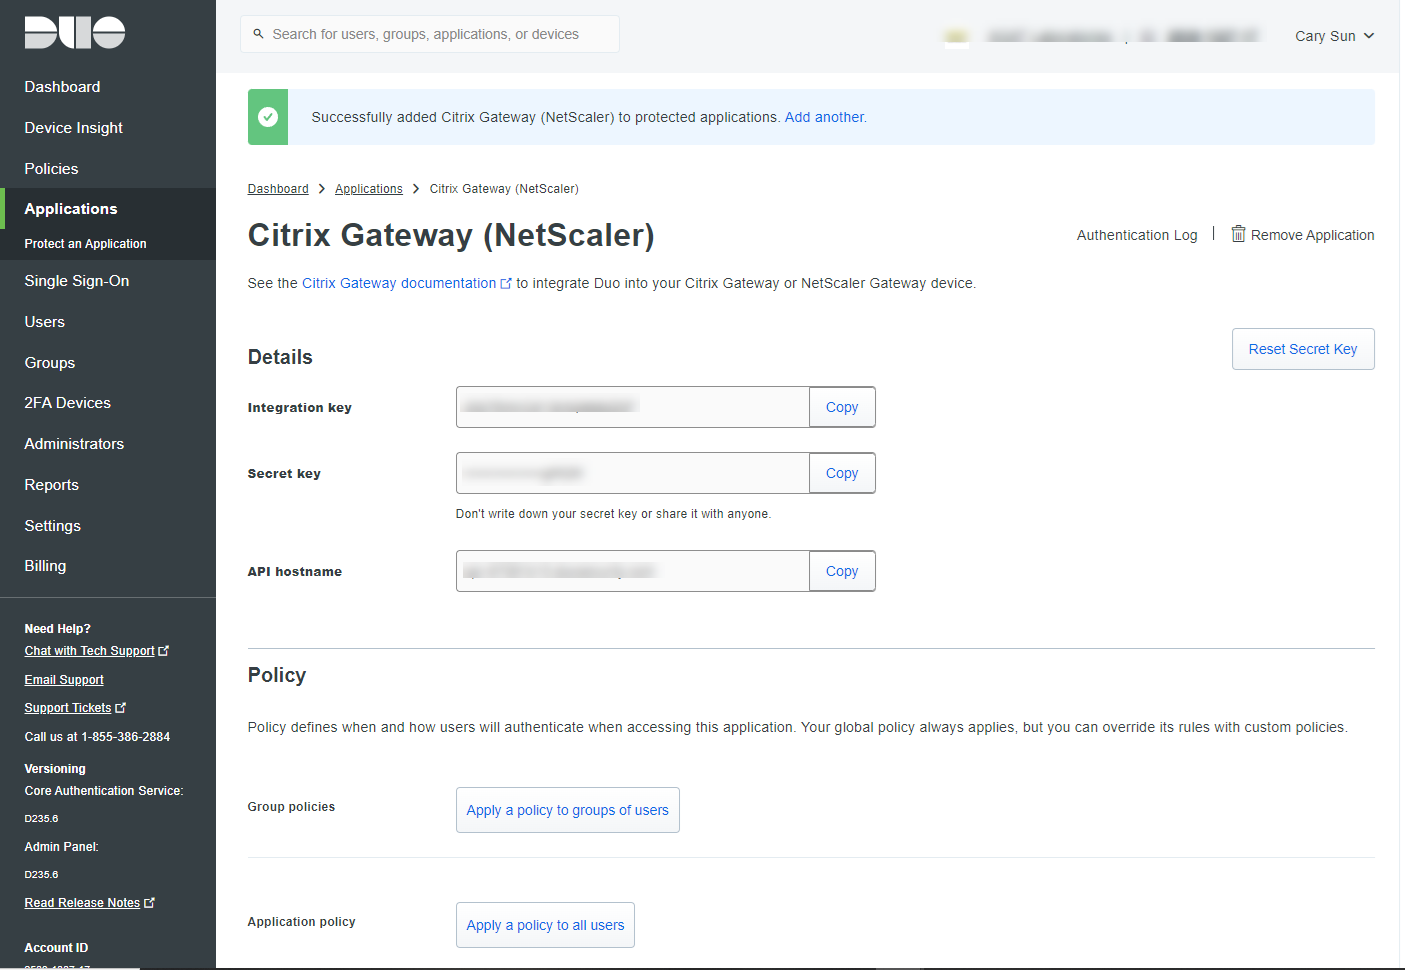
3.Click Protect to get your integration key, secret key, and API hostname. You’ll need this information to complete your setup.
4.Install the Duo Authentication Proxy
Download the most recent Authentication Proxy for Windows from https://dl.duosecurity.com/duoauthproxy-latest.exe.
Note that the actual filename will reflect the version.
5.Launch the Authentication Proxy installer on the target Windows server as a user with administrator rights and follow the on-screen prompts
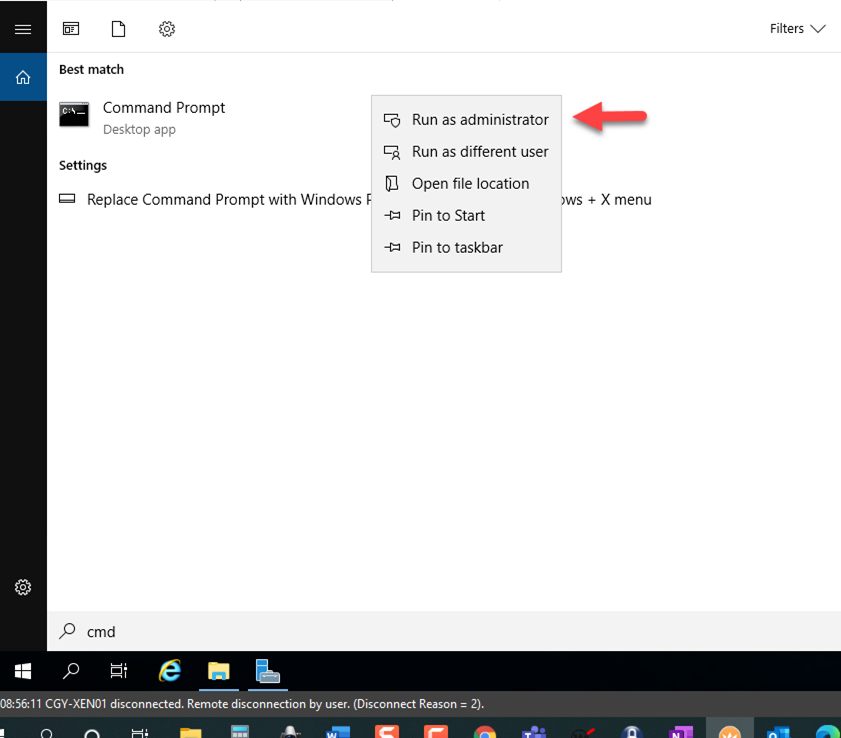
6.On the User Account Control page, click Yes.
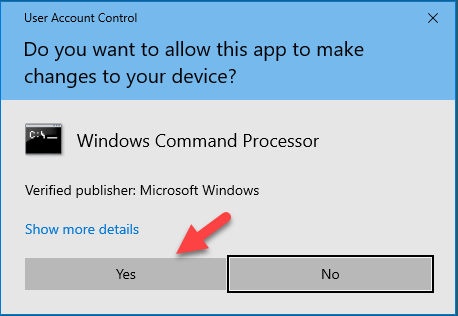
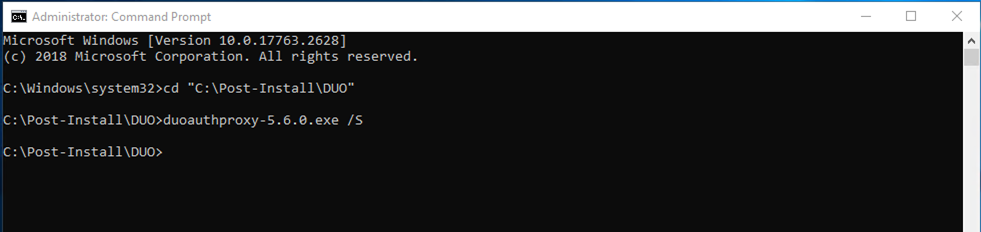
7.Run following command:
Duoautoproxy-5.6.0.exe /S
8.Configure the Proxy
The Duo Authentication Proxy configuration file is named authproxy.cfg, and is located in the conf subdirectory of the proxy installation. With default installation paths, the proxy configuration file will be located at:

8.You also can use Duo Authentication Proxy Manager to modify files.
The Duo Authentication Proxy Manager is a Windows utility for managing the Authentication Proxy installation on the Windows server where you install the Authentication Proxy. The Proxy Manager comes with Duo Authentication Proxy for Windows version 5.6.0 and later.
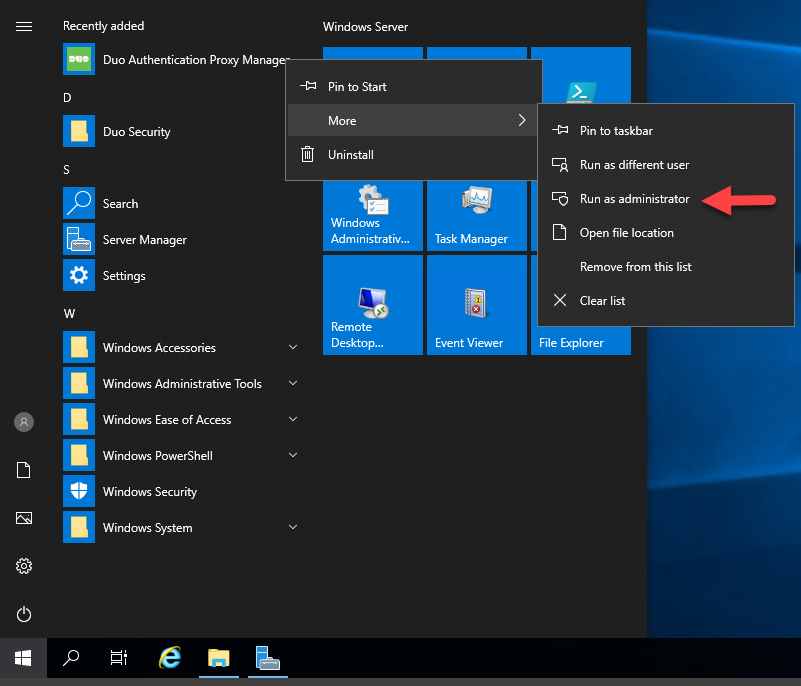
9.Open the Start Menu and go to Duo Security.
10.Click the Duo Authentication Proxy Manager icon to launch the application. You must have administrative privileges on the Windows server and accept the prompt for elevation.
11.On the User Account Control page, click Yes.
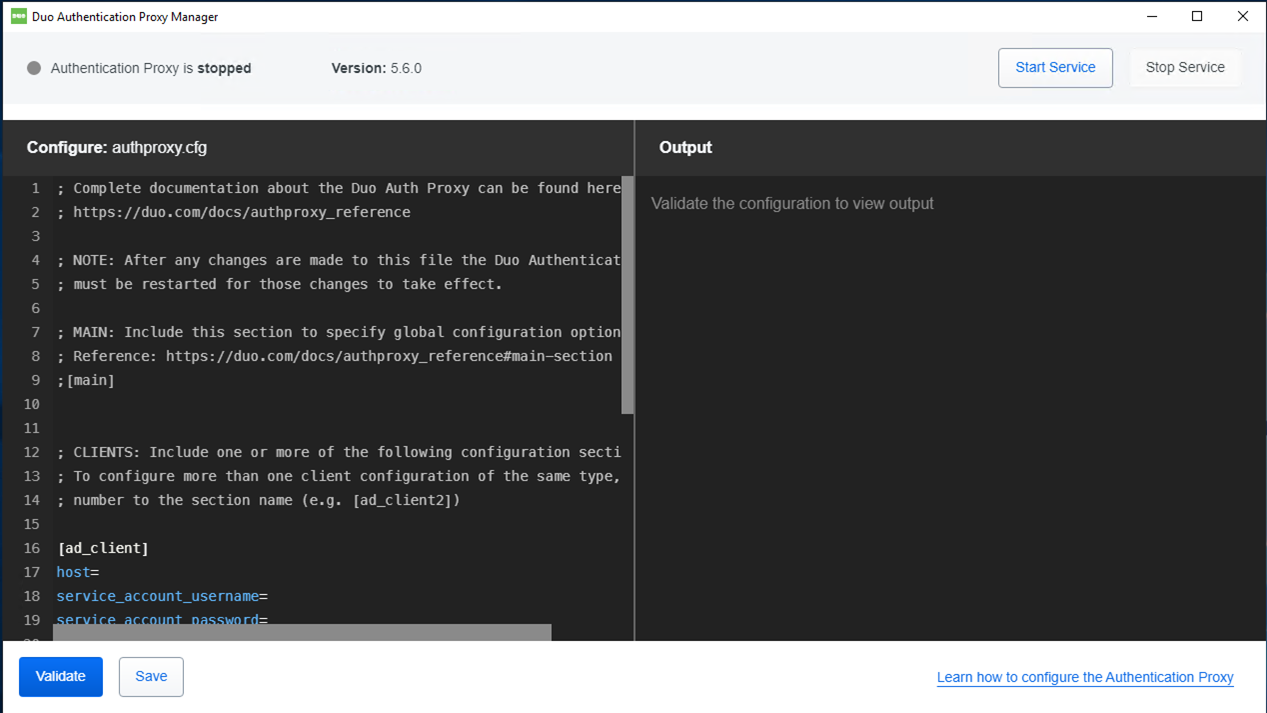
12.The Proxy Manager launches and automatically opens the %ProgramFiles%\Duo Security Authentication Proxy\conf\authproxy.cfg file for editing
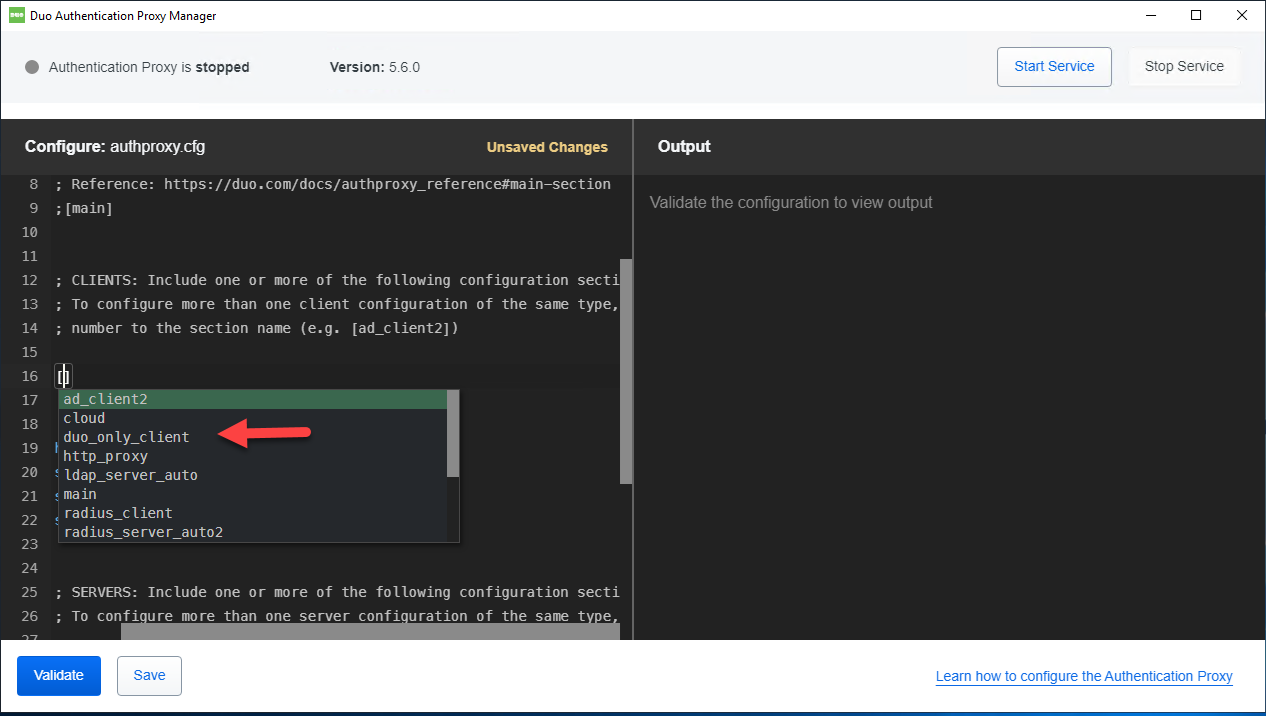
13.Configure the Proxy for Duo Only Authentication
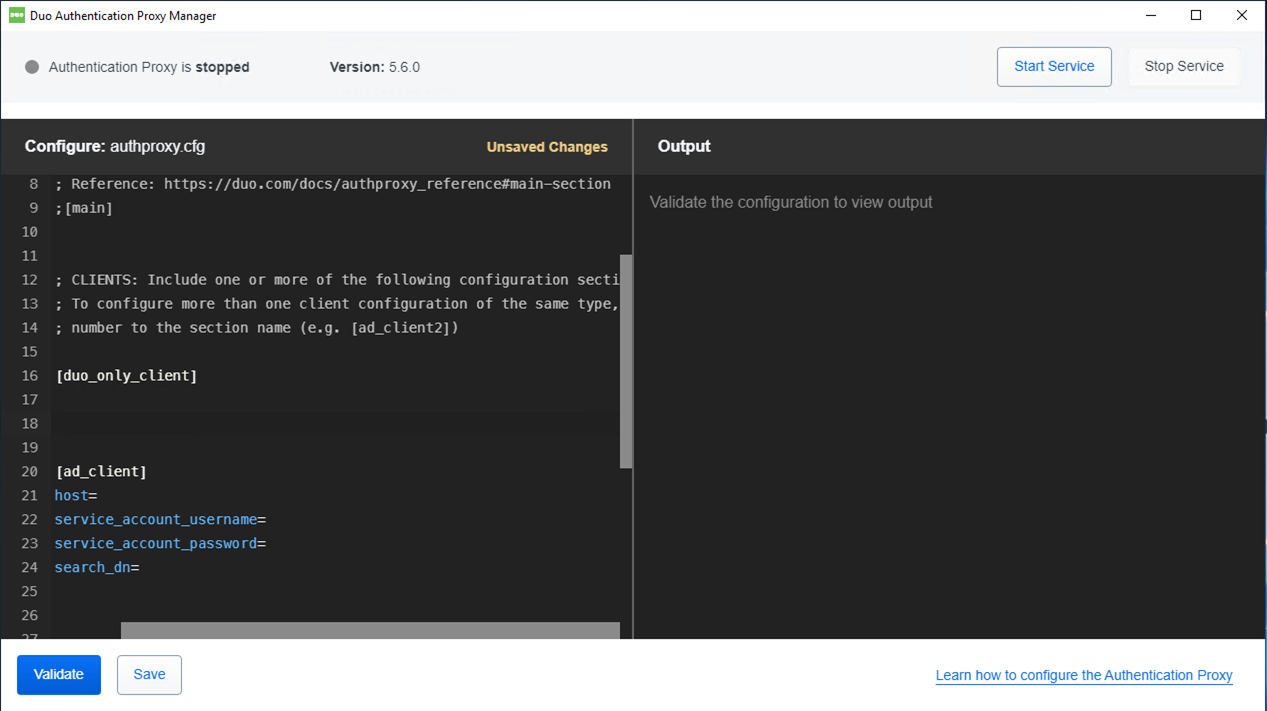
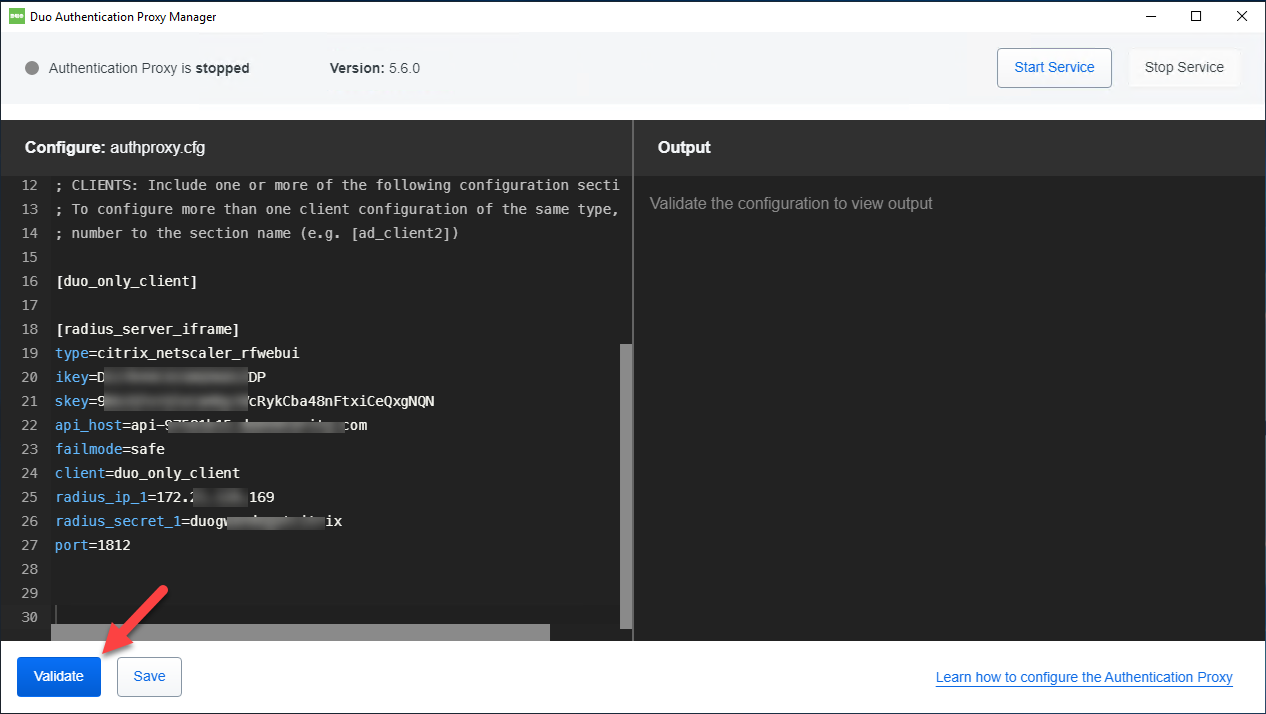
At the top of your authproxy.cfg, create a [duo_only_client] section. This section has no additional parameters to configure.
14.When using the [duo_only_client] configuration, the Authentication Proxy will ignore primary credentials and perform Duo factor authentication only.
15.Configure the Proxy for Your Citrix Gateway
you need to set up the Authentication Proxy to work with your Citrix Gateway or NetScaler. Create a [radius_server_iframe] section and add the properties listed below.
type: Set to citrix_netscaler_rfwebui. Requires Authentication Proxy v3.1.0 and NS build 12.1-51.16 or later.
api_host: Your API hostname (i.e. api-XXXXXXXX.duosecurity.com)
ikey: Your Duo Citrix NetScaler integration key
skey: Your Duo Citrix NetScaler secret key
failmode: Either safe or secure. safe-In the event that Duo’s service cannot be contacted, users’ authentication attempts will be permitted if primary authentication succeeds. (Default); secure-In the event that Duo’s service cannot be contacted, all users’ authentication attempts will be rejected.
client: duo_only_client
radius_ip_1: A secret to be shared between the proxy and your (first) Citrix Gateway or NetScaler
radius_secret_1: A secret to be shared between the proxy and your (first) Citrix Gateway or NetScaler
radius_ip_X: Optional) IP addresses of additional Citrix Gateway or NetScaler management hosts (specified as radius_ip_2, radius_ip_3, etc.)
radius_secret_X: (Optional) Secrets shared with additional Citrix Gateways or NetScalers (specified as radius_secret_2, radius_secret_3, etc.)
port: Port on which to listen for incoming RADIUS Access Requests. If you have multiple RADIUS server sections you should use a unique port for each one. Default: 1812.
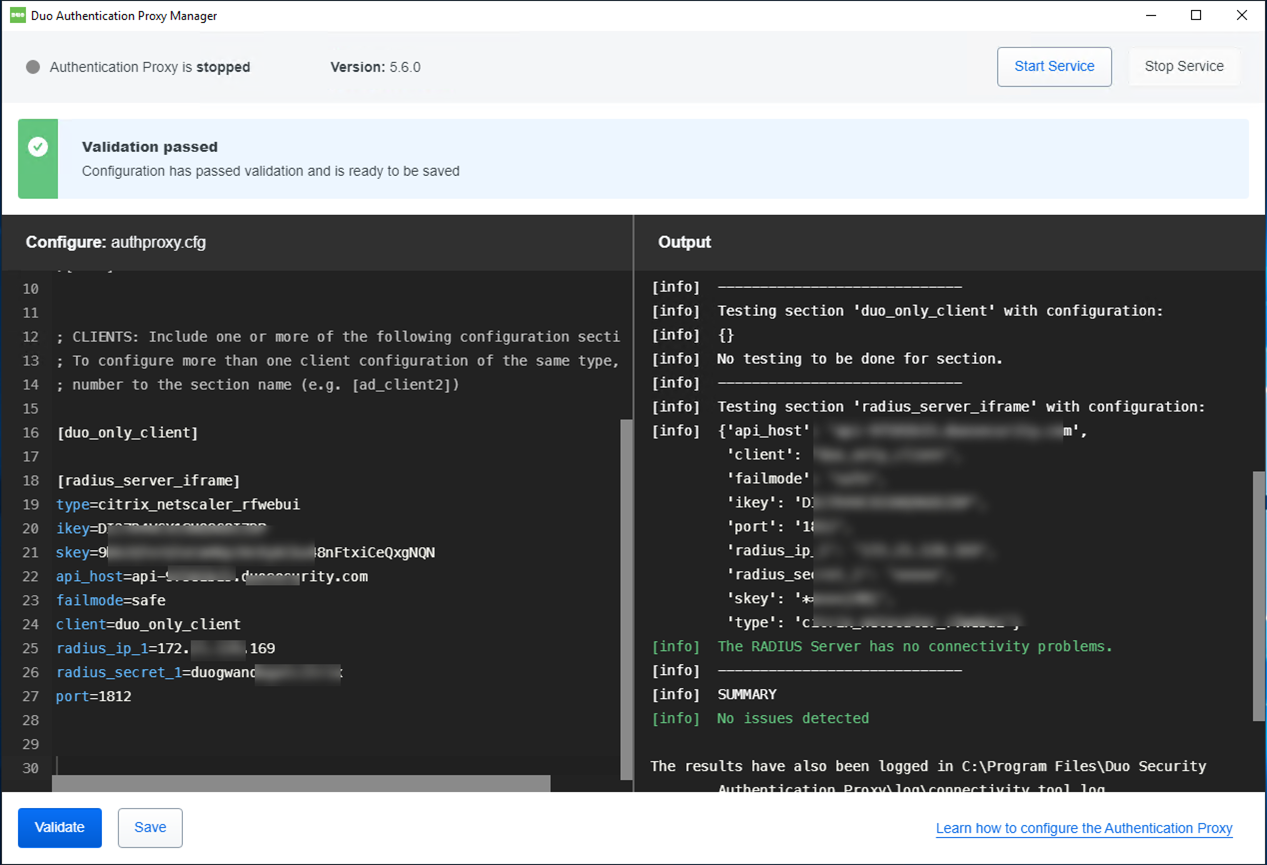
16.Click Validate after you set up the Authentication Proxy.
17.To make sure validation passed.
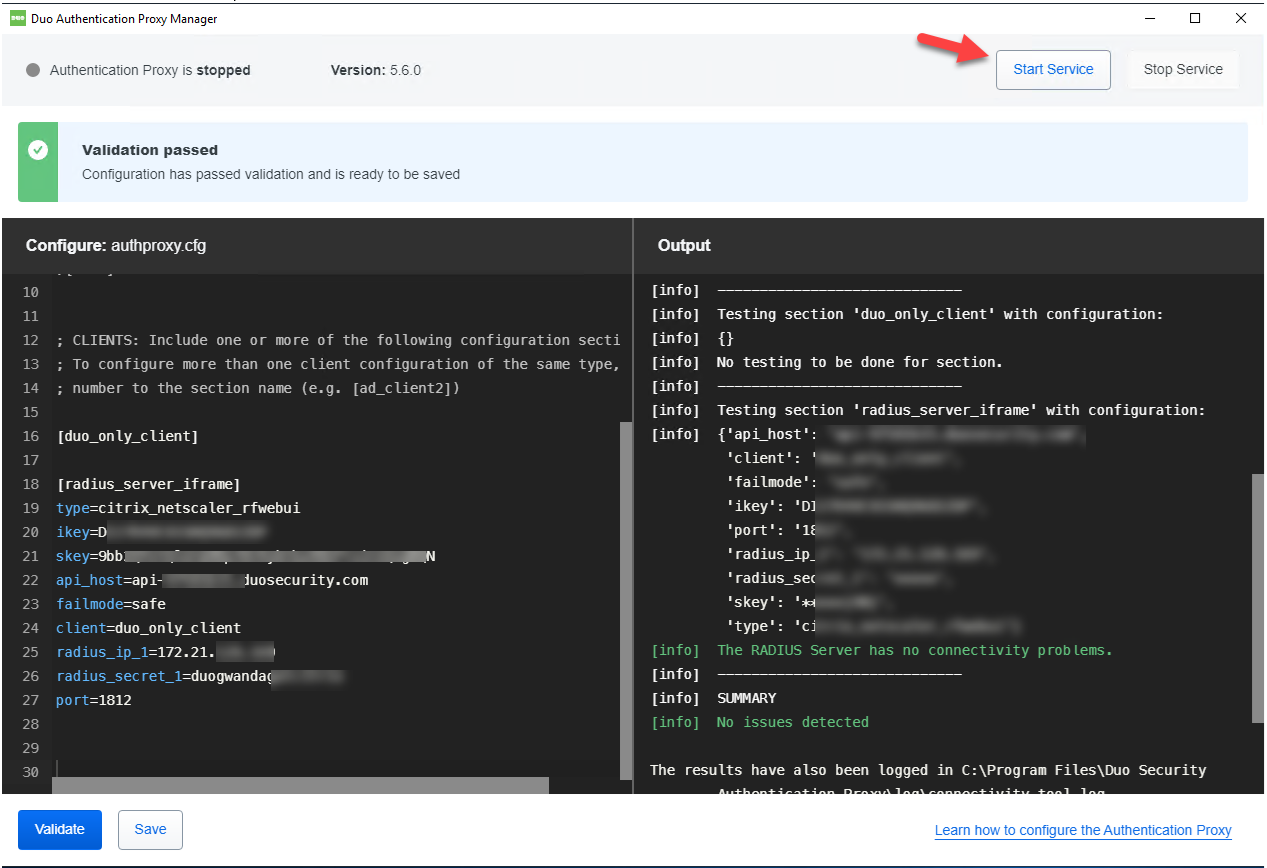
18.Click Start Services to start the Proxy.
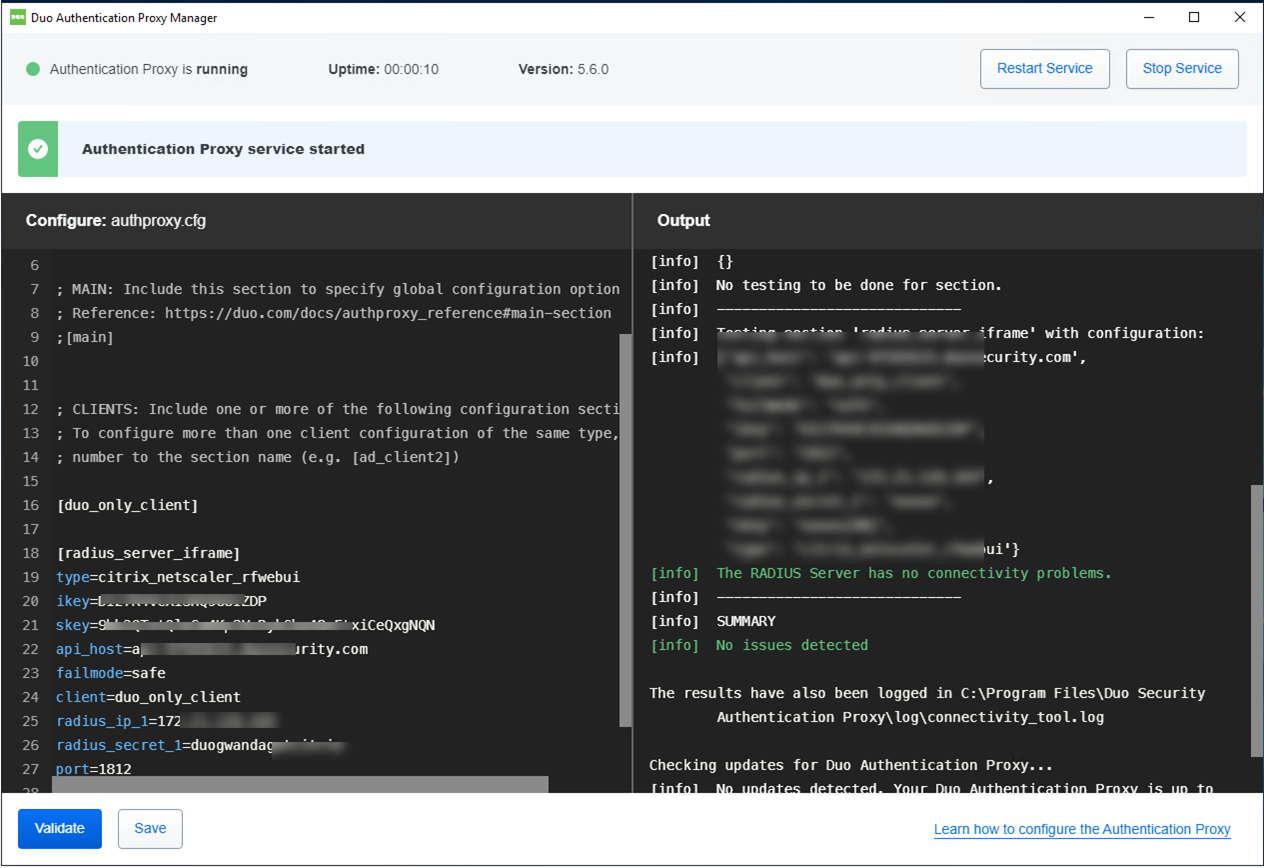
19.To make sure Authentication Proxy service started.
20.Configure Your Citrix Gateway
Log in to the Citrix ADC administrative interface

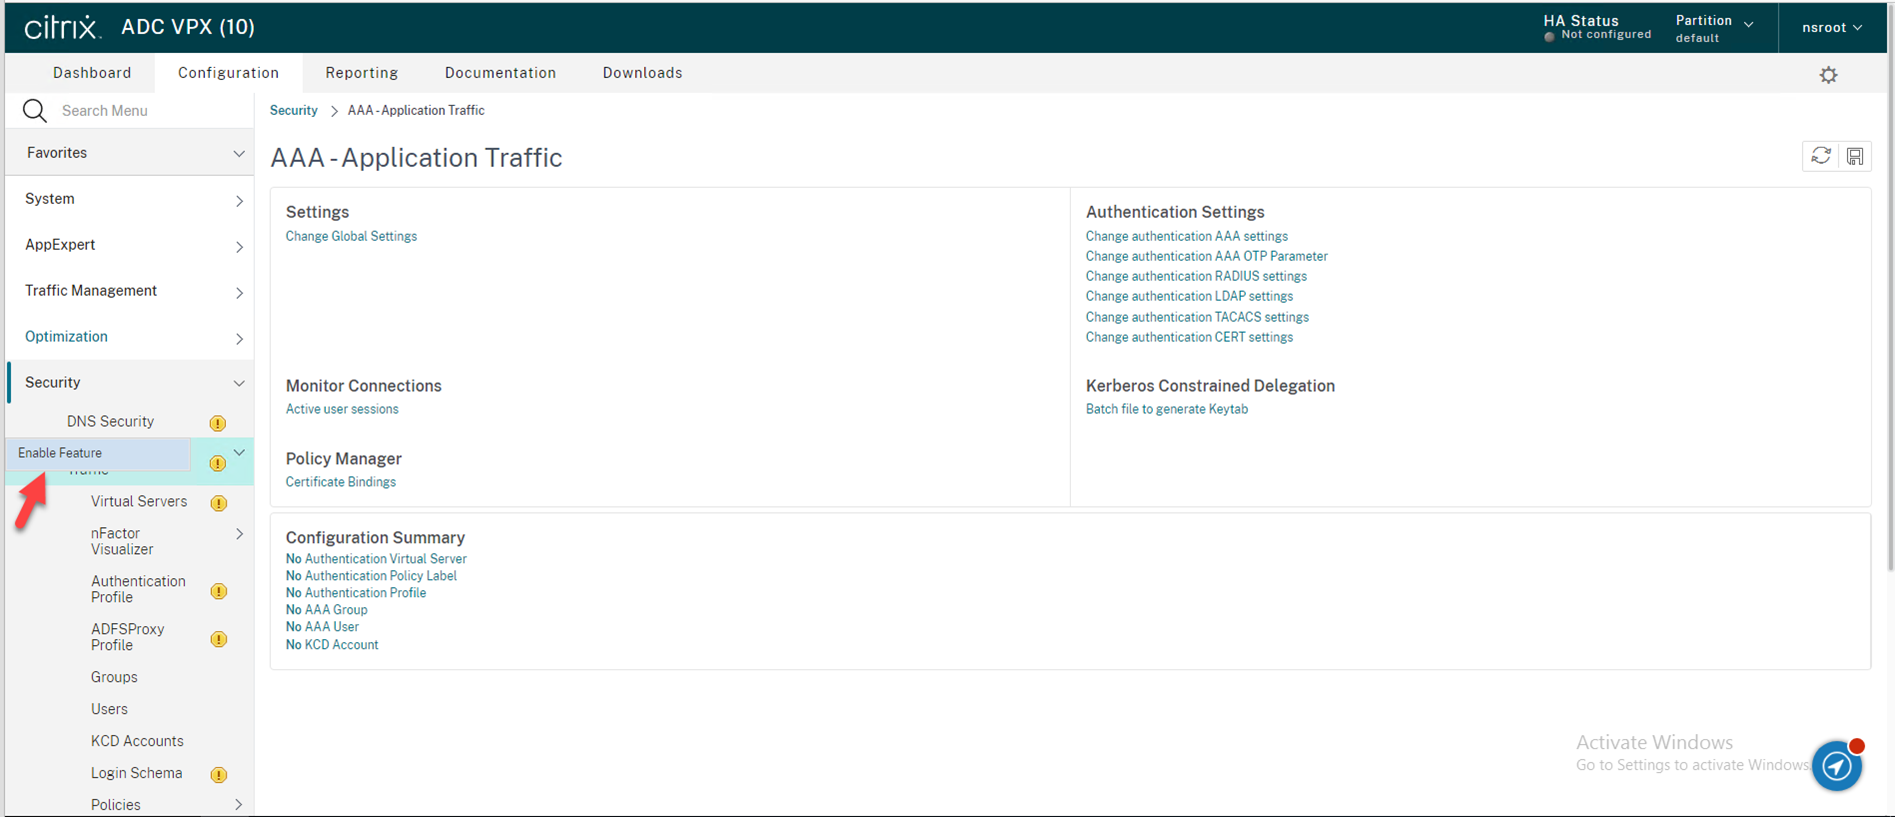
21.Expending Security, right-click AAA-Application Traffic, select Enable Feature.
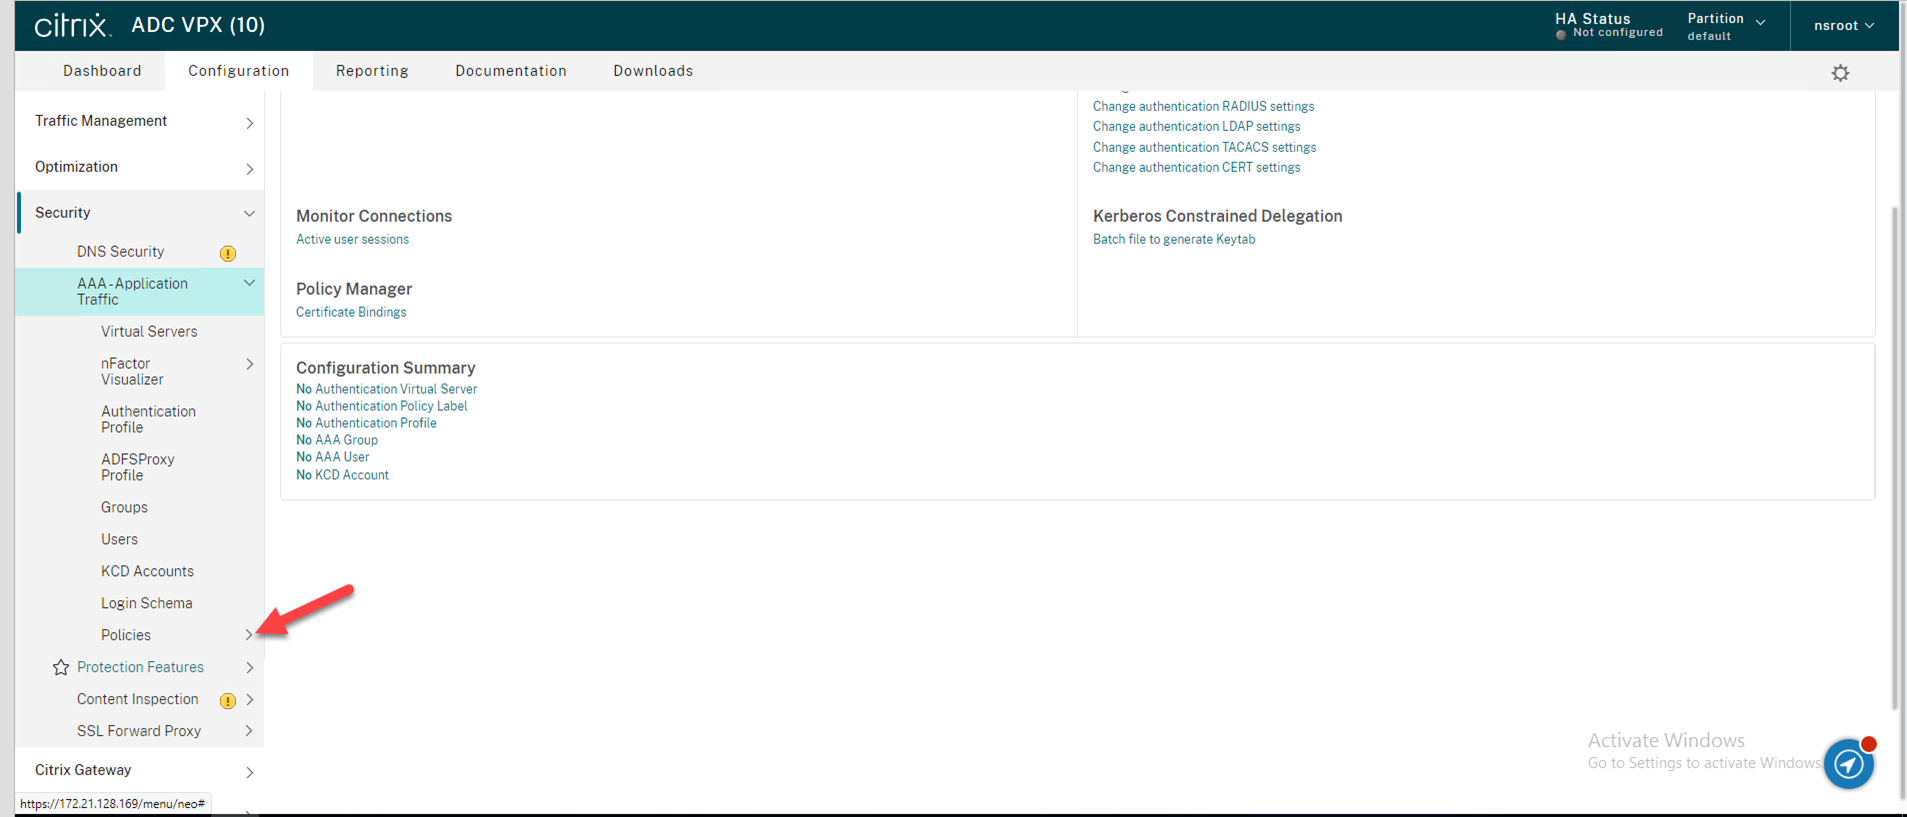
22.Expending AAA-Application Traffic, Expend Policies,
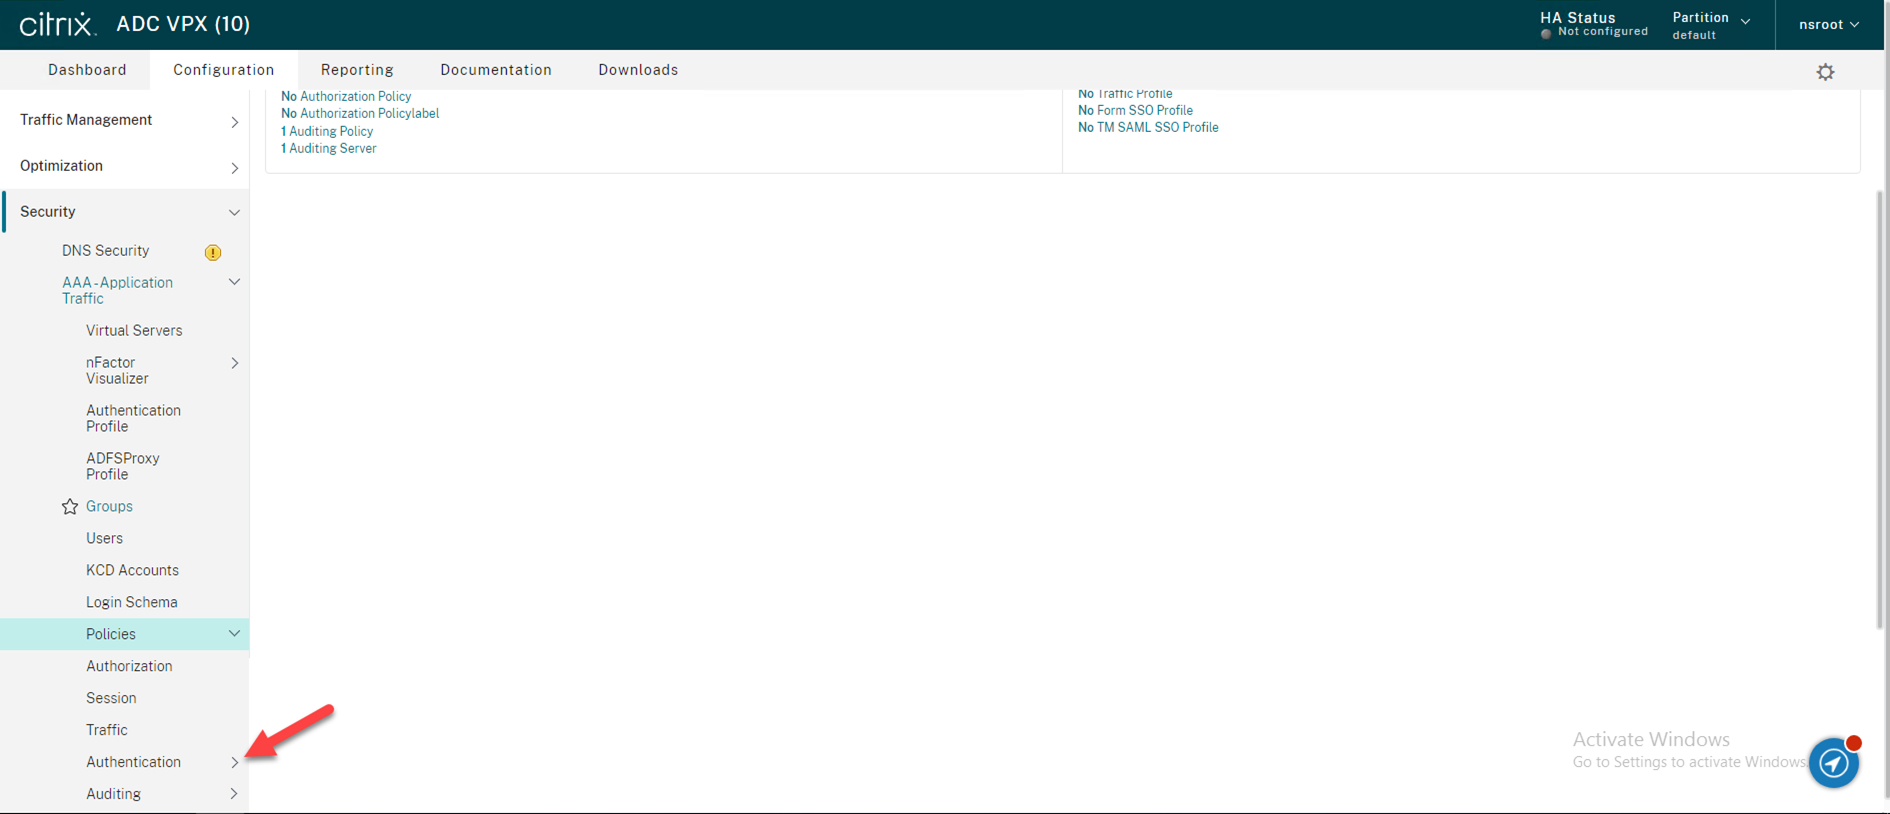
23.Expending Authentication.
24.Expending Advanced Policies.
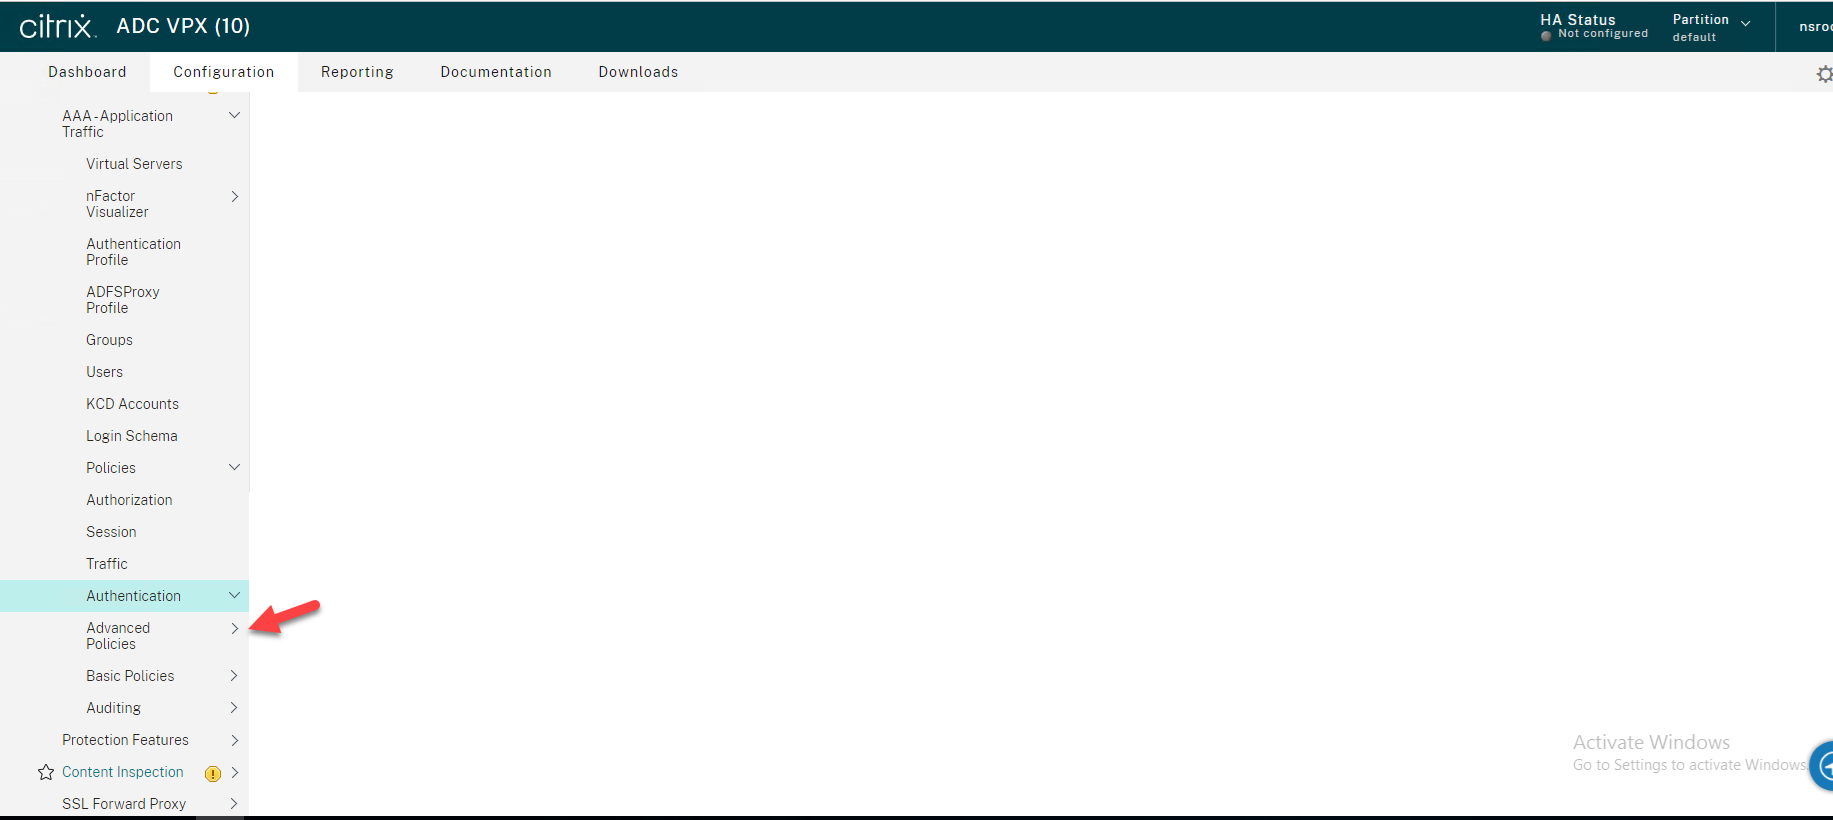
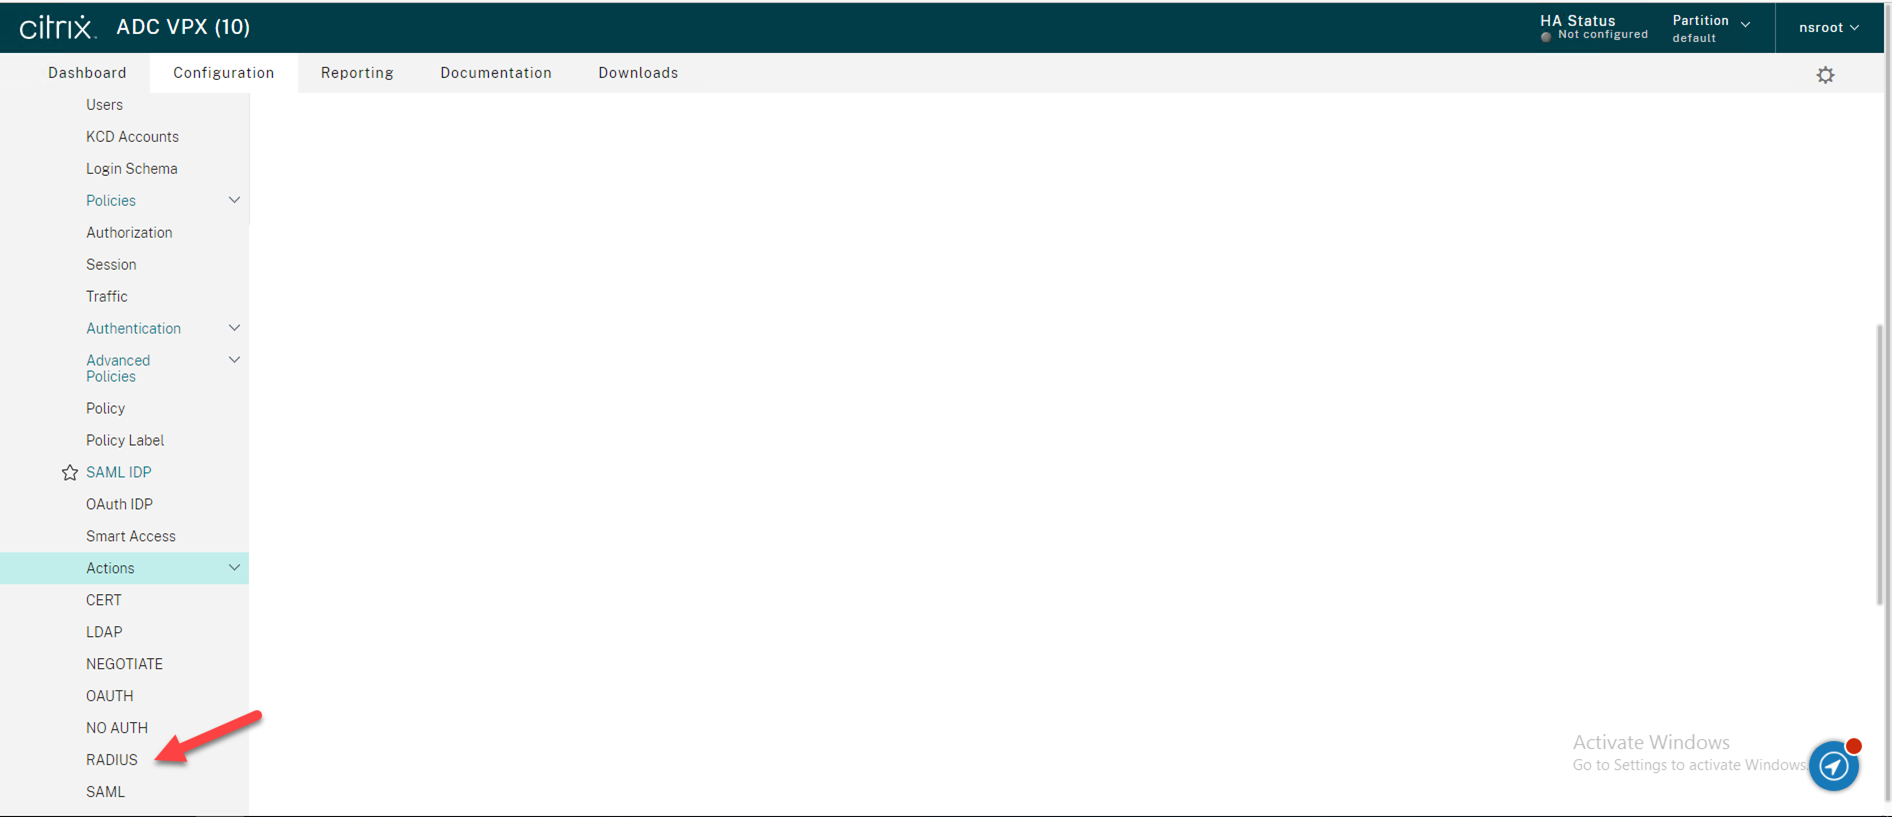
25.Expending Actions.
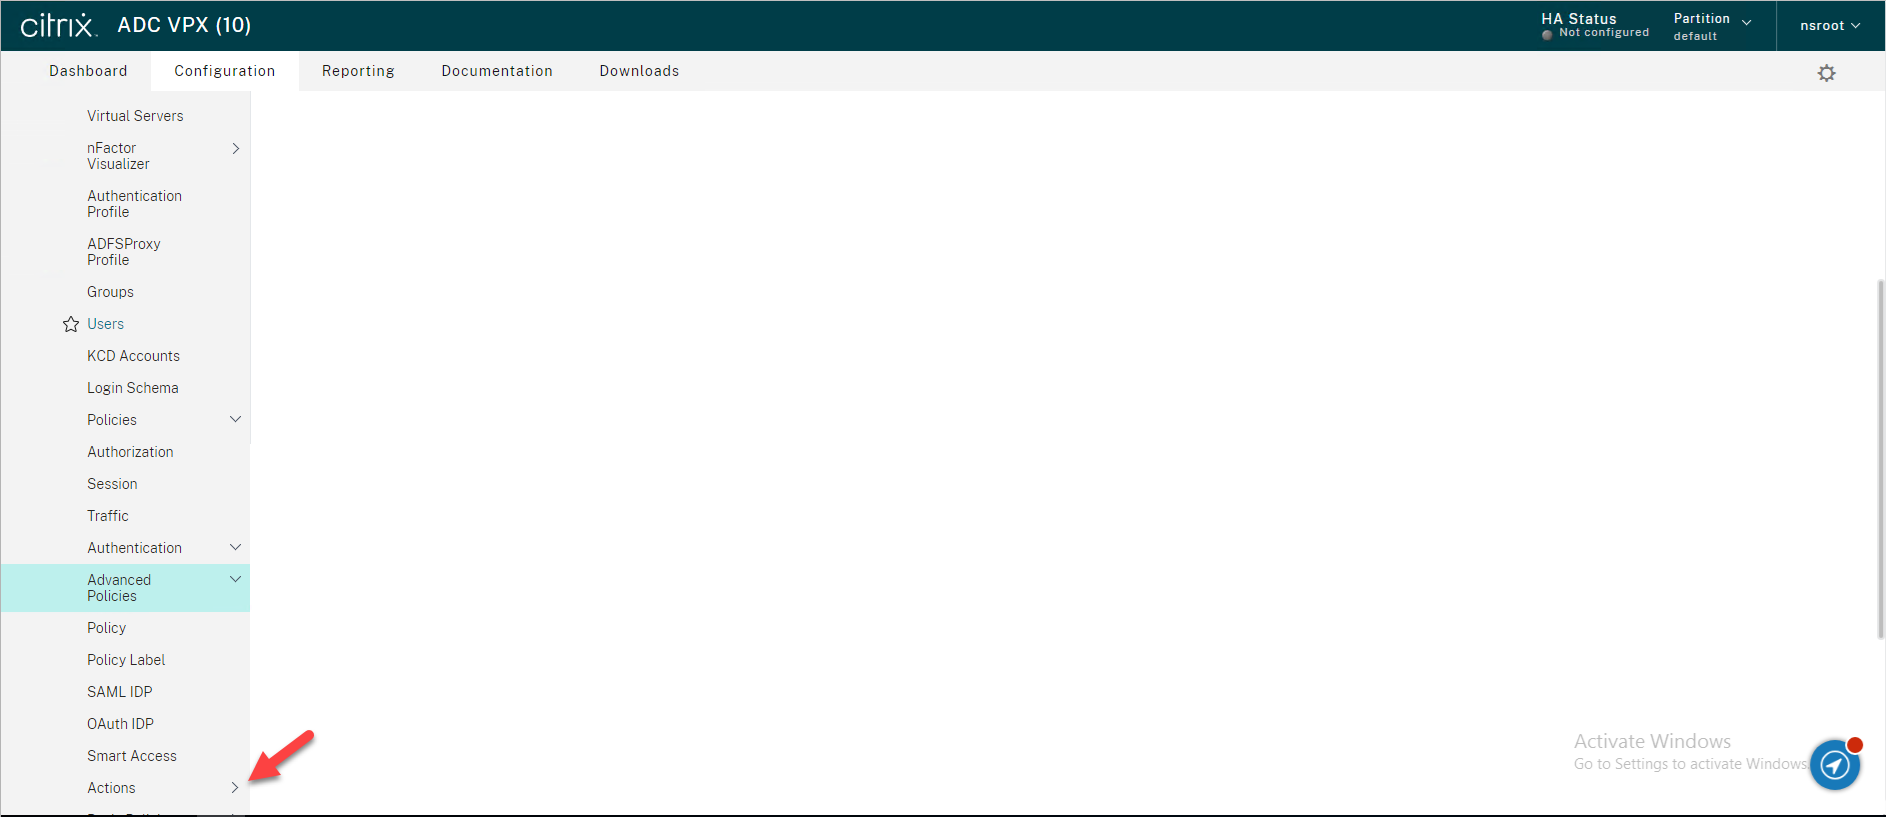
26.Select RADIUS.
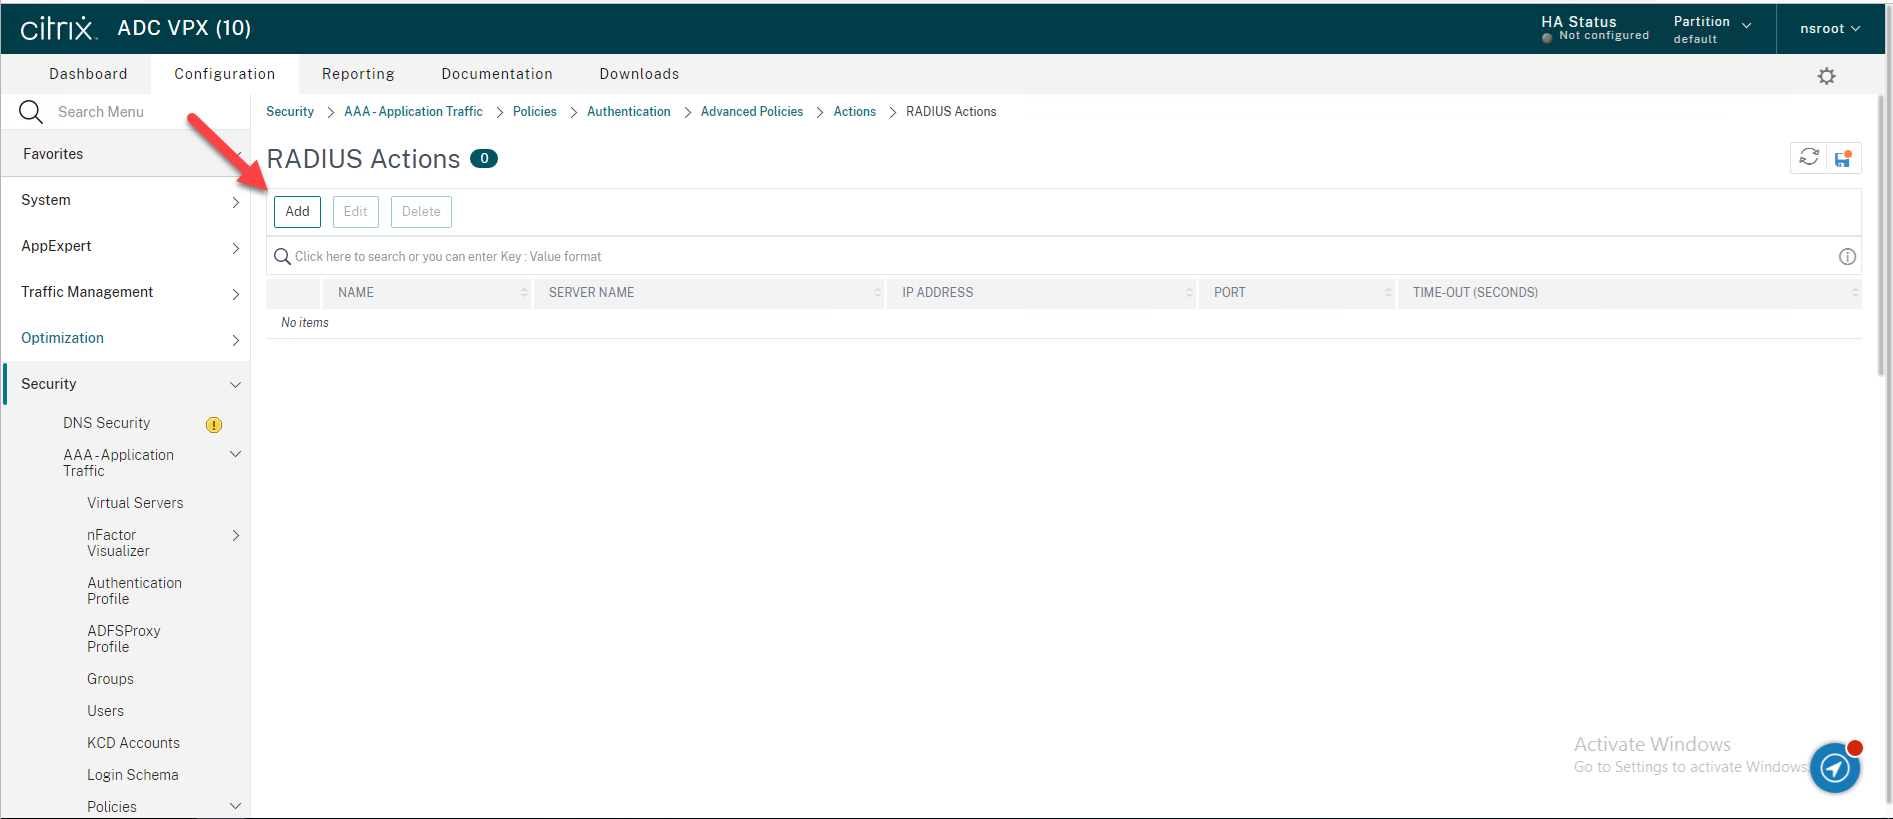
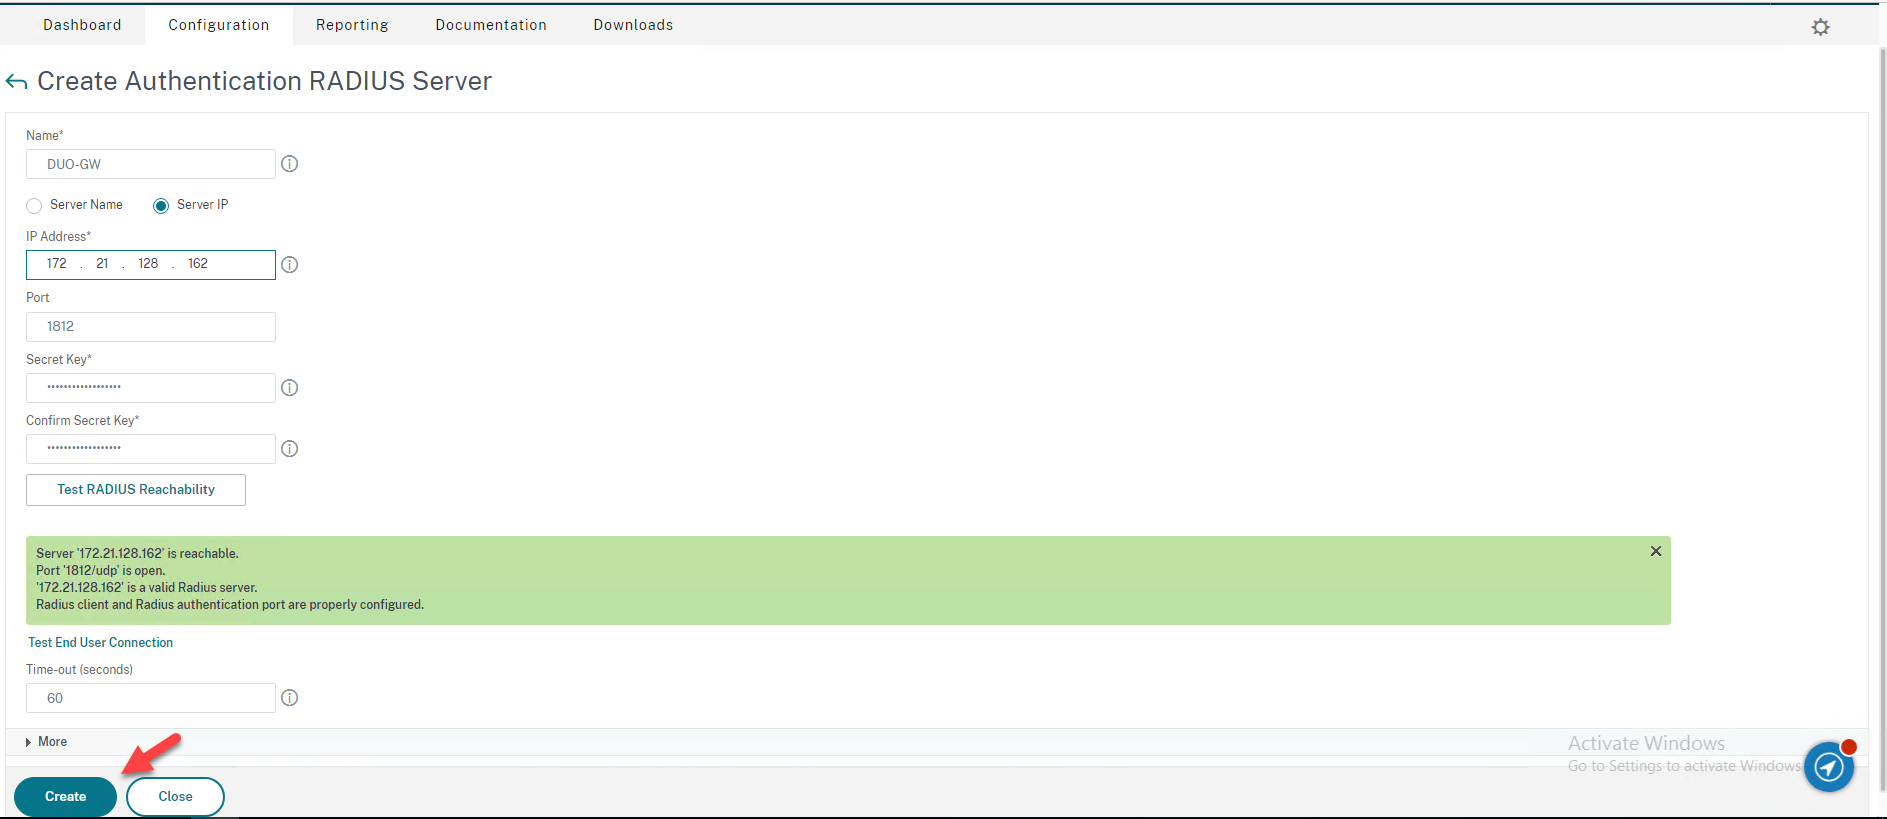
27.On the RADIUS Actions page, click Add to add your Duo Authentication Proxy server as an Authentication RADIUS server.
28.On the “Create Authentication RADIUS Server” page, enter the information for your Duo Authentication Proxy server, click Test RADIUS Reachability.
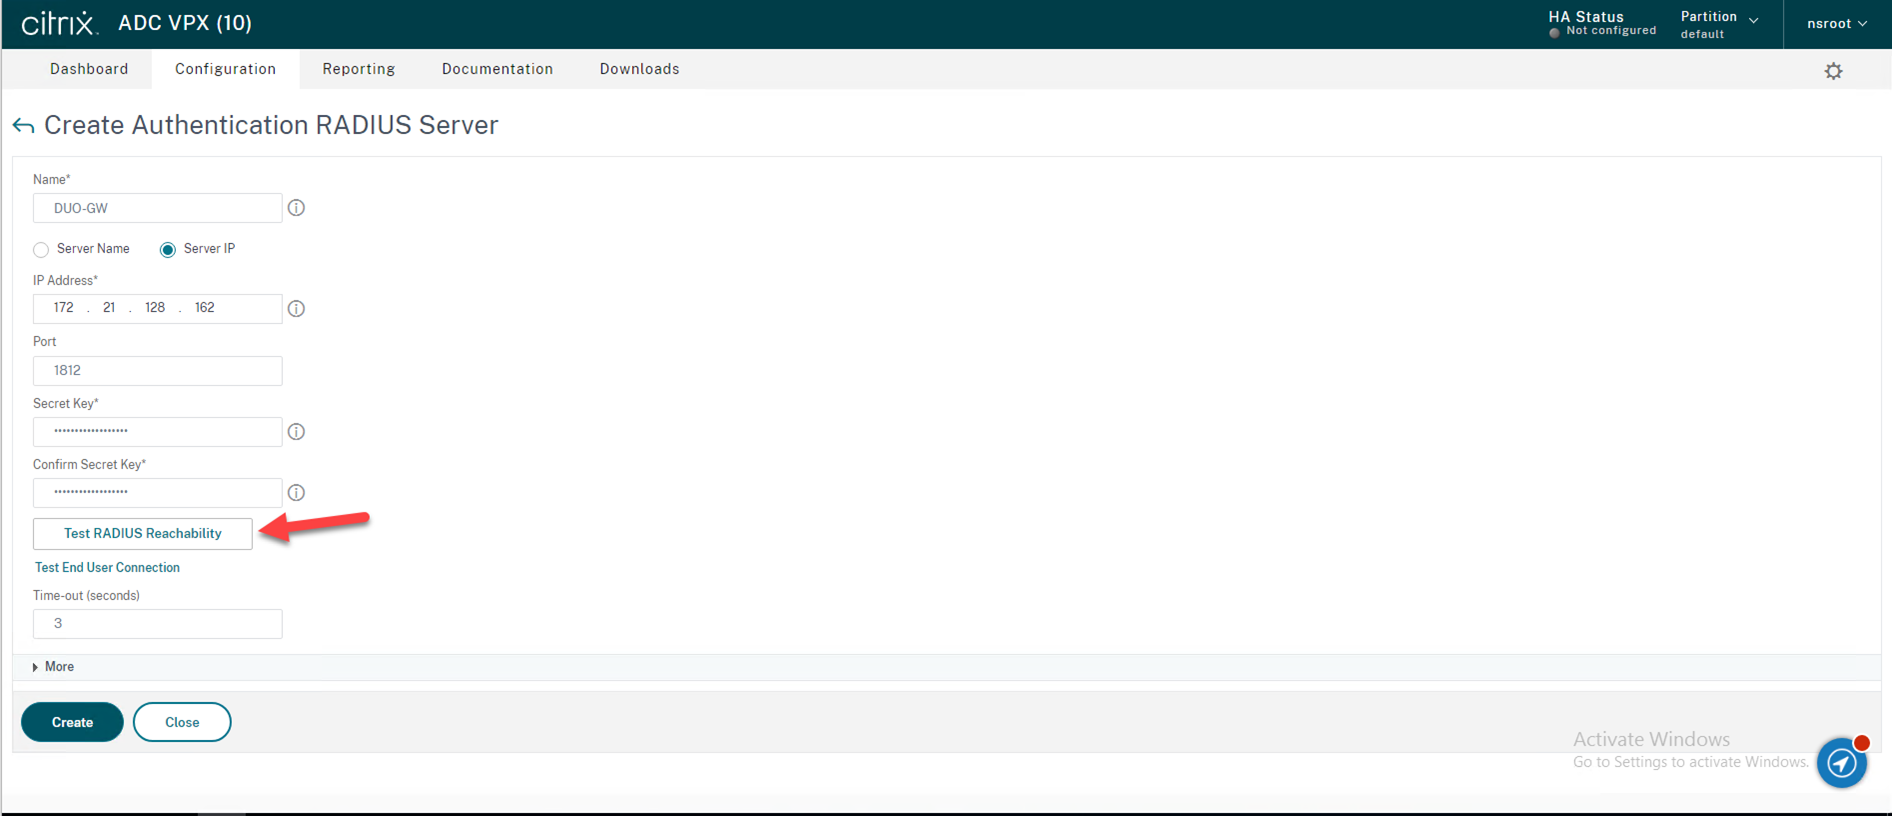
29.To make sure the RADIUS is reachable.

30.Click Create.
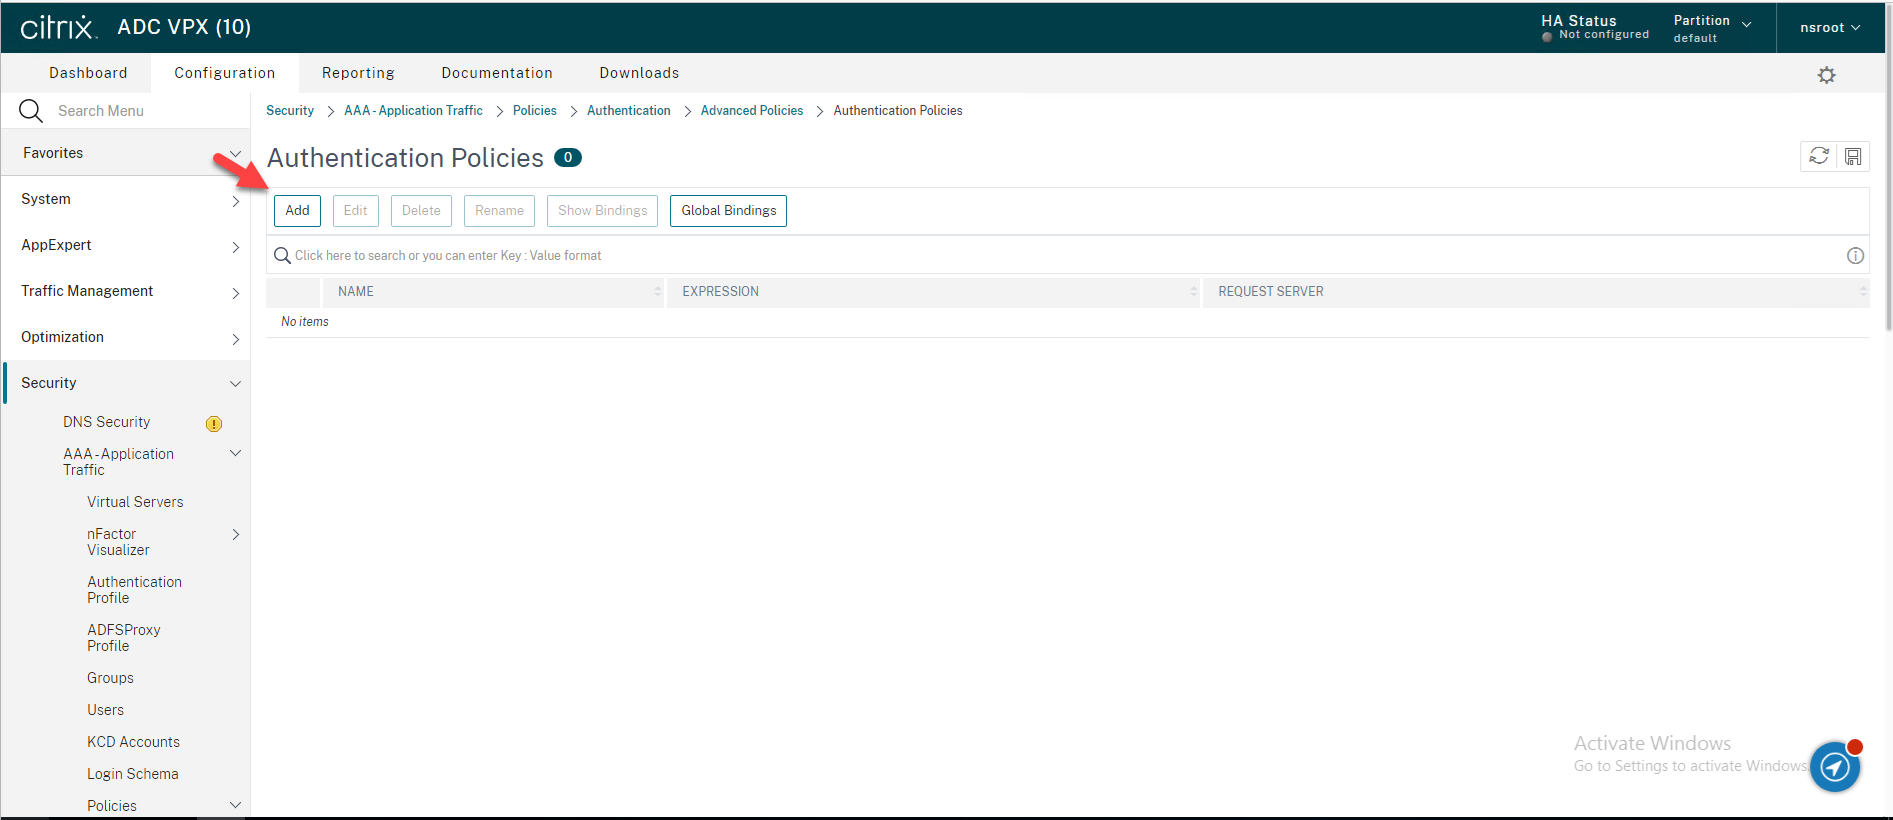
31.Configure Authentication Policies
Navigate to Security → AAA – Application Traffic → Policies → Authentication → Advanced Policies → Policy in the left panel of the administrative interface, on the Authentication Policies page, click Add.
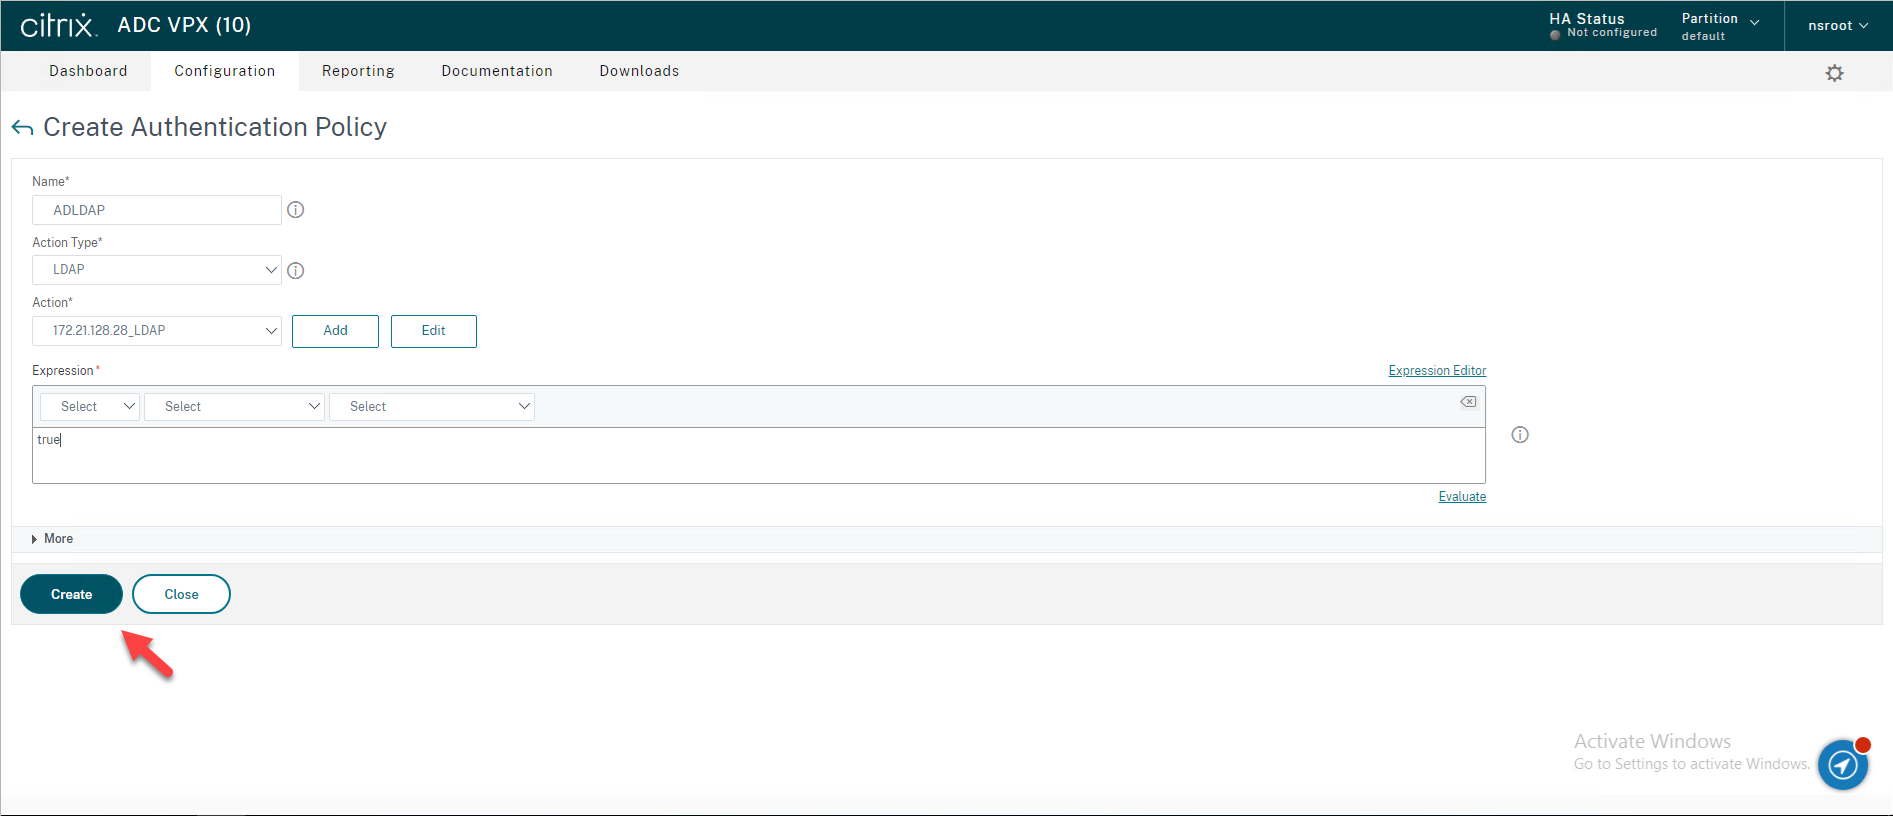
32.On the Create Authentication Policy page, enter the information for your LDAP Authentication Policy, click Create.
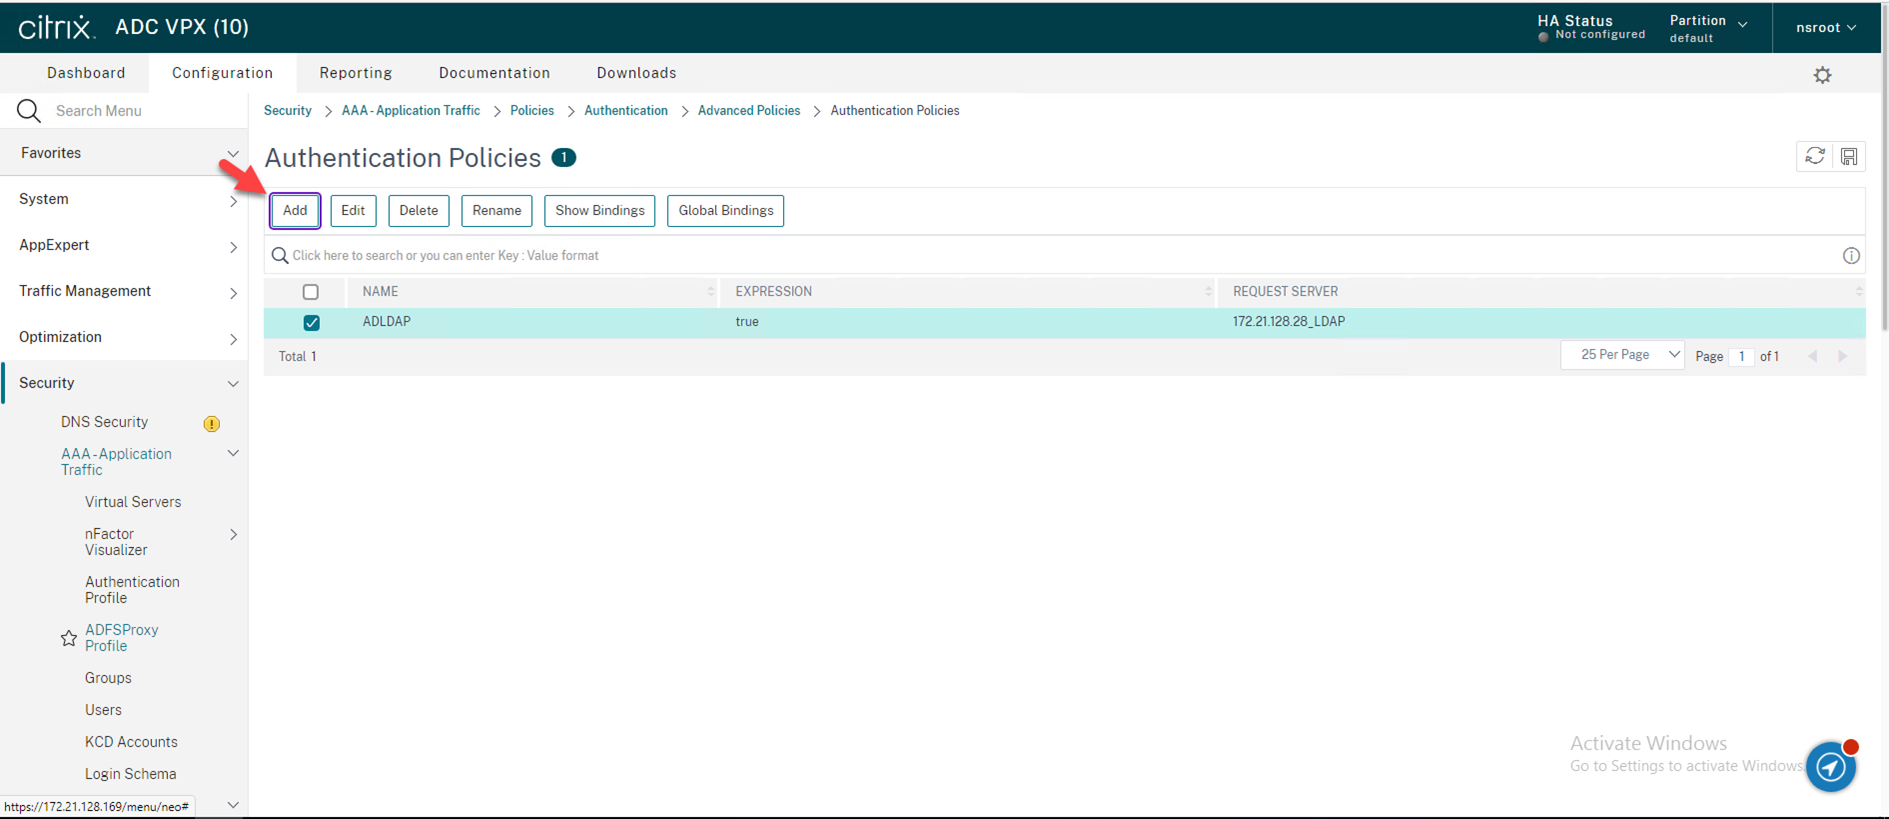
33.On the Authentication Policies page, click Add.
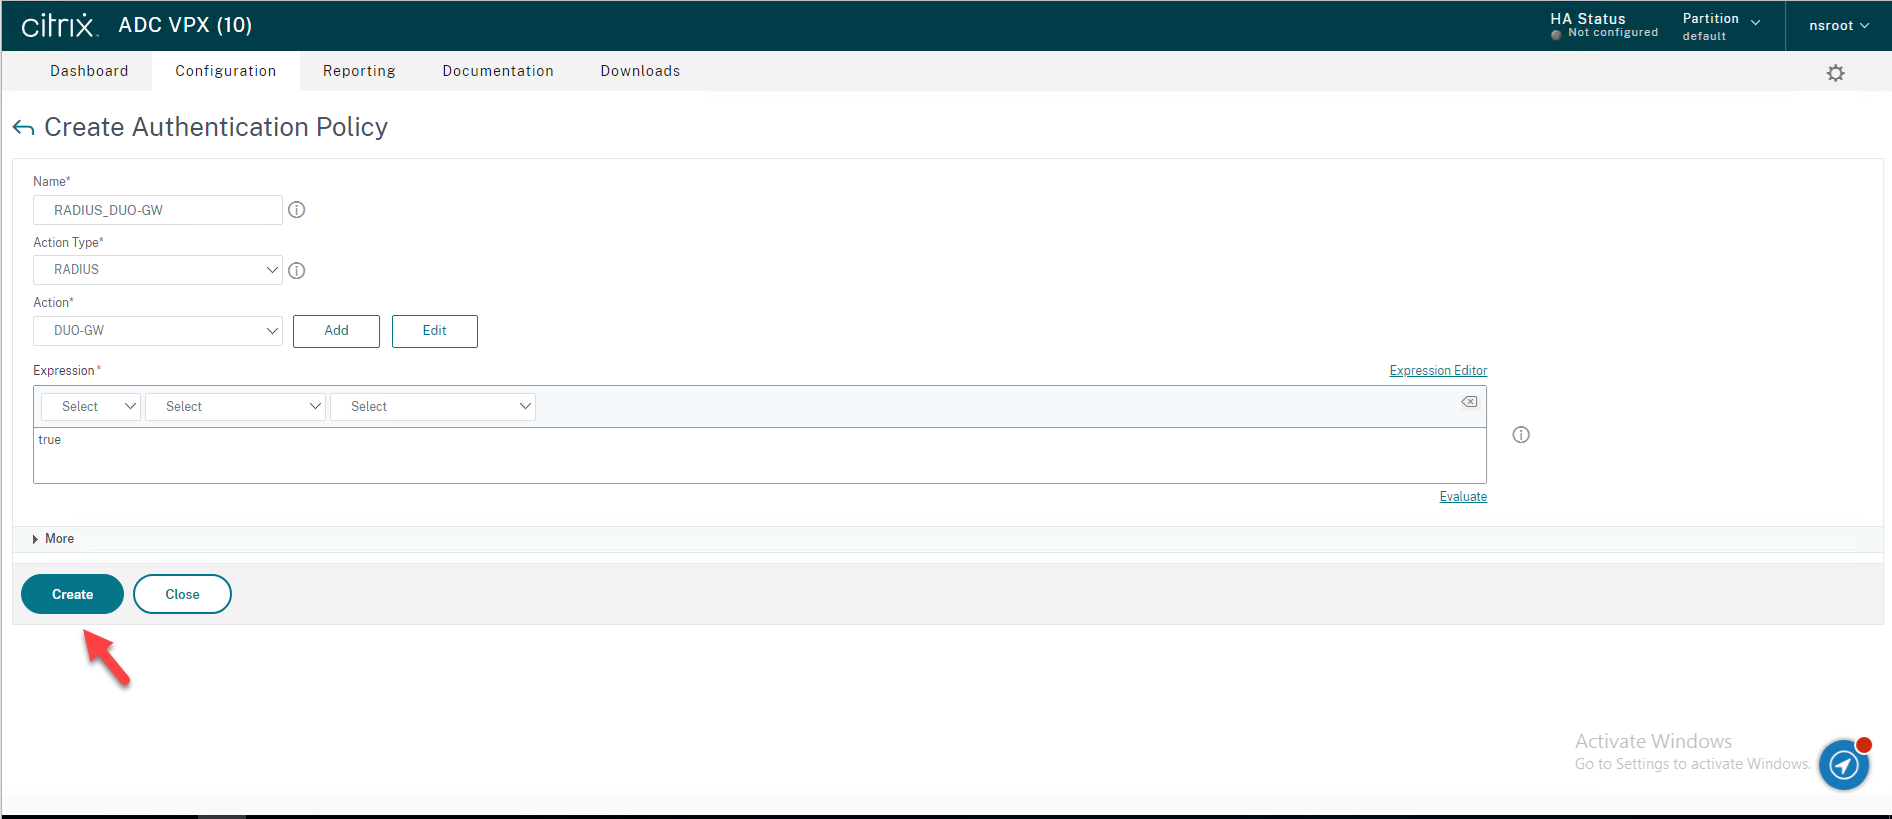
34.On the Create Authentication Policy page, enter the information for your RADIUS Authentication Policy, click Create.
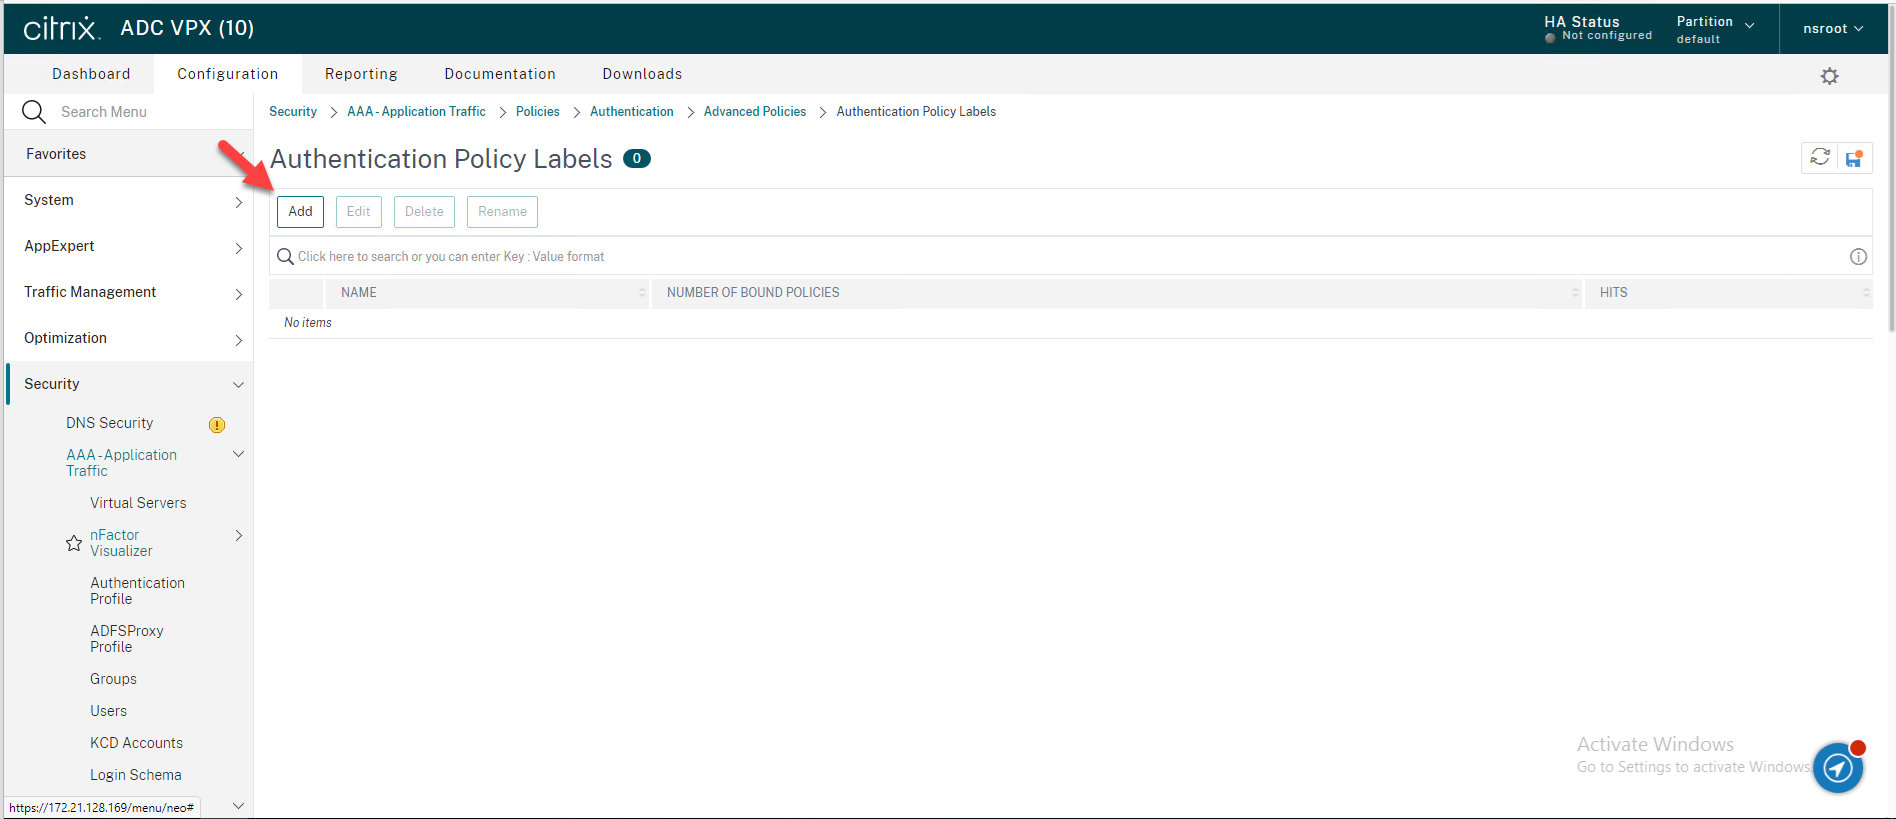
35.Configure Policy Labels
Navigate to Security → AAA – Application Traffic → Policies → Authentication → Advanced Policies → Policy Label in the left panel of the administrative interface, on the Authentication Policy Labels page, click Add.
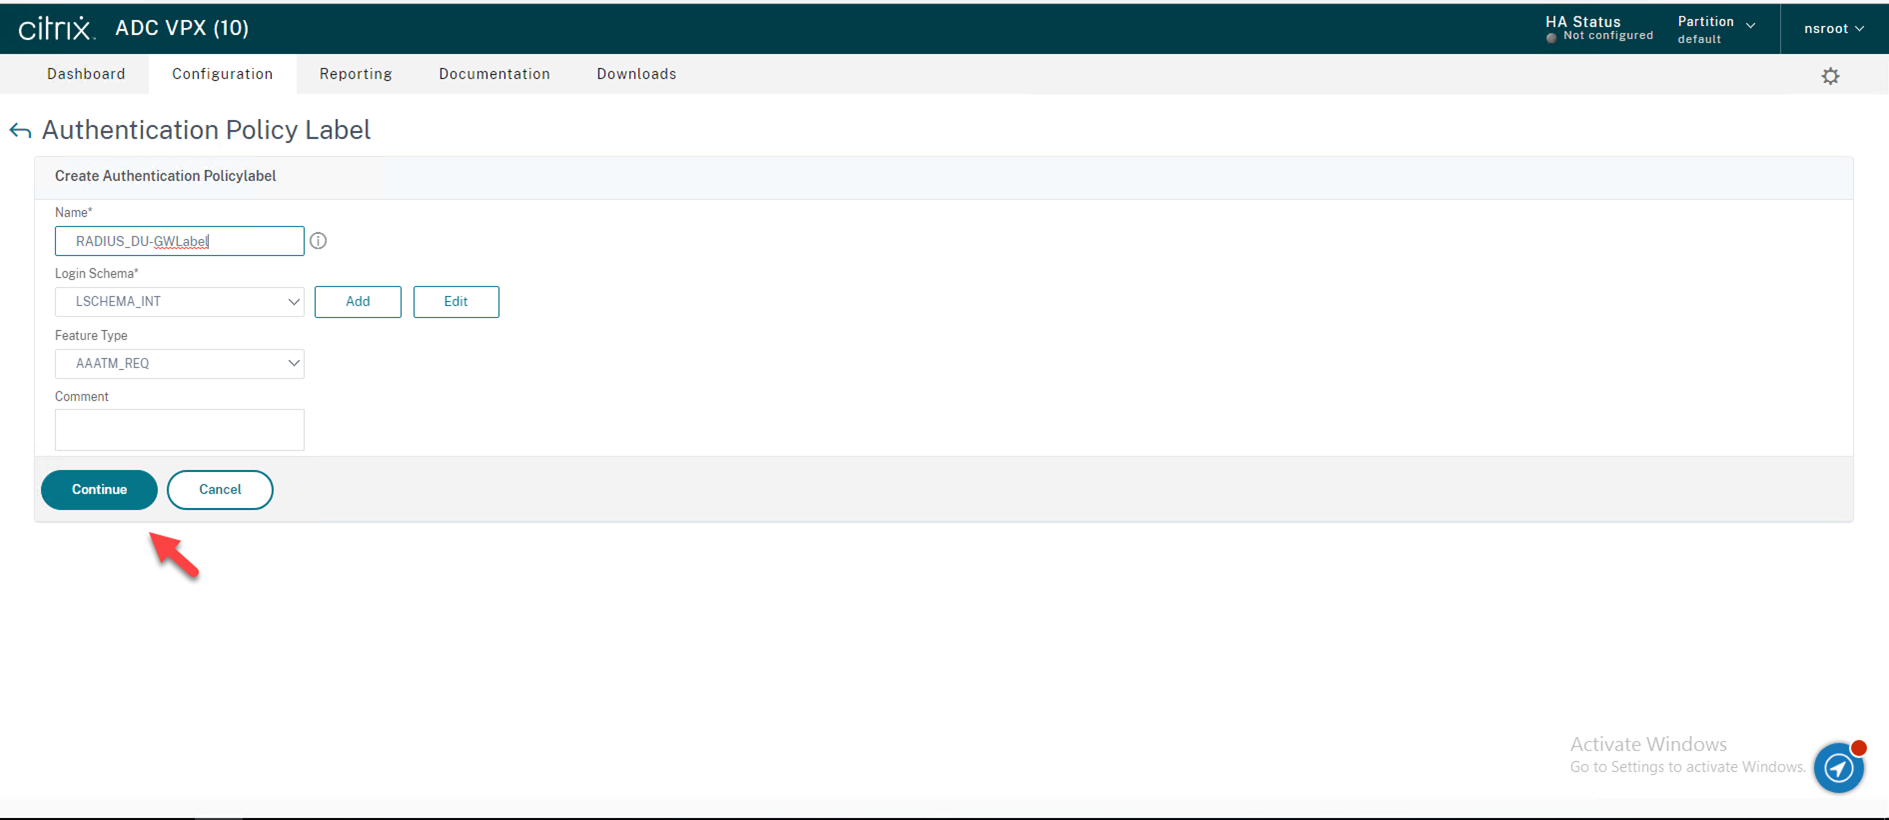
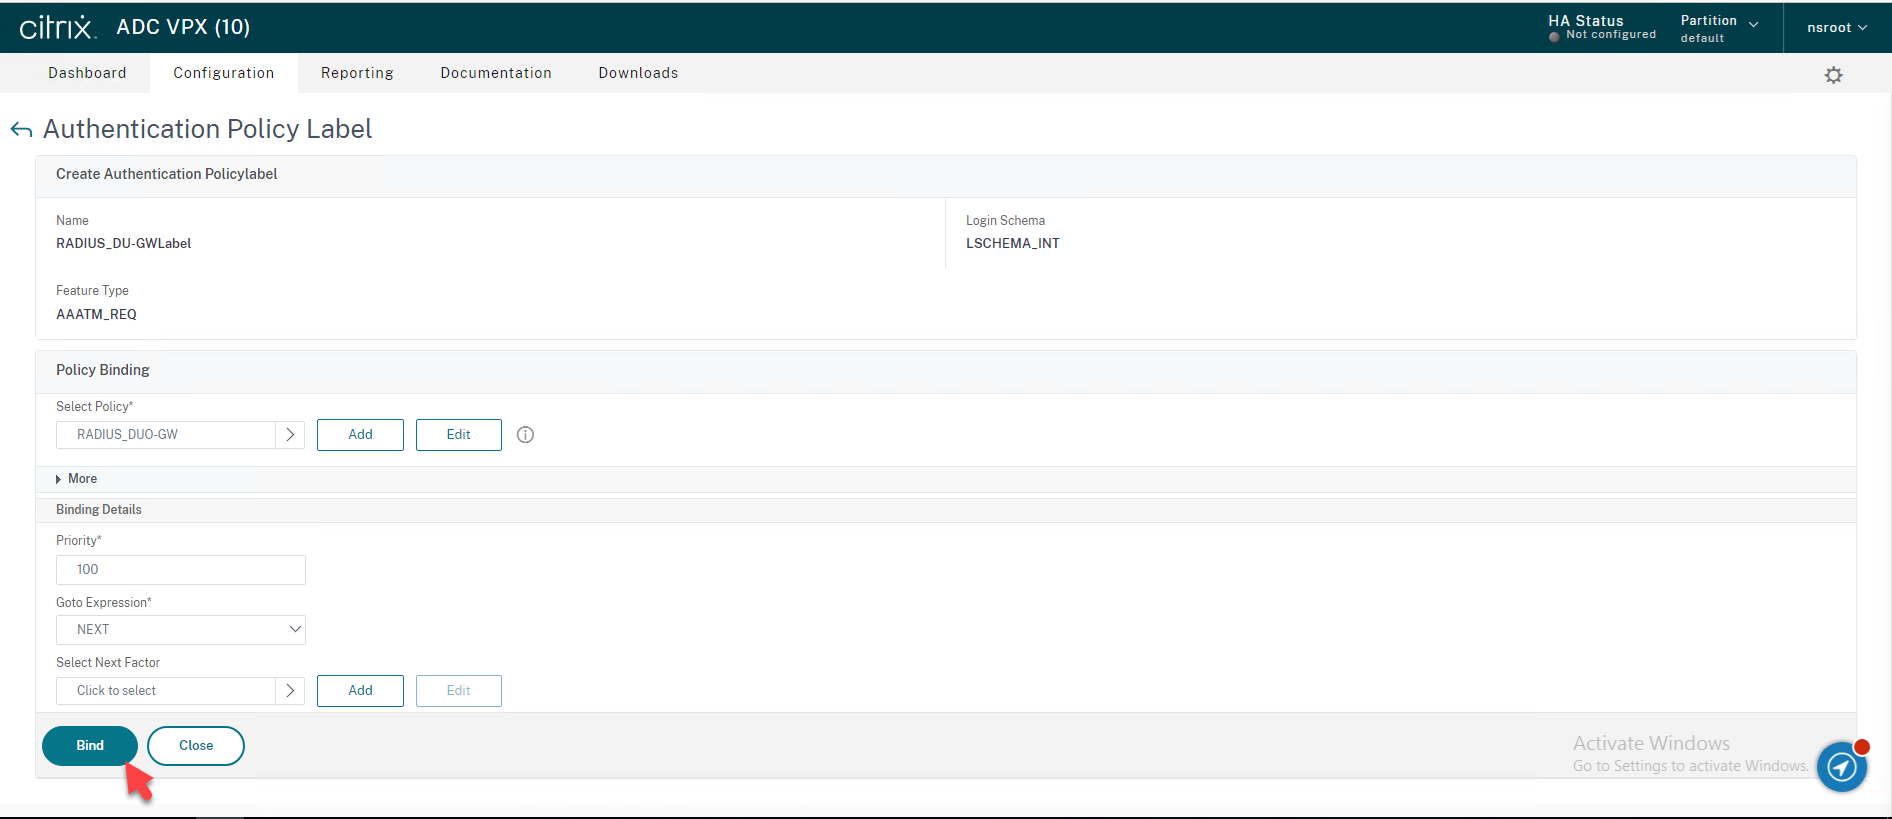
36.On the Authentication Policy Label page, enter the information for your RADIUS Authentication Policy label, click Continue.
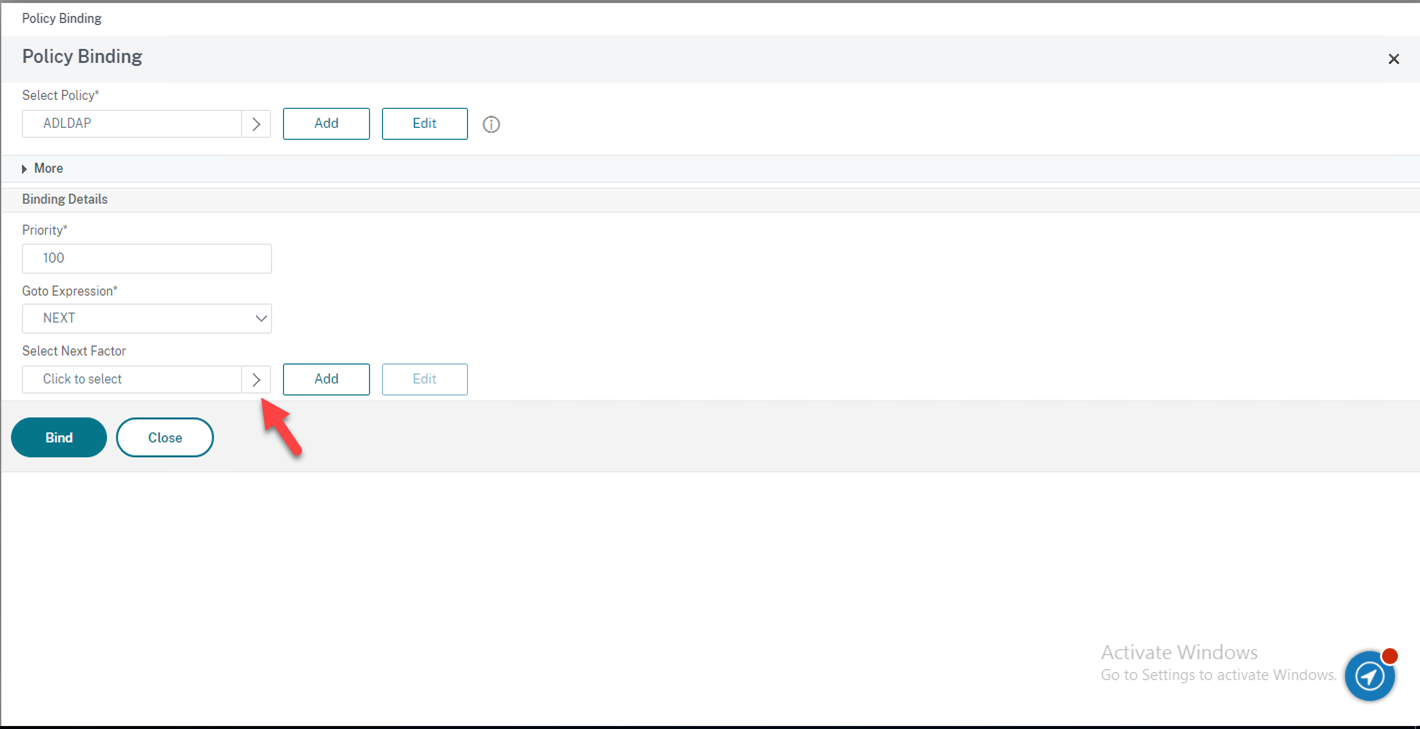
37.On the Policy Binding click Click to select to select policy.
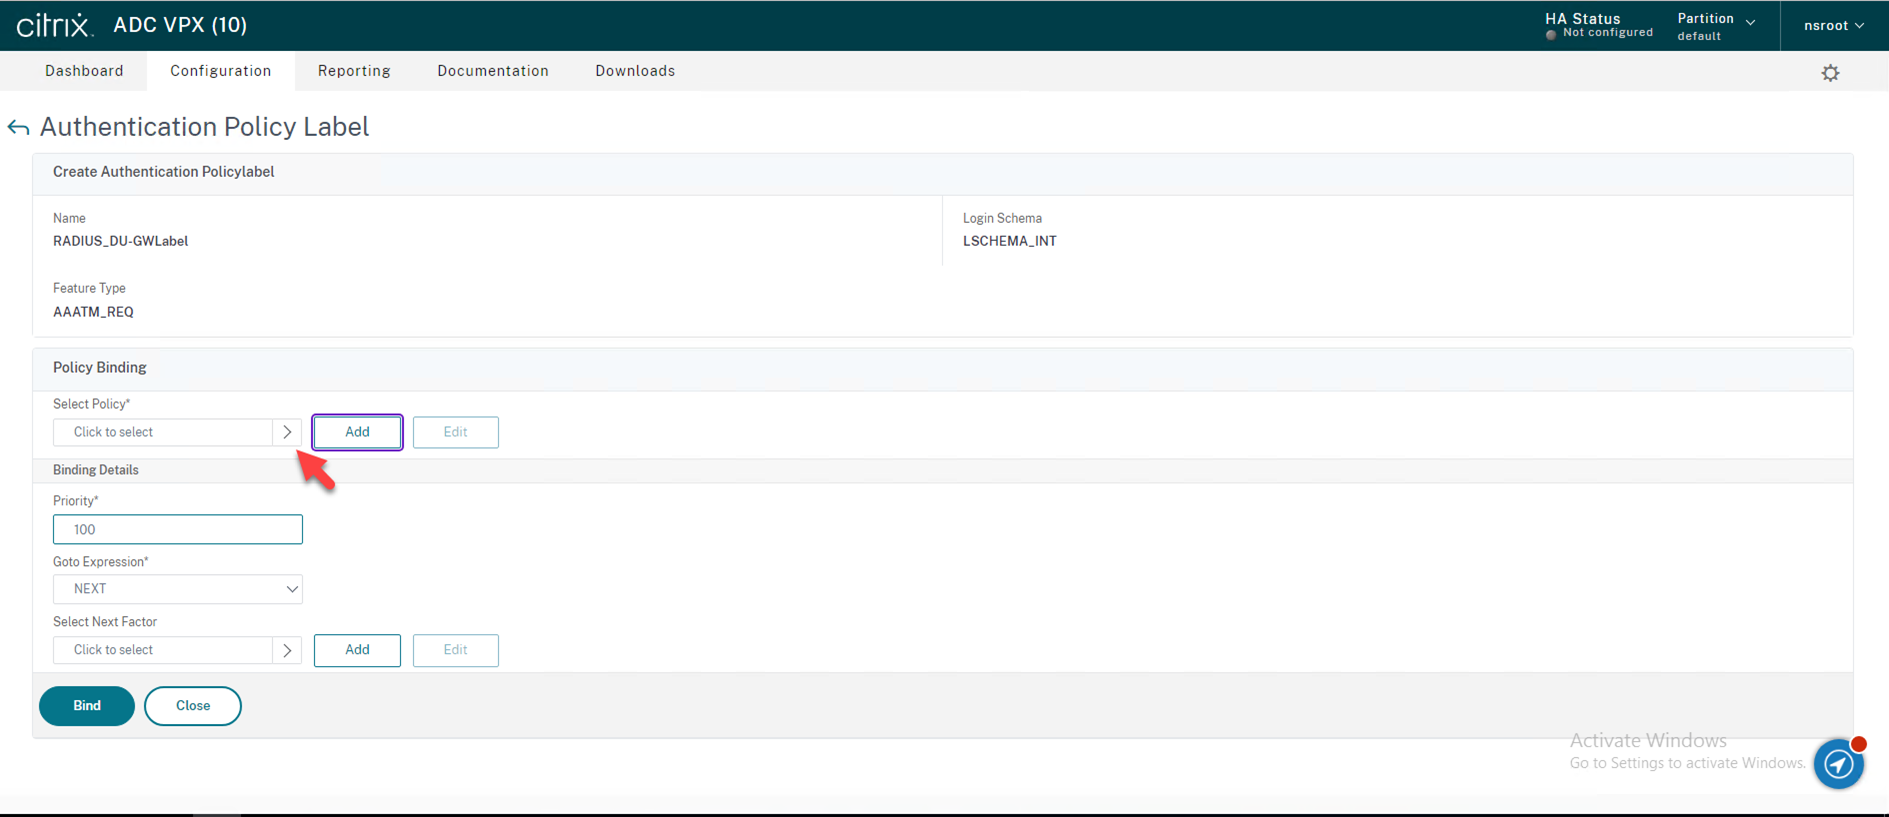
38.On the Authentication Polices page, select RADIUS policy, click Select.
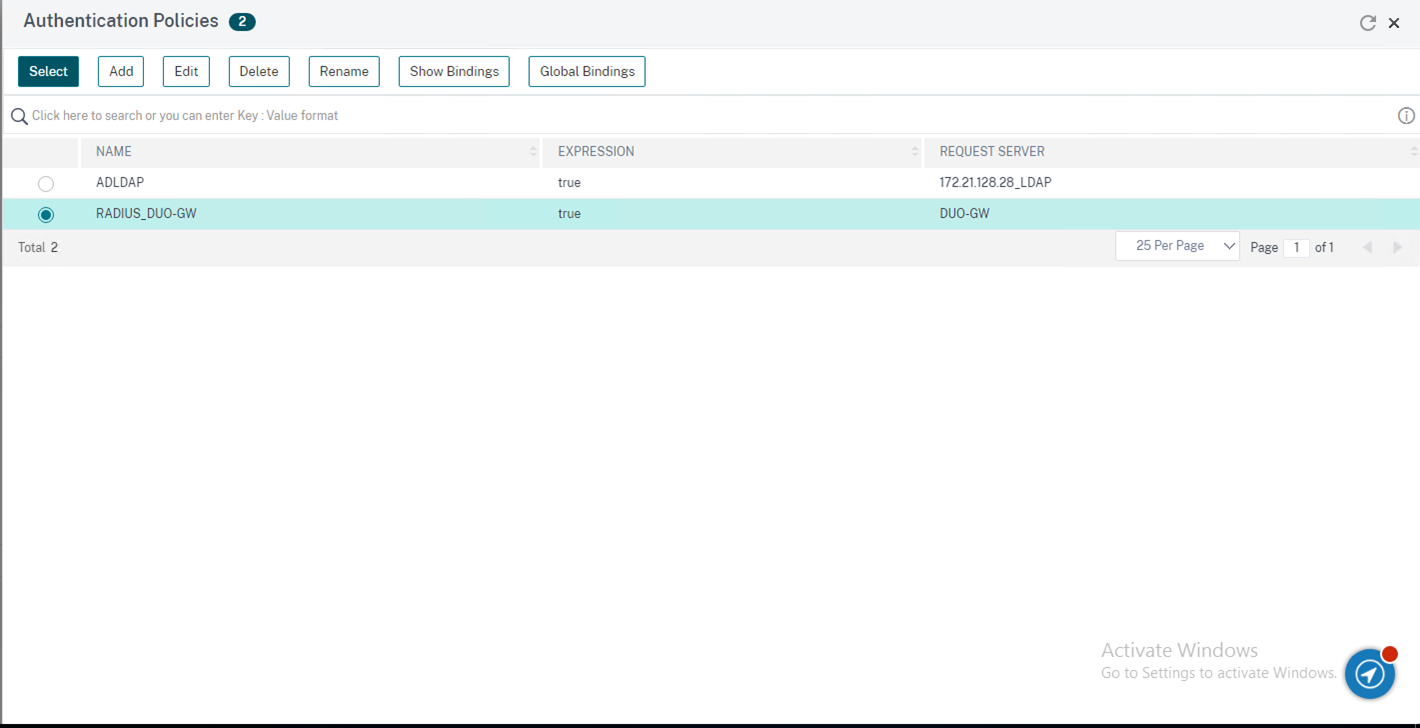
39.On the Create Authentication Policy Label page, click Bind.
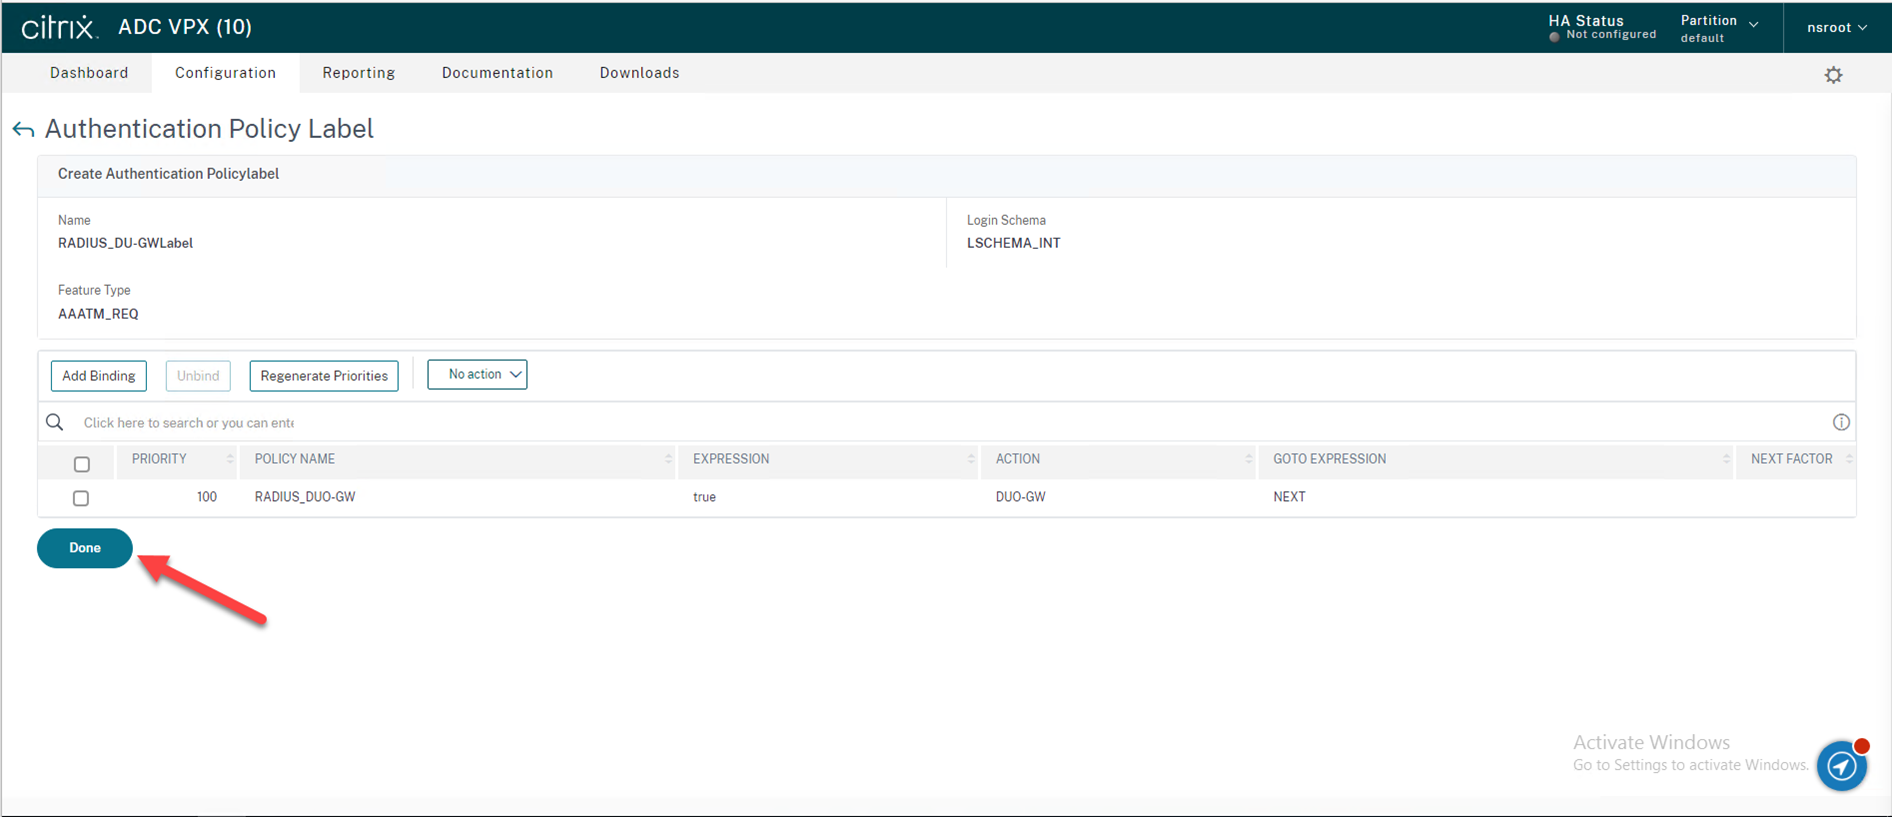
40.On the Create Authentication Policy Label page, click Done.
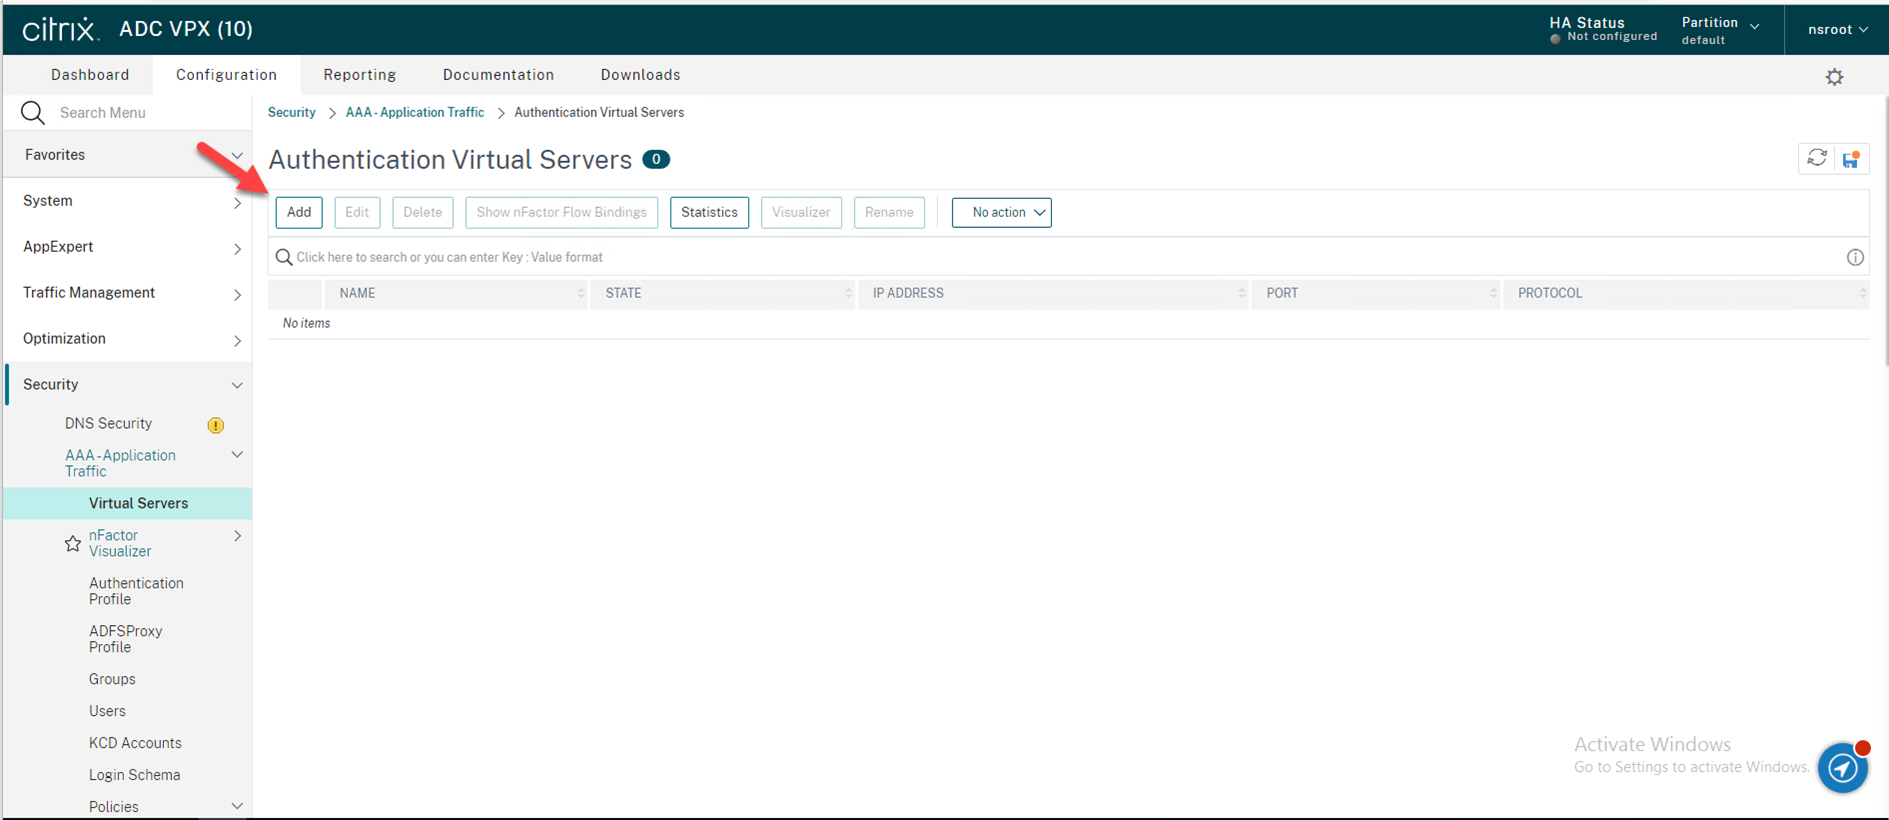
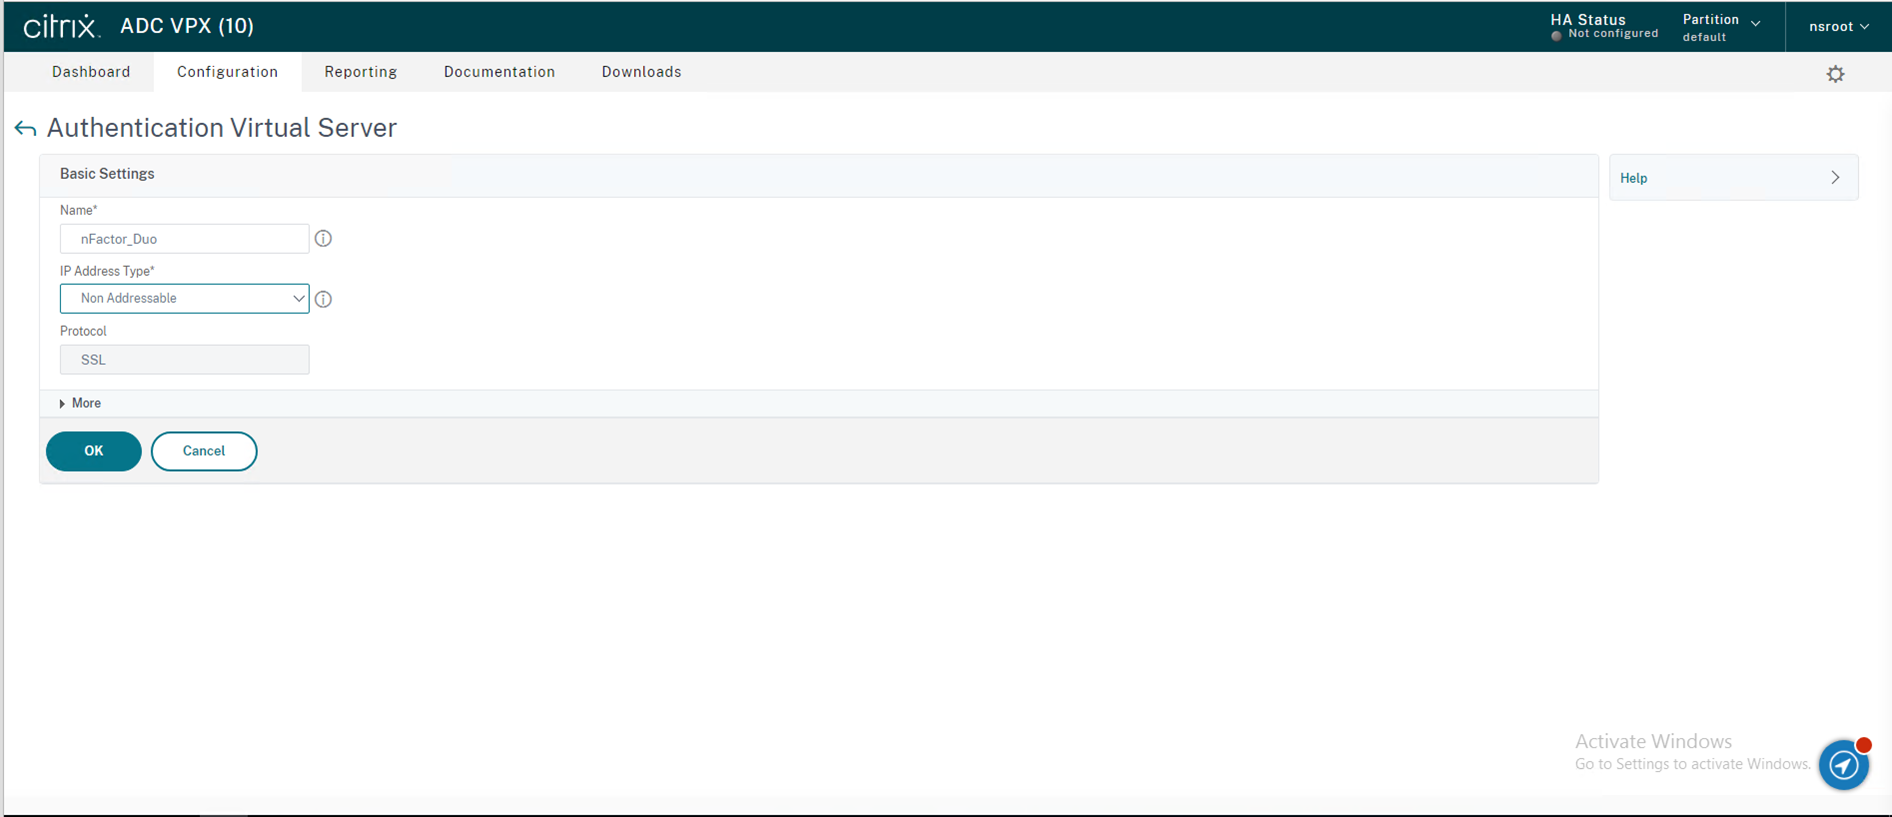
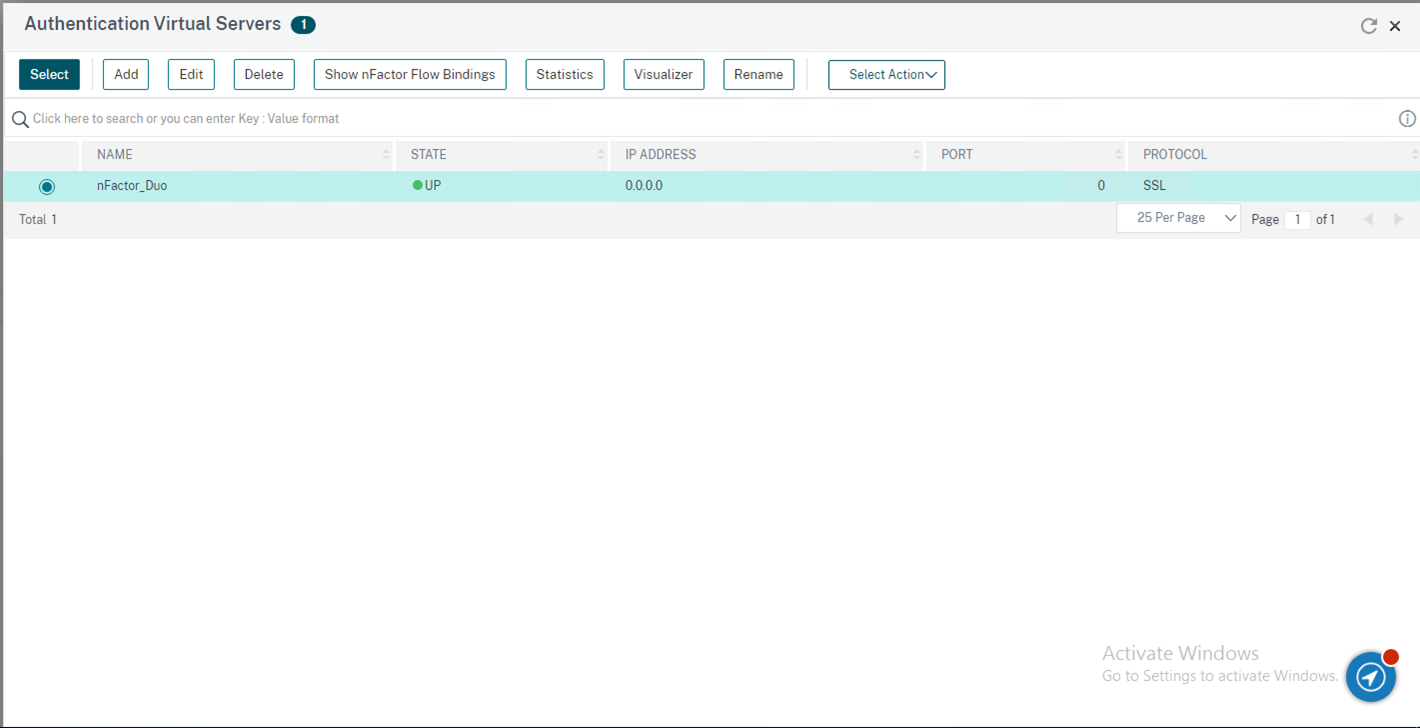
41.Create an Authentication Virtual Server
Navigate to Security → AAA – Application Traffic → Virtual Servers in the left panel of the administrative interface, on the Authentication Virtual Server page, click Add.
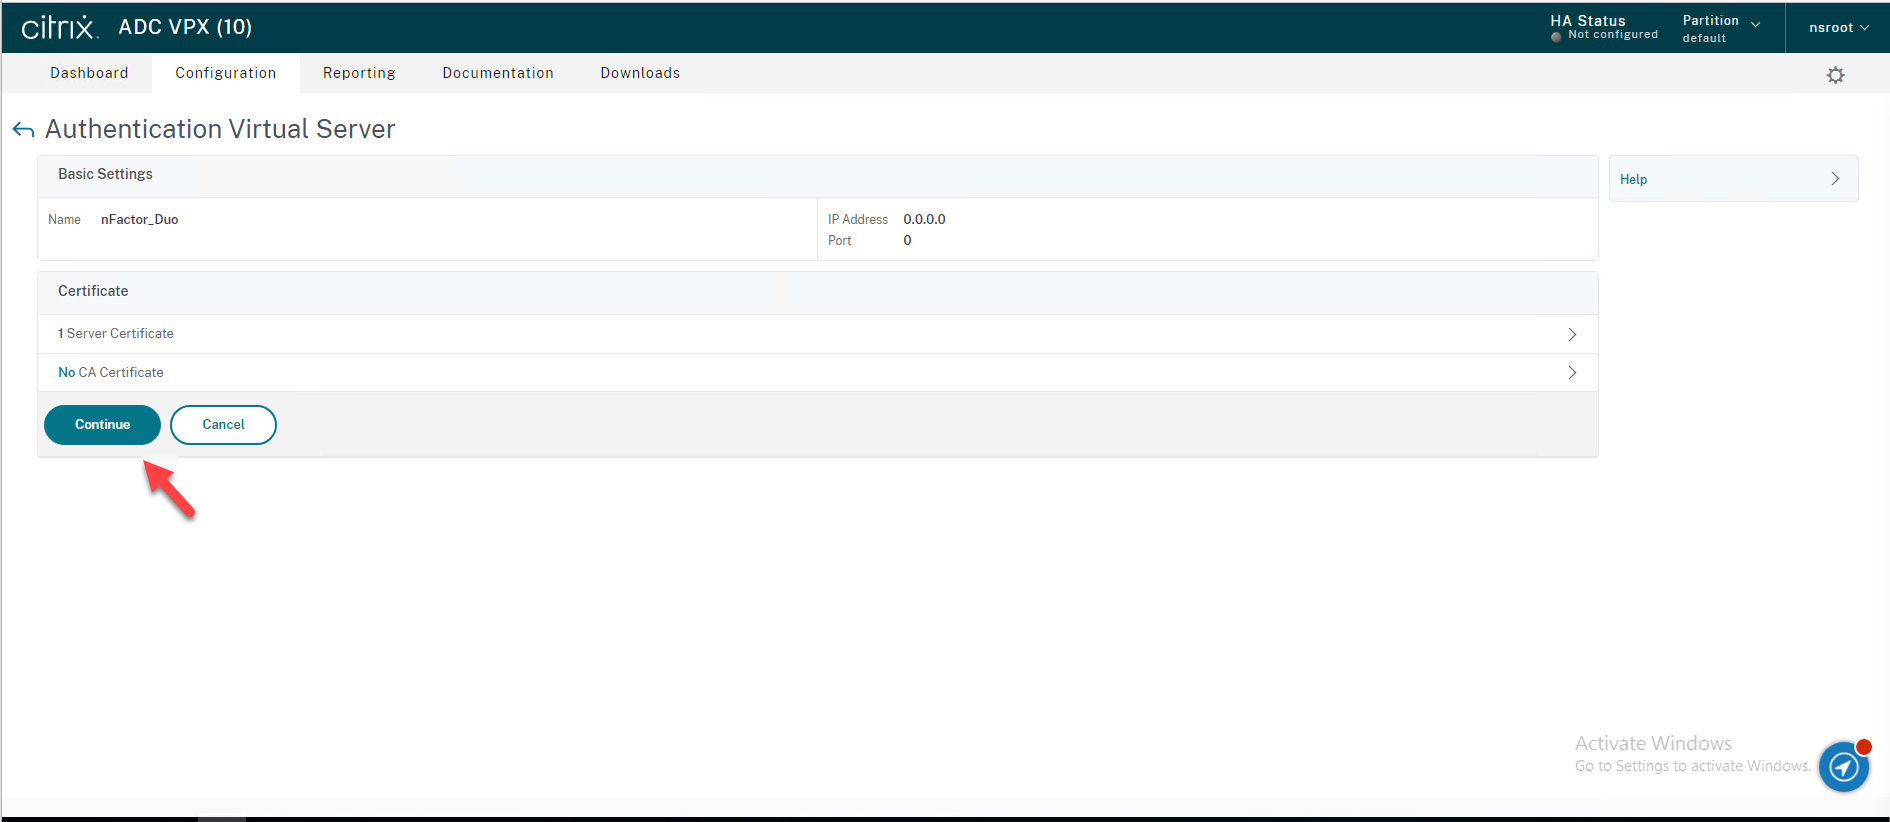
42.On the Basic Settings page, Name the Authentication Virtual Server nFactor_Duo, select Non Addressable as your “IP Address Type” and click OK.
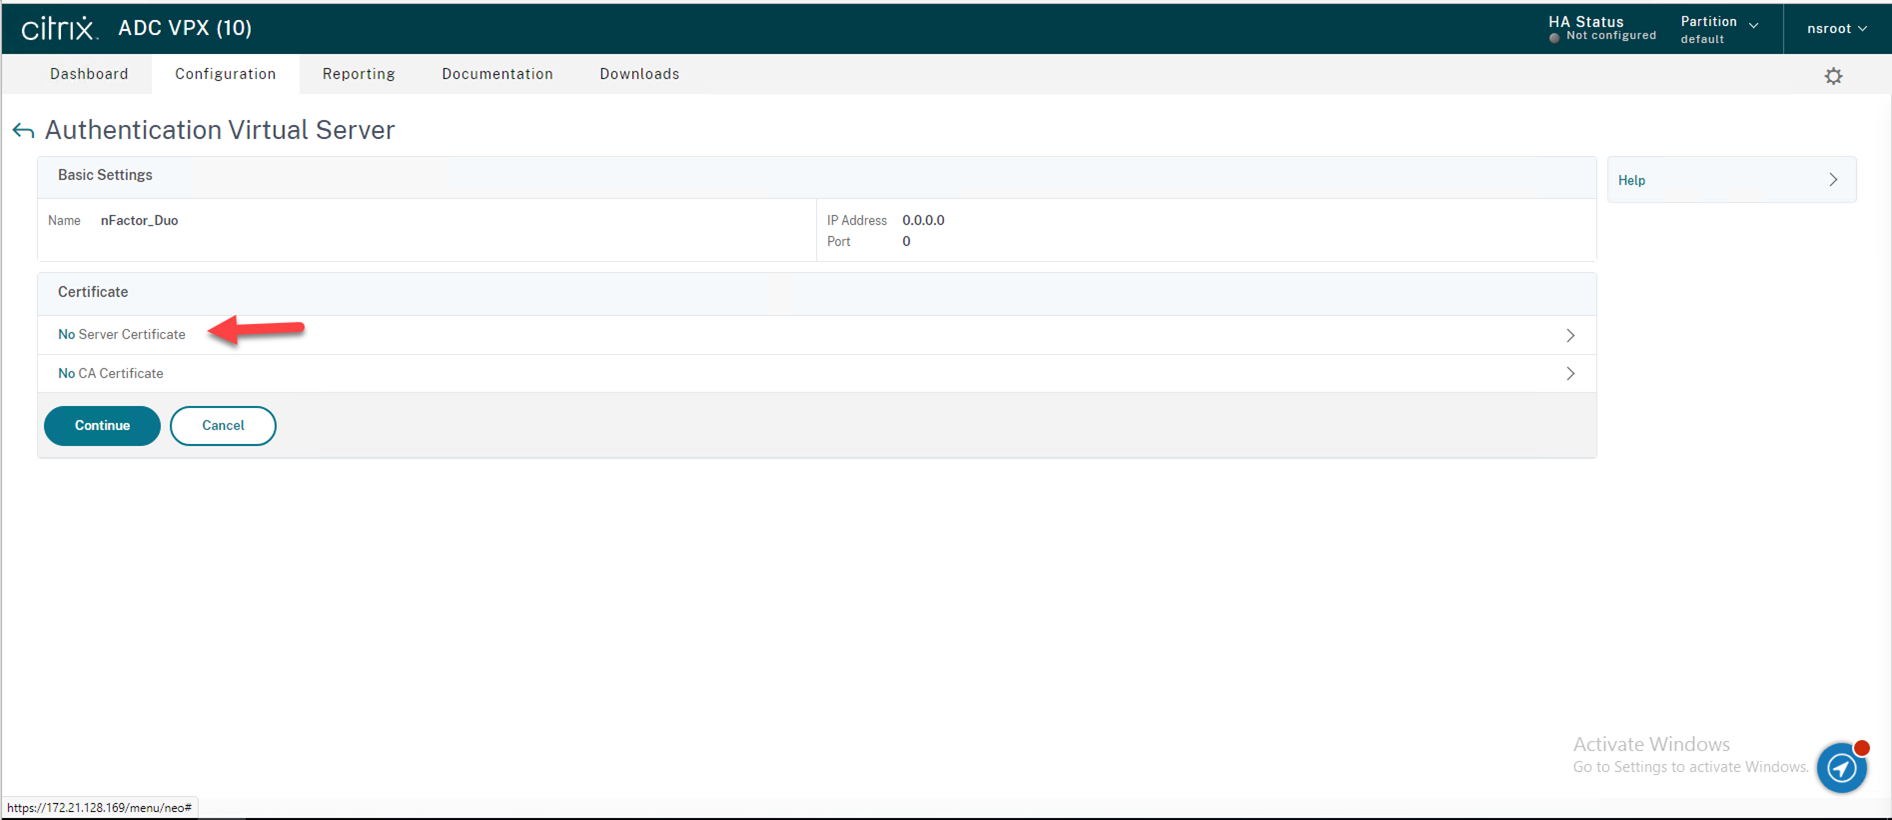
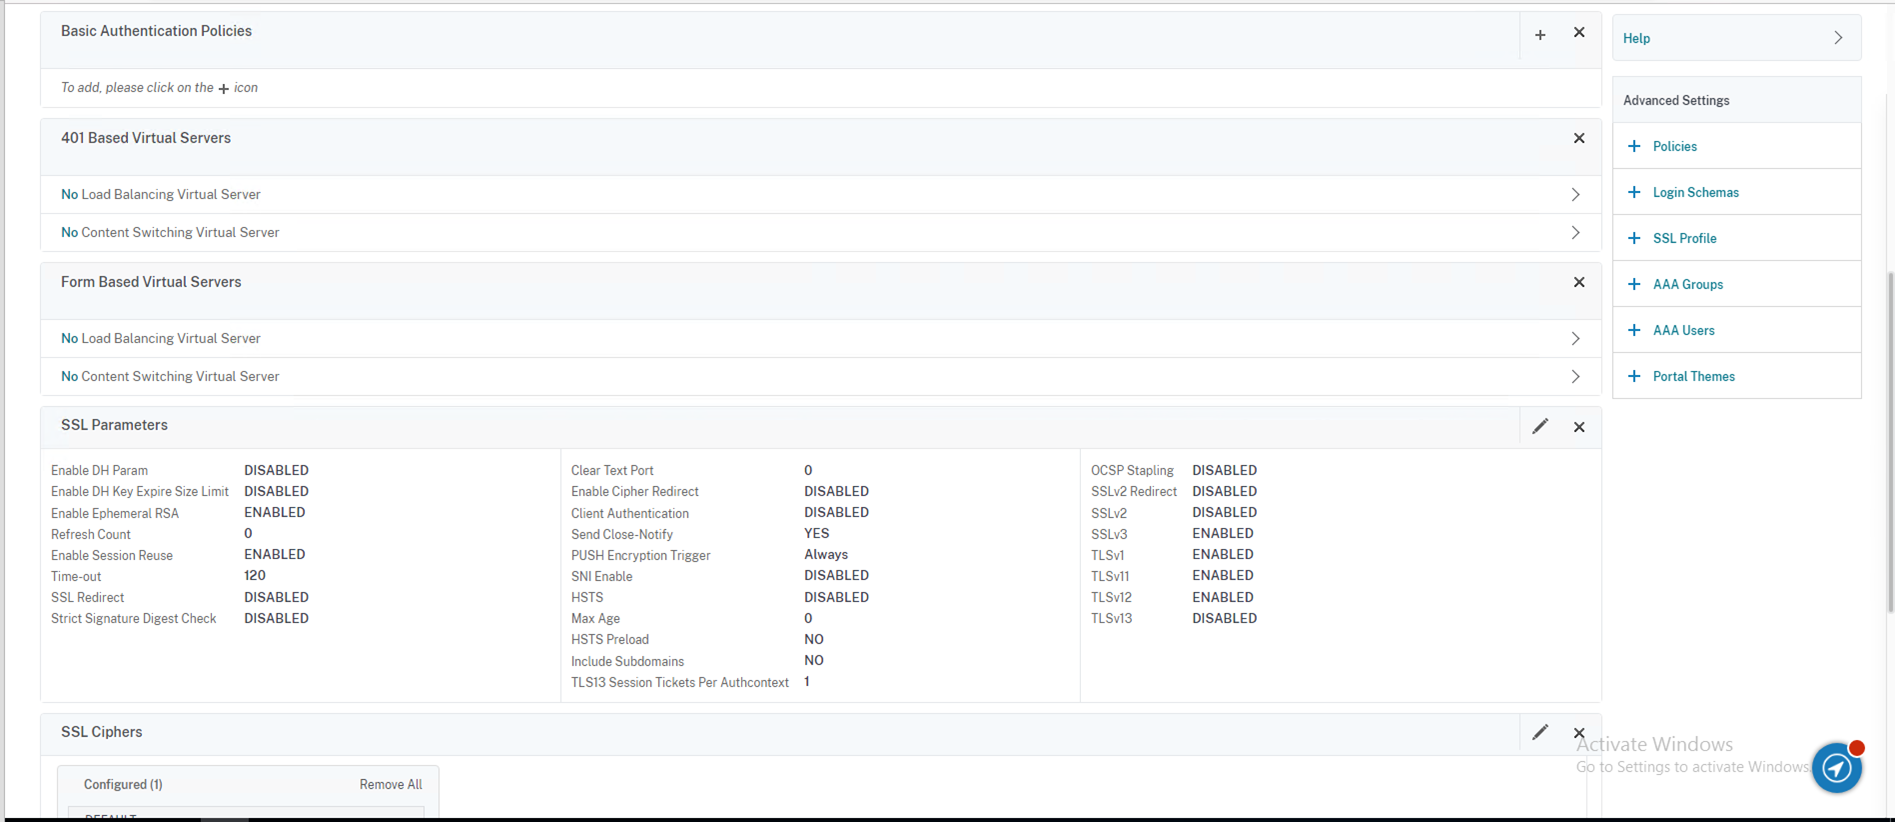
43.On the Certificate, select Server Certificate.
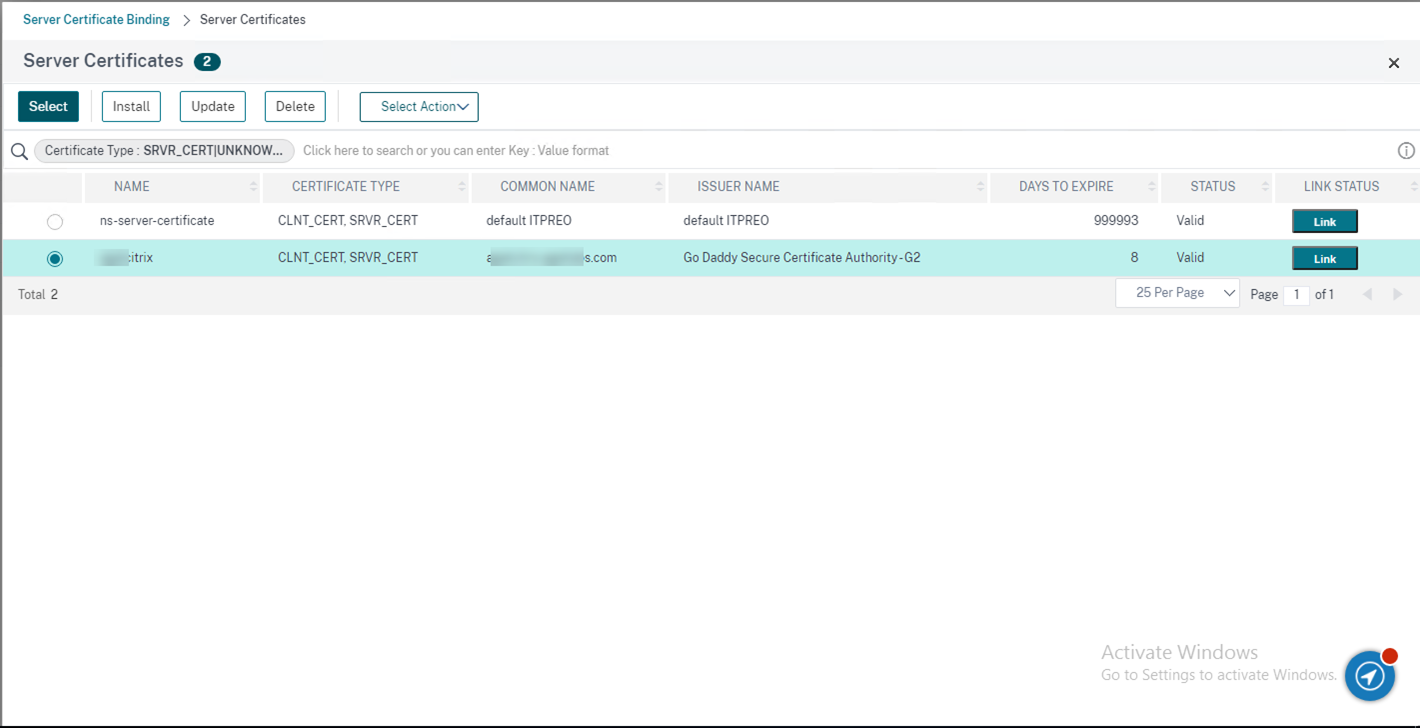
44.On the Server Certificate Binding page, click Click to select at Select Server Certificate.

45.Select the public server certificate, click Select.
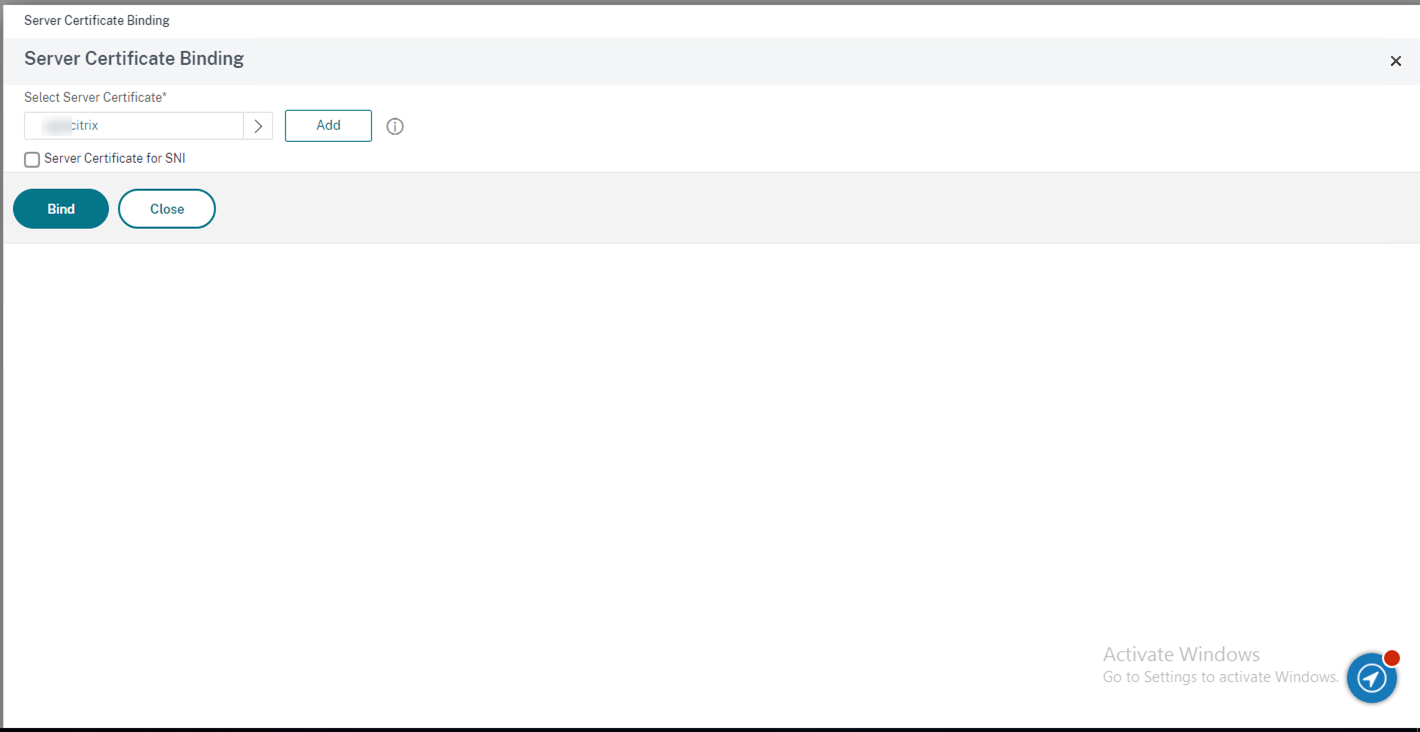
46.On the Server Certificate Binding page, click Bind.
47.On the Certificate page, click Continue.
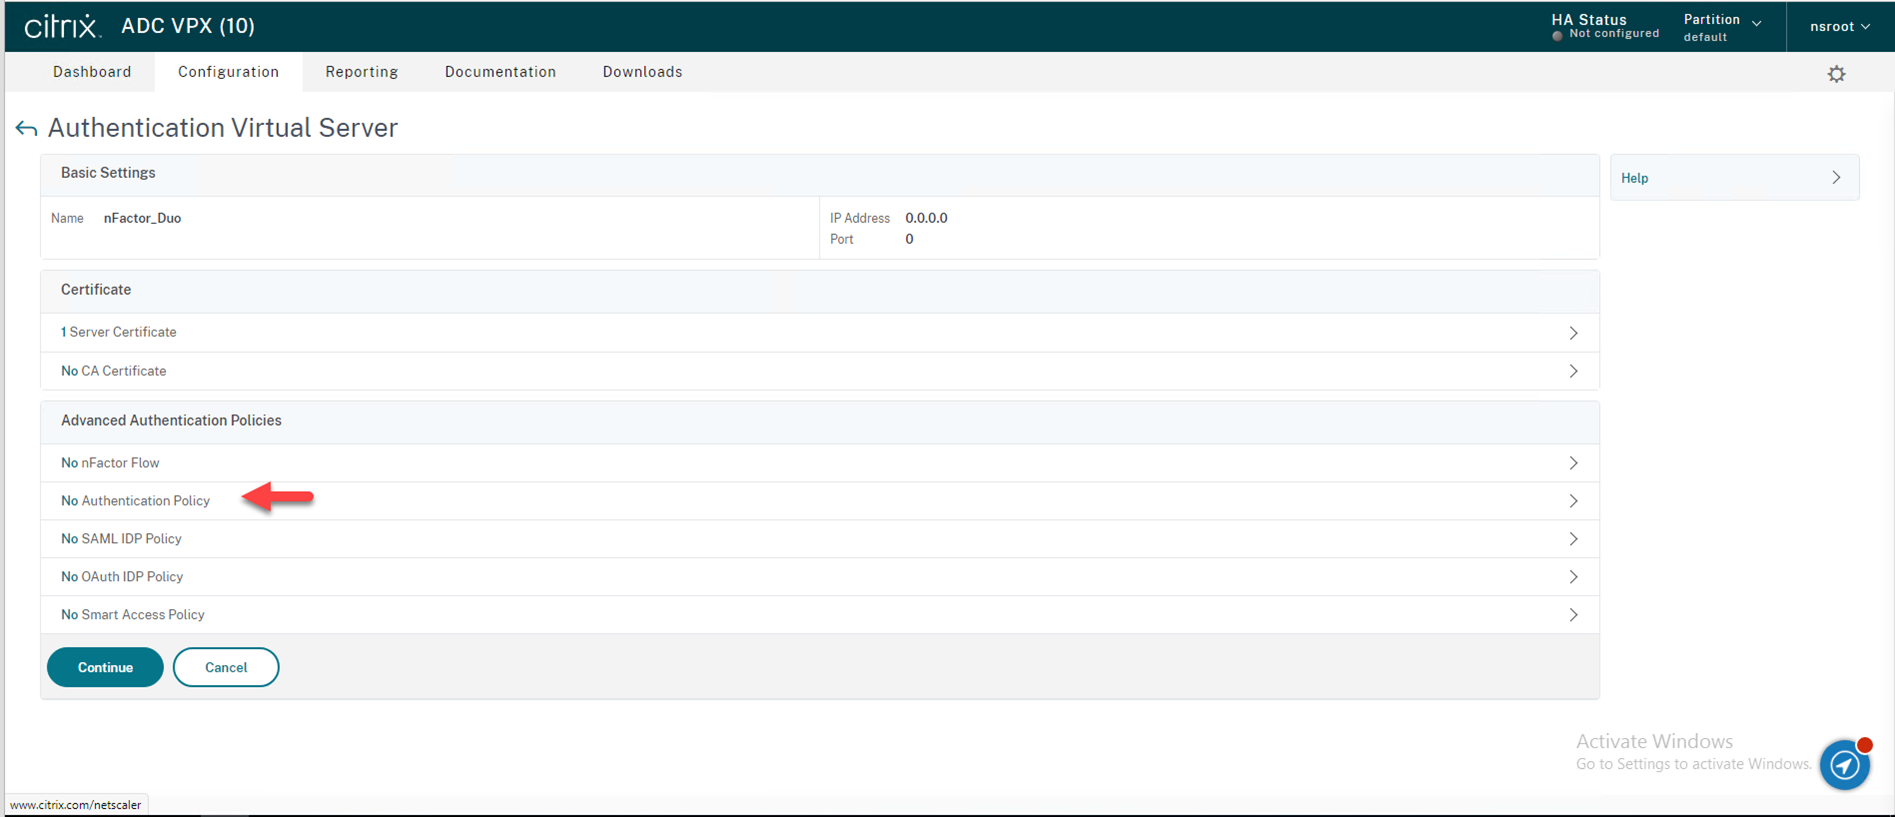
48.On the Advanced Authentication Policies page, click Authentication Policy.
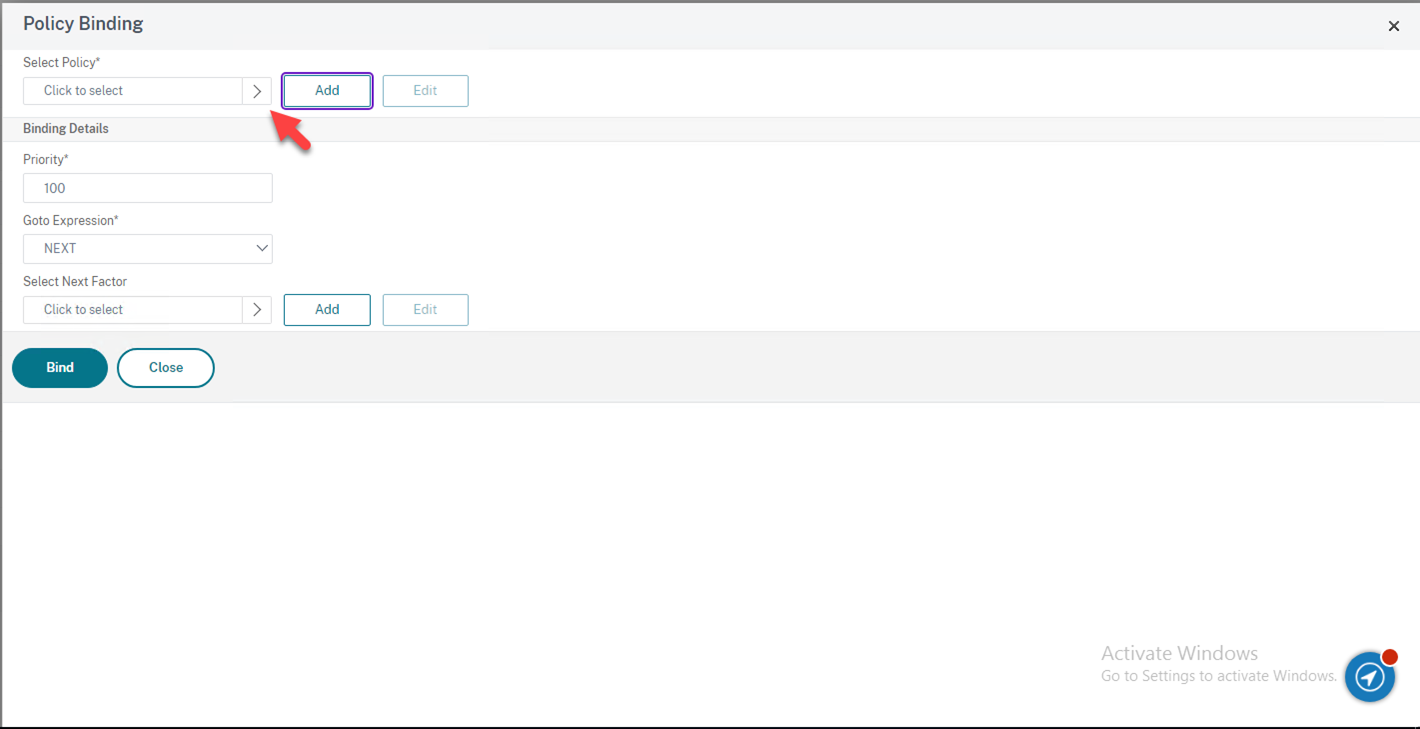
49.On the Policy Binding page, click Click to select under the Select Policy.
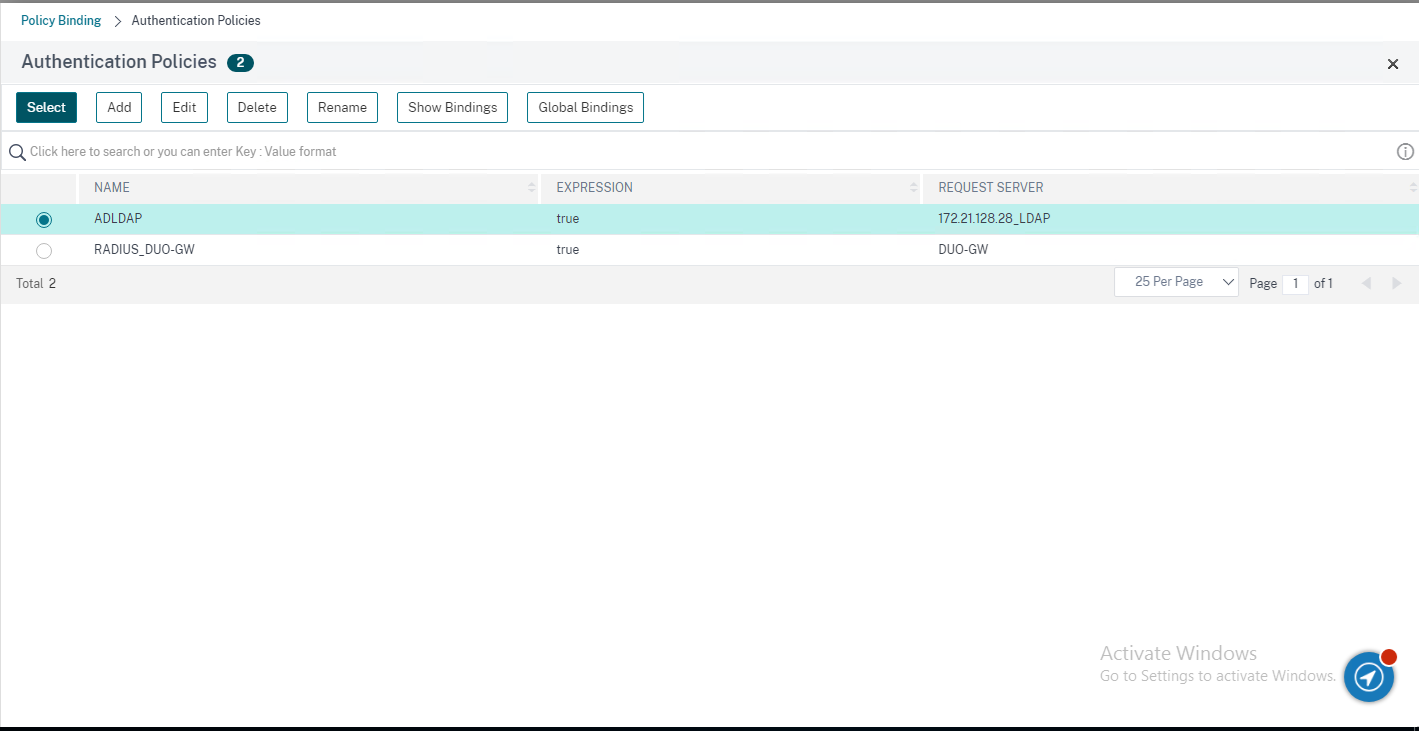
50.On the Authentication Policies page, select ldap policy, click Select.
51.On the Policy page, click Click to select under Select Next Factor.
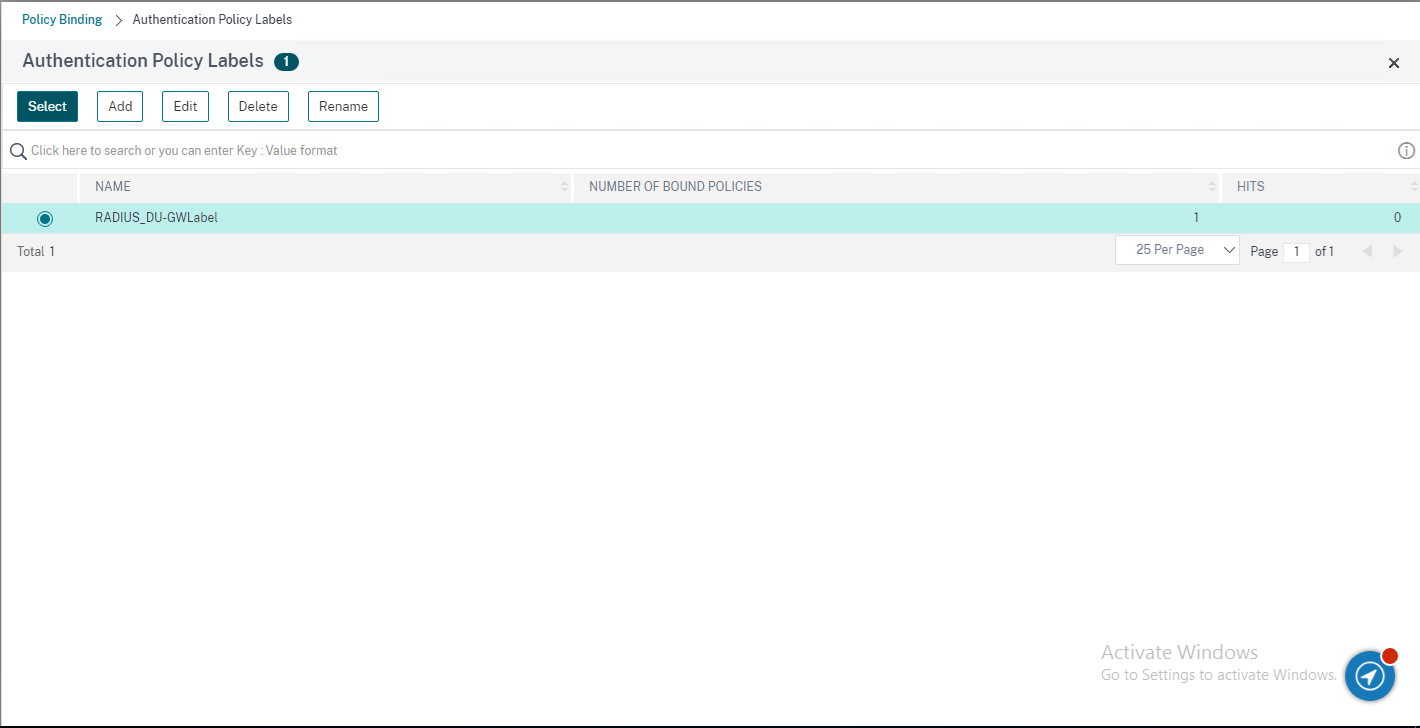
52.On the Authentication Policy Labels page, select RADIUS label, click Select.
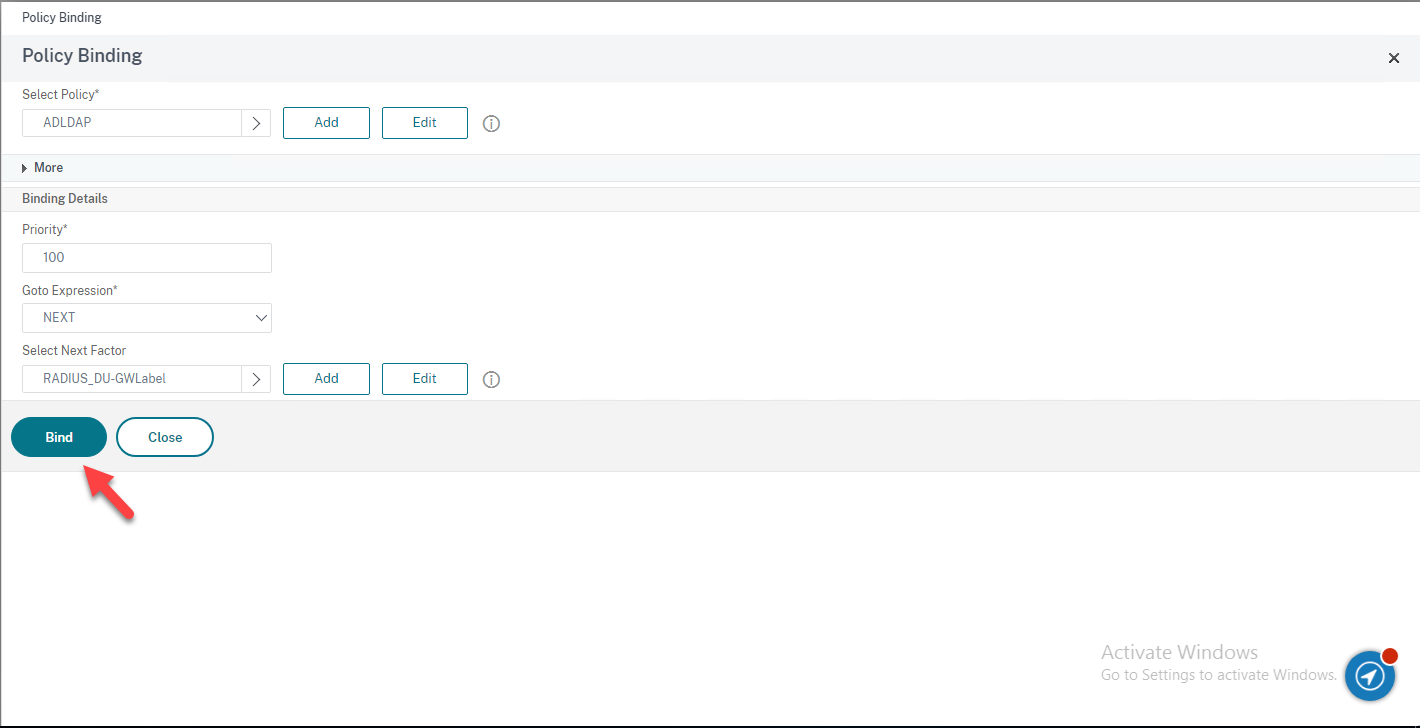
53.On the Policy Binding page, click Bind.
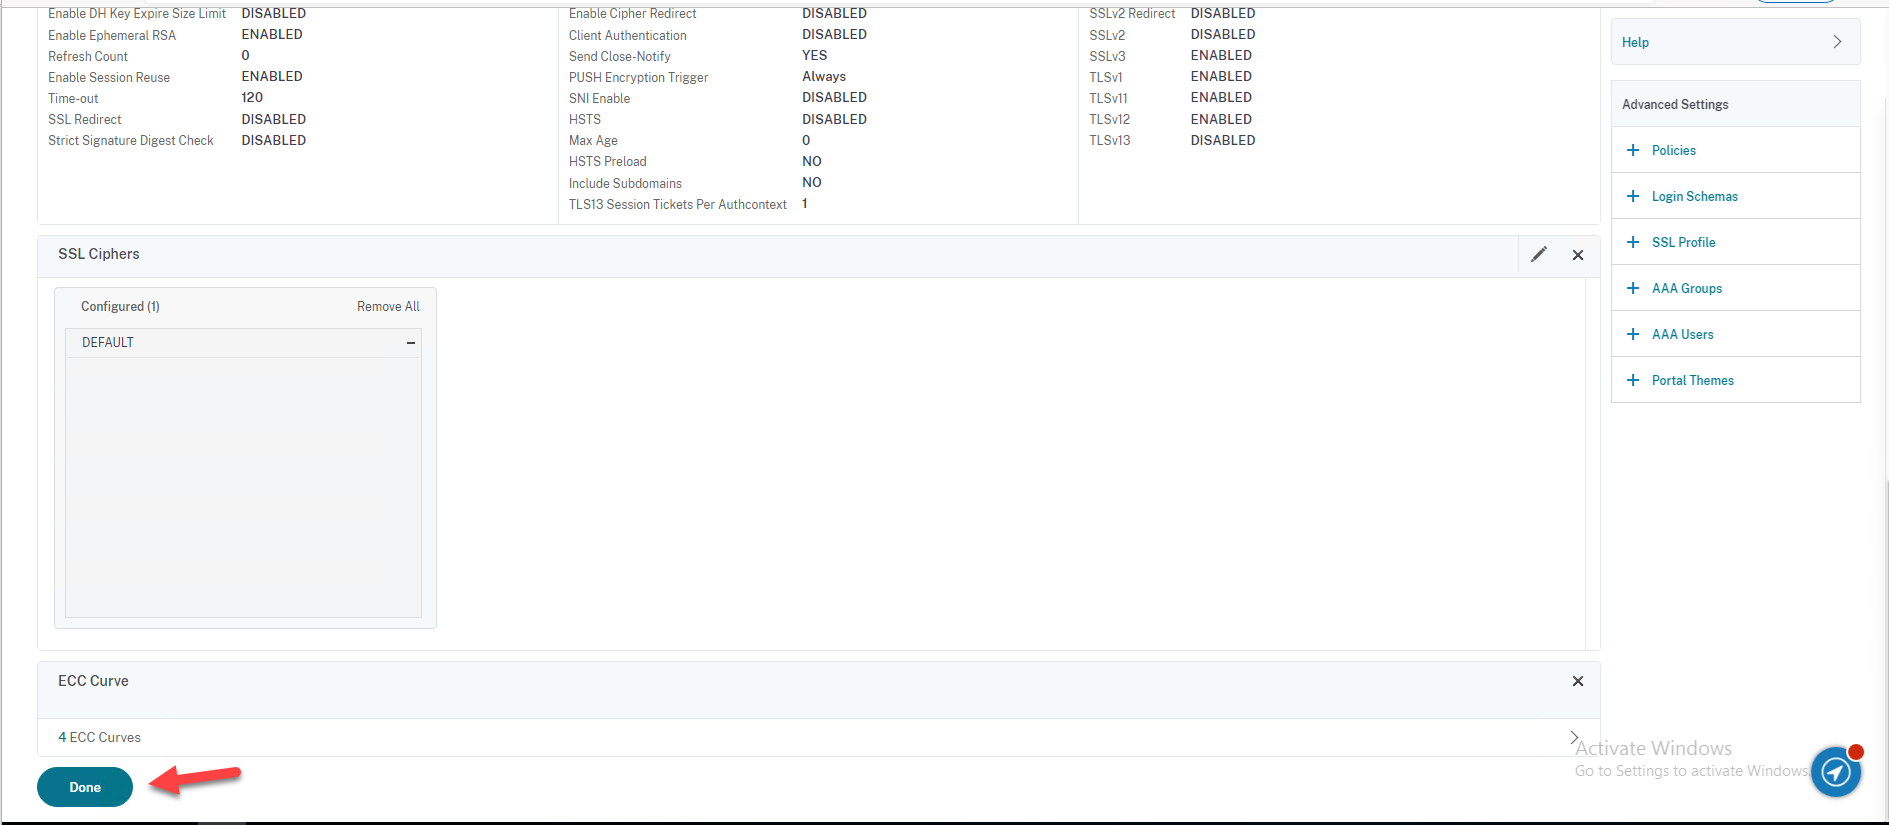
54.On the Advanced Authentication Policies page, click Continue.
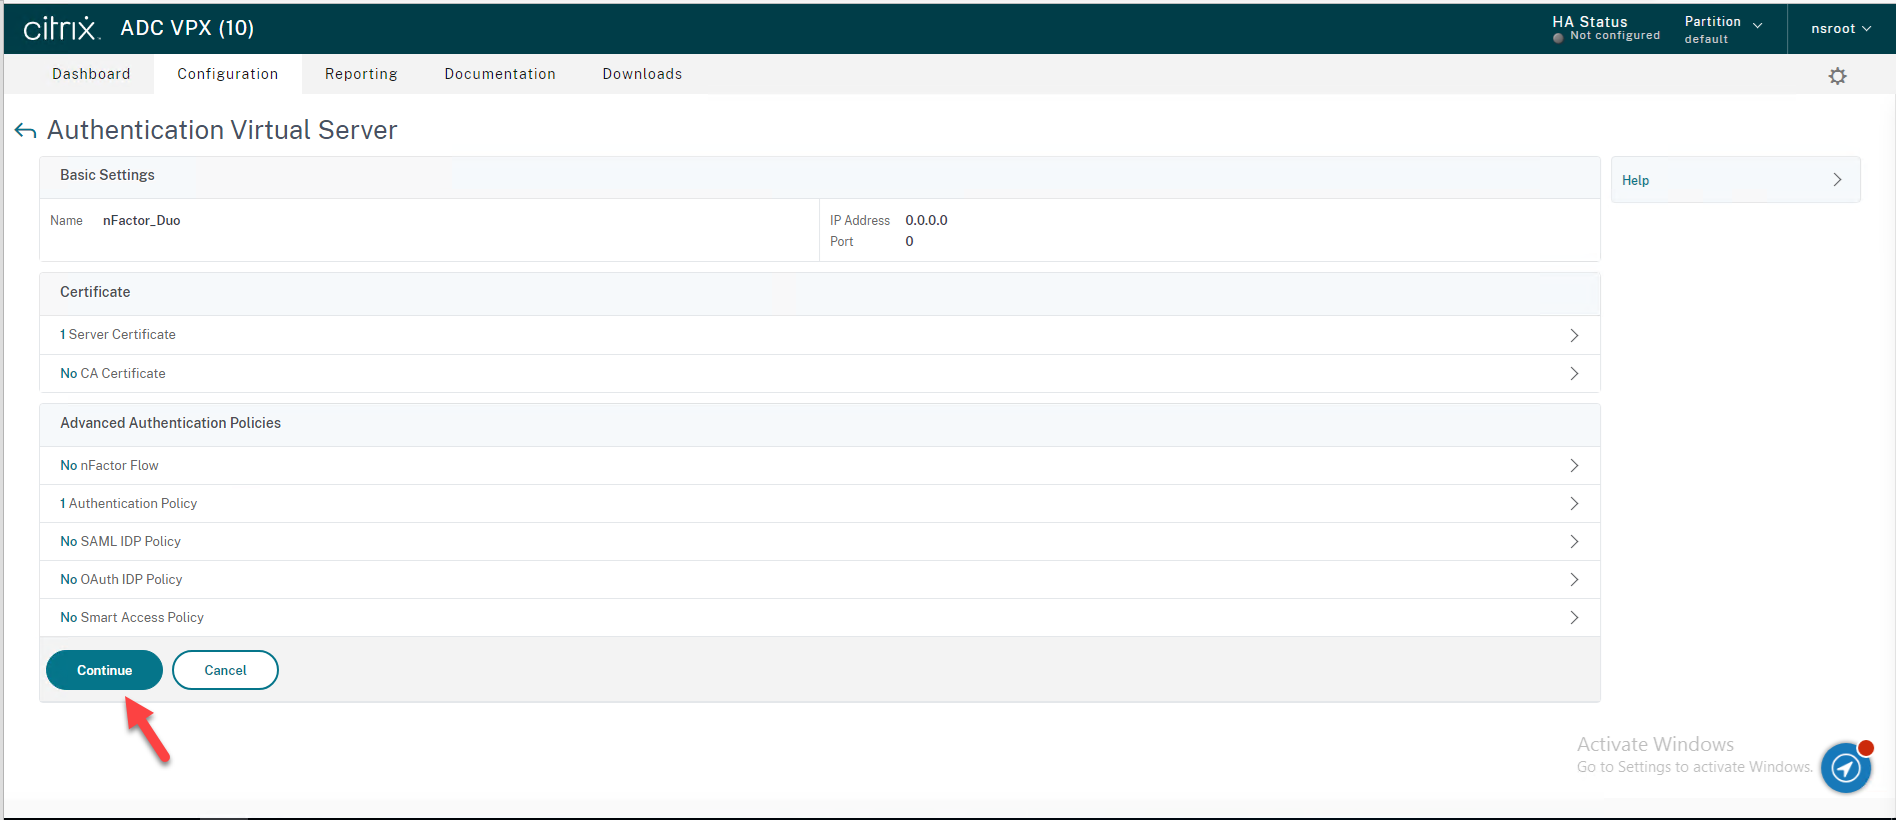
55.Click Done.
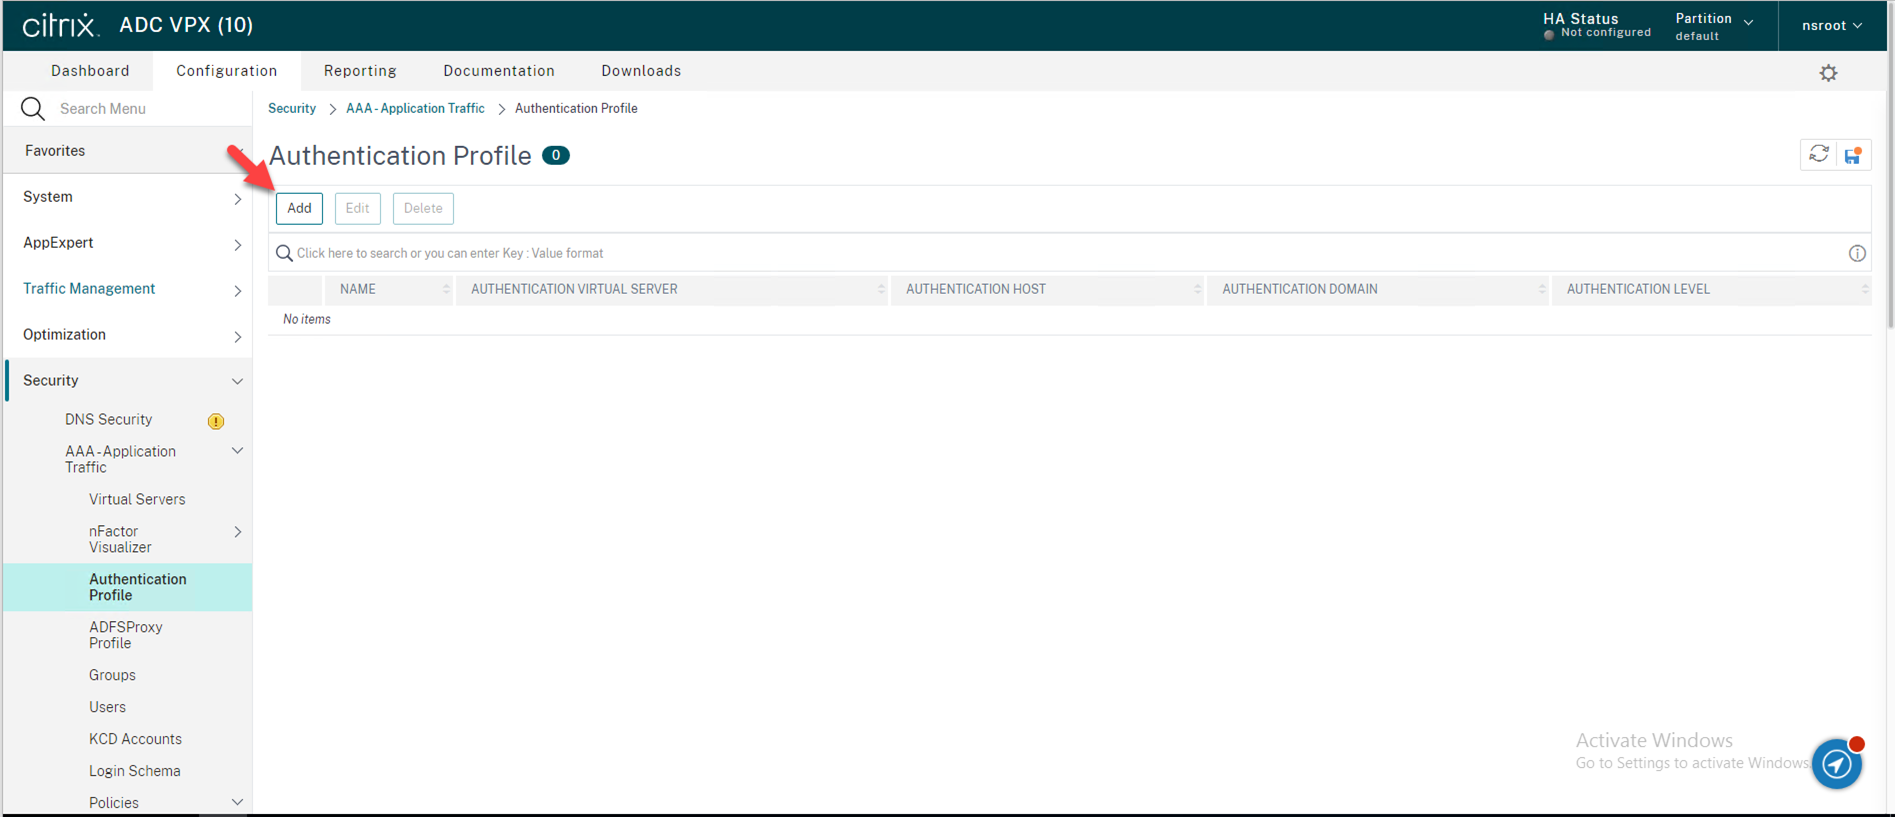
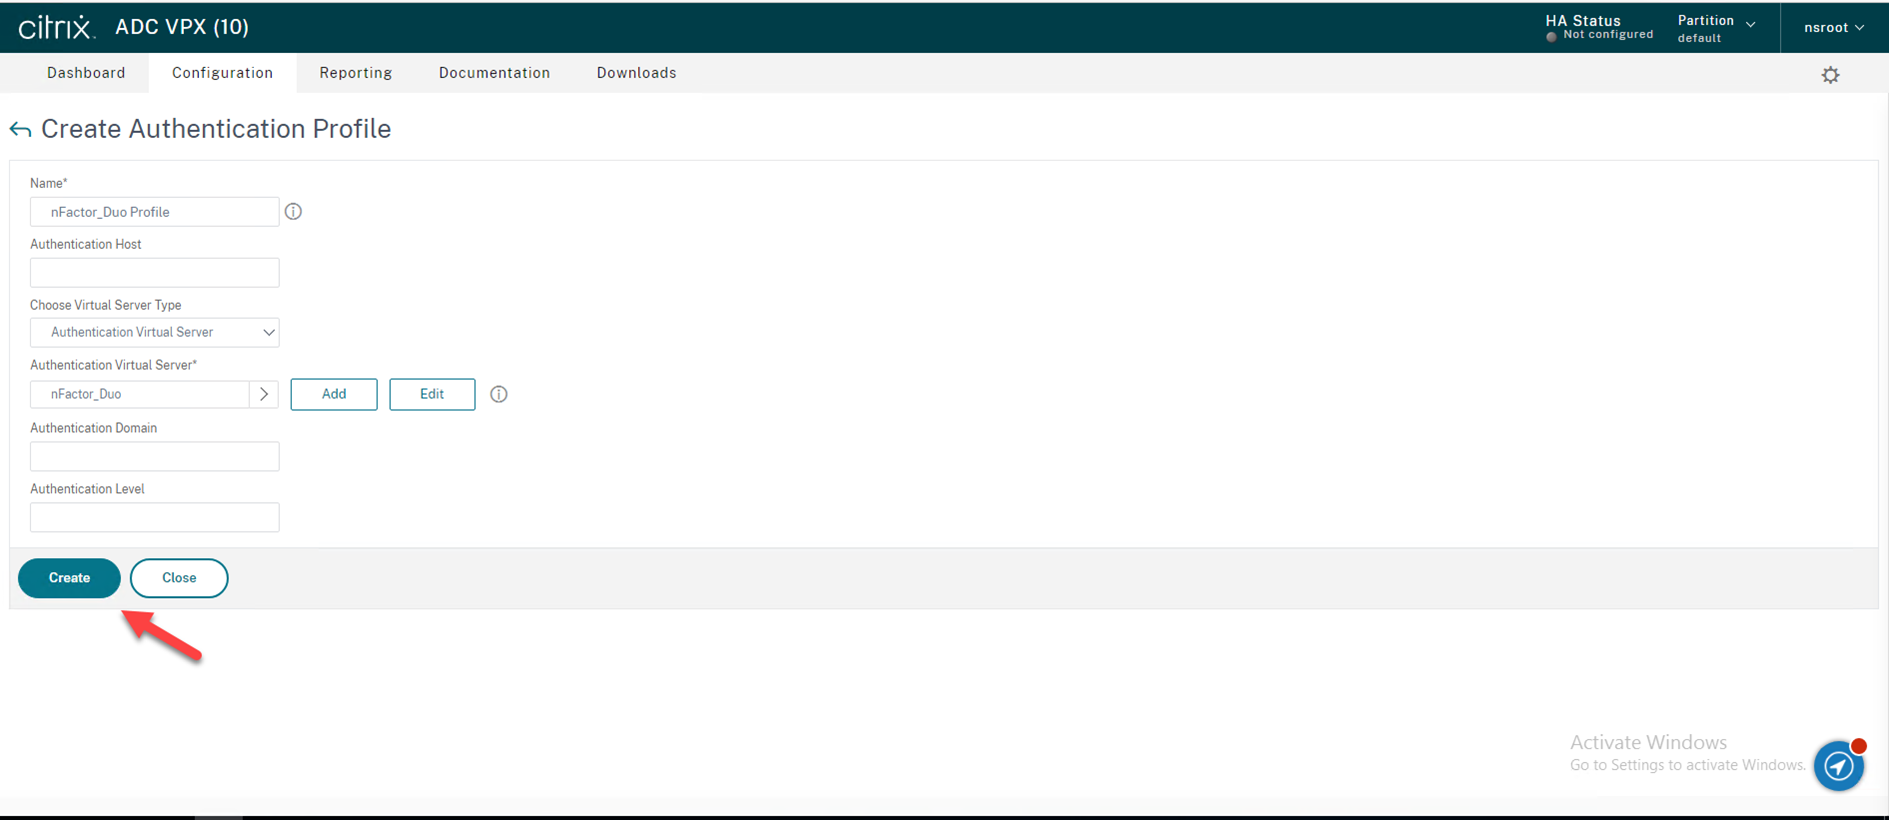
56.Create an Authentication Profile
Navigate to Security → AAA – Application Traffic → Authentication Profile in the left panel of the administrative interface, on the Authentication Profile page, Click Add.
57.Enter nFactor_Duo Profile as your Name of Authentication Profile, click Click to select under Authentication Virtual Server.
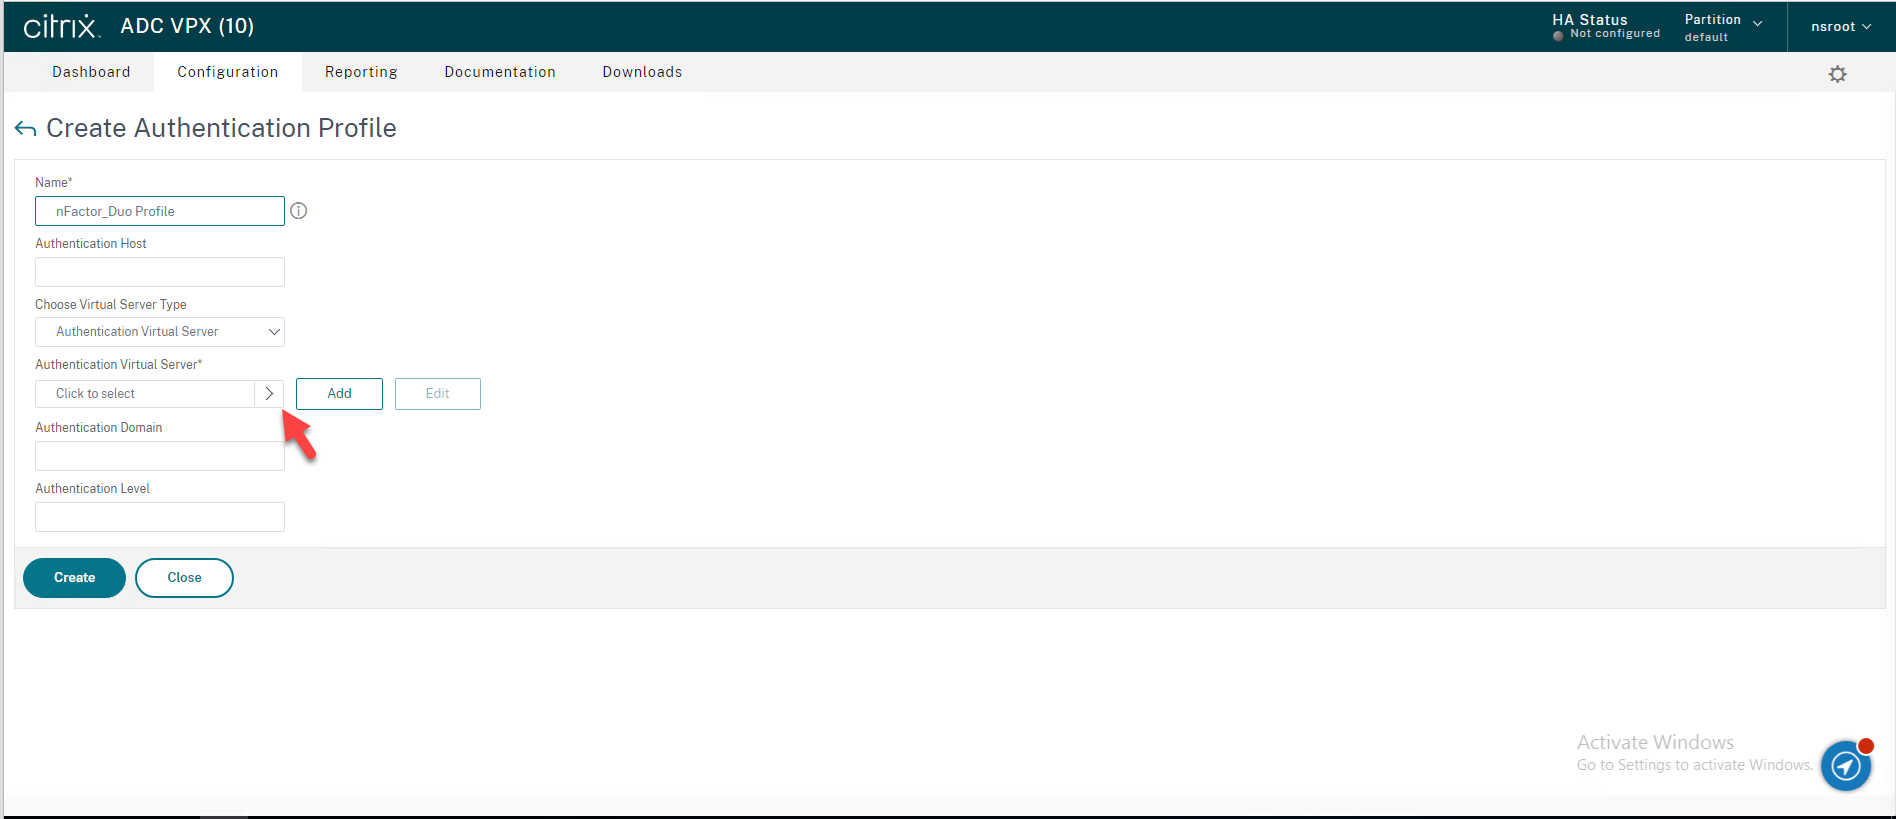
58.On the Authentication Virtual Servers page, select nFactor_duo which you just created previsoully, click Select.
59.On the Create Authentication Profile page, click Create.
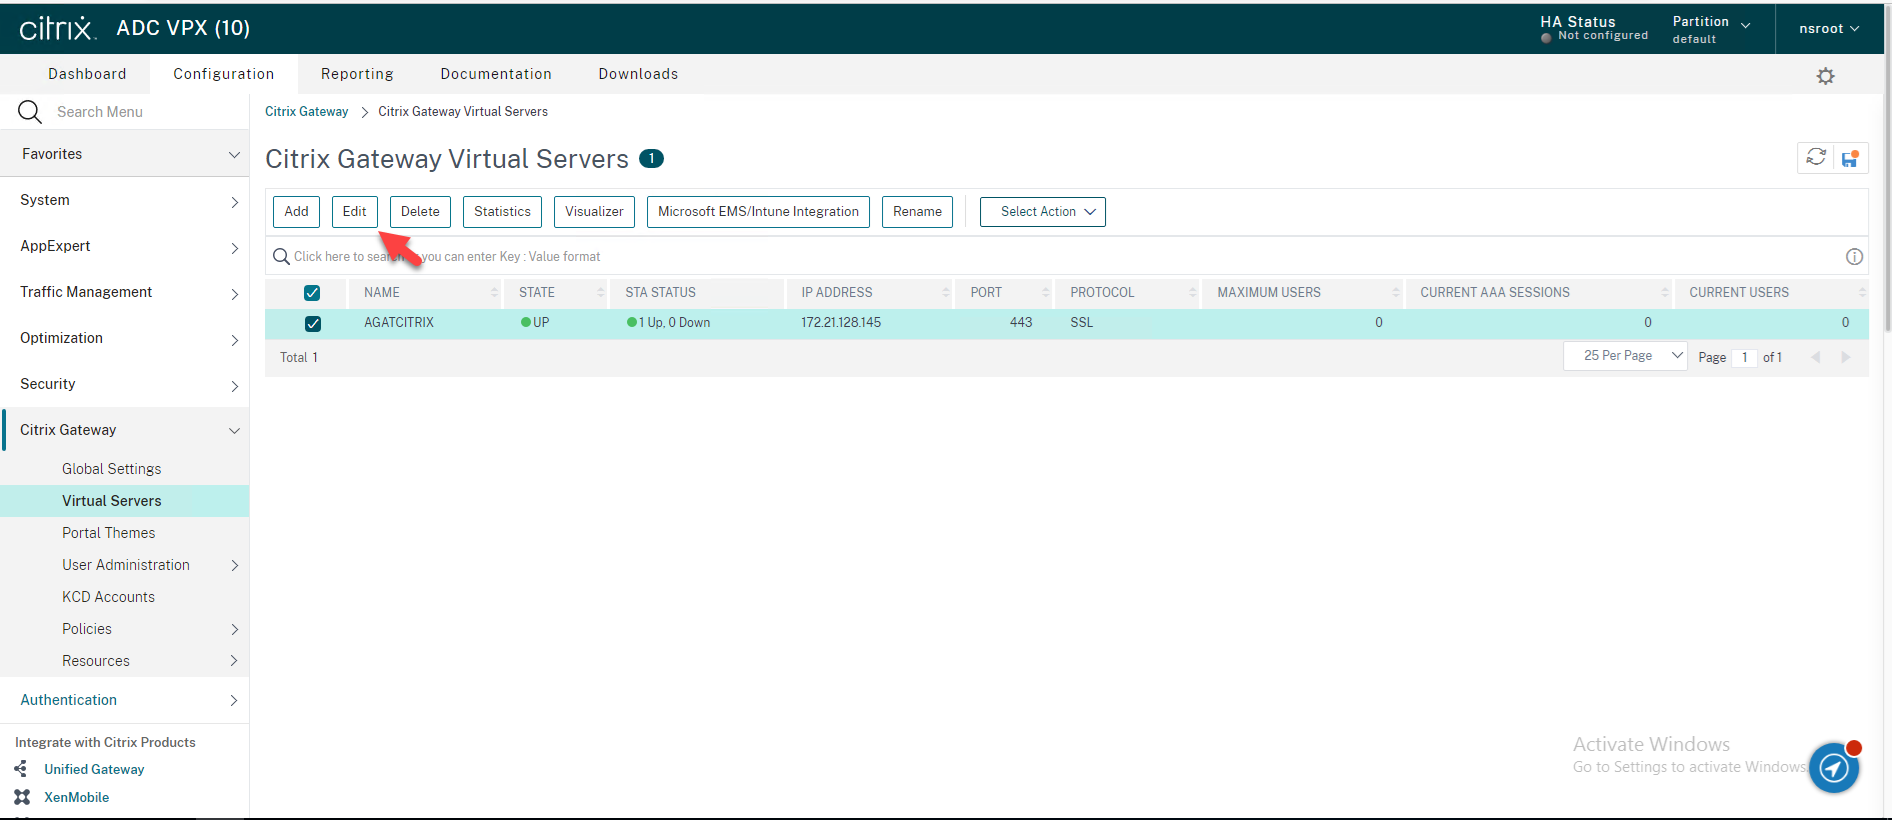
60.Add Authentication Profile to Unified Gateway
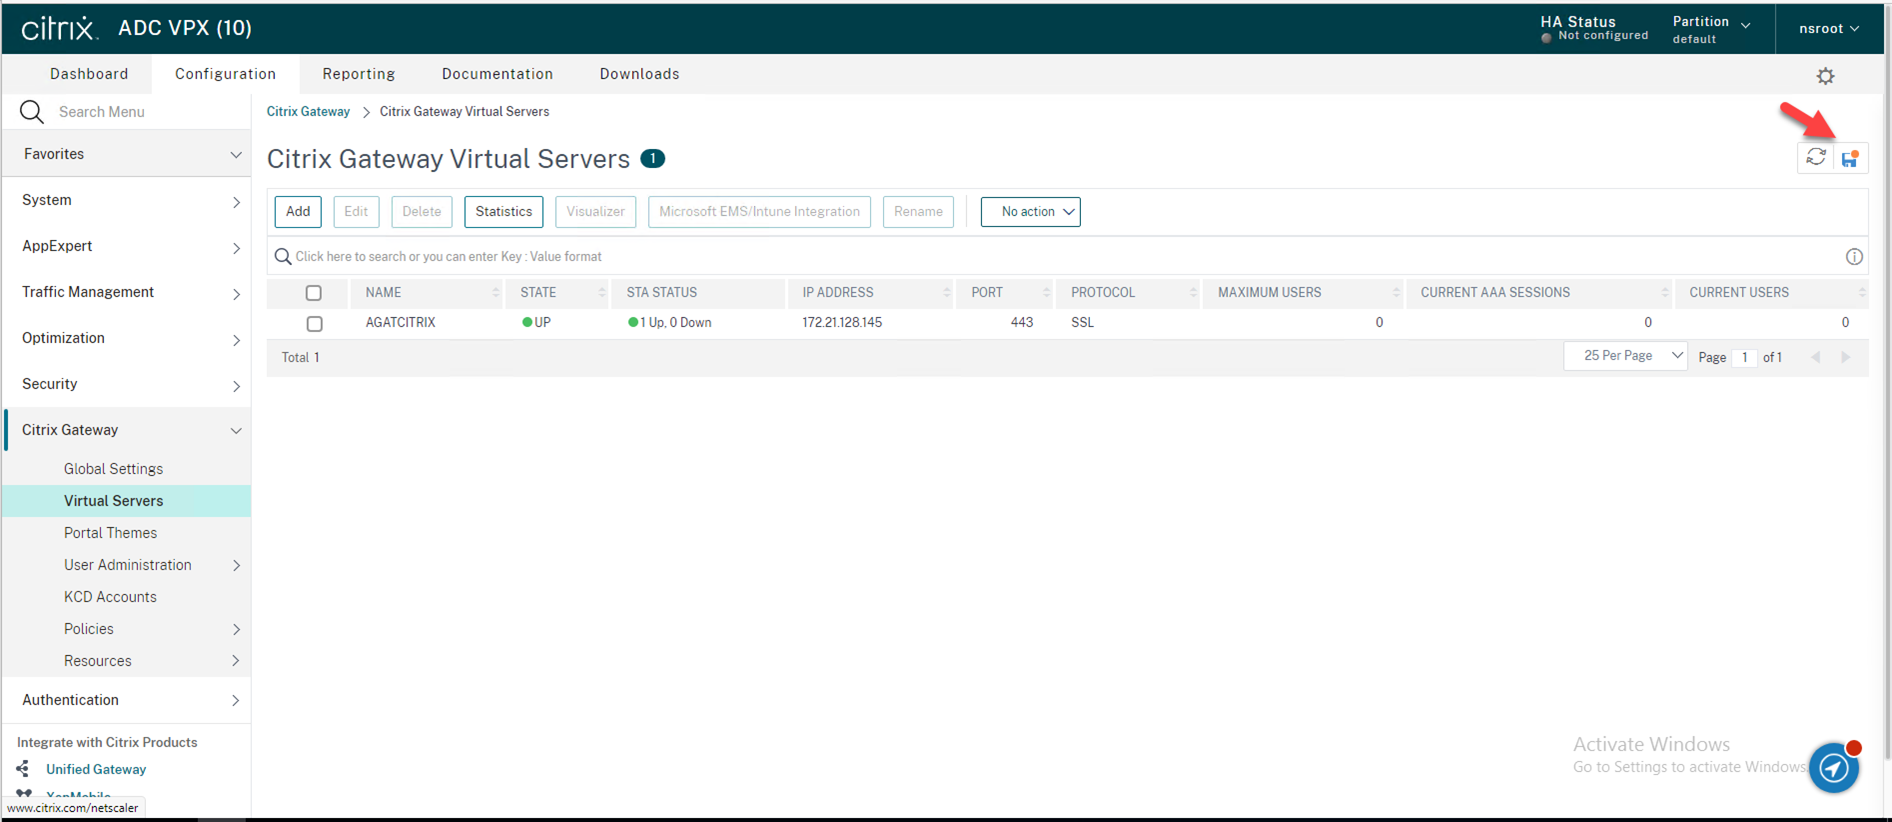
Navigate to Citrix Gateway → Virtual Servers in the left panel of the administrative interface.
Select your existing Citrix Gateway Virtual Server, and then click Edit
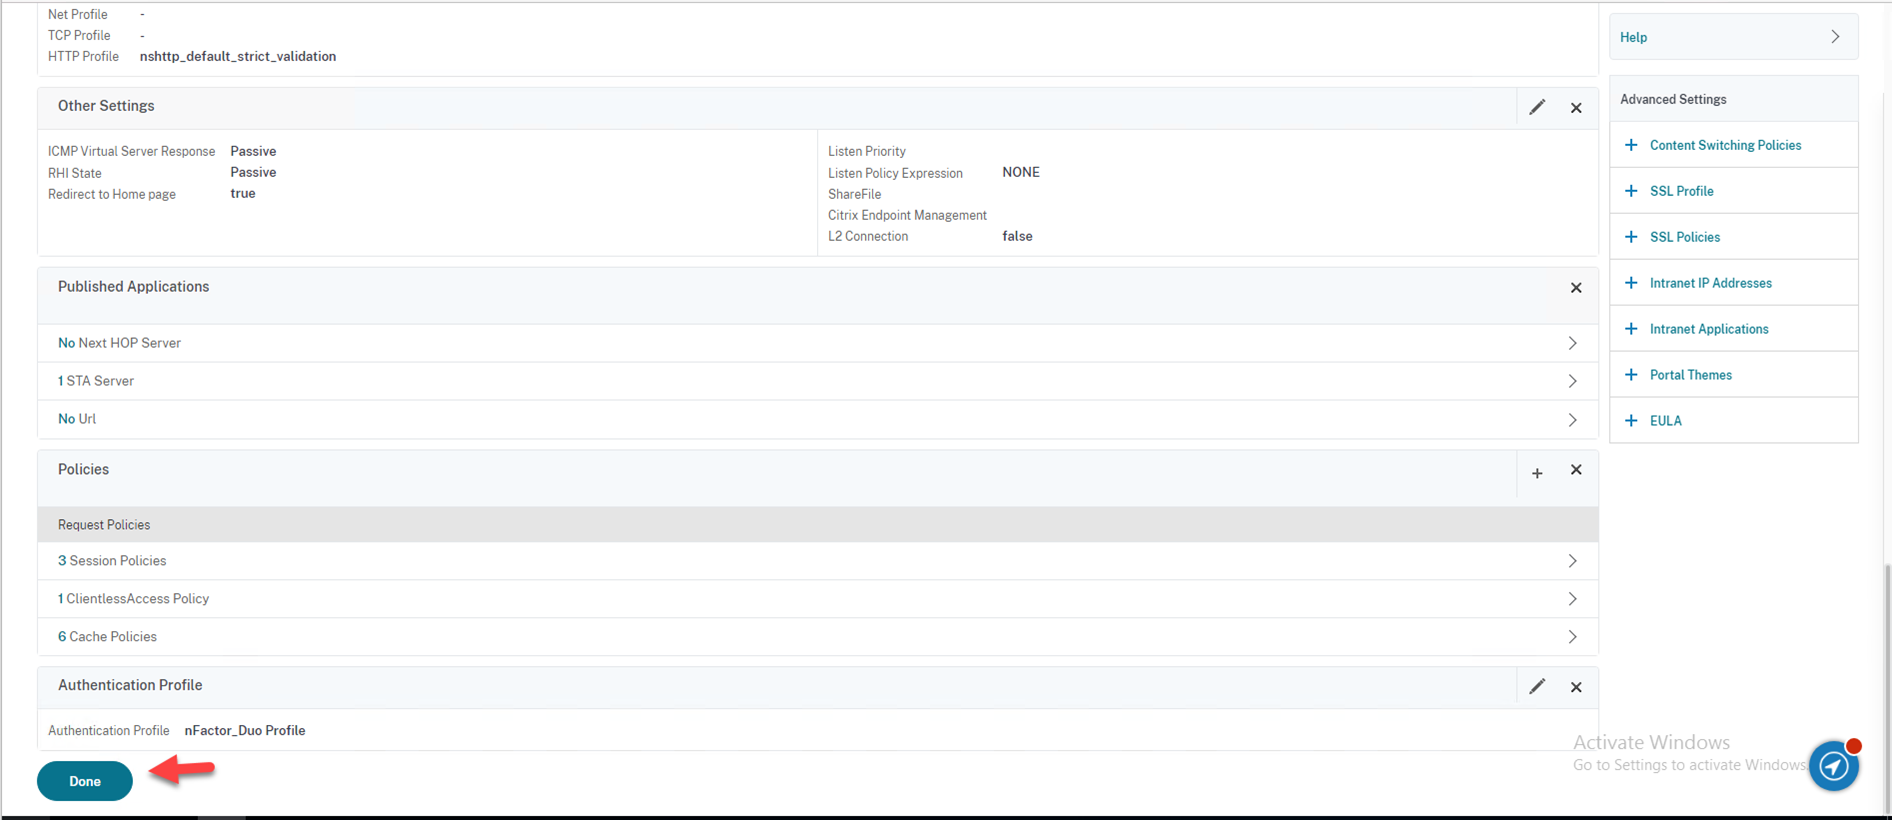
61.Click Authentication Profile within Advanced Settings in the right panel of the administrative interface, click Authentication Profile.
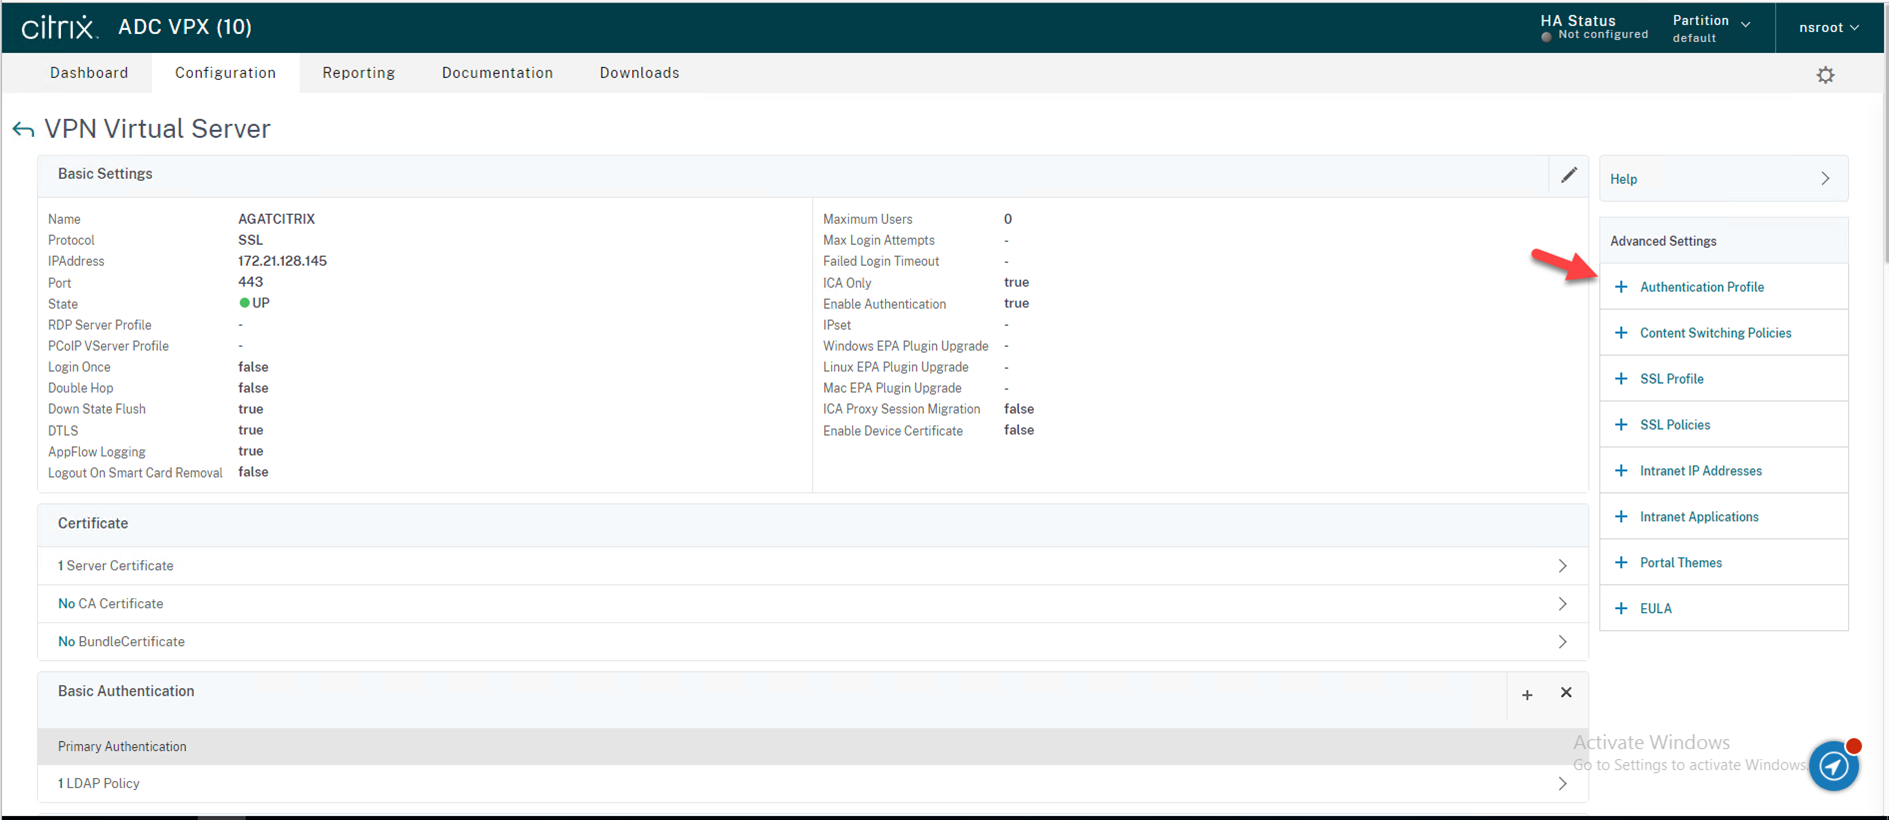
62.Select nFactor_Duo as your “Authentication Profile”

63.Click OK.

64.Click Done.
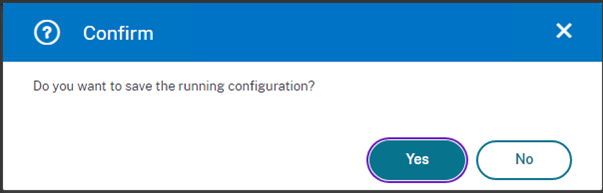
65.Save all of the changes made to the running config.
66.On the Confirm page, click Yes.
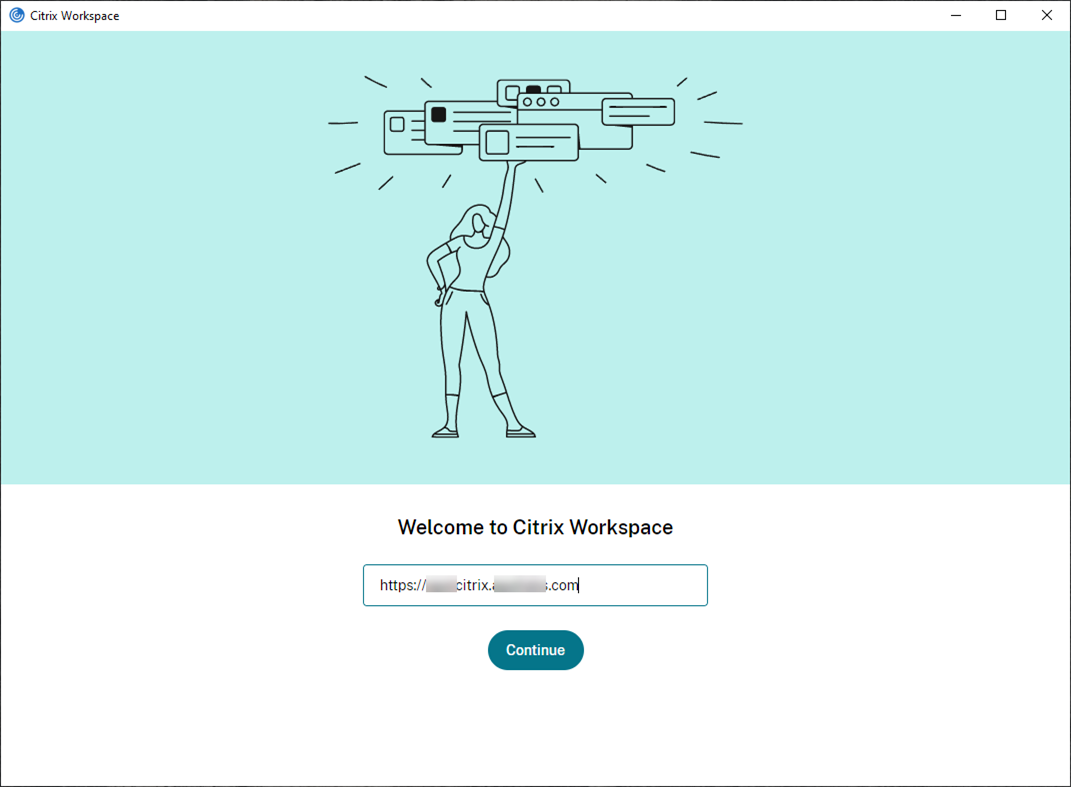
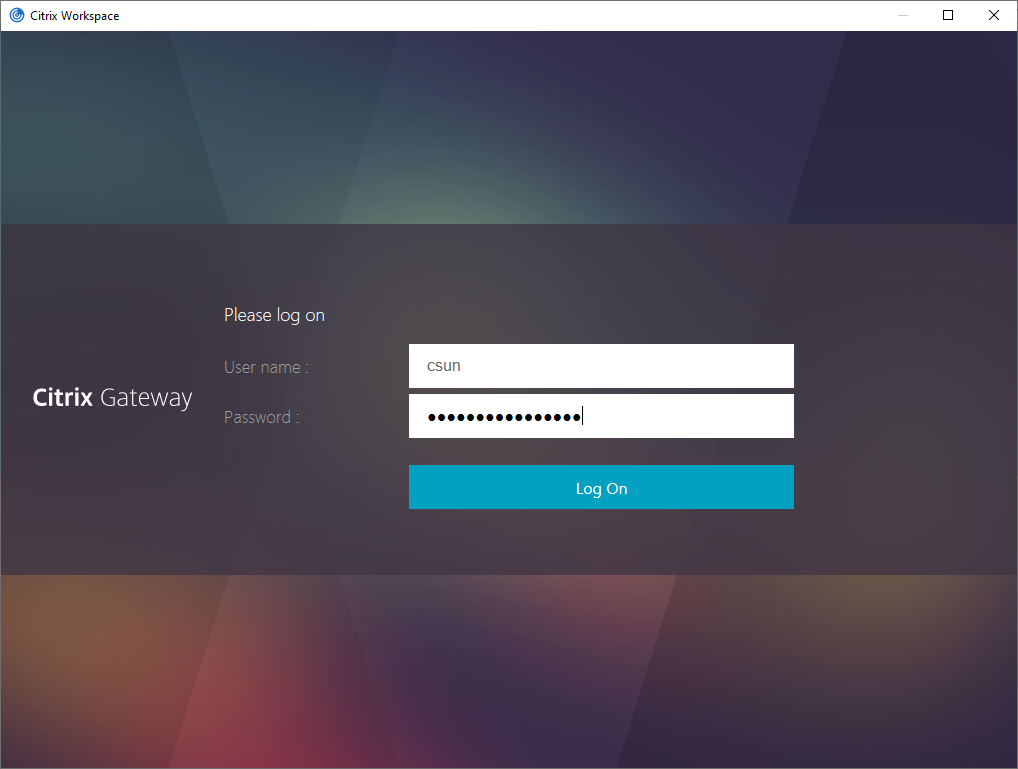
67.On the remote client machine, run Citrix Workspace, enter the citrix farm URL.
68.enter user name and password.
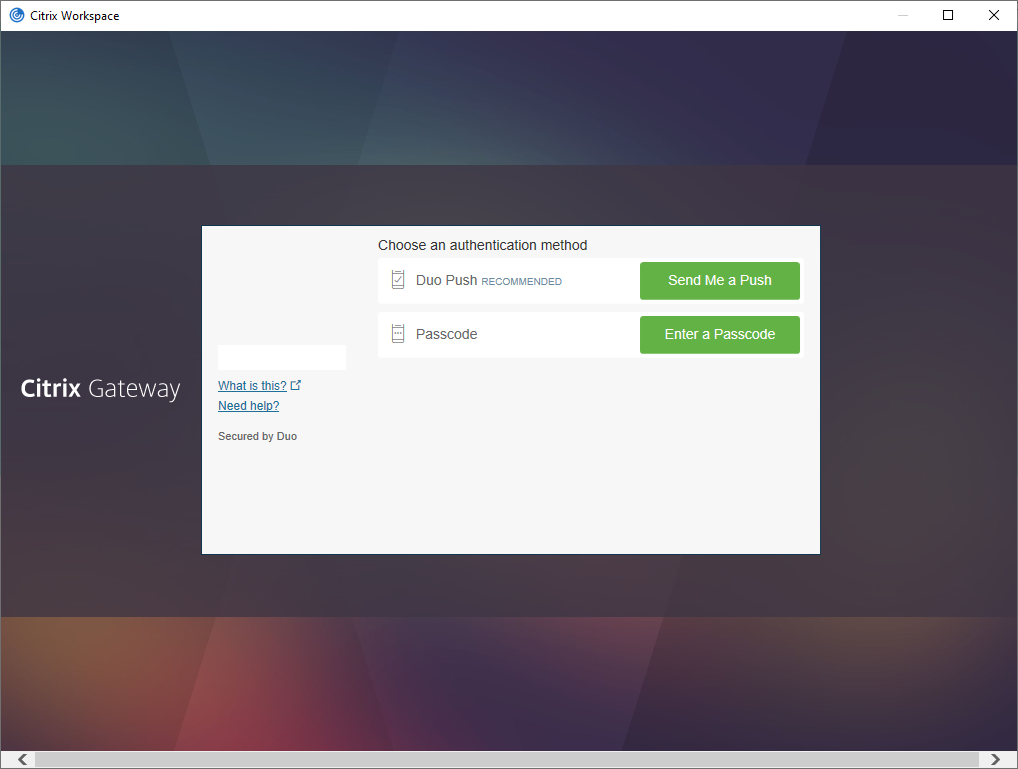
69.After you complete primary authentication, the Duo enrollment/login prompt appears, click Send Me a Push, click Approve from Duo App of your phone.
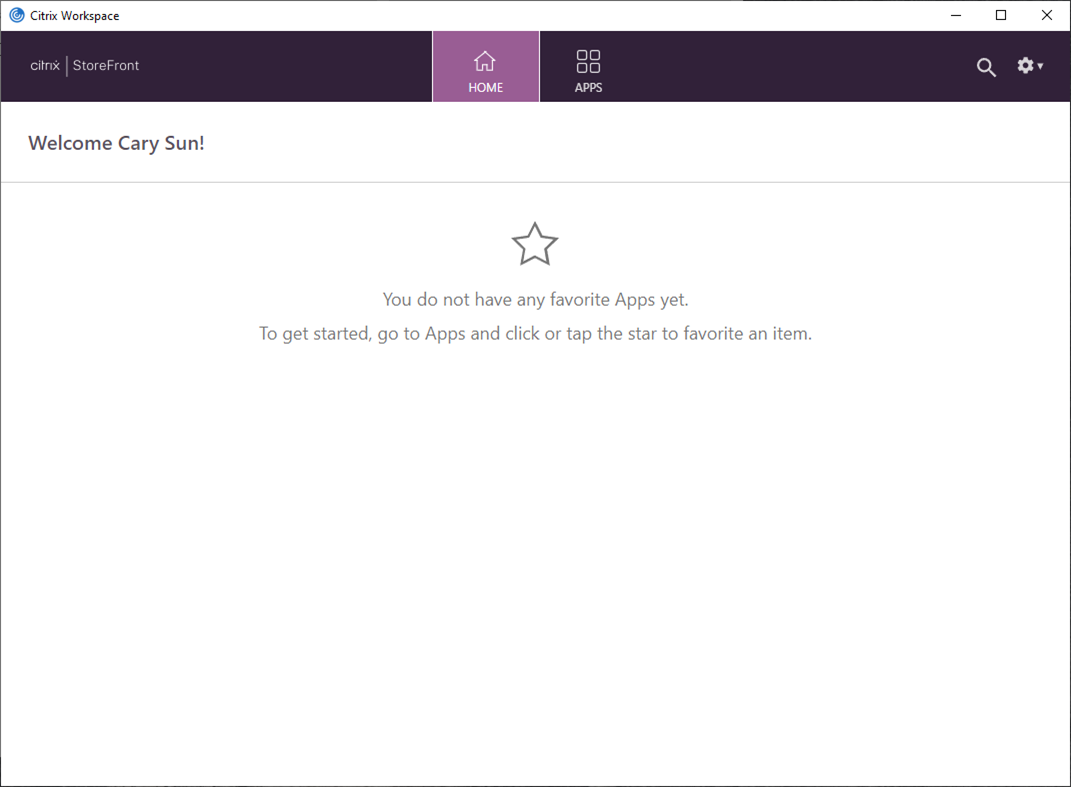
You will succeed to sign in and see the Welcome page.
Cary Sun
Twitter: @SifuSun
Web Site: carysun.com
Blog Site: checkyourlogs.net
Blog Site: gooddealmart.com