
Veeam released a version of Veeam Backup for Microsoft 365 v8 on September 11, 2024, and includes Immutable backups with the ability to store on any object storage, Enterprise scale and efficiency delivered by Veeam Proxy Pools, Backup for private and shared Teams channels, and Linux-based backup proxies…
The detailed information is below:
https://www.veeam.com/veeam_backup_m365_8_whats_new_wn.pdf
https://helpcenter.veeam.com/rn/veeam_backup_m365_8_release_notes.html
1.Login to Veeam Backup for the Microsoft 365 Manager server.
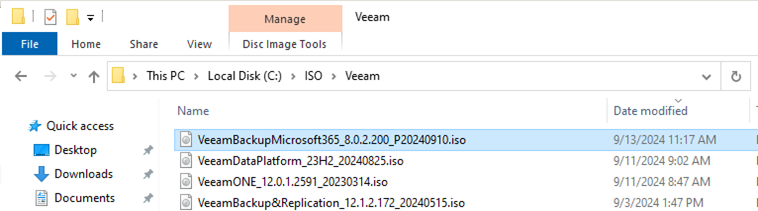
2.Sign in to your Veeam account and download the Veeam Backup for Microsoft 365 v8 ISO image.
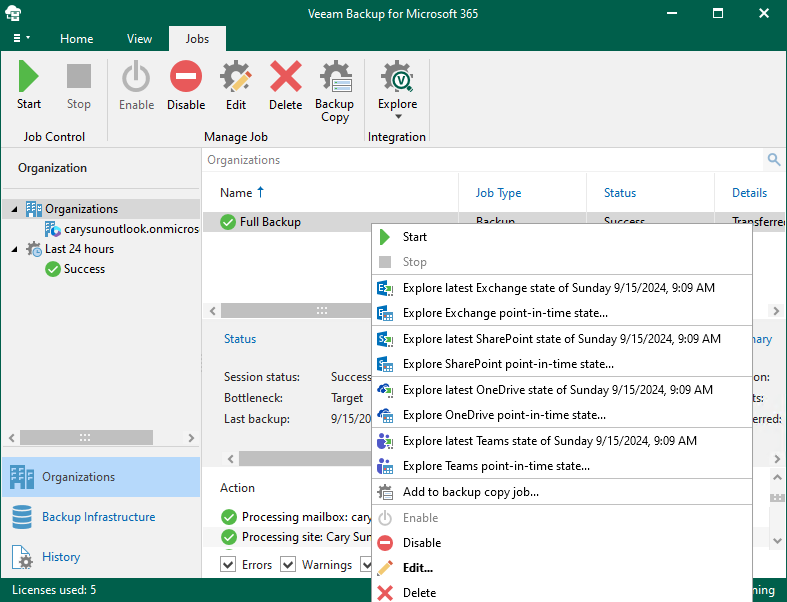
3.Open Veeam Backup for Microsoft 365 console.
4.Ensure all jobs are successful, disable them and close the console.
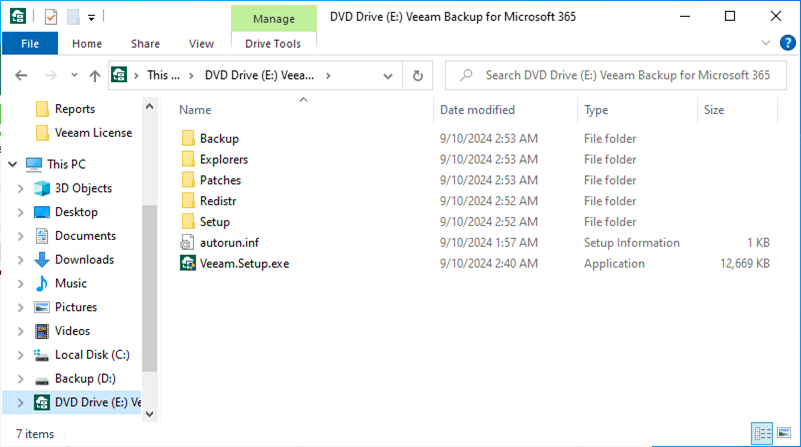
5.Mount Veeam Backup for Microsoft 365 v8 (VeeamBackupMicrosoft365_8.0.2.200_P20240910) ISO image file.
6.Double-click Veeam.Setup.exe.
7.Click Yes on the User Account Control page.
8.Click Update on the Veeam Backup for Microsoft 365 page.
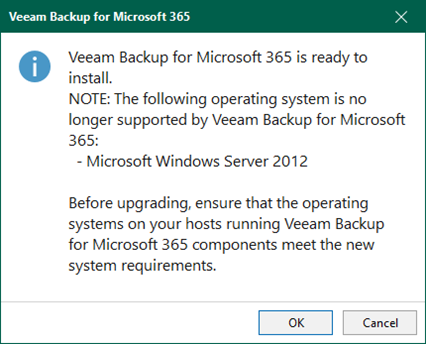
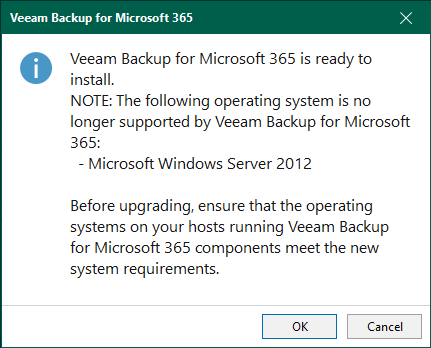
9.Ensure you don’t have any unsupported operating system and click OK.
10.Click I Accept on the License Agreement page.

11.There are two options to install the license. To use license file in my case.
12.Select Browse license file on the License page.
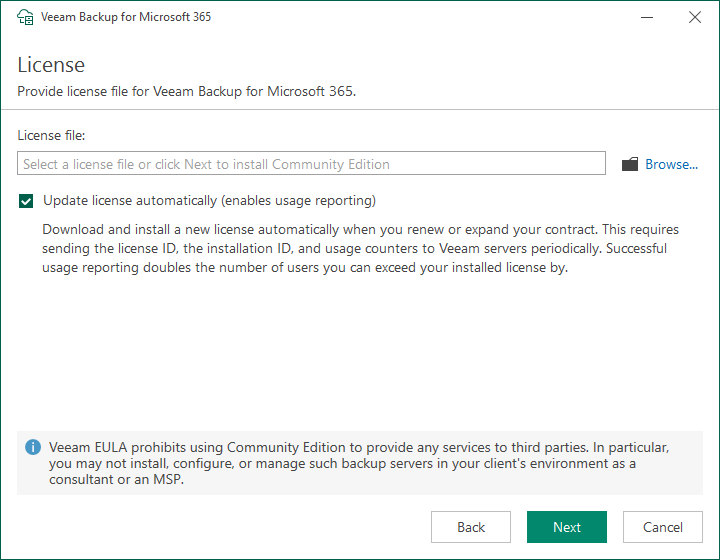
13.Select a valid license file for Veeam Backup for Microsoft 365 v8 and click Open.
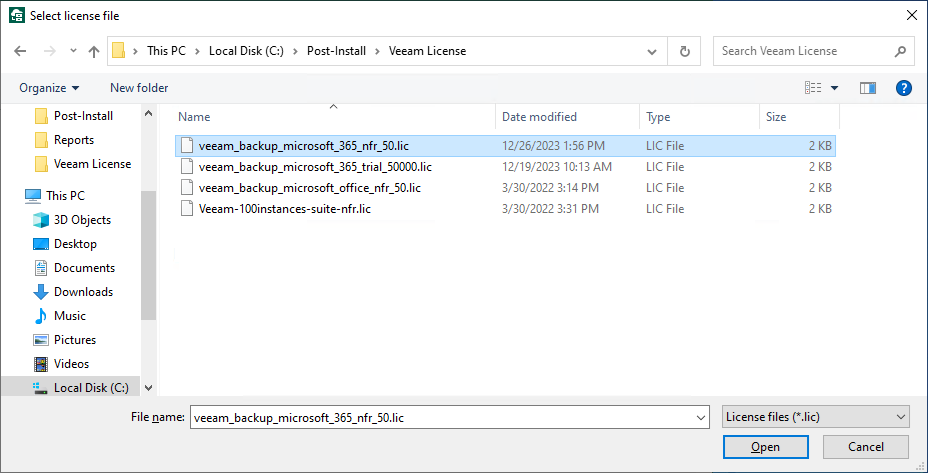
14.Click Next on the License page.

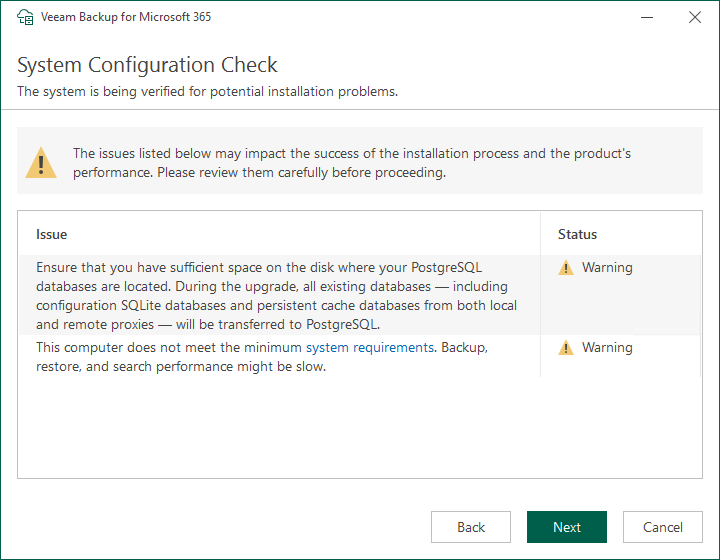
15.Please ensure the Veeam Backup for Microsoft 365 manager server meets the minimum system requirements.
16.The database will be transferred from SQL to PostgreSQL. Please ensure you have sufficient space on the disk and click Next.

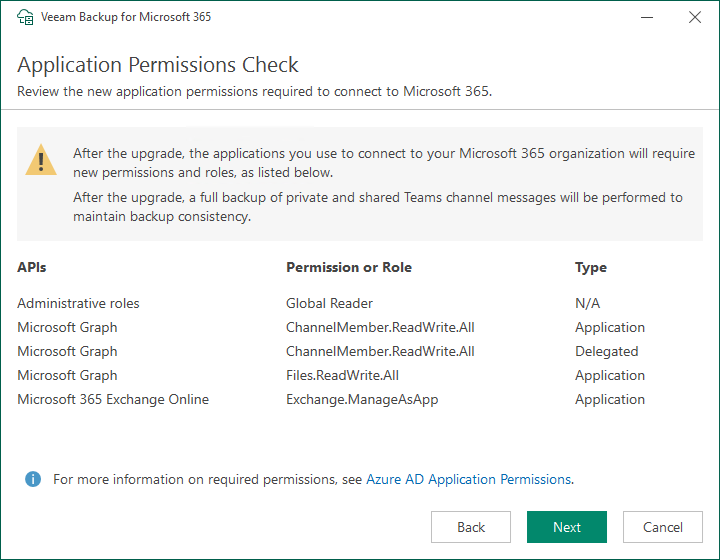
17.The new Application permissions and roles will required. Click Next on the Application Permissions Check.
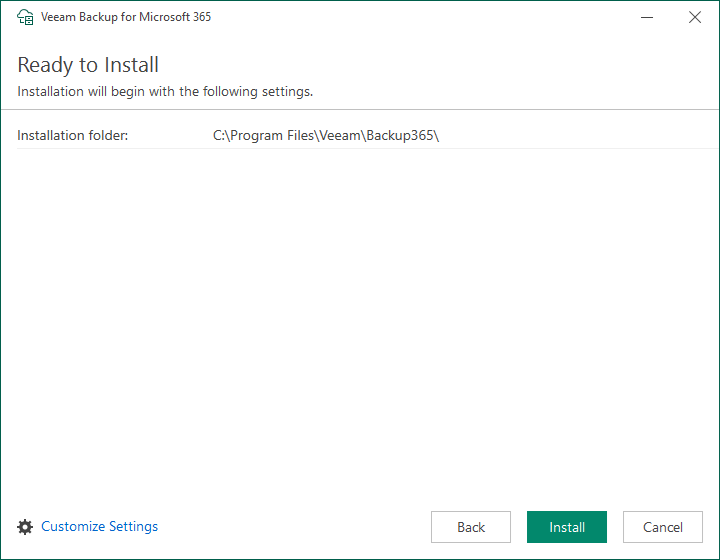
18.Click Install with the default settings on the Ready to Install page.
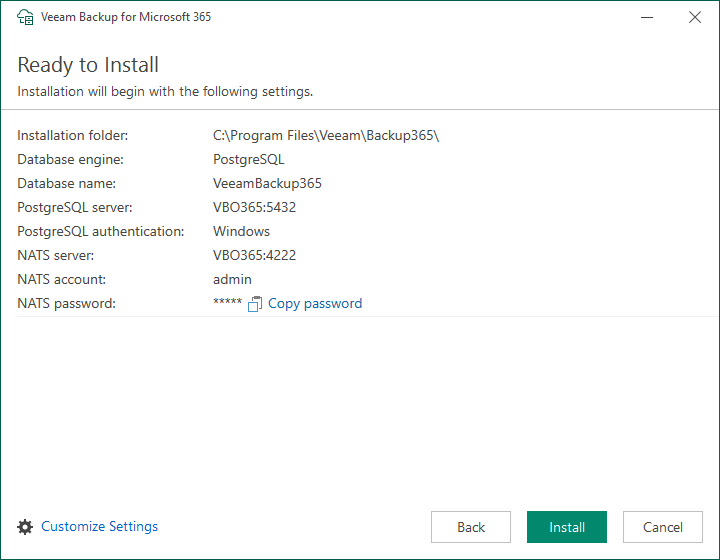
Note:
Veeam Backup for Microsoft 365 automatically generates a password to connect to the NATS server. If you install Veeam Backup for Microsoft 365 using the default installation options, click Copy password to copy the password and save it locally for later use.
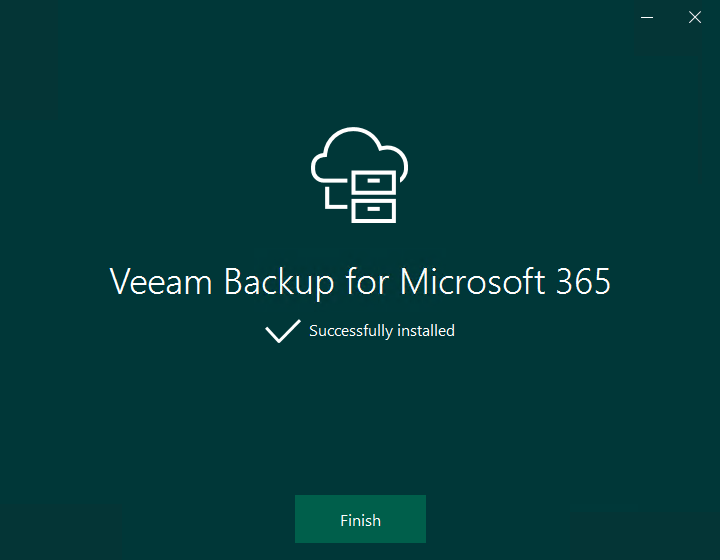
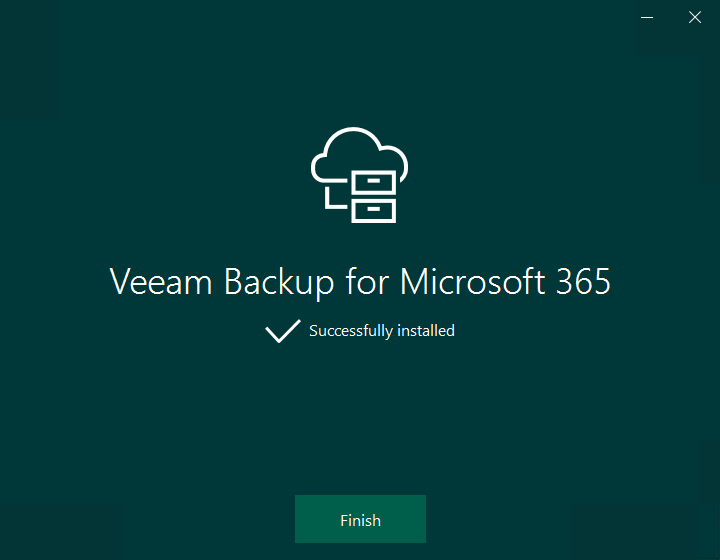
19.Click Finish on the Veeam Backup for Microsoft 365 Successfully installed page.
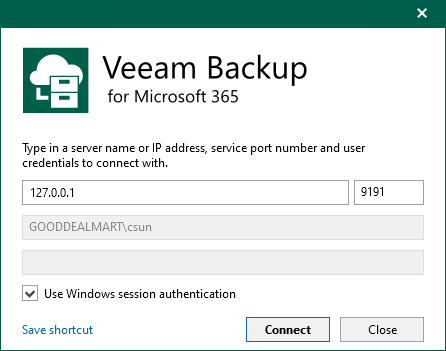
20.Open Veeam Backup for Microsoft 365 console and click Connect.
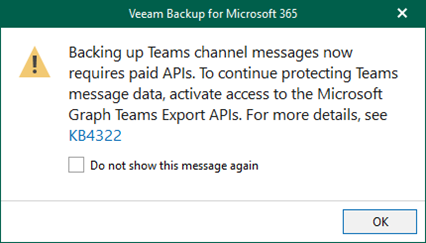
21.Click OK on the Backing up Teams channel messages now require paid APIs warning message.
Note:
You need to link your Azure subscription to your app registration for billing to access Microsoft Graph Export API for Teams. This is needed to enable Veeam Backup for Microsoft 365 6a and newer to utilize that API to protect Teams public channel posts.
The detailed information is below:
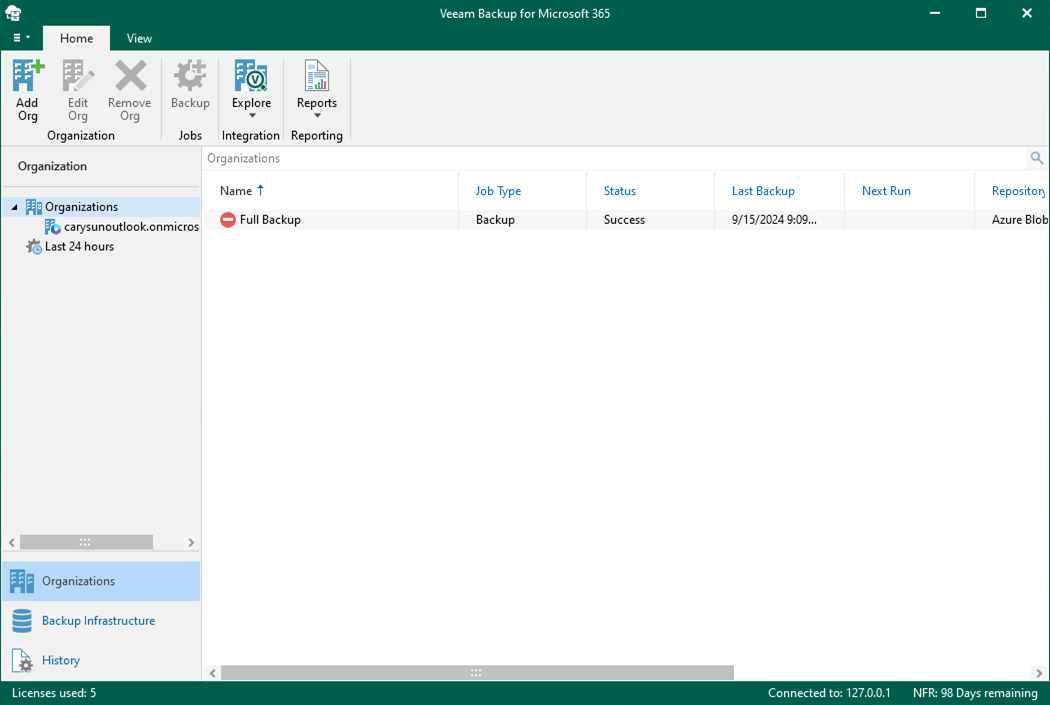
22.Select Backup Infrastructure on the Veeam Backup for Microsoft 365 Console.
23.Right-click the out-of-date Proxy servers and select Upgrade.

24.On the Upgrade page, select of the elect all if servers and click Next.
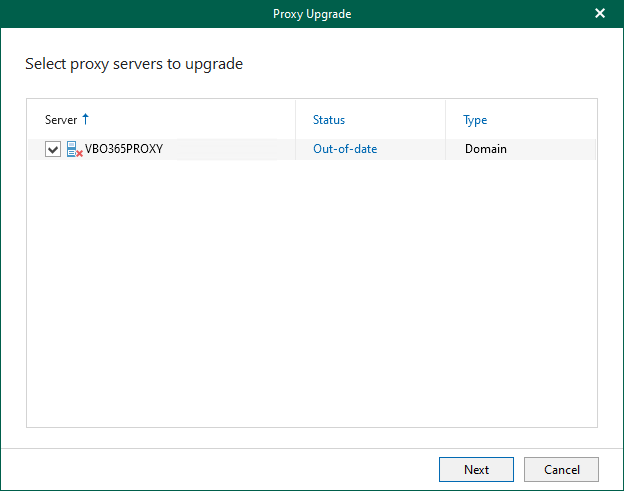
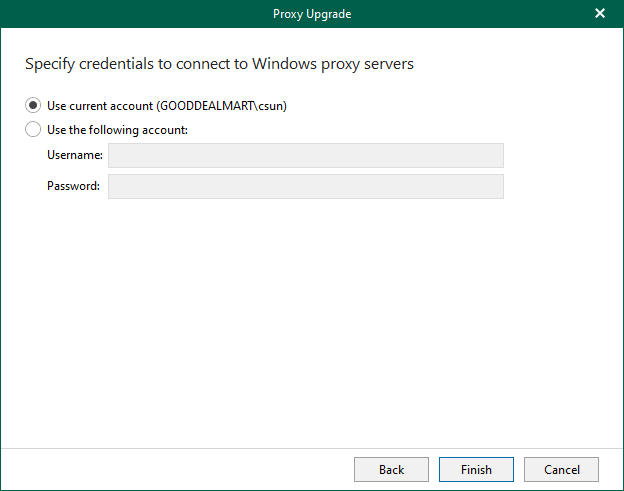
25.Click Finish on the Specify credentials to connect to proxy servers page.
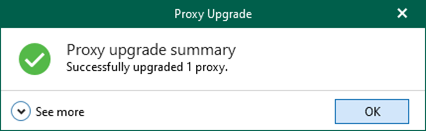
26.Ensure the Proxy Servers were successfully upgraded, click OK.
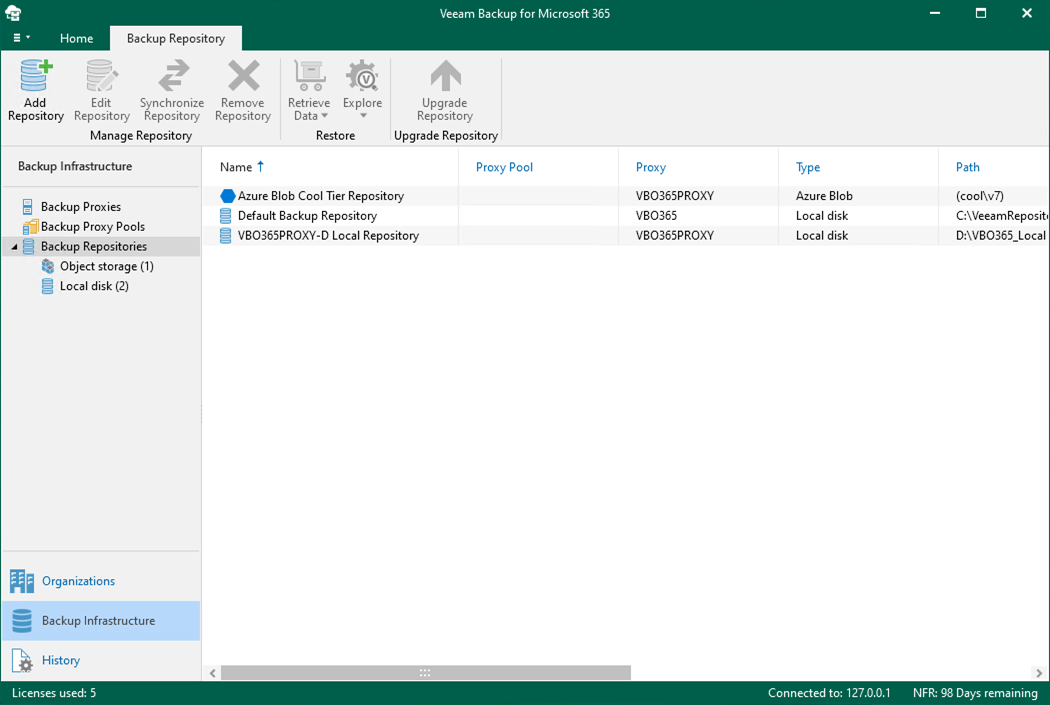
27.Right-click the out-of-date Repositories and select Upgrade.

28.Ensure there are no errors after the upgrade.
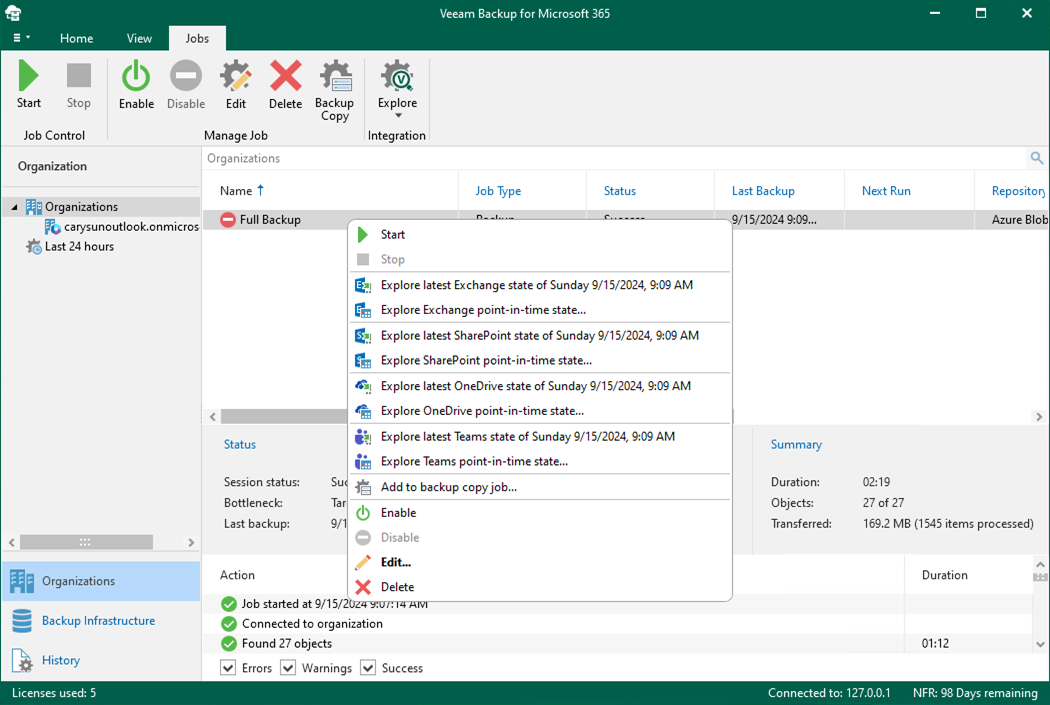
29.Select Organizations on the Veeam Backup for Microsoft 365 console.

30.Right-click Jobs. Select Enable.
31.Verify the Veeam Backup for Microsoft 365 version from Veeam Backup for Microsoft 365 console (Help |Abut).

32.Ensure the version is 8.0.200 P20240910.
33.If you are using REST API on a separate machine, log in to the machine.
34.Mount Veeam Backup for Microsoft 365 v8 (VeeamBackupMicrosoft365_8.0.2.200_P20240910) ISO image file.

35.Double-click Veeam.Setup.exe.

36.Click Yes on the User Account Control page.

37.Click Update on the Veeam Backup for Microsoft 365 page.
38.Ensure you don’t have any unsupported operating system and click OK.
39.Click I Accept on the License Agreement page.
40.Please ensure the Veeam Backup for Microsoft 365 REST API machine meets the minimum system requirements.
41.The database will be transferred from SQL to PostgreSQL. Please ensure you have sufficient space on the disk and click Next.
42.Click Install with the default settings on the Ready to Install page.
43.Click Finish on the Veeam Backup for Microsoft 365 Successfully installed page.
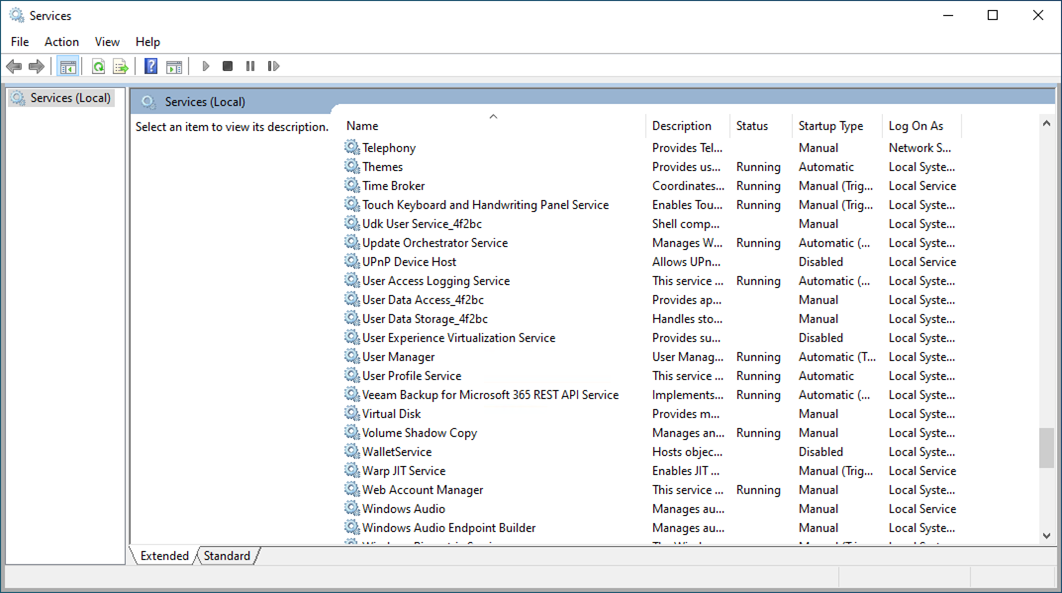
44.Check and ensure the Veeam Backup for Microsoft 365 REST API service is running.
I hope you enjoy this post.
Cary Sun
X: @SifuSun
Web Site: carysun.com
Blog Site: checkyourlogs.net
Blog Site: gooddealmart.com
Amazon Author: Amazon.com/author/carysun