
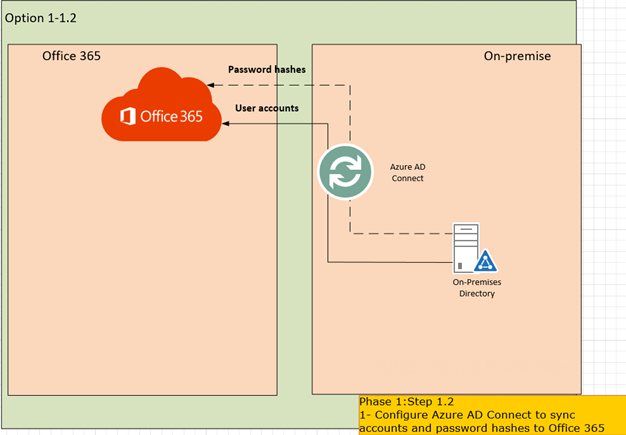
Have you been follow my previously post steps to add your domain to Office 365? if not please check my previously post and do it. If you did and then it’s time to deploy Azure AD connect to sync your on-premises AD to Azure AD (Office 365).
You can download and install Azure AD Connect to your ADFS server or you also can install it at your domain server if you won’t use ADFS server for your infrastructure. you can install Azure Ad Connect with Express settings but I recommend install it with Customized settings, because you can adjust settings to match your requirements.
Deployment Azure AD Connect
If you need a tool to connect your on-premises directory with Azure AD and Office 365, Azure AD Connect is the best way to do it. Azure AD Connect has two installation types for new installation: Express and customized.

Prerequisites
- It must be installed on Windows Server standard or better.
- It supports full GUI installed only.
- Azure AD Connect must be installed on Windows Server 2008 or later. This server may be a domain controller or a member server when using express settings. If you use custom settings, then the server can also be stand-alone and does not have to be joined to a domain.
- If you plan to use the feature password synchronization, then the Azure AD Connect server must be on Windows Server 2008 R2 SP1 or later.
- If you plan to use a group managed service account, then the Azure AD Connect server must be on Windows Server 2012 or later.
- Disable PowerShell Transcription Group Policy.
- .NET Framework 4.5.1 or later and Microsoft PowerShell 3.0 or later installed.
- If Active Directory Federation Services is being deployed, the servers where AD FS or Web Application Proxy are installed must be Windows Server 2012 R2 or later. Windows remote management must be enabled on these servers for remote installation.
- You need SSL Certificates if Active Directory Federation Services is being deployed
- An Azure AD Global Administrator account for the Azure AD tenant you wish to integrate with. This account must be a school or organization account and cannot be a Microsoft account.
- Create a A record for AD FS federation service name on both intranet and internet.
- Check the link for https://docs.microsoft.com/en-us/azure/active-directory/connect/active-directory-aadconnect-ports if you have firewalls on your intranet.
 Note NotePlease review the latest prerequires before Install. https://docs.microsoft.com/en-us/azure/active-directory/connect/active-directory-aadconnect-prerequisites
|
Install Azure AD Connect with Express settings

If you have a signal forest AD or User sign with the same password using password synchronization, then this is the recommended option to use.
Azure AD Connect Express Settings is used when you have a single-forest topology and password synchronization for authentication.
Before you start installing Azure AD Connect, make sure to download Azure AD Connect and complete the pre-requisite steps in Azure AD Connect: Hardware and prerequisites.
- Sign in as a local Administrator to Azure AD Connect Server.
-
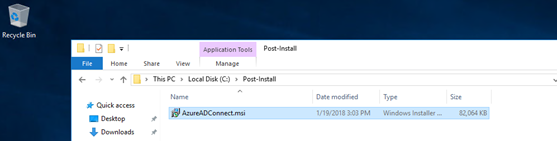
Navigate to and double-click AzureADConnect.msi.
-
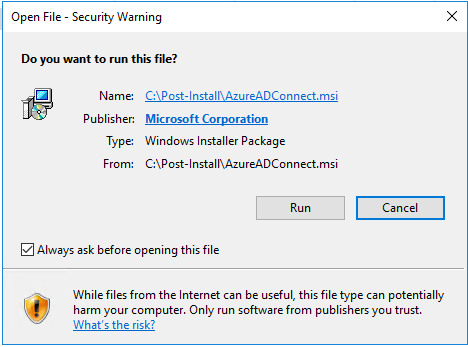
On the Security Warning page, click Run.
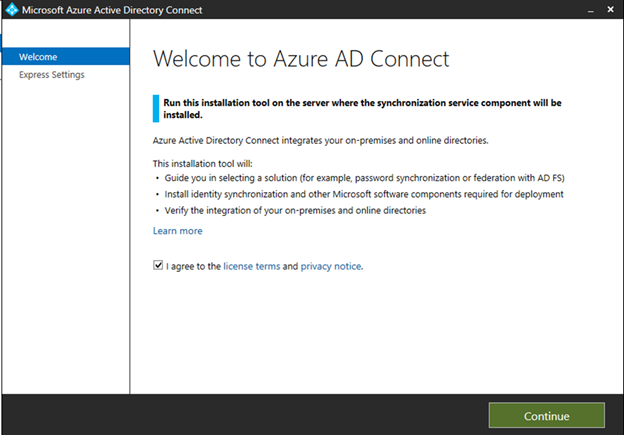
- On the Welcome screen, select the box agreeing to the licensing terms and click Continue.
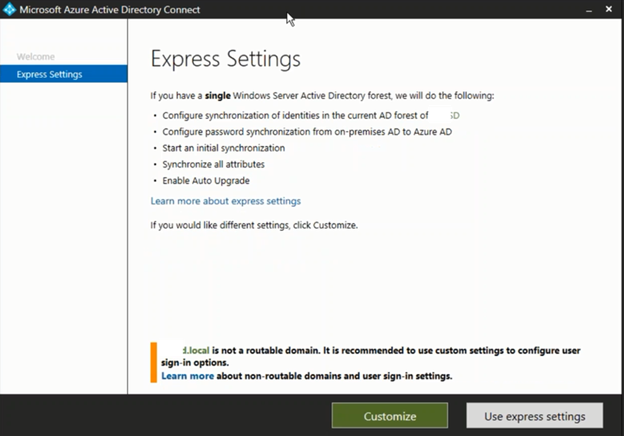
5. On the Express settings screen, click Use express settings.

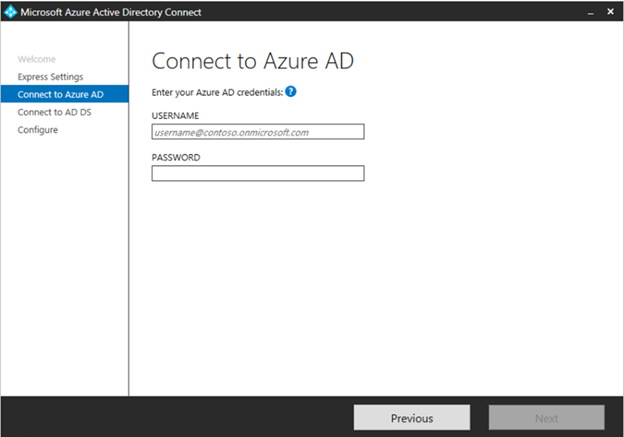
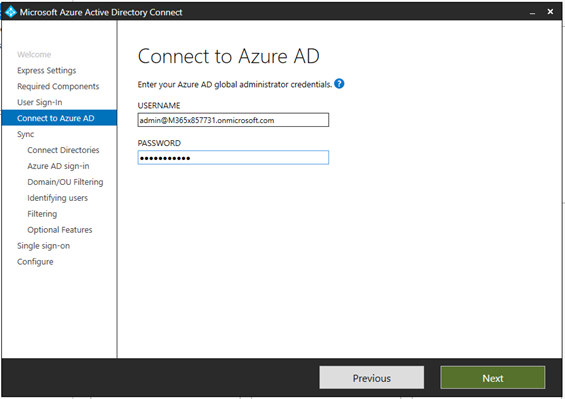
6. On the Enter your Azure AD credentials page, enter the username and password of a global administrator for your Azure AD. Click Next.
7. On the Enter the Active Directory Services enterprise administrator credentials page, enter the username and password for an enterprise admin account. You can enter the domain part in either NetBIOS or FQDN format, Click Next.

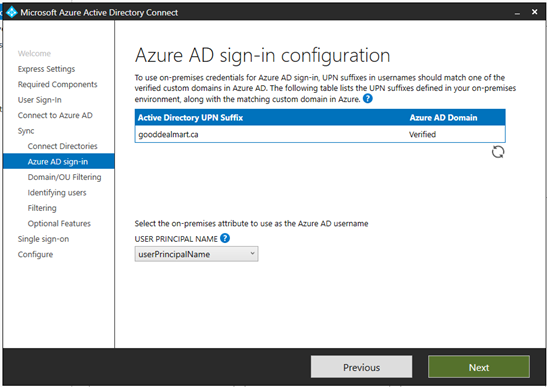
The Azure AD sign-in configuration page only shows if you did not complete verify your domains in the prerequisites. If you see this page, then review every domain marked Not Added and Not Verified. Make sure those domains you use have been verified in Azure AD. Click the Refresh symbol when you have verified your domains.
|


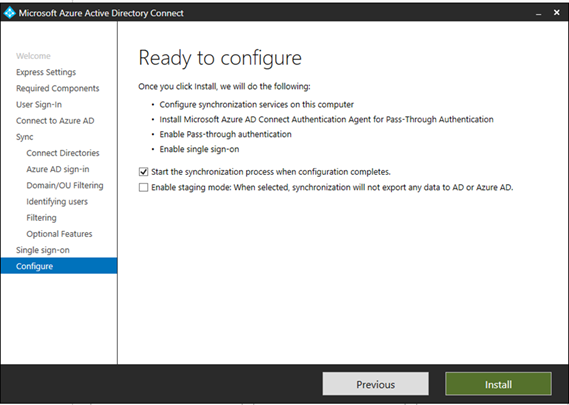
8. On the Ready to configure screen, click Install.

If you have Exchange in your on-premises Active Directory, then you also have an option to enable Exchange Hybrid deployment. Enable this option if you plan to have Exchange mailboxes both in the cloud and on-premises at the same time. |

9. When the installation completes, click Exit.
10. After the installation has completed, sign off and sign in again before you use Synchronization Service Manager or Synchronization Rule Editor.
Install Azure AD Connect with Customized settings
If you have multiple forests or you need to customized your sign-in option or customize synchronization feature, then this is the recommended option to use.
- If your internal domain is not a routable domain, you need to select the customization settings to configure user sign-in.
-
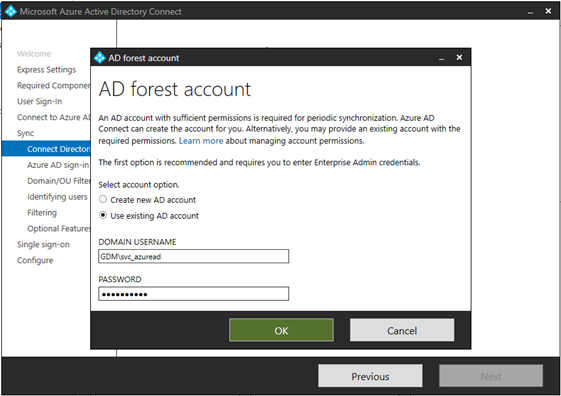
On the Install required components page, check Use an existing service account and type service account name and password, click Install.
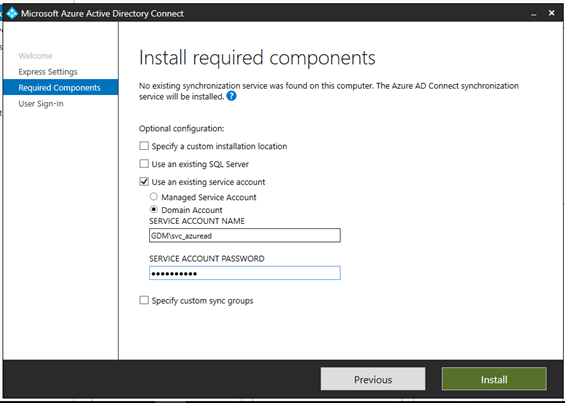
 Note NoteBy default Azure AD Connect uses a virtual service account for the synchronization services to use. If you use a remote SQL server or use a proxy that requires authentication, you need to use a managed service account or use a service account in the domain and know the password. In those cases, enter the account to use. Make sure the user running the installation is an SA in SQL so a login for the service account can be created |
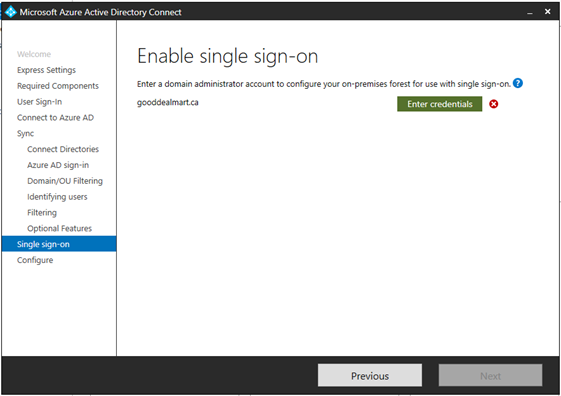
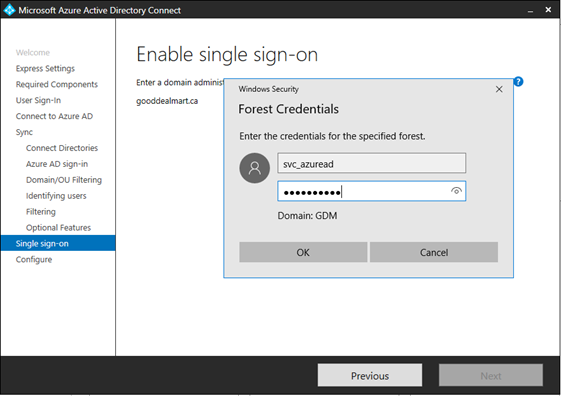
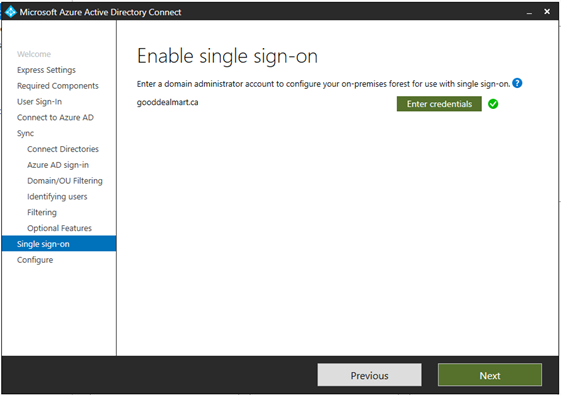
4. On User sign-in page, select pass-through authentication to be the Sign On method, users can sign in to Office 365 using the same password as on-premises network, also, select Enable sign sign-on and then click Next.
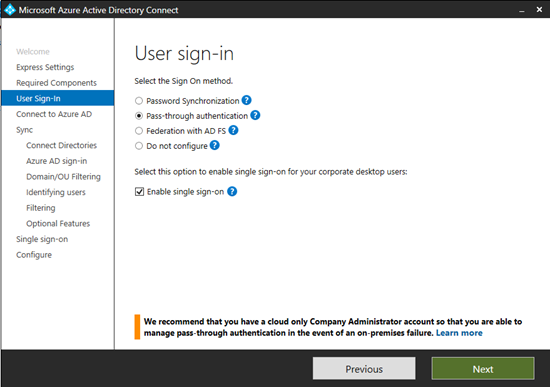
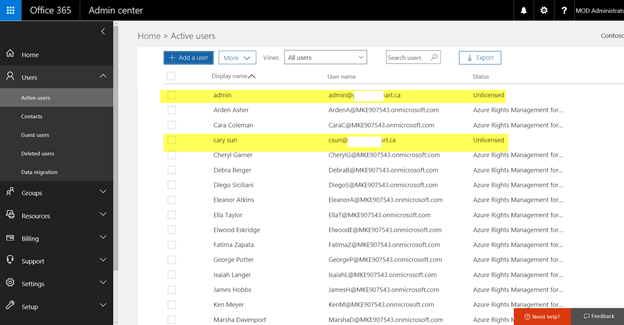
 Note NotePlease use an account in the default onmicrosoft.com domain, it will happen error if using the federation domain account.
|

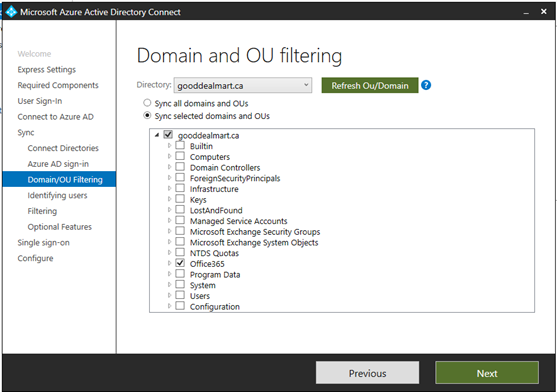
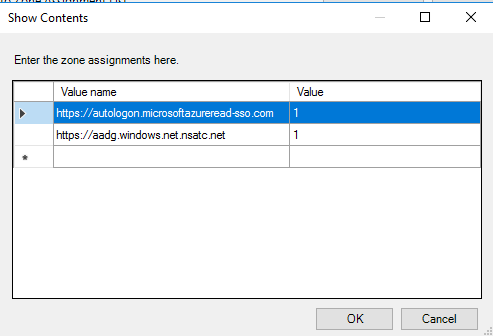
9. On Domain and OU filtering page, click Sync selected domains and OUs.


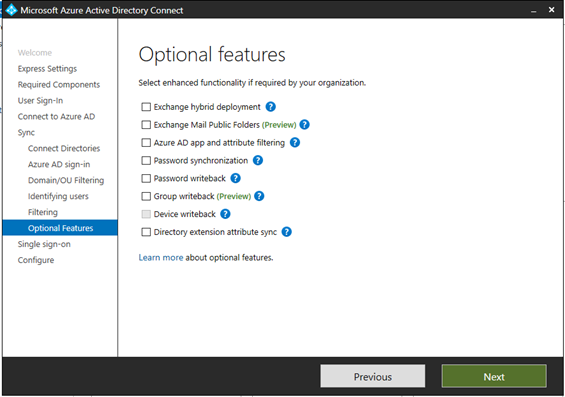
I am going to select Exchange hybrid Deployment and Password Synchronization for migrating Exchange services to office 365.

https://autologon.microsoftazureread-sso.com
https://aadg.windows.net.nsatc.net


You may need more setting steps as follow if you selected ADFS
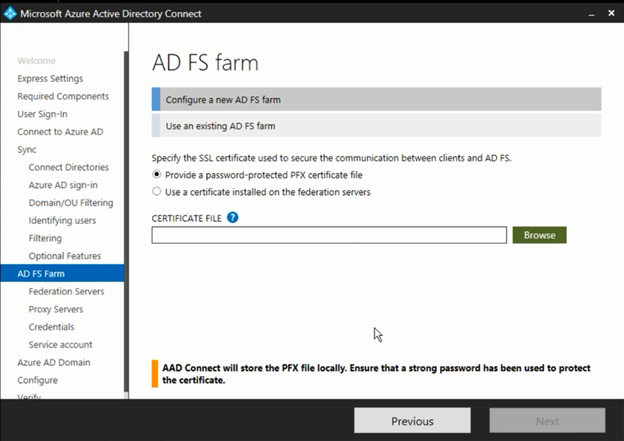
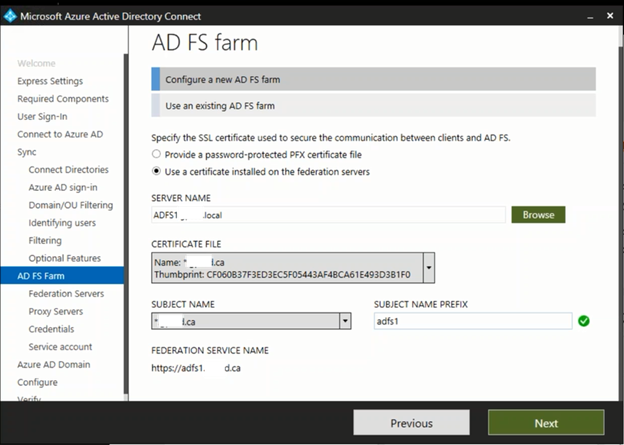
23. On AD FS farm page, click Use a certificate installed on the federation servers. (optional, If Active Directory Federation Services is being deployed)
24. It will pop up Select Federation Server page, enter AD FS server name in Search field.
25. Select AD FS server and click OK.

26. Select CERTIFICATE and select SUBJECT NAME.
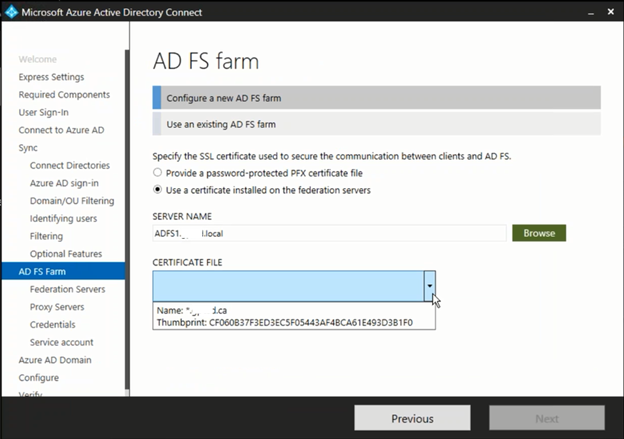
27. Enter ad fs server name in SUBJECT NAME PREFIX, click Next.
28. On the AD FS Servers page, enter AD FS Server name in the SERVER field, click Add.
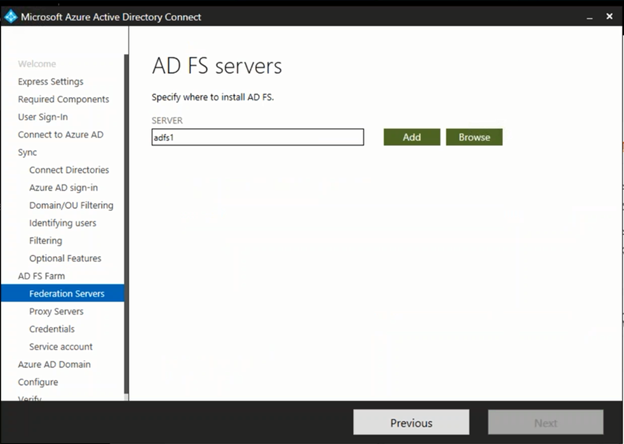
29. Click Next after verifying server connectivity completed.
30. On the Web Application Proxy servers page, enter WAP Server name in the SERVER field, click Add.
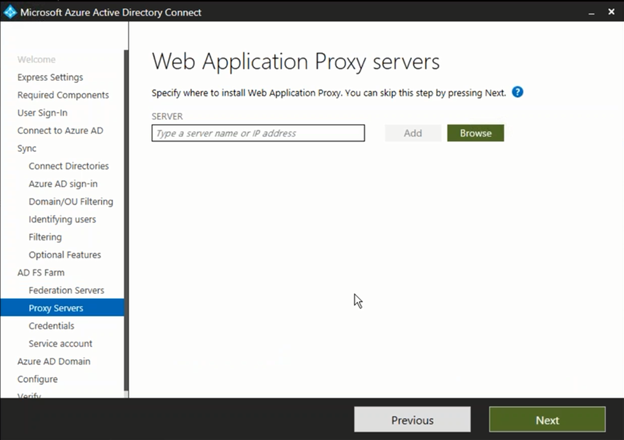
31. Click Next after verifying server connectivity completed.
32. Enter local domain administrator user name and password on the Domain Administrator credentials page, click Next.

33. Enter AD FS service account user name and password on the AD FS service account page.
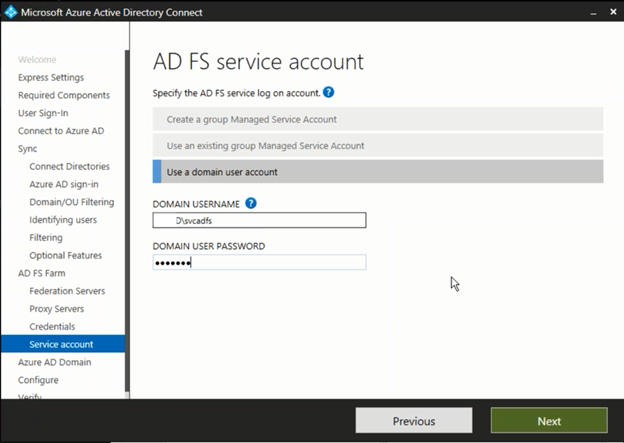
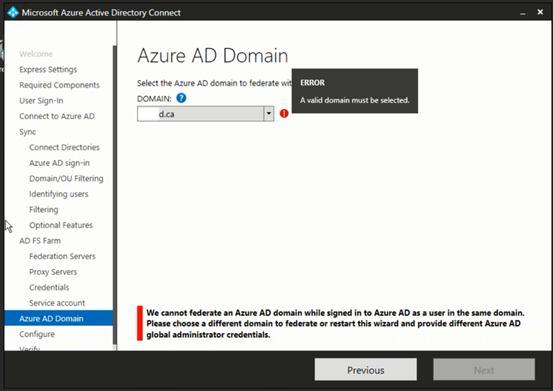
34. On the Azure AD Domain page, select federation domain name, click Next.


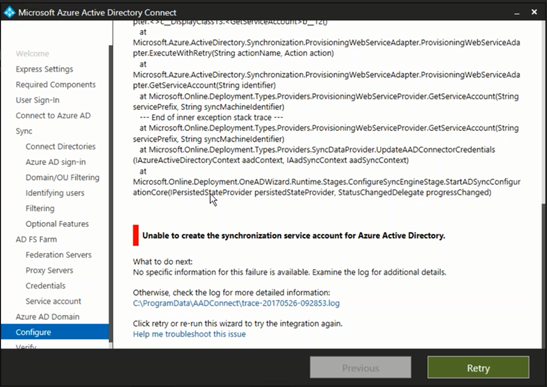
 Note NoteIf it happens Unable to create the synchronization service account for Azure Active Directory Error, please check your firewall settings and make sure application control function not be enable and then click Retry.
|
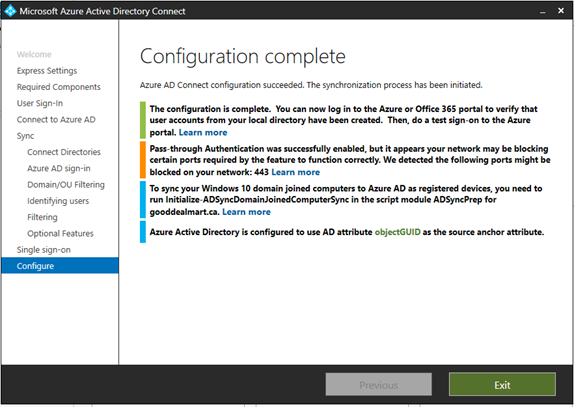
36. Click Next on Configuration complete page.
37. On the Verify federation configuration page, select I have created DNS A records that allow clients to resolve……was configured click Verify.

38. Click Exit after Intranet configuration was successfully verified.
Enable Password Change for ADFS
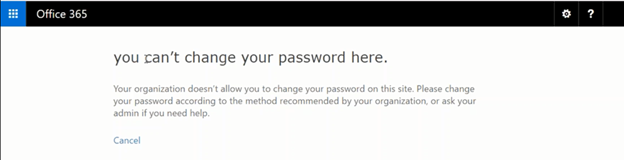
If you have an ADFS or Dirsync with Password sync identity it will not allow you to change your password in the cloud. You will receive. But you can configure change password functionality for ADFS server to solve the issue.
The change password functionality is disabled in ADFS, you can follow below steps to enable it.
- Logon to ADFS Server.
- Open AD FS Management and run as administrator.
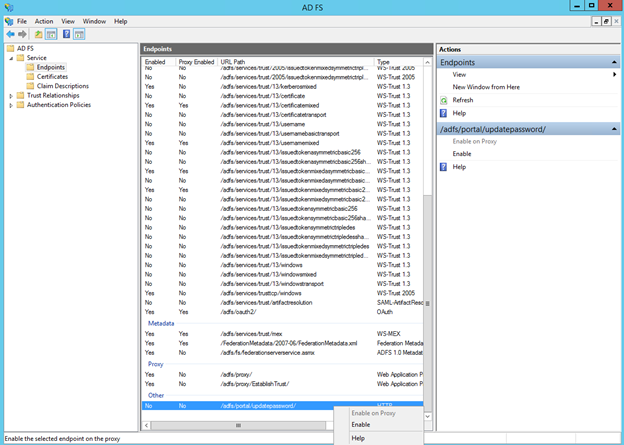
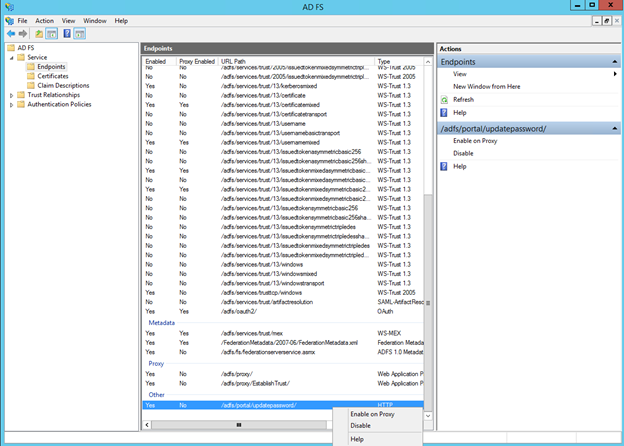
- Expand Service and select Endpoint.
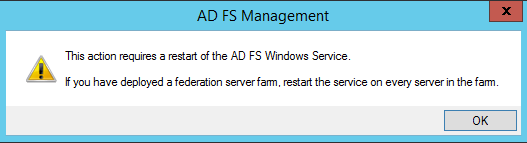
- Right click /adfs/portal/updatepasword and click Enable.
5. It will pop up warning message said “This action requires a restart of the AD FS Windows Service”, click OK.
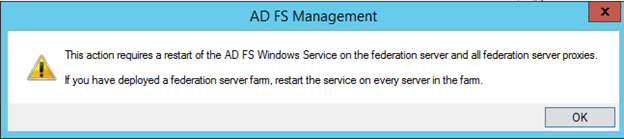
6. Right click /adfs/portal/updatepassword again and then click Enable on Proxy.
7. It will pop up warning message said “This action requires a restart of the AD FS Windows Service on federation server and all federation server proxies”, click OK.
8. Restart Active Directory Federation Services.

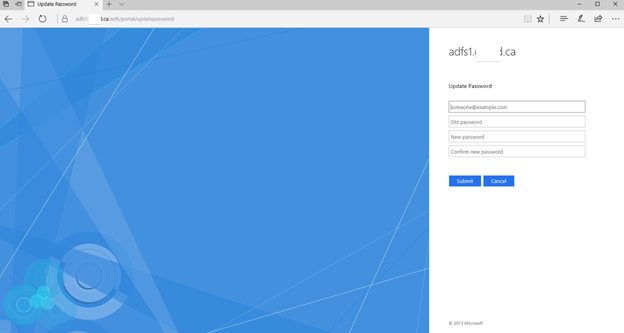
9. Once enabled this functionality, users can access the change password page via https://adfsFQDN/adfs/portal/updatepassword/.
Hope you enjoy this post!
Cary Sun
Twitter:@SifuSun
Me enjoying, will read more. Thanks!
Great, bing took me stright here. thanks btw for this. Cheers!