There are some immutability limits in the Azure Blob Storage.
• Make sure you enable versioning for blobs.
• Do not enable version-level immutability for storage accounts.
• Enable version-level immutability for containers.
• Disable retention for containers.
• The default immutability policies are not supported.
• Do not enable immutability for already existing containers in the Azure portal.
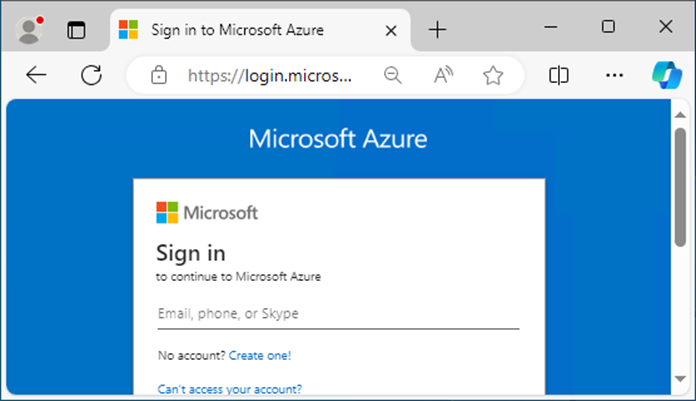
1.Sign in to the Azure portal with a global admin account.
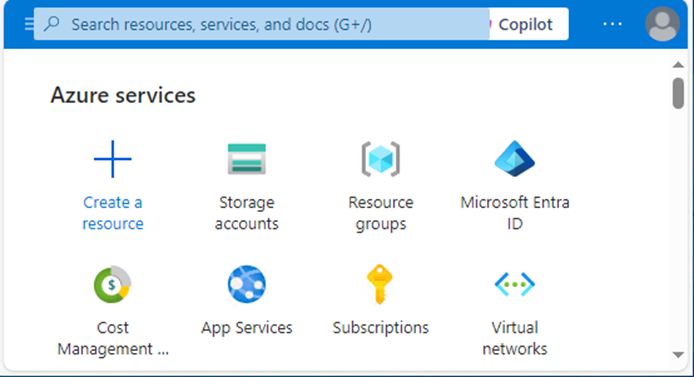
2.On the Azure services page, select +Create resource.
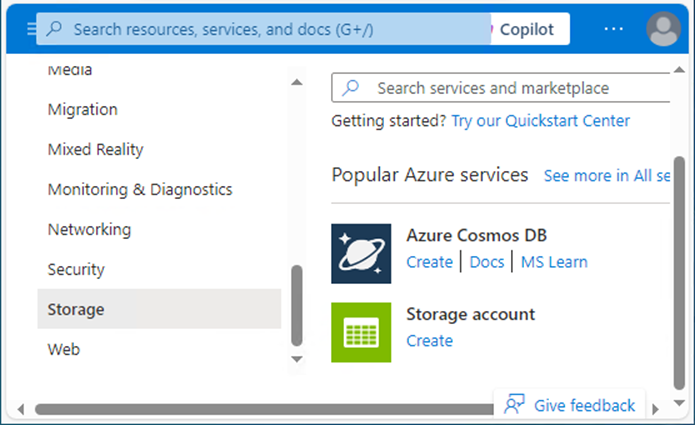
3.Select Storage on the Create a resource page, and click Create at Storage account.
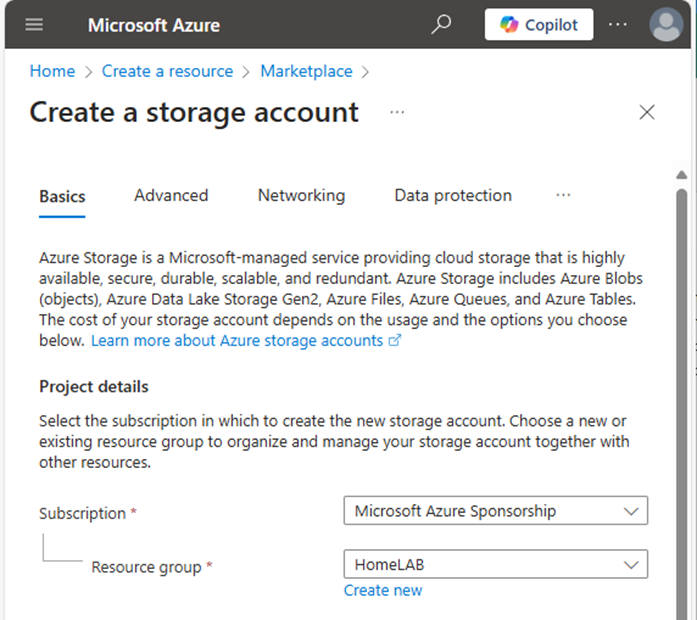
4.In the Basics tab, under Project details, make sure the correct subscription is selected.
5. Select Create new resource group and type name for the new Resource group.
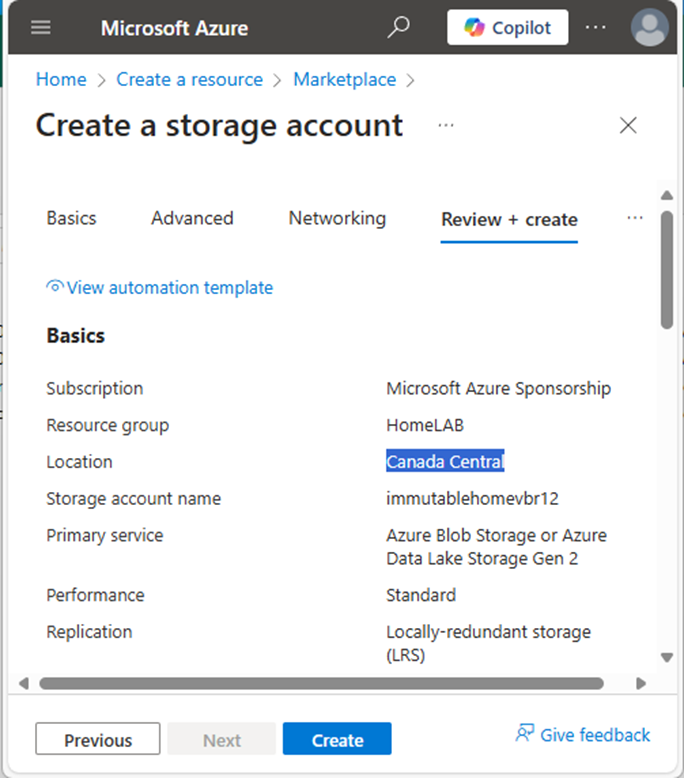
6.Under Instance details, type the name for the new storage account.
7. Select the Region for the new storage account.
8. Select Azure Blob Storage or Azure Data Lake Storage Gen 2 as Primary service.

9.Select Standard as Performance.
10. Select Locally-redundant storage (LRS).
Note:
Veeam Backup & Replication supports all types of Azure Storage redundancy.
11.Click Next.
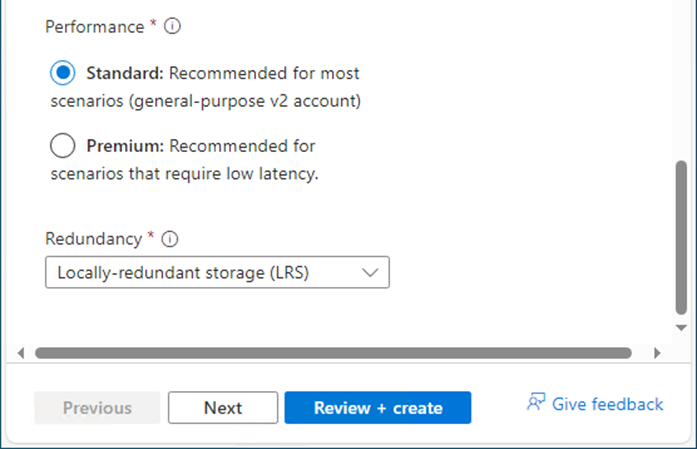
12.In the Advanced tab, under Security, keep the default settings.
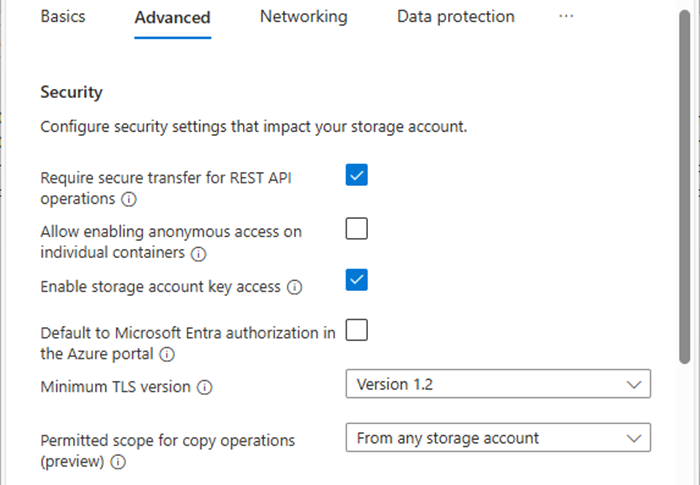
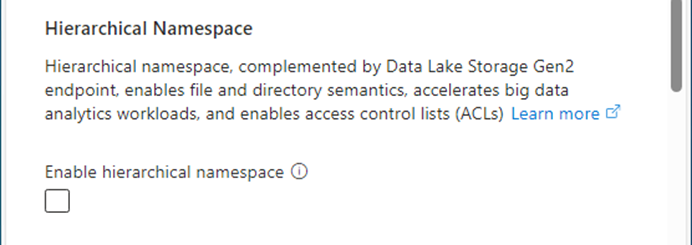
13.Under Security, ensure that unselect Enable hierarchical Namespace.
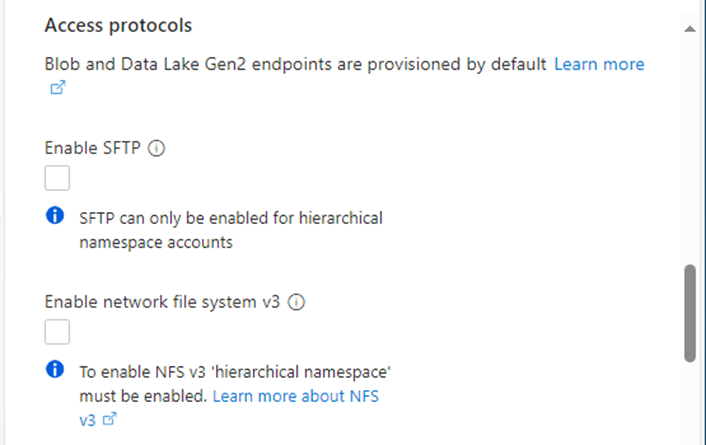
14.Under Access protocols, keep the default settings.
15.Under Blob storage, select Cool as Access tier.
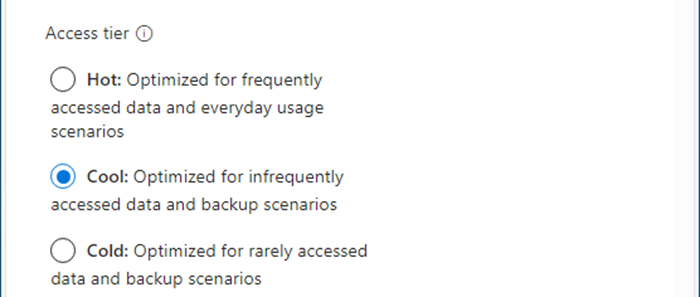
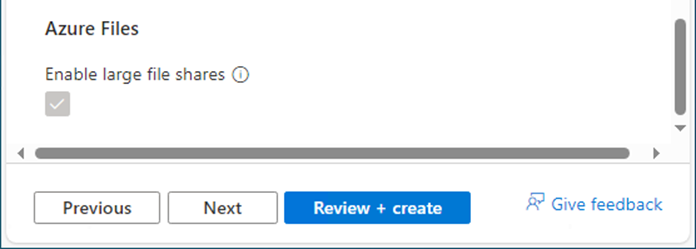
16.Under Azure files, keep the default settings.
17.Click Next.
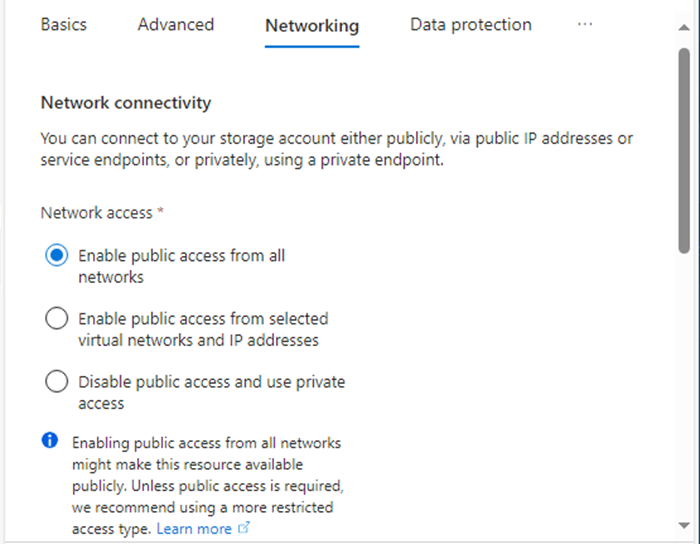
18.In the Networking tab, under the Networking connectivity, select Enable public access from all networks.
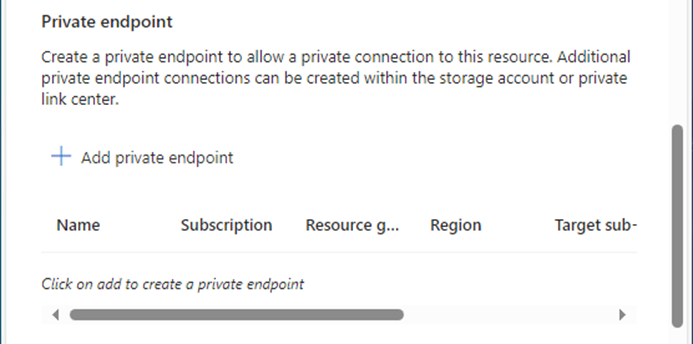
19.When a customer has an ExpressRoute or Site-to-Site VPN connecting directly on-premises to Azure, you can create private endpoints for the storage account and turn off the public endpoint. Ensures the BLOB container is only accessible over the organization’s site.
20.Under the Network routing, keep the default settings and click Next.
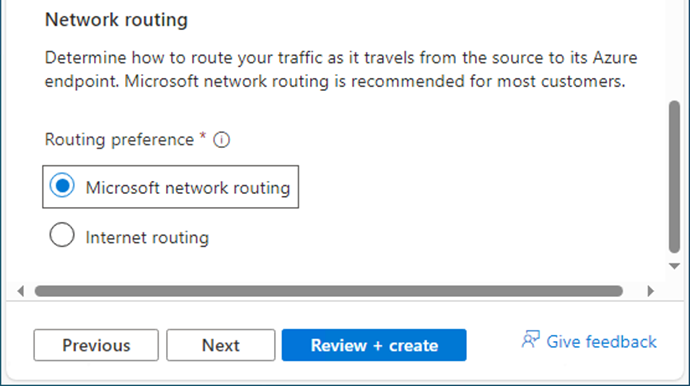
21.In the Data protection tab, under Recovery, unselect Enable Point-in-time to restore for containers.
22.Unselect Enable soft delete for blobs.
23.Unselect Enable soft delete for containers.
24.Unselect Enable soft delete for file shares.
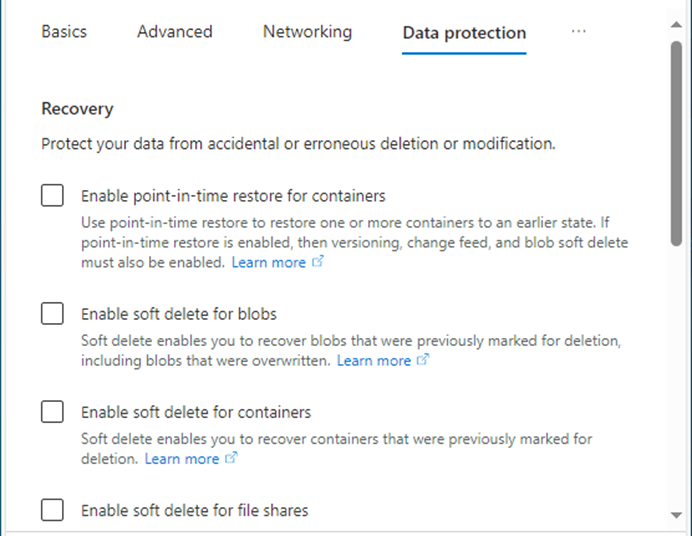
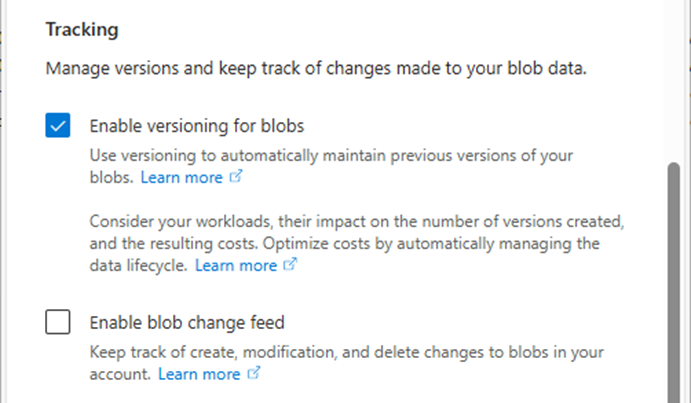
25.Under Tracking, select Enable versioning for blobs.
26.Unselect Enable blob change feed.
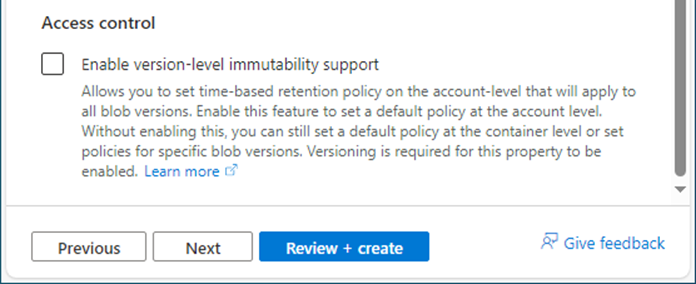
27.Under Access control, unselect Enable version-level immutability support.
28.Click Next.
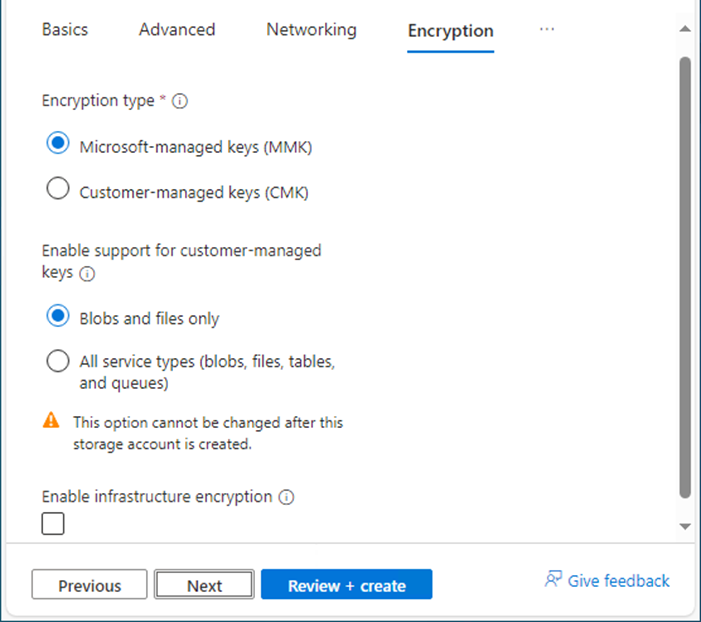
29.In the Encryption tab, under the Encryption type, select Microsoft-managed keys (MMK).
30.Under Enable support for customer-managed keys, select Blobs and files only.
31.Ensure unselect Enable infrastructure encryption.
32.Click Next.
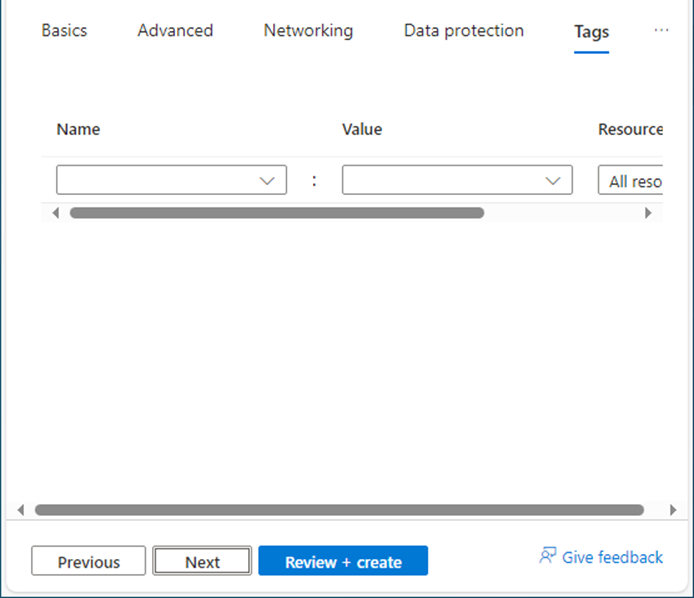
33.In the Tags tab, you can specify the Resource Manager tags on the Tags tab to help organize your Azure resources.
34.Click Next.
35.In the Review + create tab, click Create.
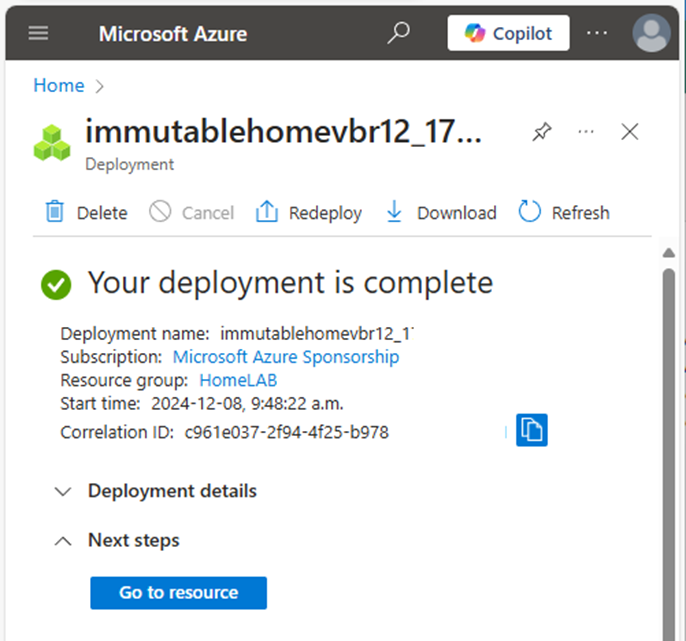
36.Creating the new storage account and clicking Go to the resource may take a few minutes.
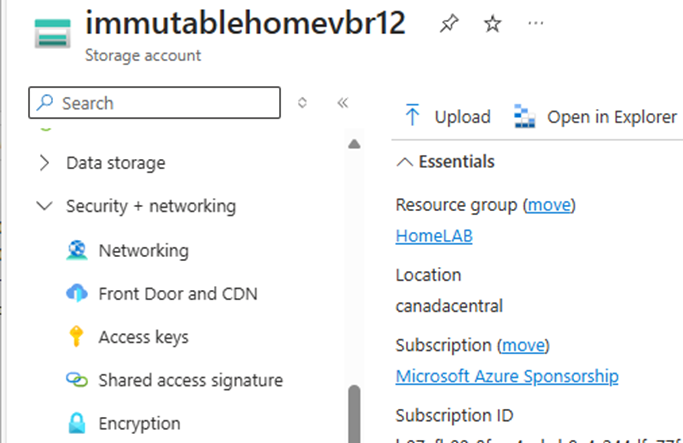
37.On the newly created storage account page, under Security + networking, select Access keys.
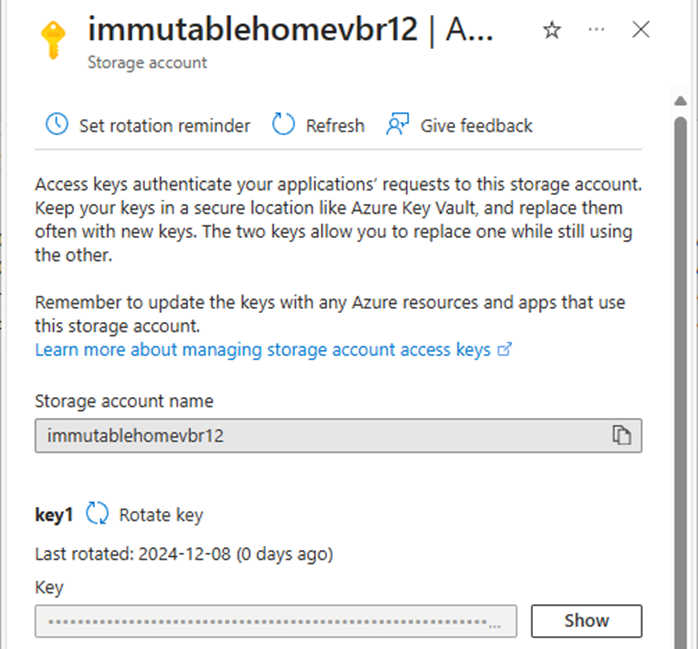
38.On the Access keys page, under key1, select Show Key and copy the storage account name and key of key1. We need them for Veeam storage repository settings later.
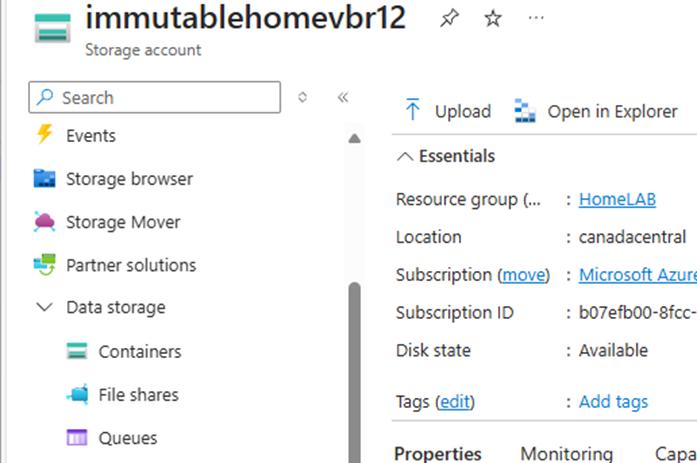
39.On the newly created storage account page, under Data storage, select Containers.
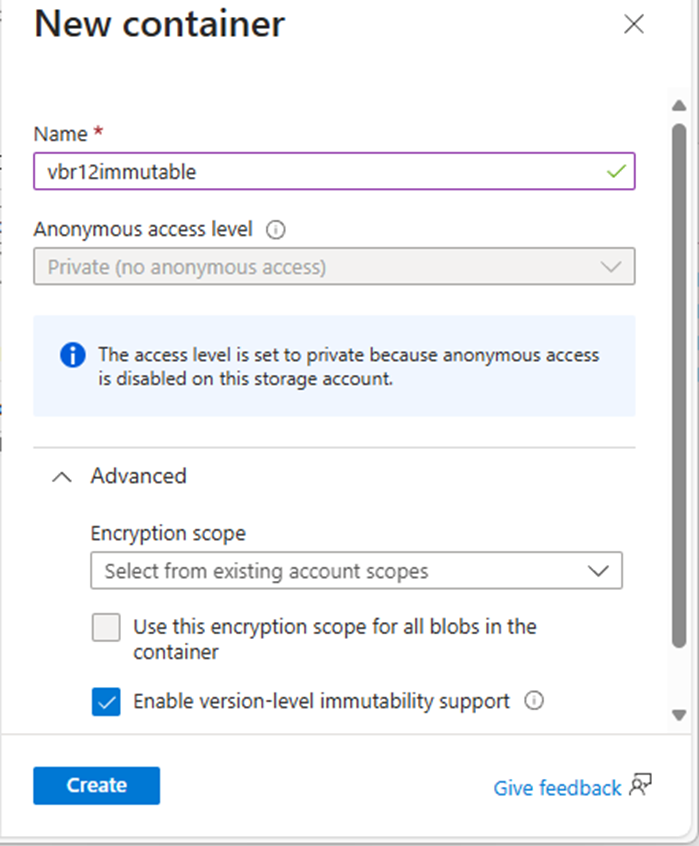
40.On the Containers page, click +Container.
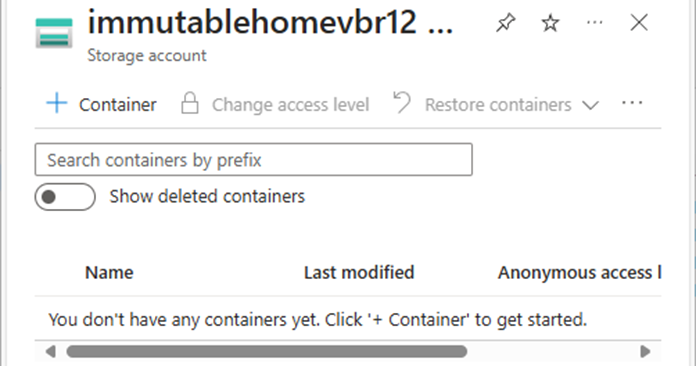
41.On the new container page, enter a name for your new container in the Name field.
42.Click Advanced and select Enable version-level immutability support.
43.Click Next.
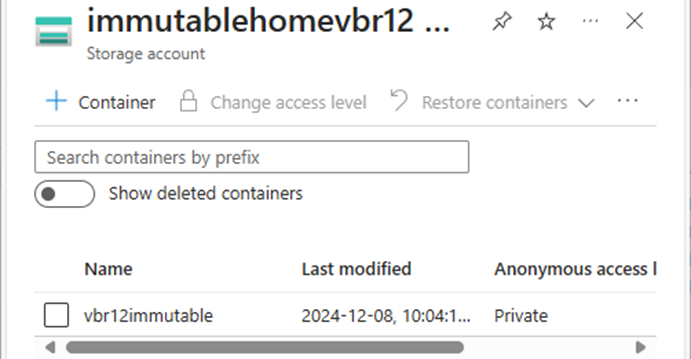
44.Verify the new container created and click the new container.
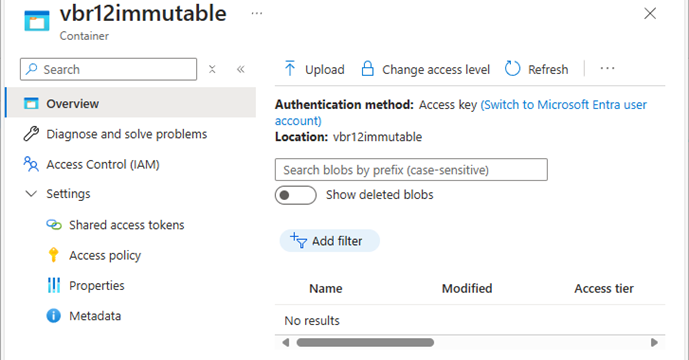
45.Under Settings, select Access policy.
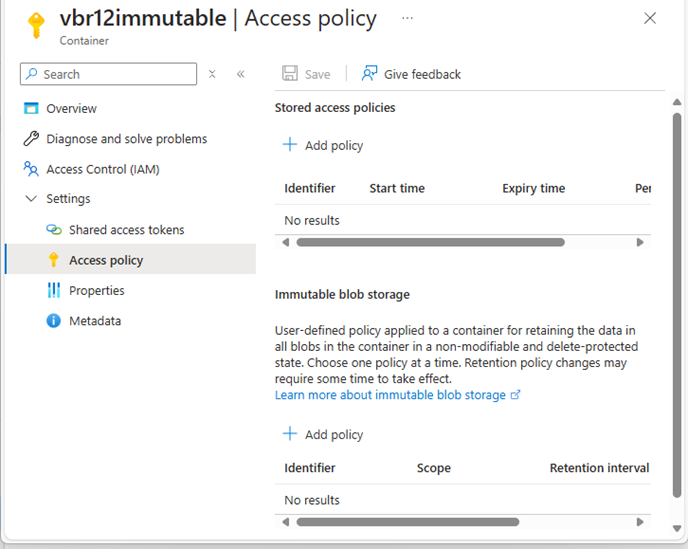
46.Ensure no lifecycle management policies exist for the container’s data.
47.Ensure no default immutability policy at the storage account or the container level.
I hope you enjoy this post.
Cary Sun
X: @SifuSun
Web Site: carysun.com
Blog Site: checkyourlogs.net
Blog Site: gooddealmart.com
Amazon Author: Amazon.com/author/carysun
