
You will use both Veeam Backup account and Azure AD application for authentication if you add an organization using the modern authentication method with legacy protocols allowed. Veeam Backup for Microsoft 365 uses Veeam Backup account and an application to establish a connection to your Microsoft 365 organizations with disabled security defaults and maintain data transfer during backup and restore sessions.
Backup account permissions requirements:
When you add Microsoft 365 organization using basic authentication, you use Veeam Backup account. Also you use Veeam Backup account for on-premises Microsoft Exchange and on-premises Microsoft SharePoint organizations.
To provide Veeam Backup for Microsoft 365 with the ability to work with Microsoft Exchange organizations, Microsoft SharePoint and OneDrive for Business organizations, and protect Microsoft Teams data, you must grant the requirement permissions to the Veeam Backup account.
Microsoft Exchange Organizations permissions requirement:
- The account you are using to add an organization must be a member of this organization
- The account you are using to add an organization is not required to have a mailbox in such an organization
- If you are backing up public folder mailboxes, the Veeam Backup account must have a valid Exchange Online license and an active mailbox within the Microsoft 365 organization

Microsoft SharePoint and OneDrive for Business permissions requirement:
- On-Premises Microsoft SharePoint Organizations
| Role | Description | Misc. | |
| Site Collection Administrator | Required to back up Microsoft SharePoint Sites. | The account must be a member of the Farm Administrator group. | |
- Microsoft SharePoint Online Organizations
| Role | Description | Misc. | |
| SharePoint Admin | Required to back up Microsoft SharePoint Sites. | You can assign the Global Admin role that overrides these roles. | |
| View-only Configuration | Required to get a list of available groups and users. | ||
| View-Only Recipients | |||
-
Microsoft Teams
- The account must have a Microsoft 365 license that permits access to Microsoft Teams API. The minimum sufficient license is Microsoft Teams Exploratory experience
- The account must have the Team Administrator role assigned
Note:
- In case you add an organization in Veeam Backup for Microsoft 365 using the modern authentication method with legacy protocols allowed, and specify different accounts to connect to Microsoft Exchange and Microsoft SharePoint, the required license and role must be assigned to the account used to connect to Microsoft SharePoint.
- When backing up Microsoft Teams data in an organization added using the basic authentication, Veeam Backup for Microsoft 365 at first adds a service account to every team and then removes it.
The detail permissions requirement as link.
https://helpcenter.veeam.com/docs/vbo365/guide/permissions_veeam_backup_account.html?ver=60
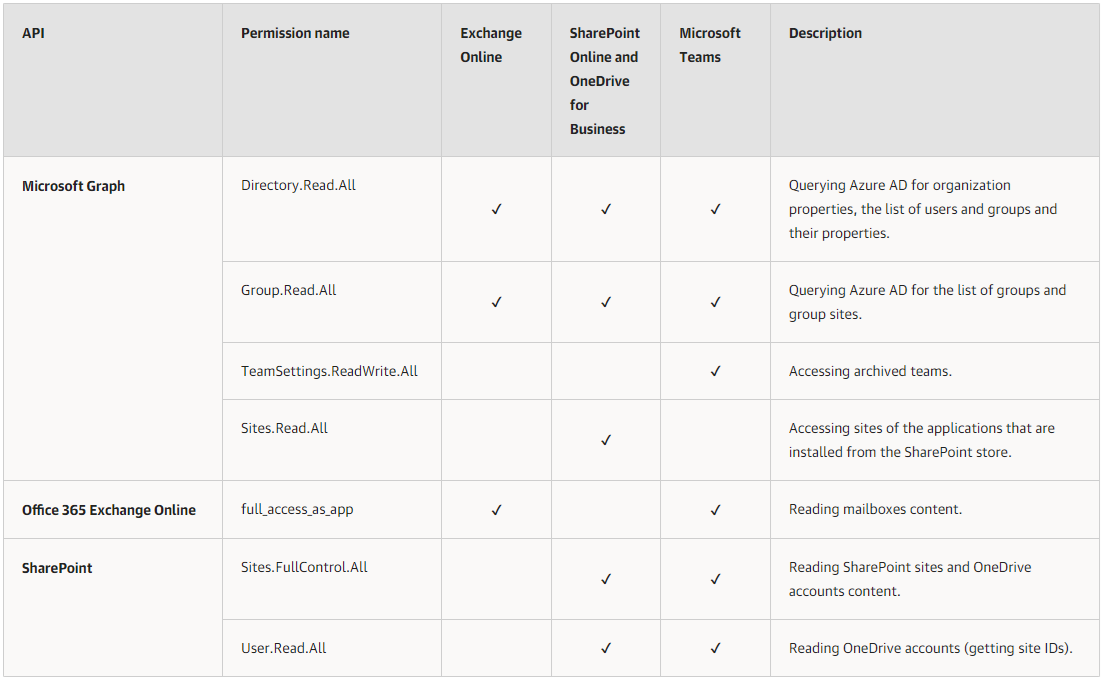
Azure AD Application Permissions for Modern Authentication and Legacy Protocols requirement
All listed permissions are of the Application type and required for data backup
1.Login to Veeam Backup for Microsoft 365 Manager server.
2.Open PowerShell as Administrator.
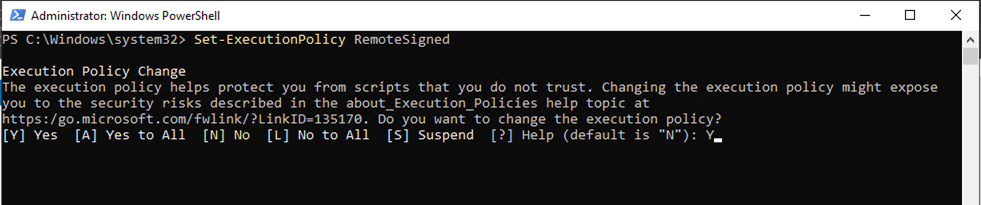
3.In a PowerShell window, run below command, type Y and then press Enter.
Set-ExecutionPolicy RemoteSigned
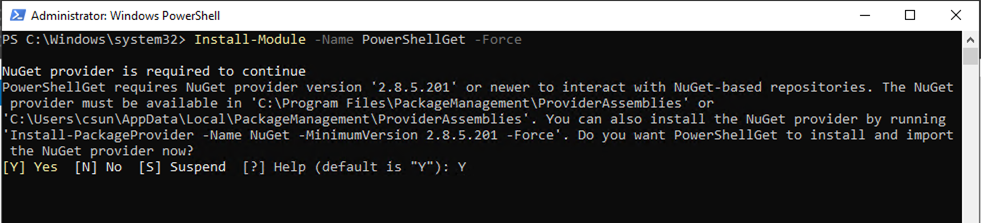
4.Run below command, type Y and then press Enter.
Install-Module -Name PowerShellGet -Force
5.Run below command to make sure the module is up to dat, type Y and then press Enter.
Update-Module -Name PowerShellGet

Assign Exchange Online permissions to backup service account
6.Run below command to install the latest Exchange Online PowerShell Module, type Y and then press Enter.
Install-Module -Name ExchangeOnlineManagement

7.Run below commands to load the EXO V2 module.
Import-Module ExchangeOnlineManagement

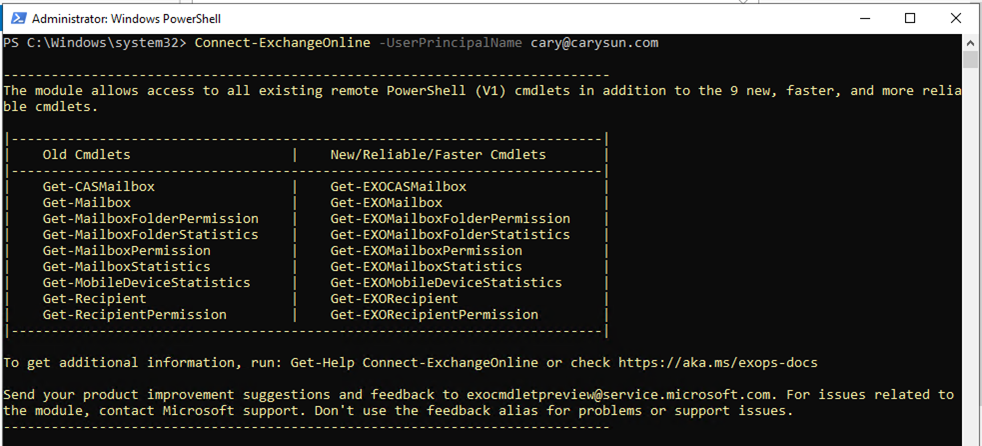
8.Run below commands to connect to ExchangeOnline.
Connect-ExchangeOnline -UserPrincipalName navin@contoso.com.
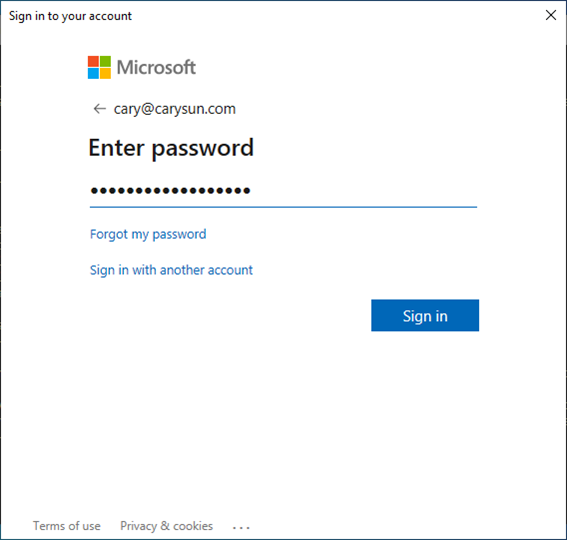
9.On the sign-in window that opens, enter your password, and then click Sign in.
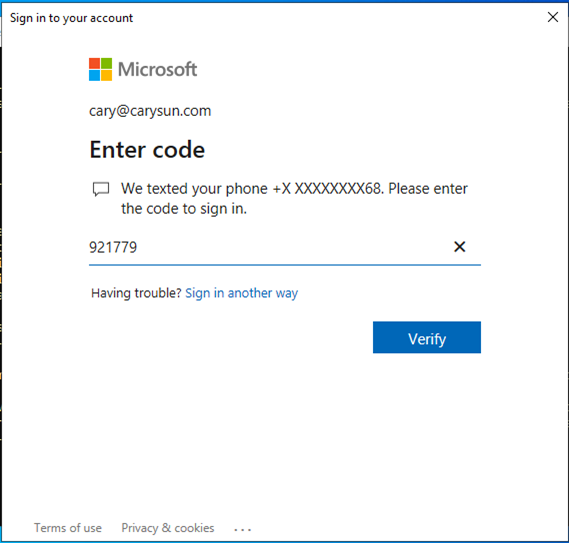
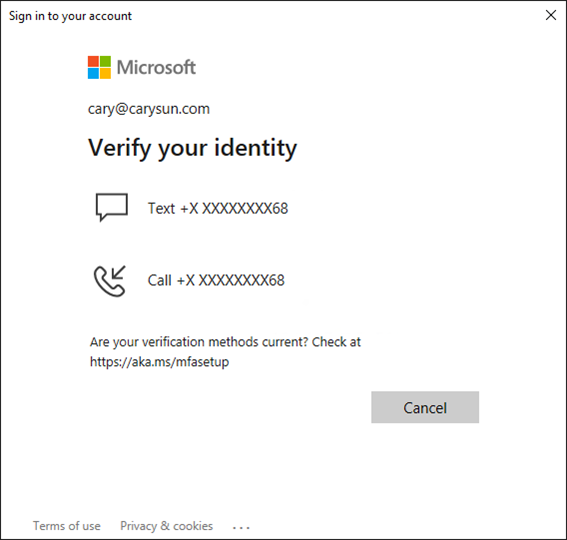
10.Select your verification Method.

11.Enter the code, click Verify.
12.Run the following cmdlet to grant ApplicationImpersonation role for backup account.
New-ManagementRoleAssignment –Role ApplicationImpersonation –User user.name@domain.com

13.If it happened error message as below, you need to run following command first and then re-run above command.
Enable-OrganizationCustomization

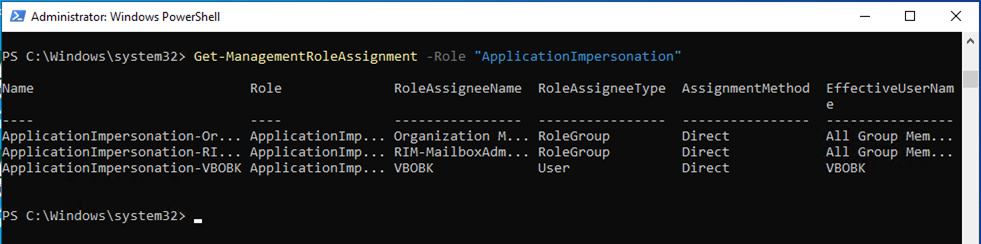
14.Run Below command to obtain the list of users whom the ApplicationImpersonation role has already been granted.
Get-ManagementRoleAssignment -Role "ApplicationImpersonation"
15.Run the following cmdlet to grant Role Management role for backup account.
New-ManagementRoleAssignment –Role "Role Management" –User user.name@domain.com

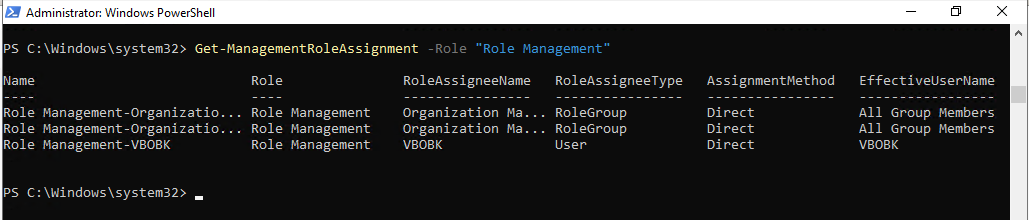
16.Run Below command to obtain the list of users whom the Role Management role has already been granted.
Get-ManagementRoleAssignment -Role "Role Management"
17.Run the following cmdlet to grant Organization Configuration role for backup account.
New-ManagementRoleAssignment –Role "Organization Configuration" –User user.name@domain.com

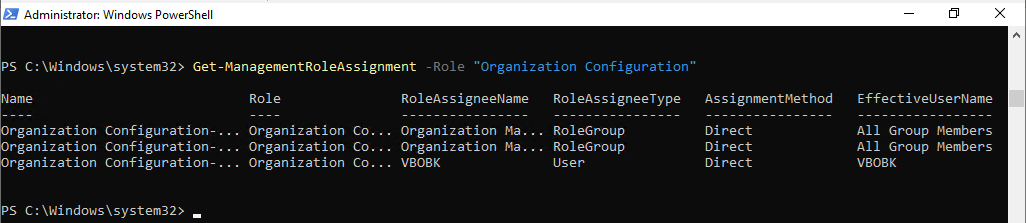
18.Run Below command to obtain the list of users whom the Organization Configuration role has already been granted.
Get-ManagementRoleAssignment -Role "Organization Configuration"
19.Run the following cmdlet to grant View-Only Configuration role for backup account.
New-ManagementRoleAssignment –Role "View-Only Configuration" –User user.name@domain.com

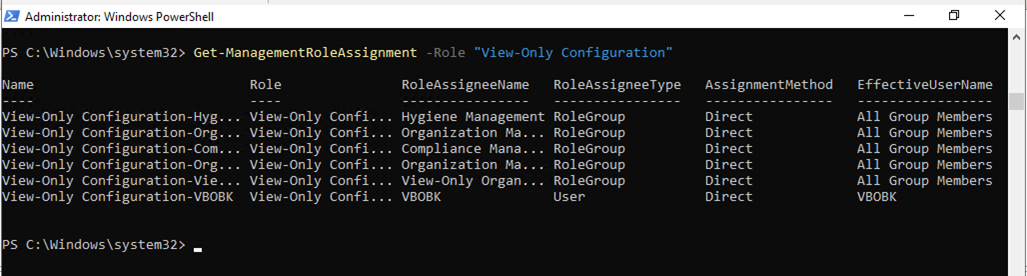
20.Run Below command to obtain the list of users whom the View-Only Configuration role has already been granted.
Get-ManagementRoleAssignment -Role "View-Only Configuration"
21.Run the following cmdlet to grant View-Only Recipients role for backup account.
New-ManagementRoleAssignment –Role "View-Only Recipients" –User user.name@domain.com

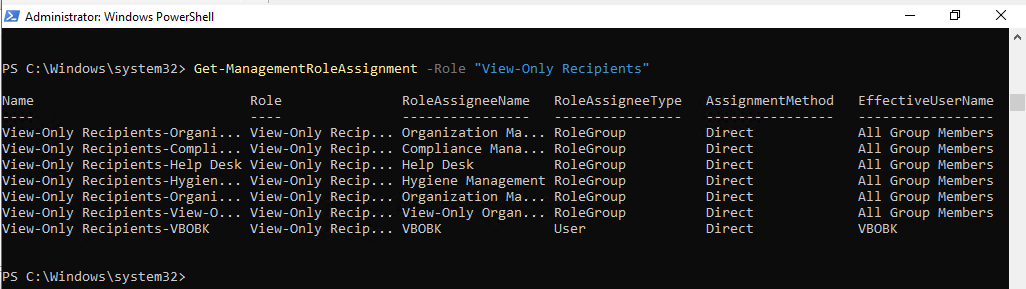
22.Run Below command to obtain the list of users whom the View-Only Recipient role has already been granted.
Get-ManagementRoleAssignment -Role "View-Only Recipients"
23.Run the following cmdlet to grant Mailbox Search role for backup account.
New-ManagementRoleAssignment –Role "Mailbox Search" –User user.name@domain.com

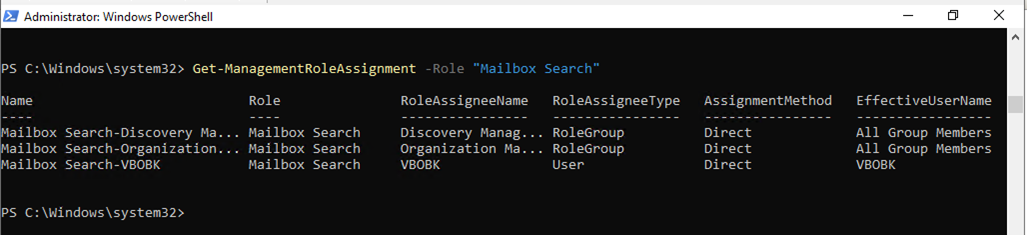
24.Run Below command to obtain the list of users whom the Mailbox Search role has already been granted.
Get-ManagementRoleAssignment -Role "Mailbox Search"
25.if you are using public folder and would like to backup/restore public folders, you need to assign Owner role to folder permission of public folder.
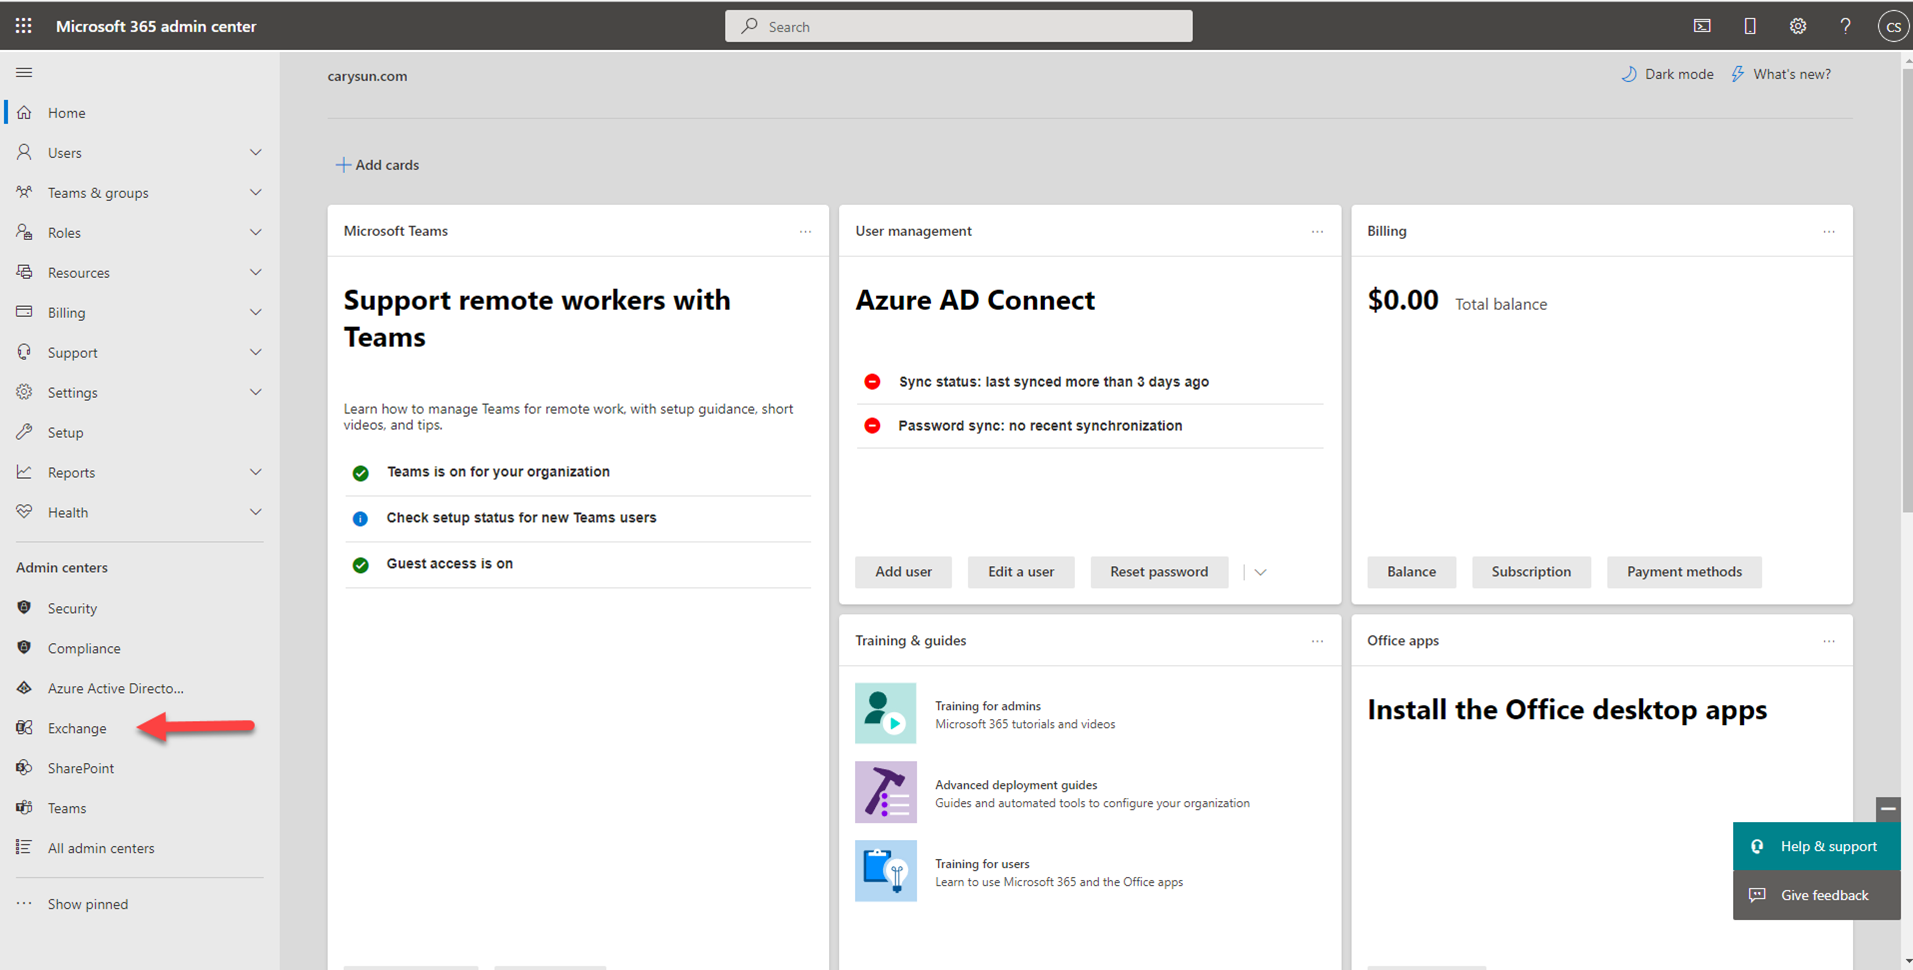
26.Sign in office365 with global admin account, open office 365 admin center.

27.On the Microsoft 365 admin center page, select Exchange.
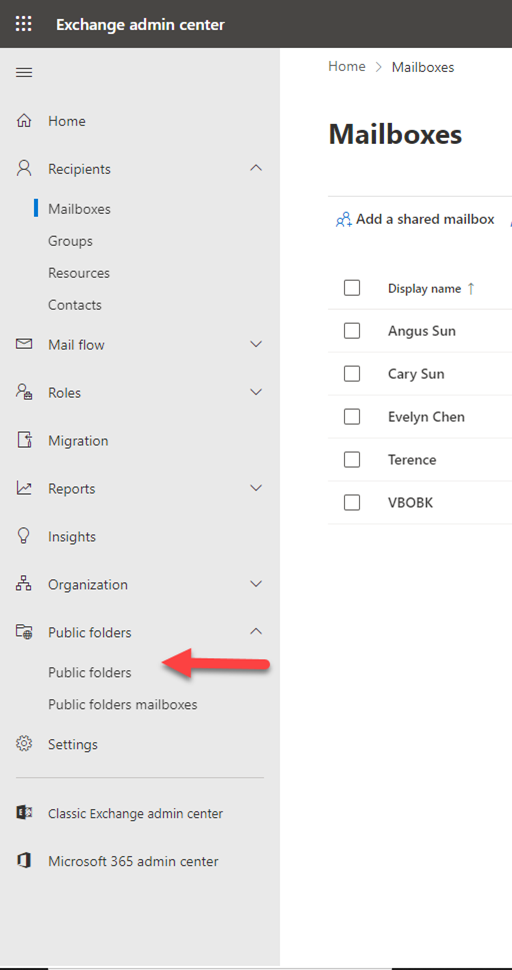
28.In the Exchange admin center (EAC), navigate to Public folders.
29.In the list view, select the public folder.
30.In the details pane, under Folder permissions, click Manage.
31.In Public Folder Permissions, click Add +.
32.Click Browse to select a user (backup service account, in my case is VBOBK)
33.In the Permission level list, select a level. At least one user should be an Owner.
34.Click Save.
35.To protect your Microsoft 365 organization data properly when you add an organization using either modern authentication with legacy protocols allowed or basic authentication, Run below commands to create a new authentication policy with the AllowBasicAuthPowershell and AllowBasicAuthWebService parameters enabled for the Veeam Backup account.
New-AuthenticationPolicy -Name "Allow Basic Auth"

Set-AuthenticationPolicy -Identity "Allow Basic Auth" -AllowBasicAuthPowershell

Set-AuthenticationPolicy -Identity "Allow Basic Auth" -AllowBasicAuthWebService

Set-User -Identity <VeeamBackupAccount> -AuthenticationPolicy "Allow Basic Auth"

36.Run below command to back up public folder mailboxes correctly, enable the AllowBasicAuthAutodiscover parameter for the created authentication policy.
Set-AuthenticationPolicy -Identity "Allow Basic Auth" -AllowBasicAuthAutodiscover

Assign SharePoint Online Permissions to backup service account
37.Run below command to install the latest SharePoint Online PowerShell Module, type Y and then press Enter.
Install-Module -Name Microsoft.Online.SharePoint.PowerShell

38.Run below command to make sure the module is up to dat, type Y and then press Enter.
Update-Module -Name Microsoft.Online.SharePoint.PowerShell

Assign SharePoint Online Permissions to backup service account
31.Run below commands to connect to SharePoint Online.
Connect-SPOService -Url https://<your tenant id>-admin.sharepoint.com/

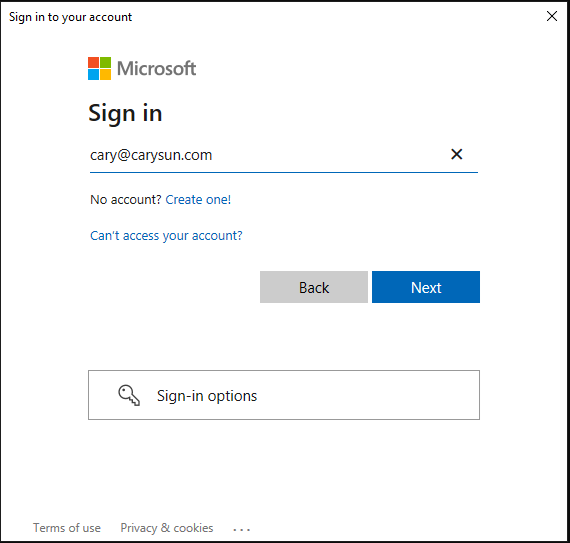
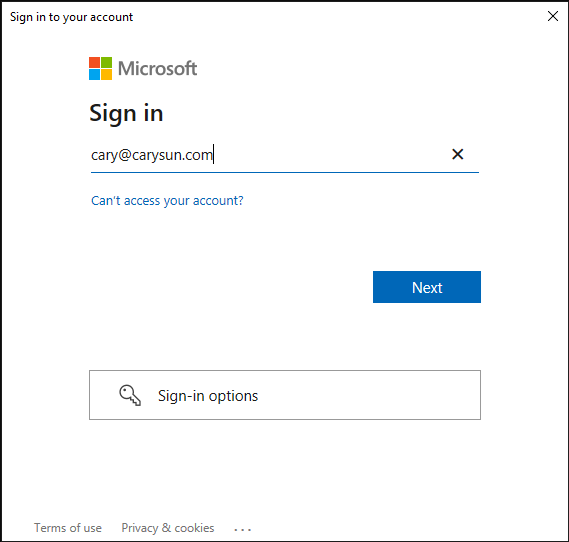
32.On the sign-in window, enter the account name, and then click Next.
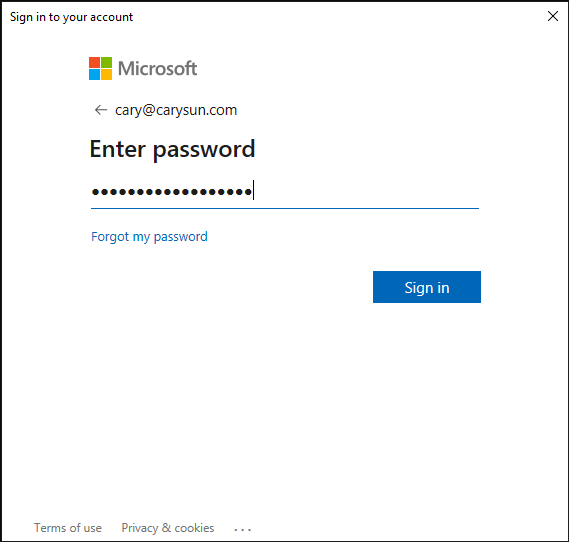
33.On the Enter Password window, enter password of the account, and then click Sign in.
34.Select your verification Method.
35.Enter the code, click Verify.

36.Run below command to add Microsoft SharePoint Online organizations, make sure that the LegacyAuthProtocolsEnabled setting is enabled.
Set-SPOTenant -LegacyAuthProtocolsEnabled $True

37.Run below command to install the Azure AD Module, type Y and then press Enter..
Install-Module MSOnline

38.Run below commands to connect to Azure AD service.
Connect-MsolService

39.On the sign-in window, enter the account name, and then click Next.
40.On the Enter Password window, enter password of the account, and then click Sign in.

41.Select your verification Method.

42.Enter the code, click Verify.

43.Run below commands to grant the SharePoint Administrator role to backup account (for Microsoft SharePoint Online organizations).
$role=Get-MsolRole -RoleName "SharePoint Administrator"

$accountname="example@domain.com"

Add-MsolRoleMember -RoleMemberEmailAddress $accountname -RoleName $role.Name

Assign Teams Online Permissions to backup service account
1.Run below commands to grant the Teams Administrator role to backup account (for Microsoft Teams Online organizations).
$role=Get-MsolRole -RoleName "Teams Administrator"

$accountname="example@domain.com"

Add-MsolRoleMember -RoleMemberEmailAddress $accountname -RoleName $role.Name

Add Organization for Veeam Backup for Microsoft Office 365 with Modern Authentication and Legacy Protocols
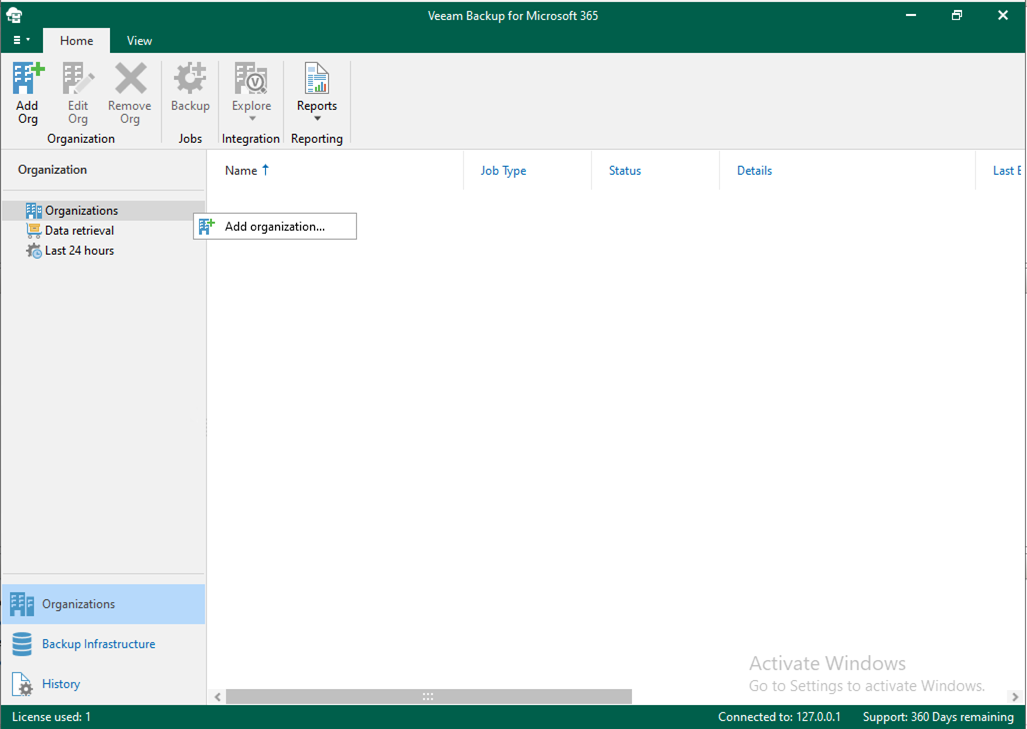
1.Open Veeam Backup for Microsoft Office 365 console.
2.On the Veeam Backup for Microsoft Office 365 console page, right-click Organizations, select Add organization.
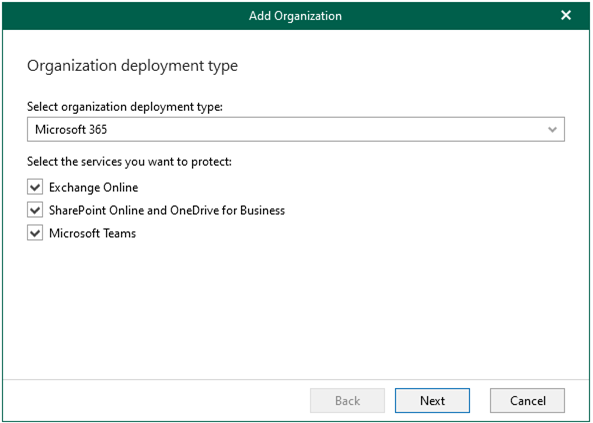
3.On the Organization deployment type, select Microsoft 365 as organization type, select all services as you want to protect, click Next.
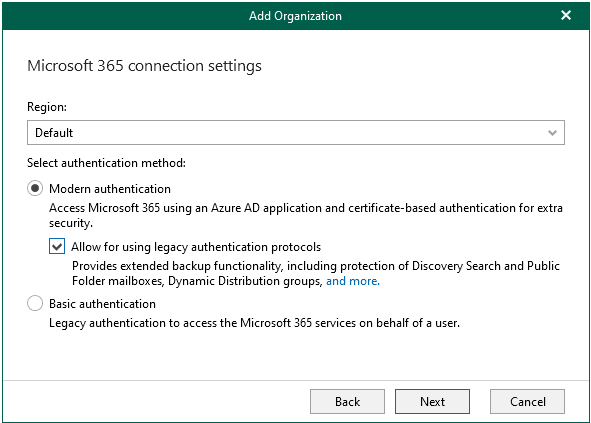
4.On the Microsoft 365 connection settings page, select Default as Region, select the Modern authentication option and the Allow for using legacy authentication protocols , click Next.
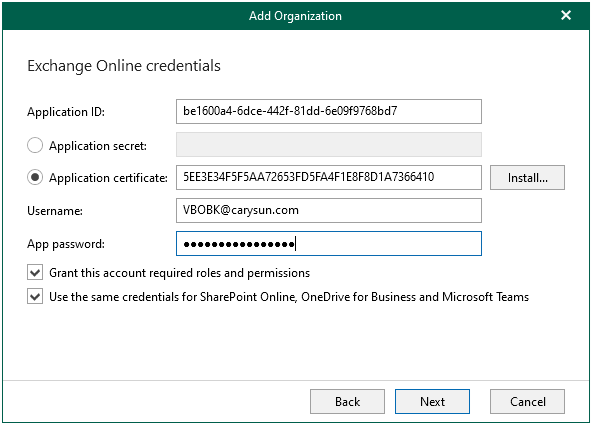
5.On the Exchange Online credentials page, In the Application ID field, specify an identification number of your Azure AD application.
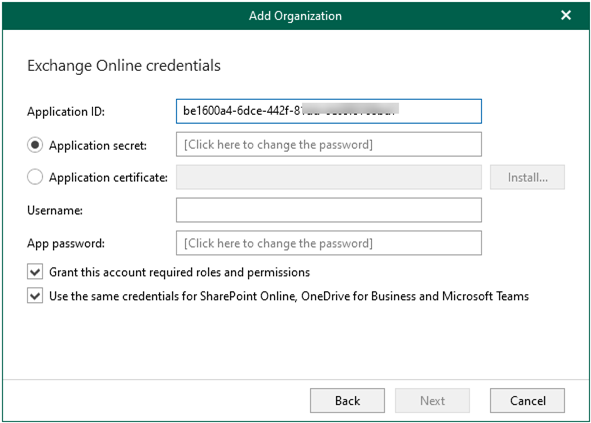
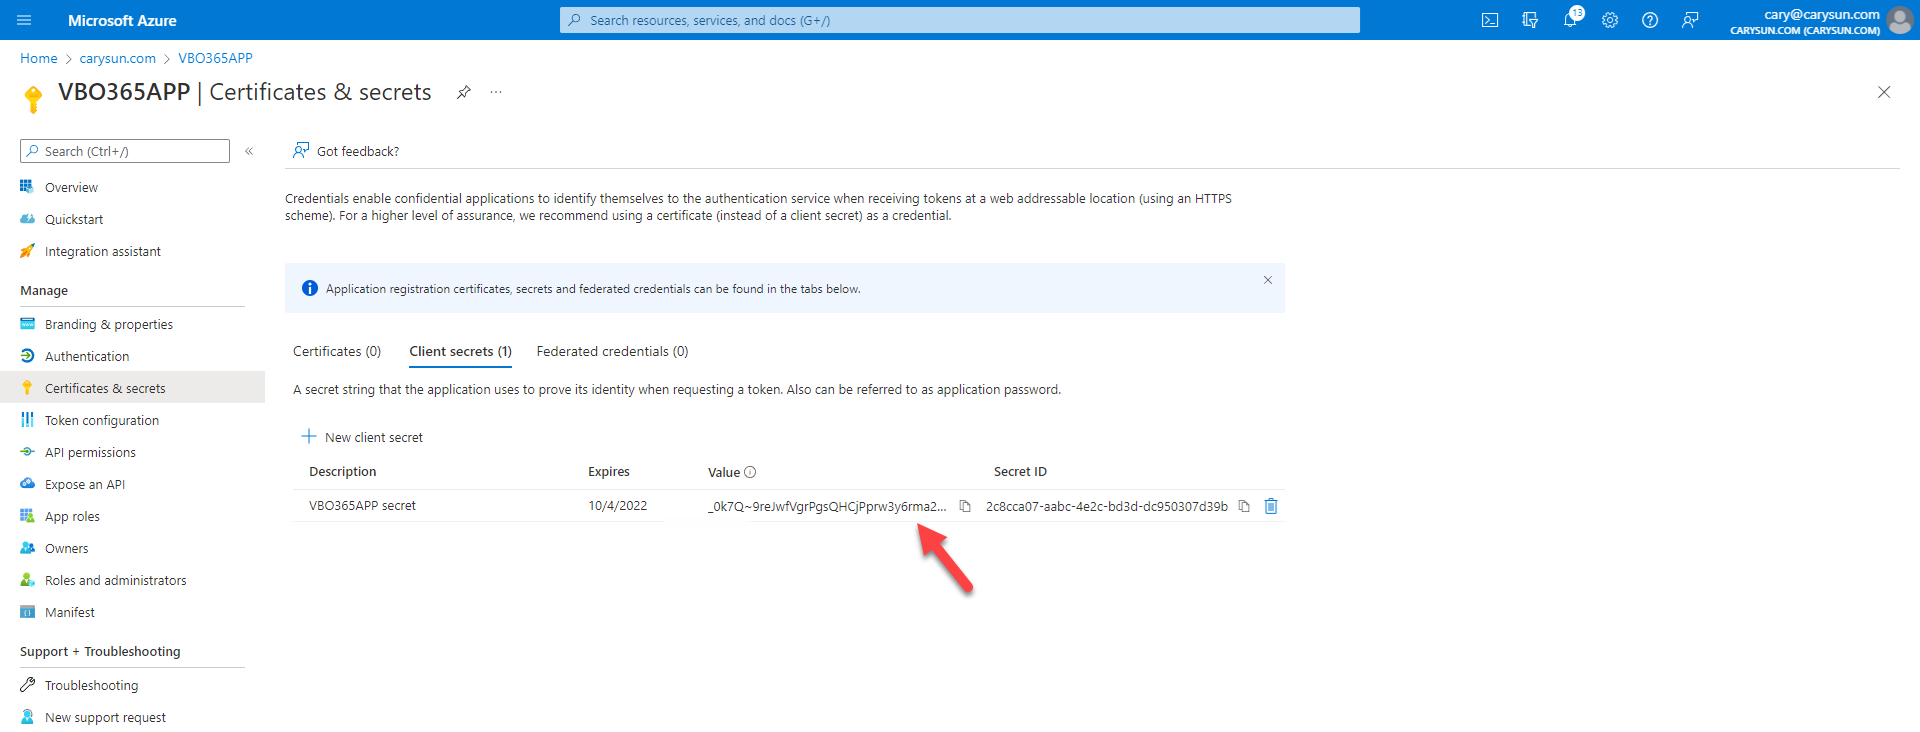
6.To use a secret key, select the Application secret option and enter a secret key in the field, you can obtain a secret key if you created at Certificate & secrets settings of Azure API App.
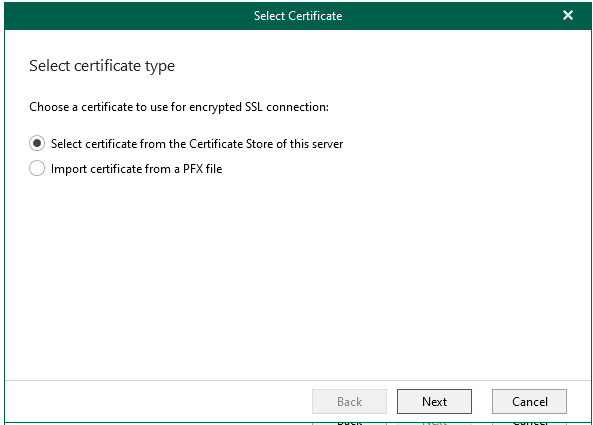
7.To use a certificate, select the Application certificate option and click Install.
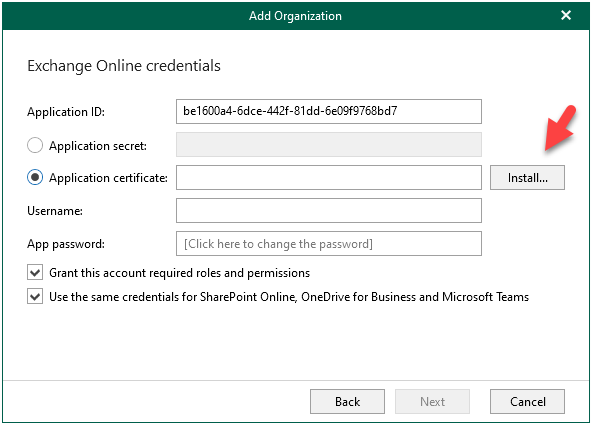
8.On the Select certificate type page, select Select certificate from the Certificate Store of this server, click Next.
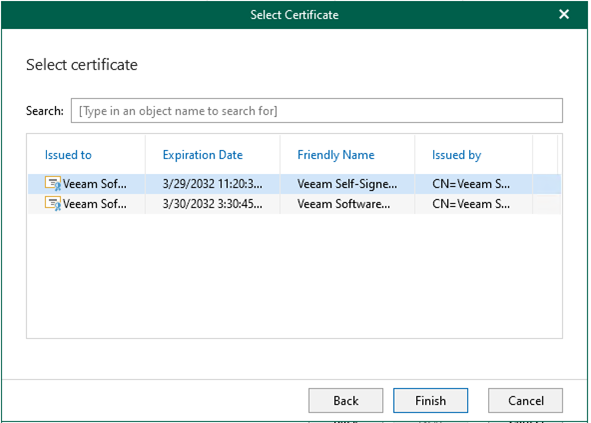
9.On the Select certificate, click Finish after selected certificate.
10.In the Username and App password fields, enter the backup service account as Username, enter App password (it’s not user account password) as App password, click Next.
11.On the Verifying connection and organization parameters page, make sure each connections with issues, click Finish.
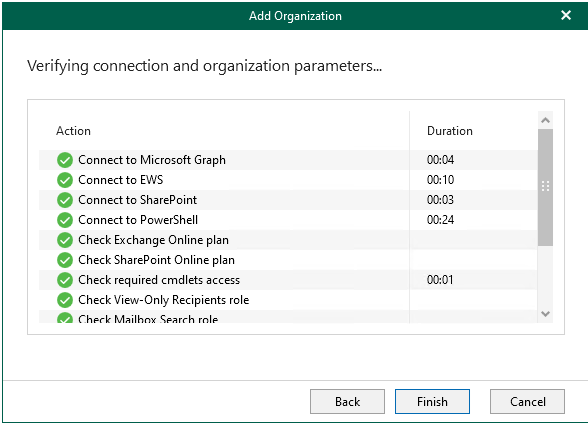
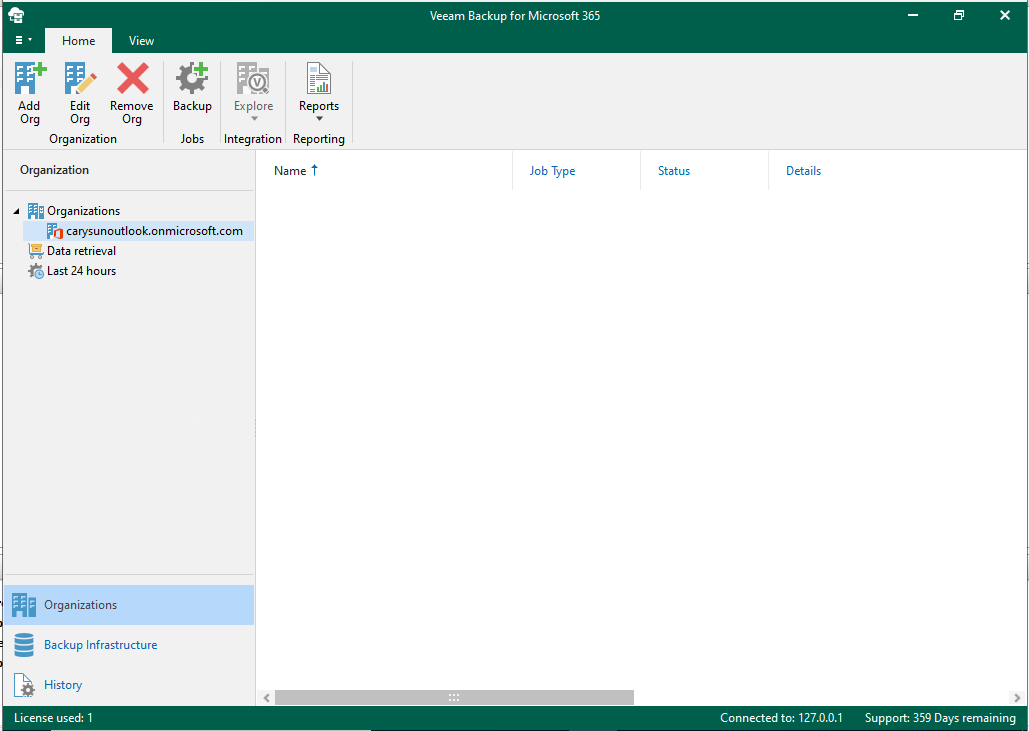
12.Verify the Office 365 organization add successfully.
Hope you enjoy this post.
Cary Sun
Twitter: @SifuSun
Web Site: carysun.com
Blog Site: checkyourlogs.net
Blog Site: gooddealmart.com