Immediate copies help reduce your RPO, which is the maximum allowable data loss in the event of a disaster. By creating copies as soon as new data is backed up, you ensure that your data loss is minimal.
1. Login to the Veeam Backup and replication manager server.
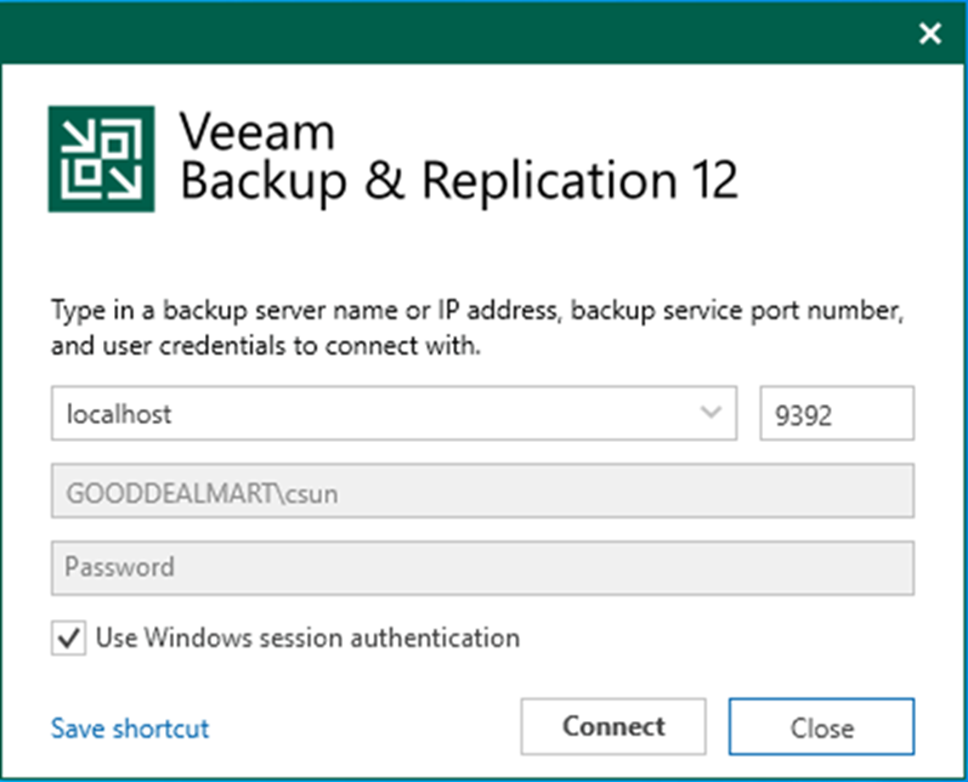
2. Open the Veeam Backup & Replication Console and click Connect.
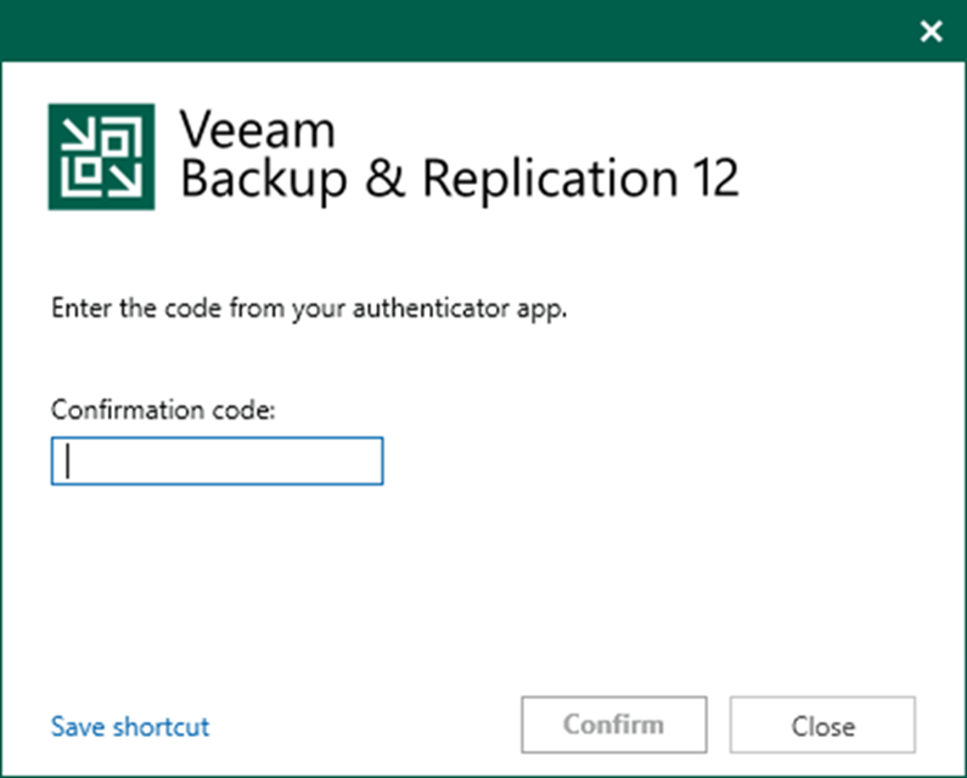
3. Enter the MFA Confirmation code and click Confirm.
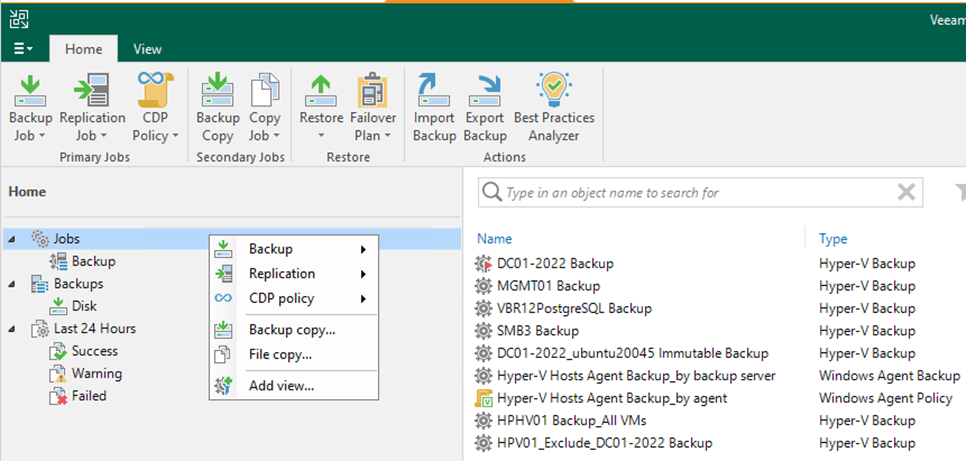
4. On the Home page, select Jobs, right-click Jobs, select Backup copy and click Virtual machine.
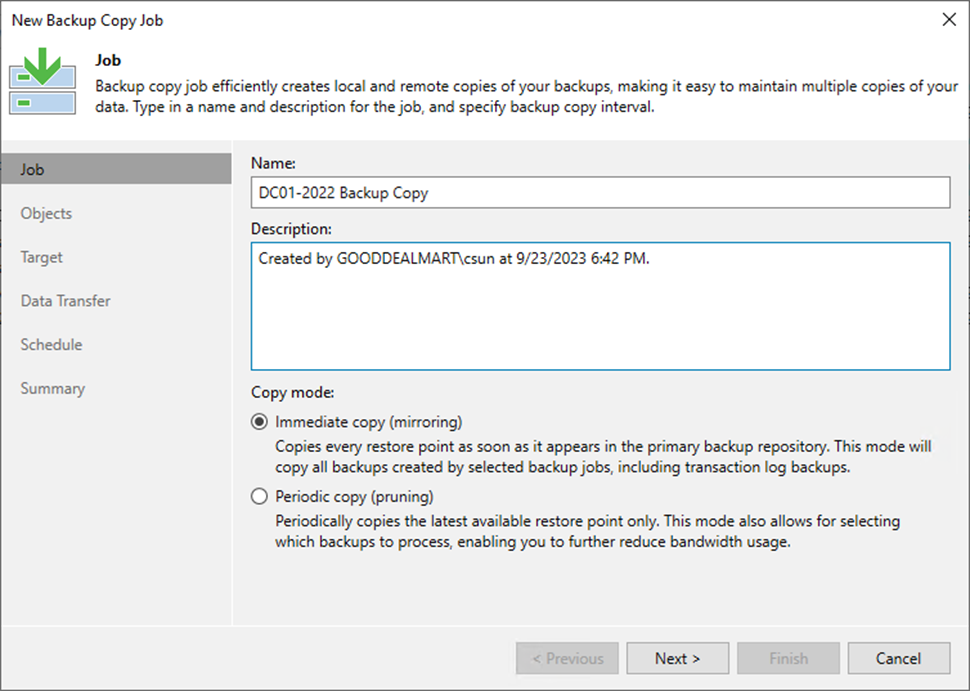
5. On the Name page, enter a name in the Name field.
6. Describe the Description field.
7. In the Copy mode session, select Immediate copy (mirroring).
8. Click Next.
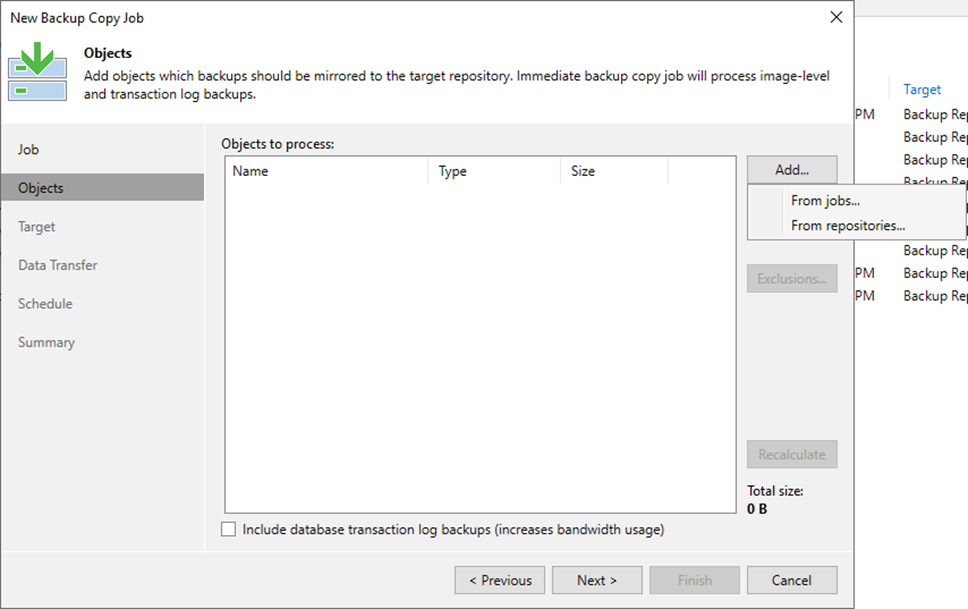
9. On the Objects page, click Add and select From jobs…
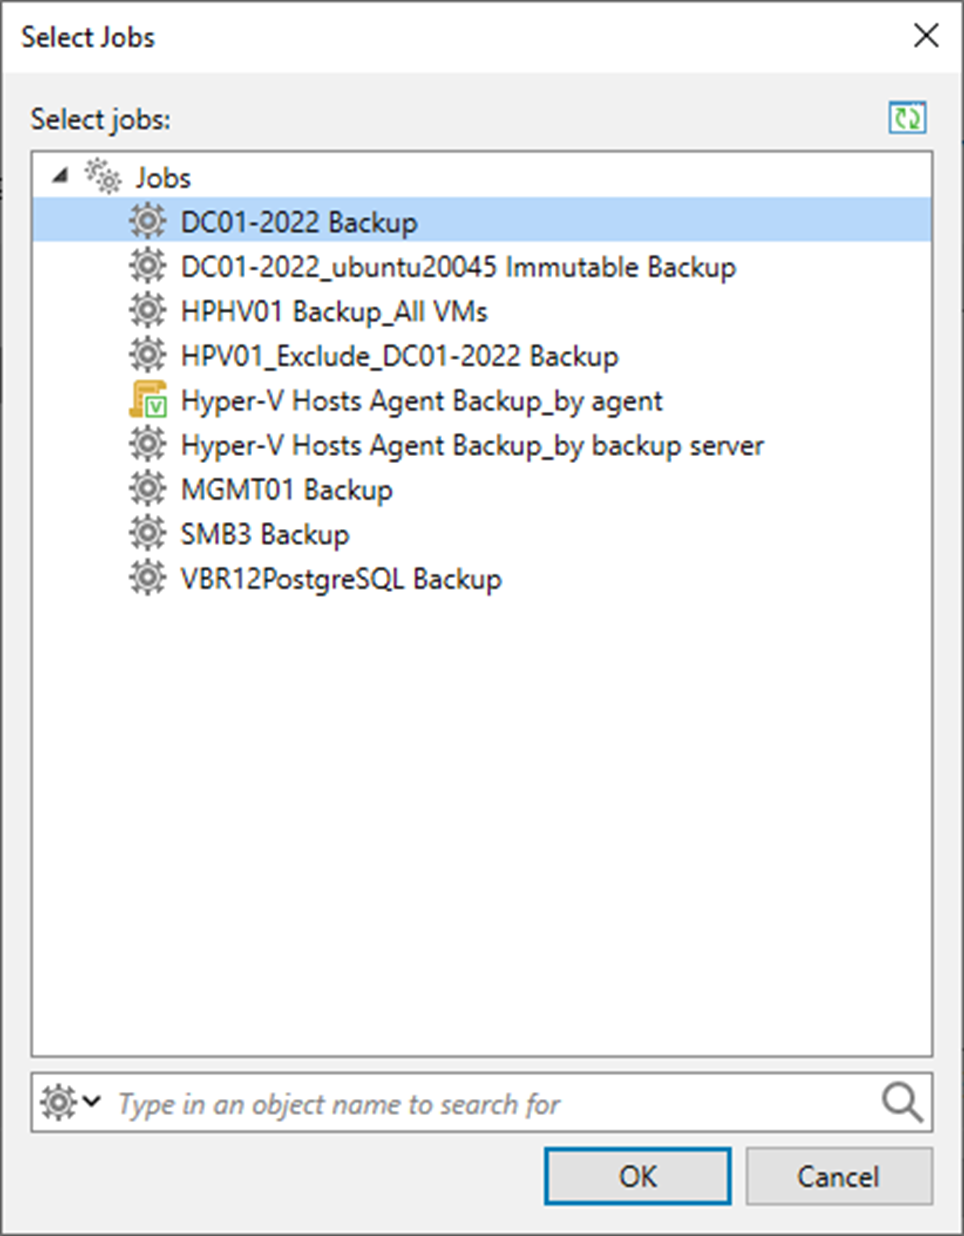
10. Select the job from the jobs list on the Select jobs page and click OK.
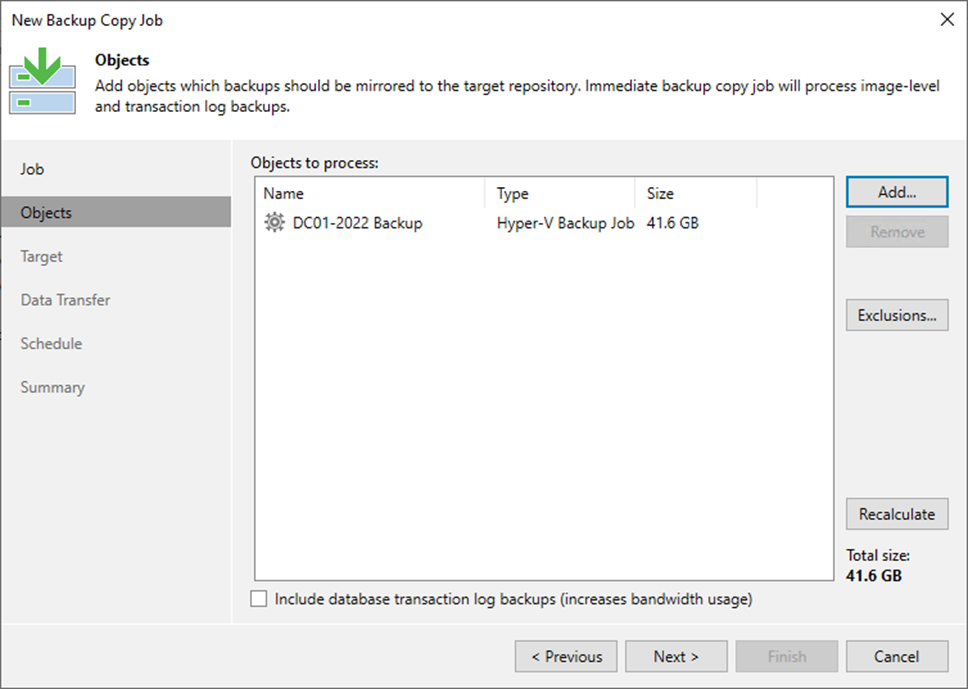
11. On the Objects page, click Next.
12. Select Include database transacting log backups (increases bandwidth usage) If required.
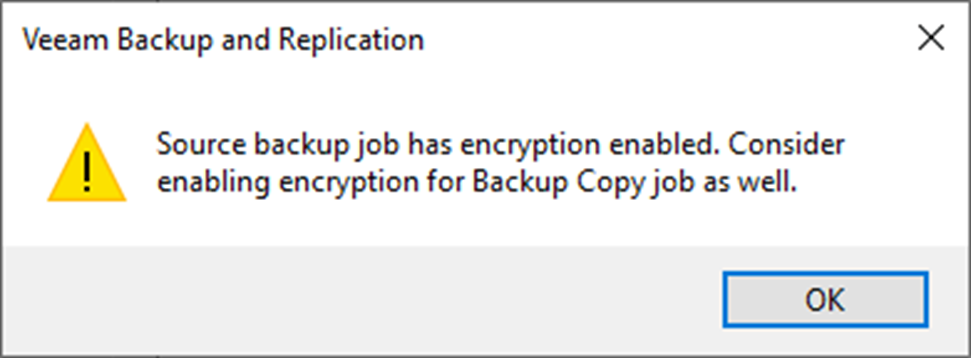
13. Click OK in the encryption-enabled warning message if the source backup job has encryption enabled.
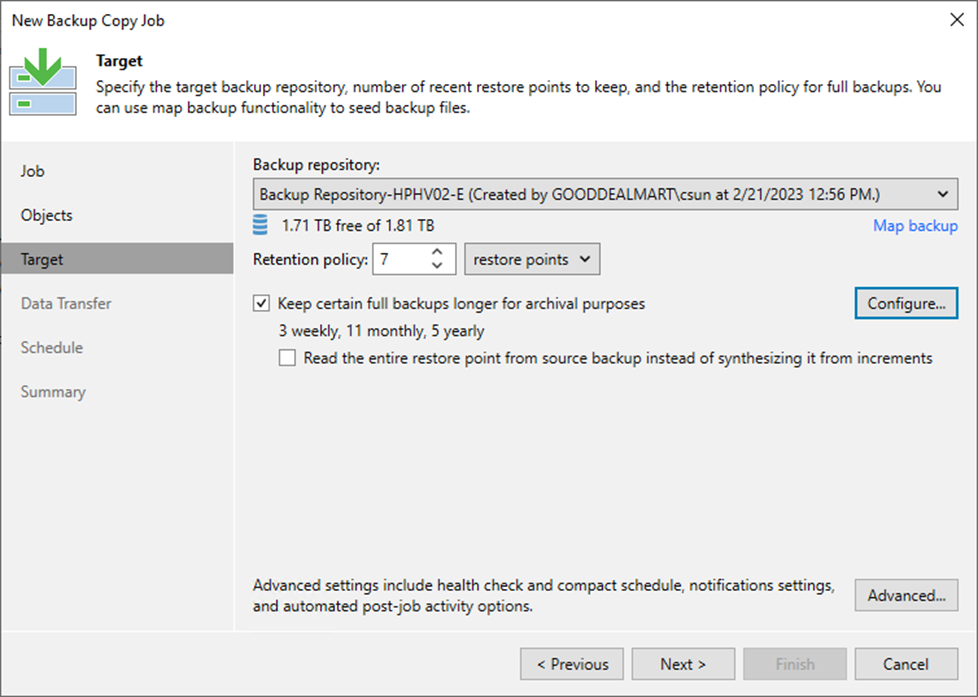
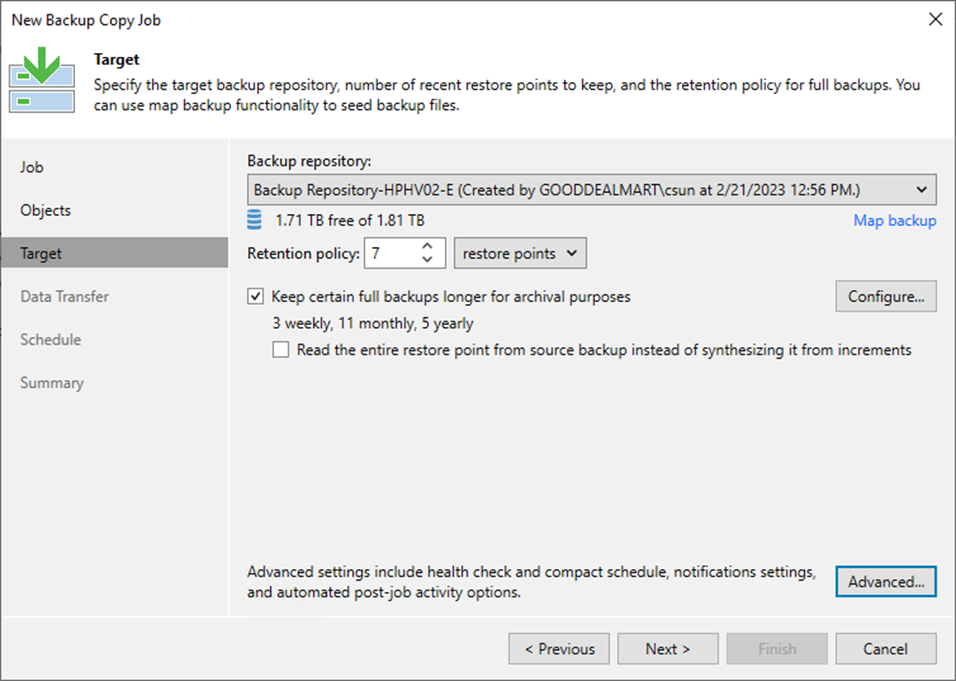
14. On the Target page, select the backup repository from the drop-down list.
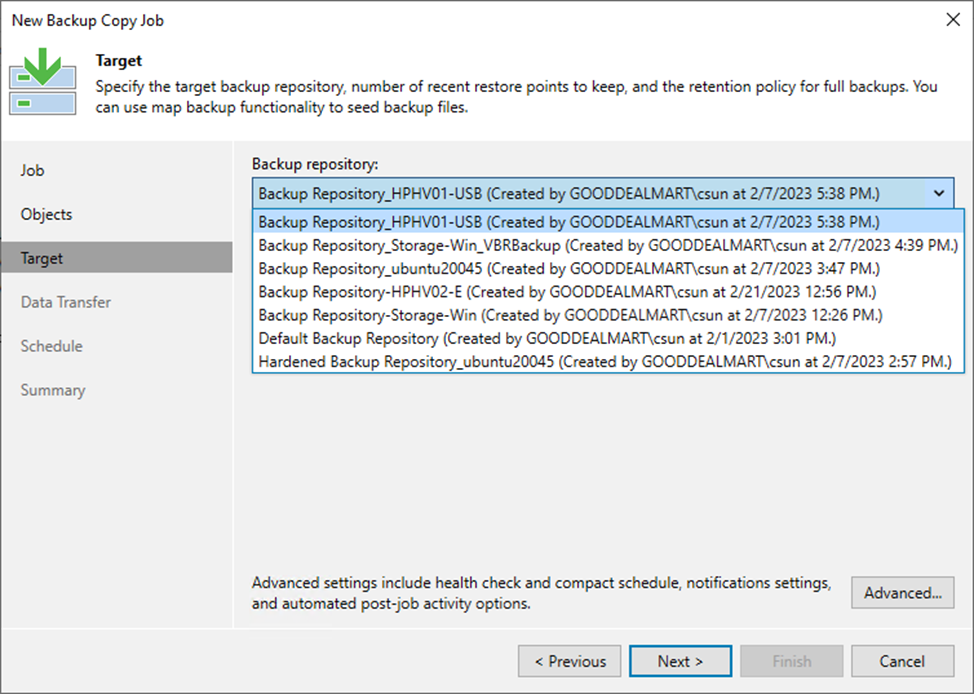
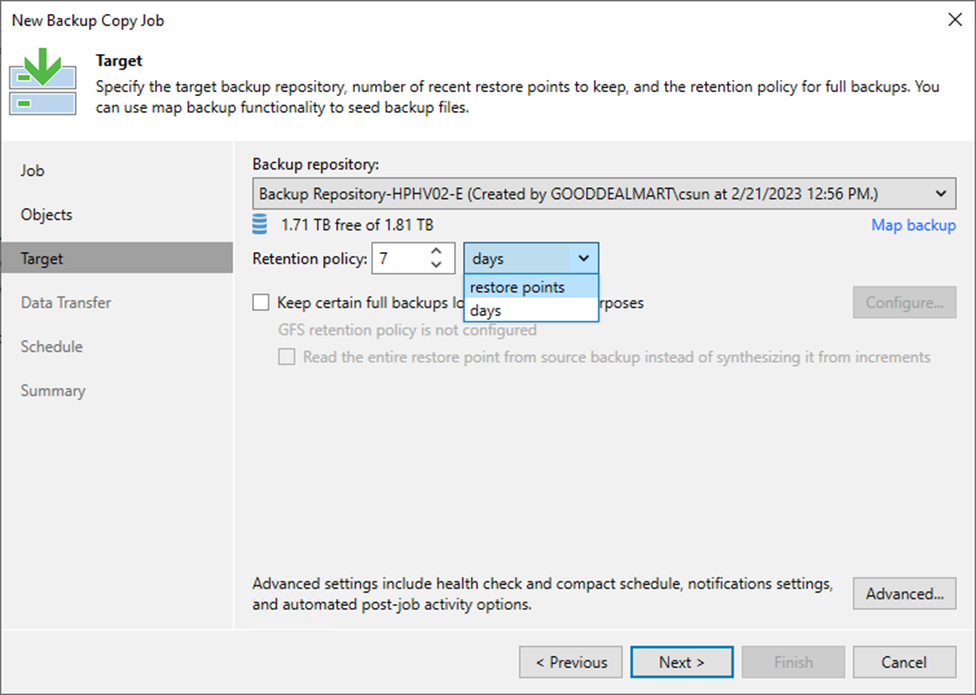
15. Set the retention policy settings for restore points in the Retention Policy field.
16. Select days or restore points from the drop-down list.
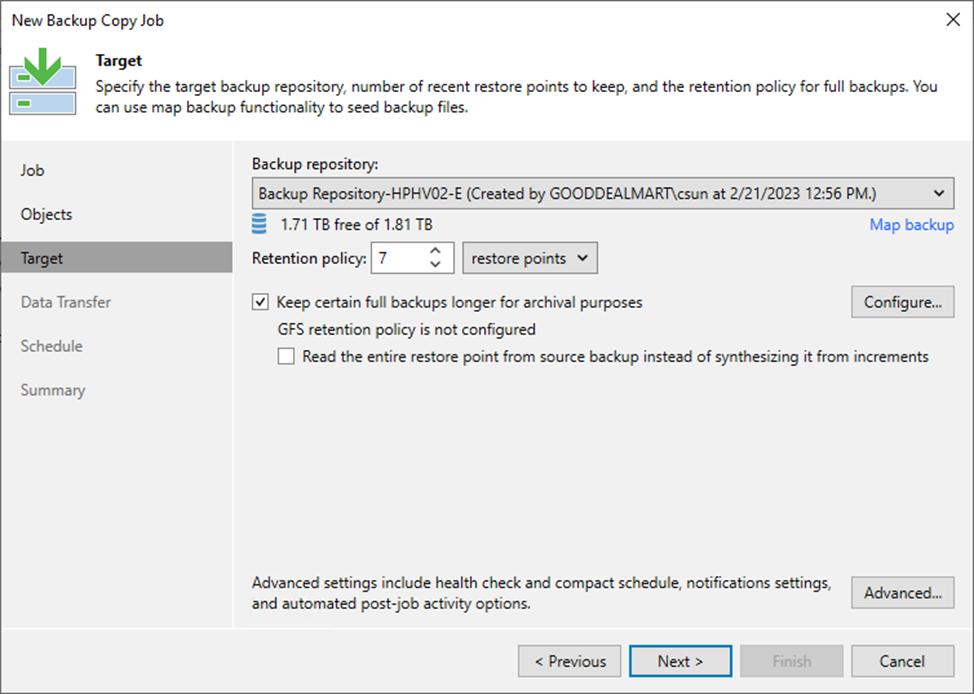
17. For long-term archiving, you can configure GFS retention policy settings for the backup copy job.
18. Select Keep specific full backups for longer for archival purposes and click Configure.
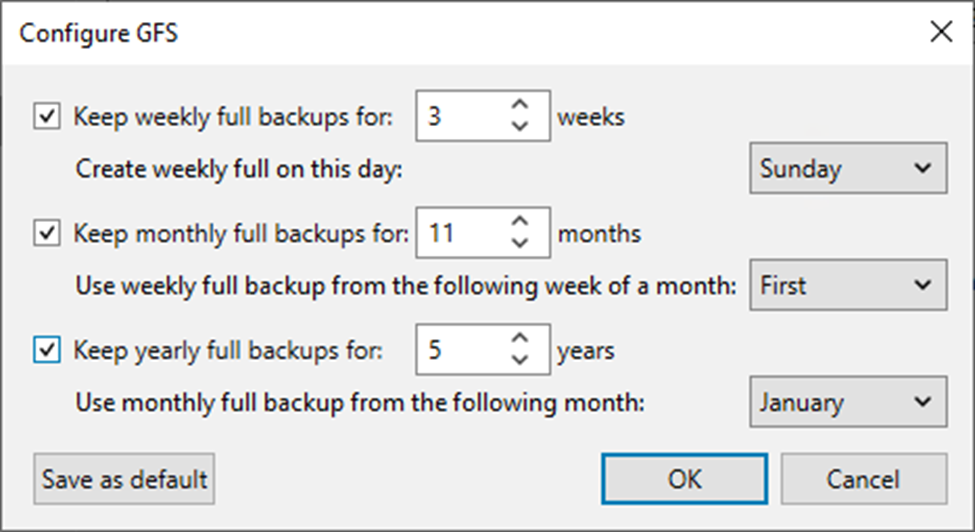
19. On the Configure GFS page, select the Keep weekly full backups for checkbox, and specify the number of weeks you want to prevent restore points from being modified and deleted.
20. Select the Keep monthly full backups for checkbox and specify the months you want to prevent restore points from being modified and deleted.
21. Select the Keep yearly full backups for checkbox and specify the years you want to prevent restore points from being modified and deleted.
22. Click OK.
23. On the Target page, click Advanced.
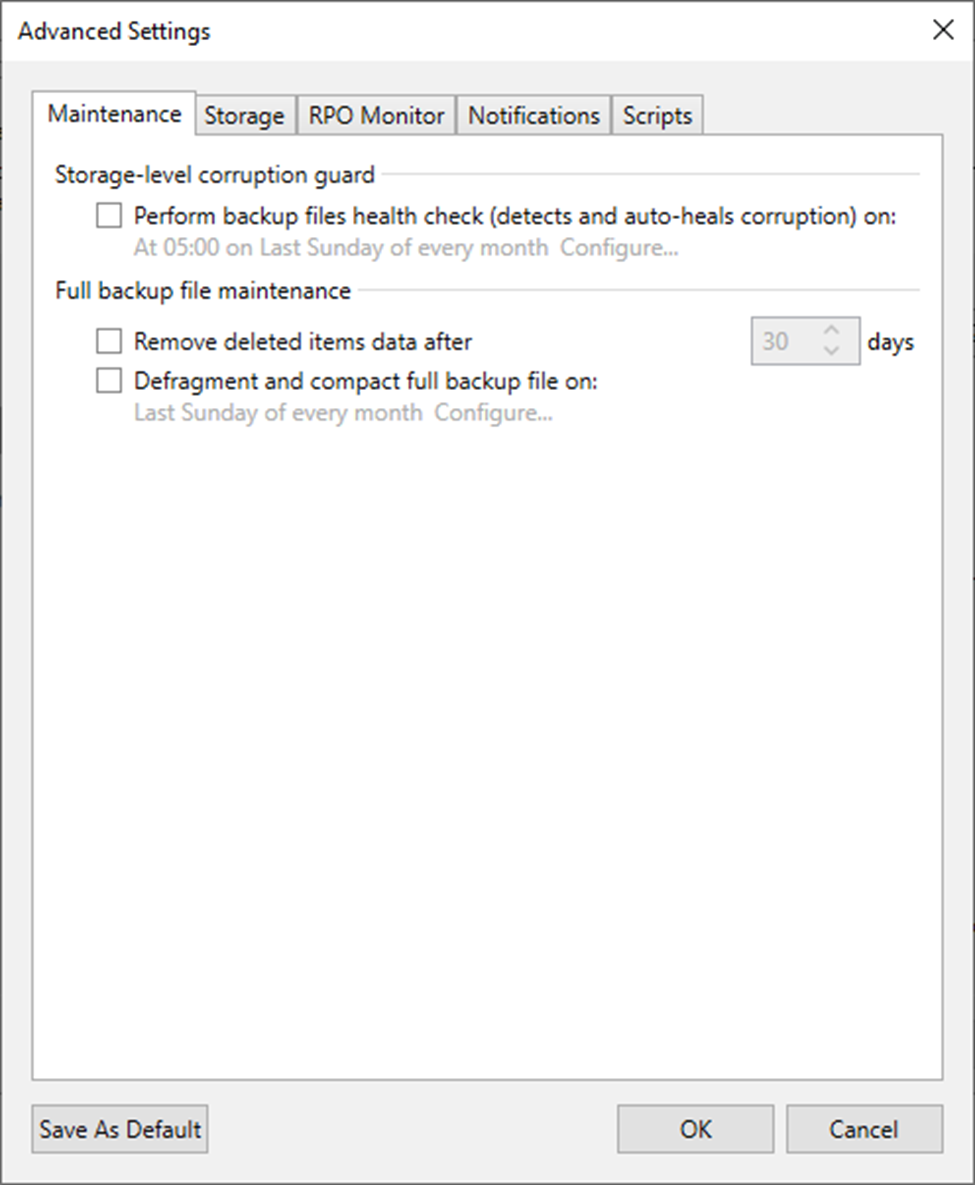
24. On the Advanced Settings, click Maintenance.
25. Select the Perform backup files health check (detects and auto-heals corruption) checkbox and specify the schedule for the health check if required.
26. Select the Remove deleted items data after checkbox and specify the retention days settings for deleted workloads if required.
27. Select the Defragment and compact full backup file checkbox and specify the schedule for the compacting operation if required.
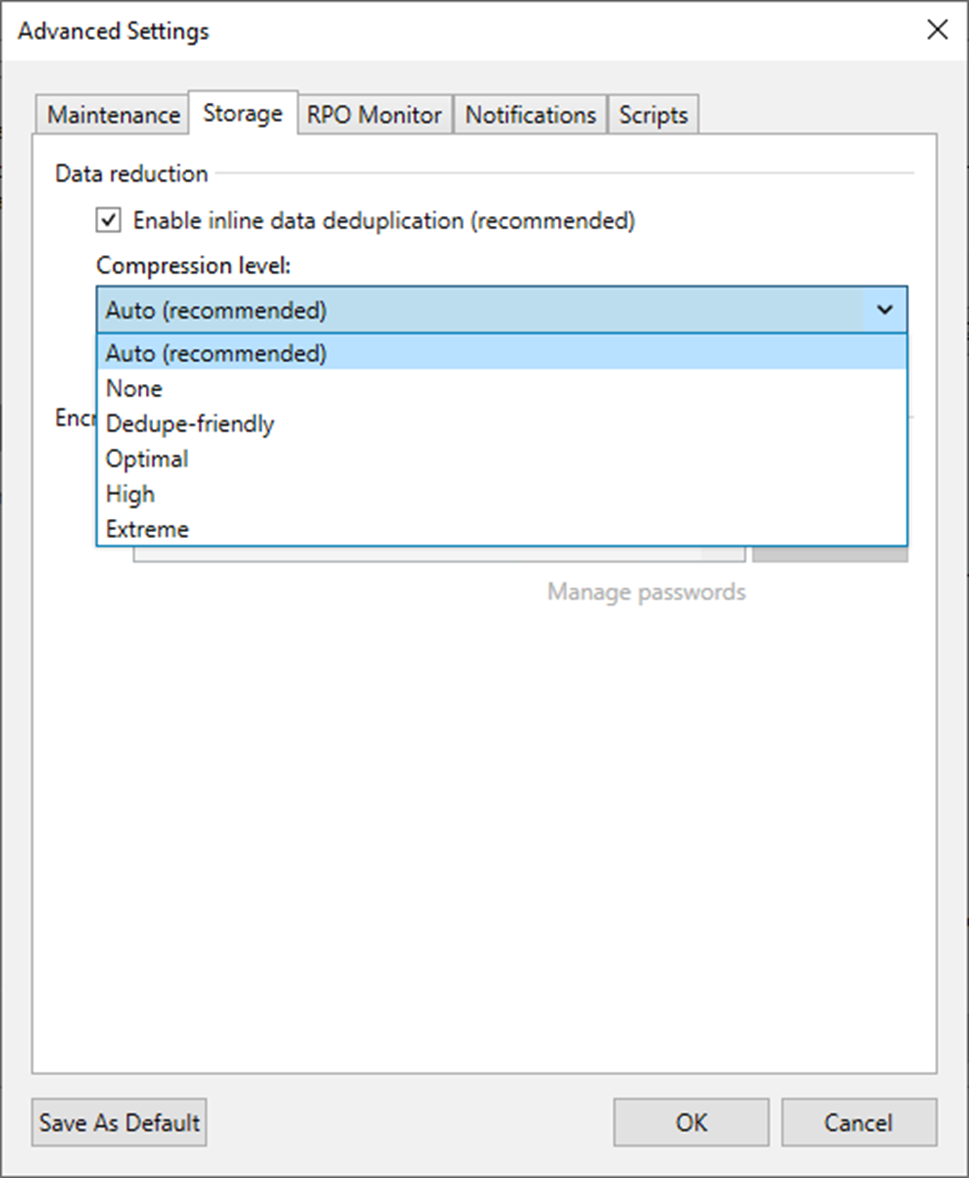
28. On Advanced Settings, click Storage.
29. Select the Enable inline data deduplication checkbox.
30. Select the compression level for the backup copy from the drop-down list.
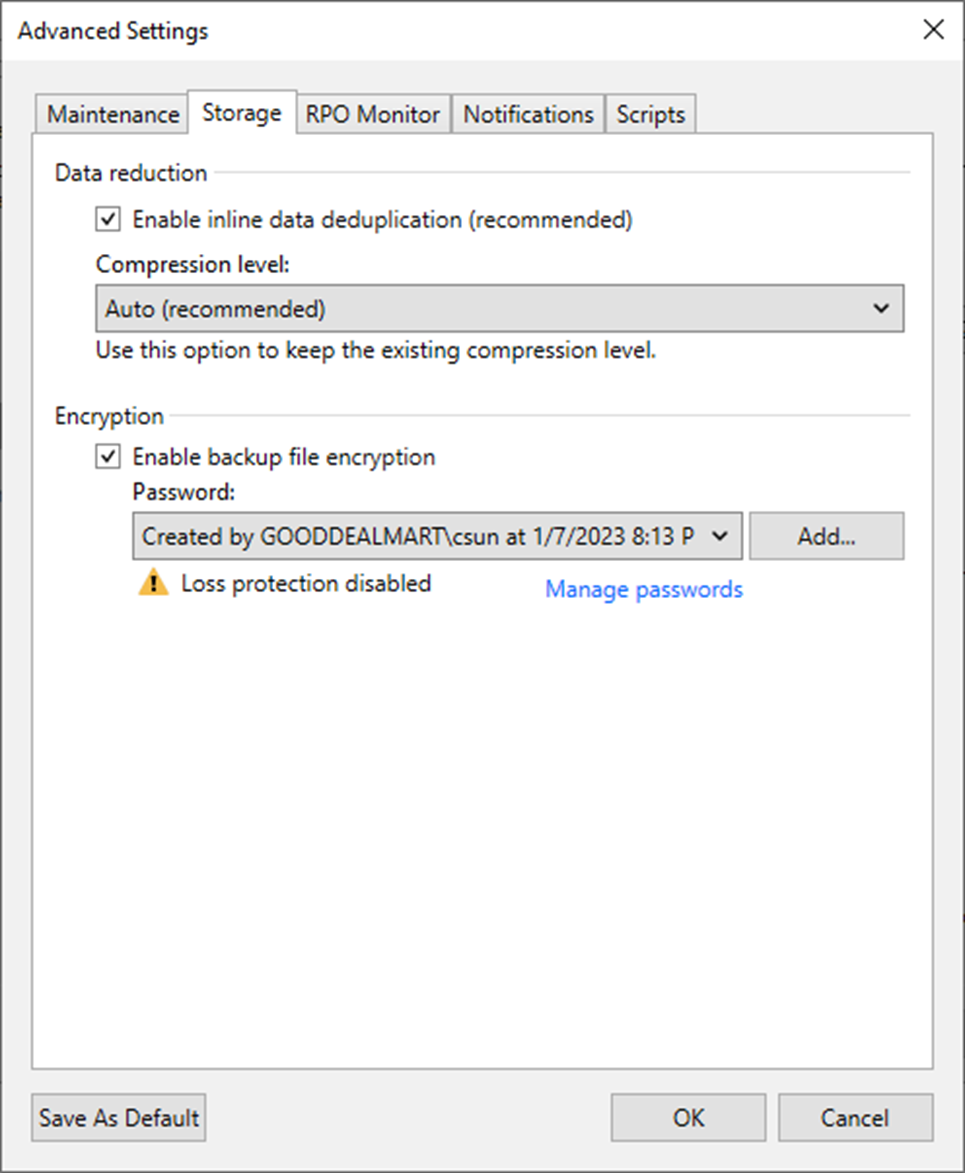
31. Select the Enable backup file encryption checkbox to encrypt the content of backup files.
32. Select a password from the drop-down list. If you haven’t done so, click Add or use the Manage passwords link to create a new password.
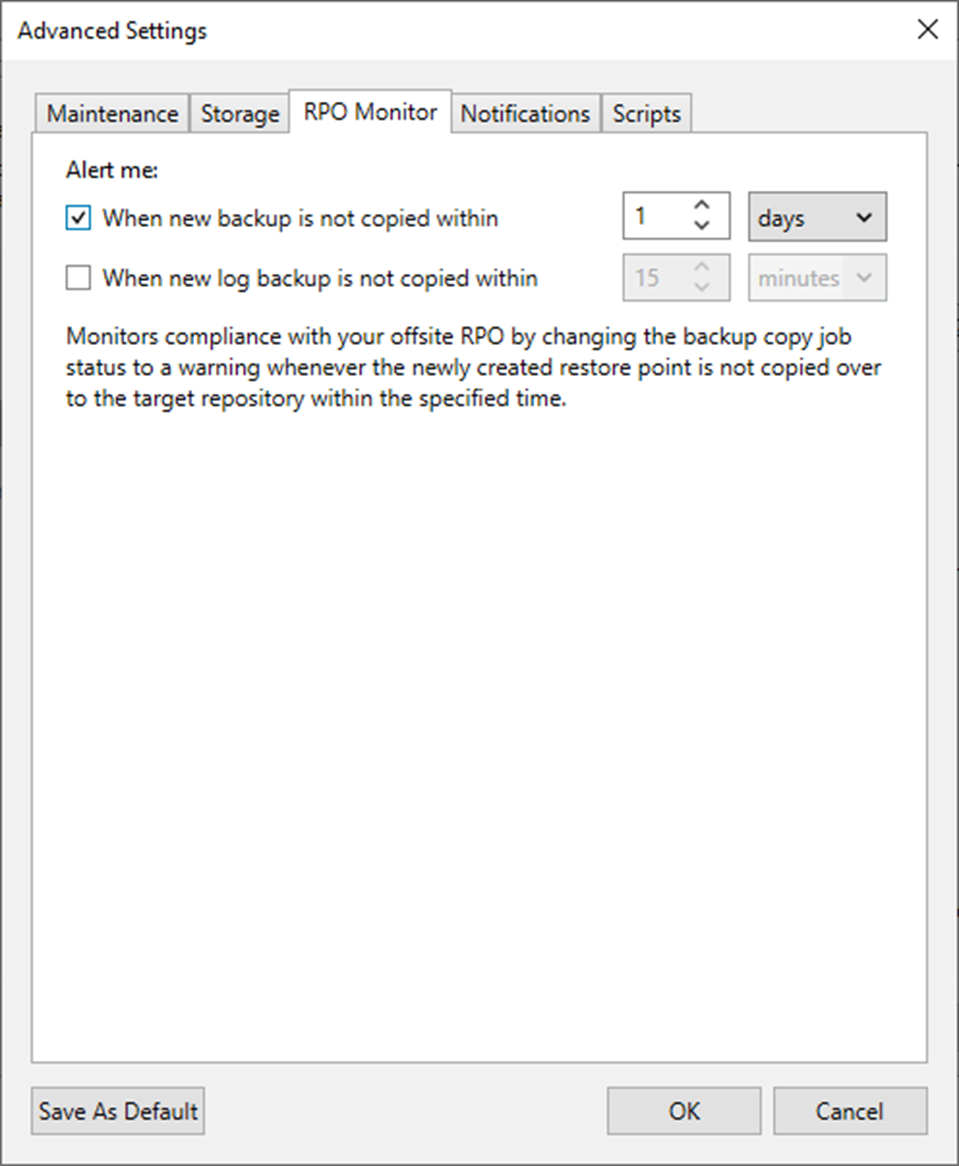
33. On the Advanced Settings page, select RPO Monitor.
34. Select the Alert me if a backup is not copied within checkbox, and specify the desired RPO in minutes, hours, or days.
35. Select Alert me if log backup is not copied within checkbox.
36. If you have enabled copying of log backups, specify the desired RPO in minutes, hours, or days.
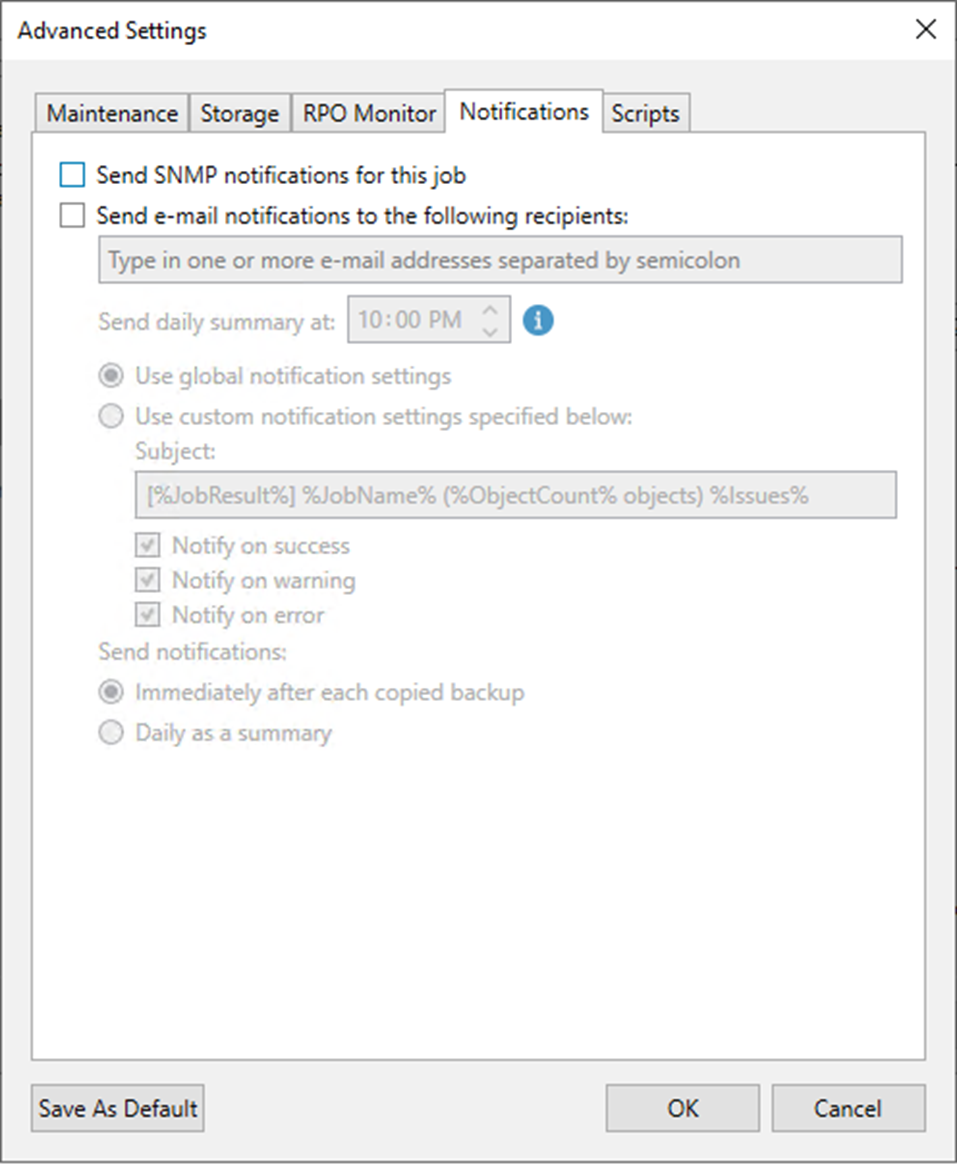
37. On the Advanced Settings, select Notifications.
38. Keep the default settings.
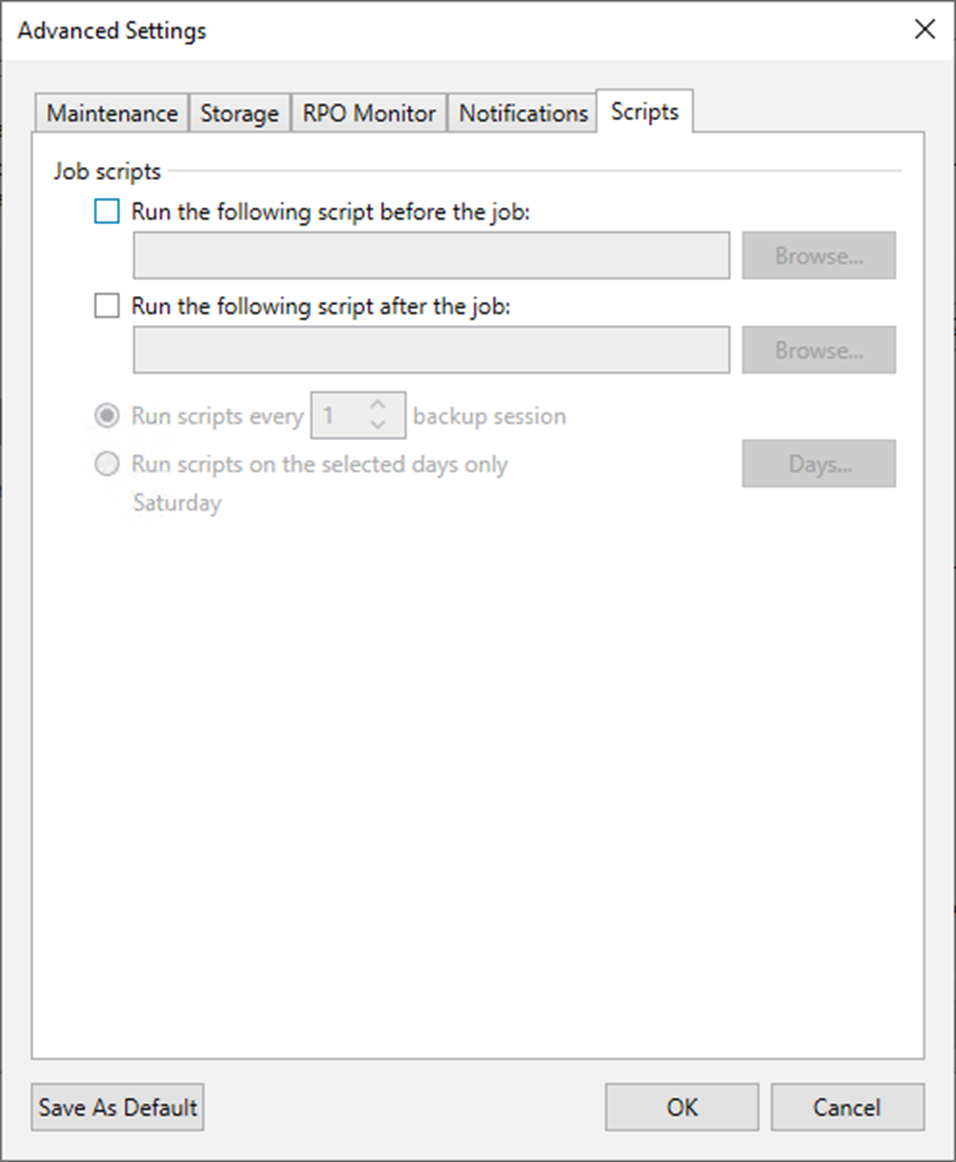
39. On the Advanced Settings page, click Scripts.
40. Keep the default settings and click OK.
41. On the Target page, click Next.
42. On the Data Transfer page, Select Direct if you plan to copy backup files over high-speed connections.
43. Click Next.
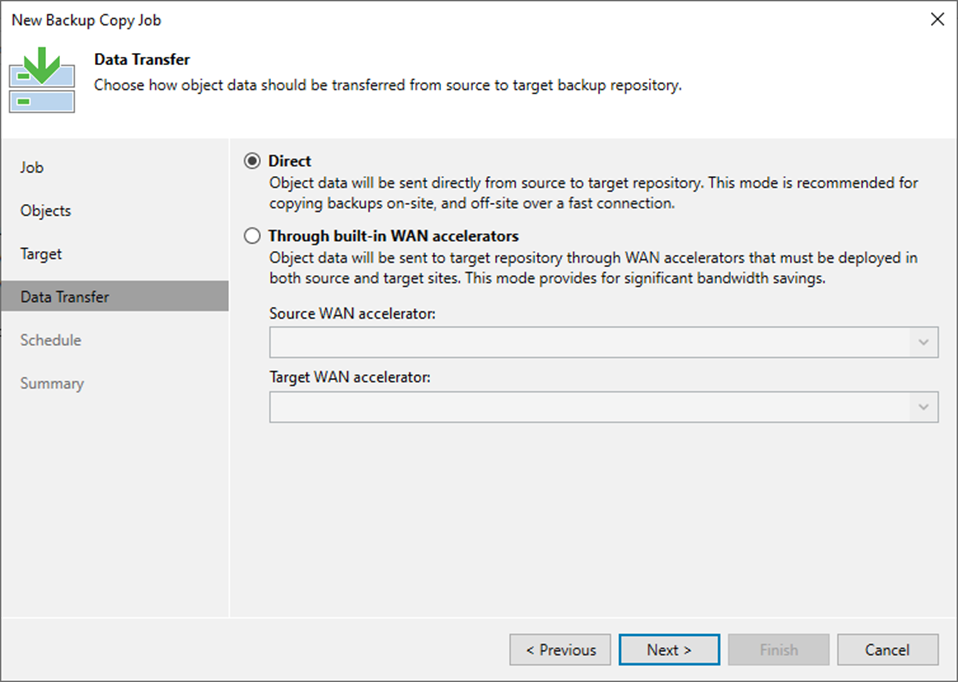
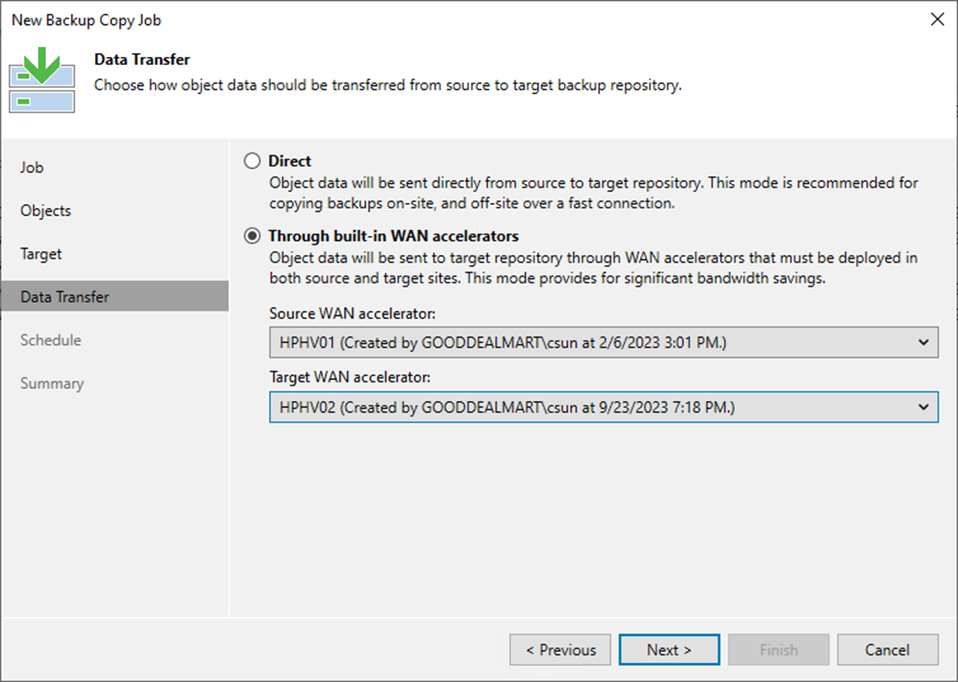
44. Select the Through built-in WAN accelerators if you copy backup files over WAN or slow connections.
45. Select a WAN accelerator configured in the source site from the Source WAN accelerator drop-down list.
46. Select a WAN accelerator configured in the target site from the Target WAN accelerator drop-down list.
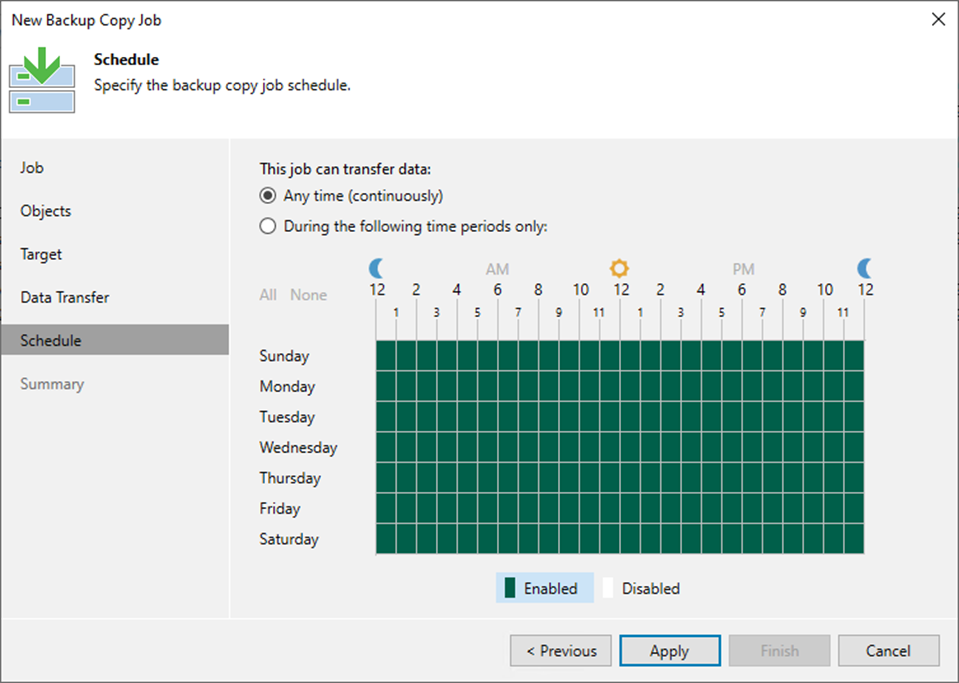
47. On the Schedule page, select Any time (continuously) if this job can transfer data at any time.
48. Select During the following periods only if required.
49. Click Apply.
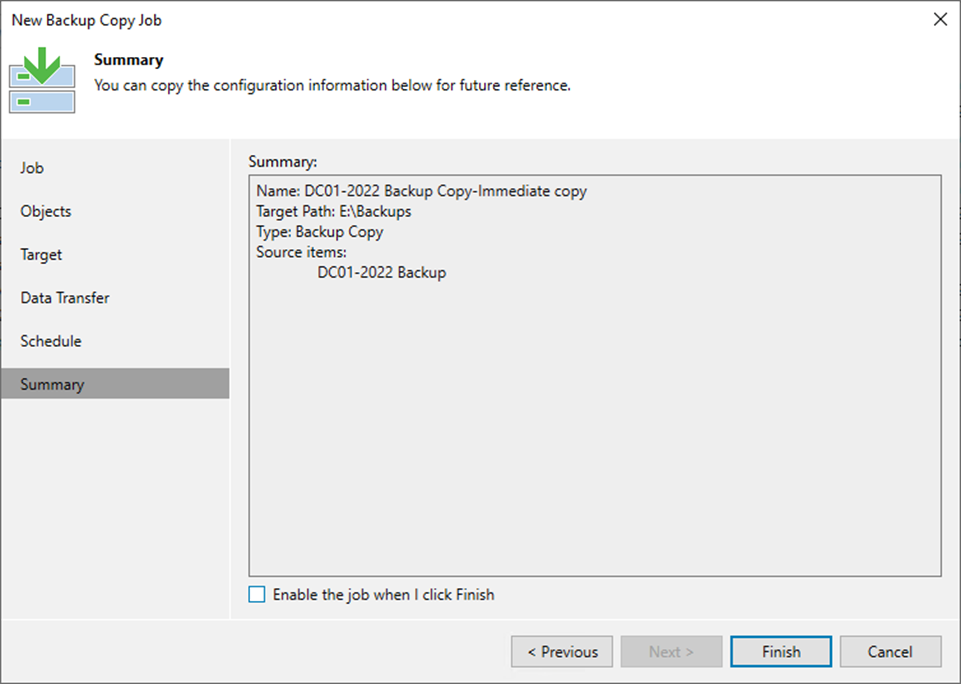
50. Select Enable the job on the Summary page when I click the Finish checkbox. If you want to start the job after creating it, click Finish.
I hope you enjoy this post.
Cary Sun
Twitter: @SifuSun
Web Site: carysun.com
Blog Site: checkyourlogs.net
Blog Site: gooddealmart.com
