To add Microsoft Azure Compute Accounts to Veeam Backup & Replication (or Veeam Backup for Microsoft Azure), you must first integrate your Azure environment with Veeam, which will manage the backup and restoration of Azure Virtual Machines and other computing resources.
You can use a Microsoft Azure Compute account for the below activities:
- Restore workloads to Microsoft Azure.
- Add Azure archive storage.
- Add a Microsoft Azure Plug-in for the Veeam Backup & Replication appliance.
This section is a complete guide to adding Microsoft Azure Compute Accounts in Veeam Backup & Replication.
1.Login to the Veeam Backup and Replication Manager server.
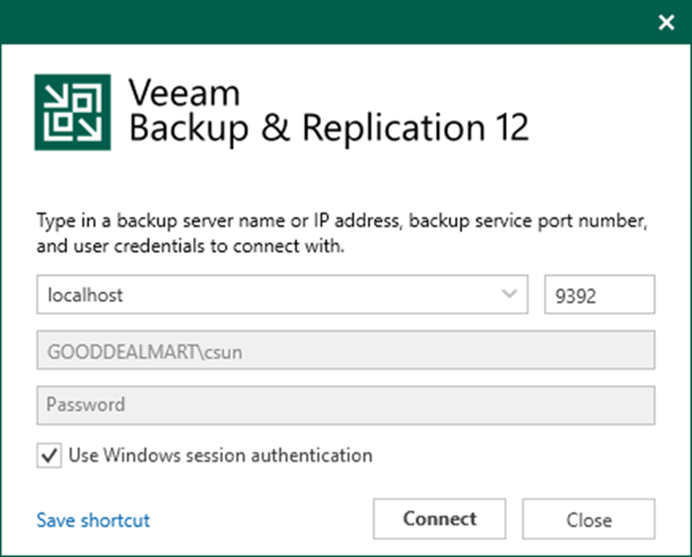
2.Open the Veeam Backup & Replication Console and click Connect.
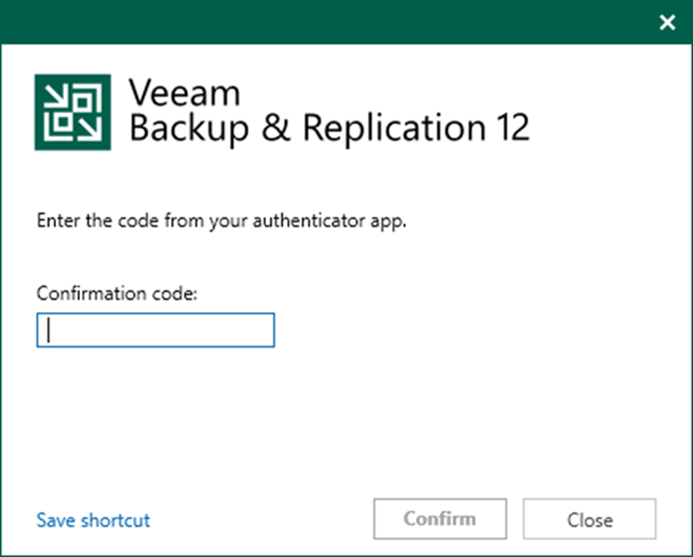
3.Enter the MFA Confirmation code and click Confirm.
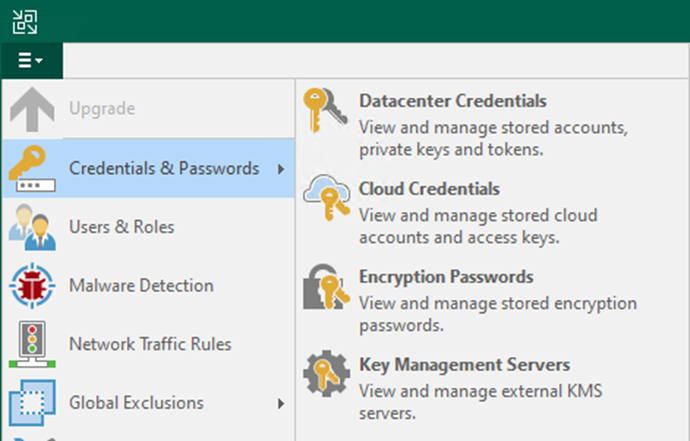
4.Select Credentials & Password and click Cloud Credentials.
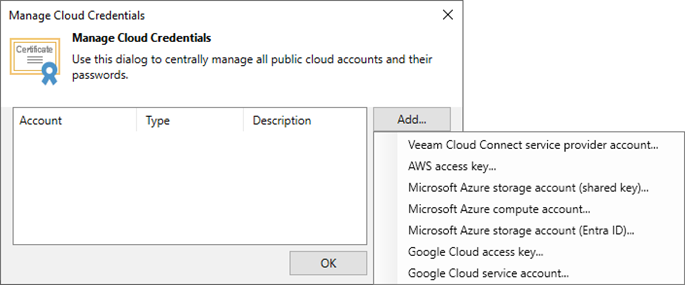
5.On the Manage Cloud Credentials page, Click Add and select Microsoft Azure compute account.
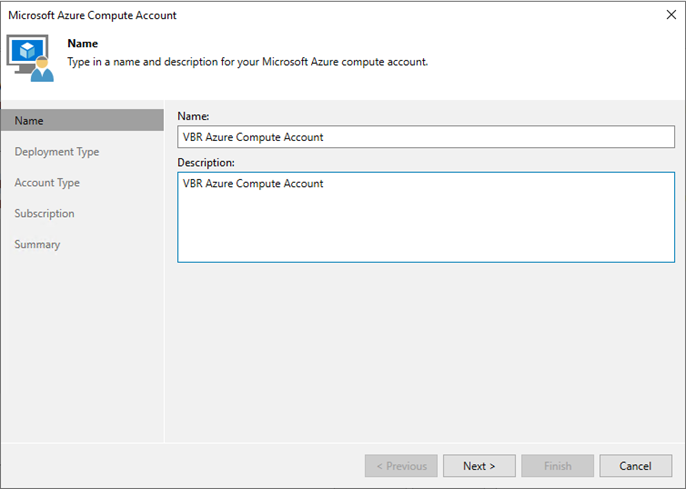
6.Enter the Azure Compute account name in the Name field on the Name page.
7.Enter a description for the Azure Compute Account in the Description field.
8.Click Next.
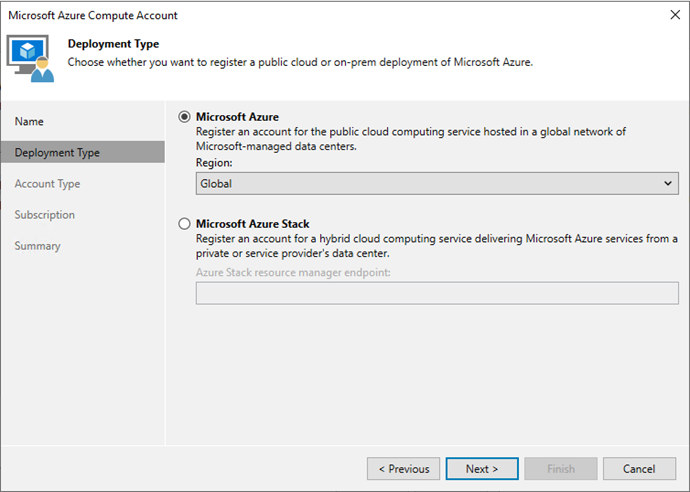
9.Select Microsoft Azure on the Deployment Type page.
10.Select Global in the Region field.
11.Click Next.
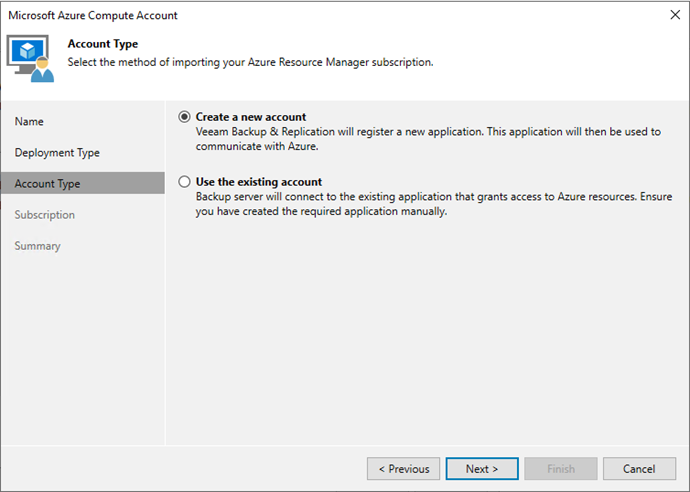
12.Select Create a new account on the Account Type page and click Next.
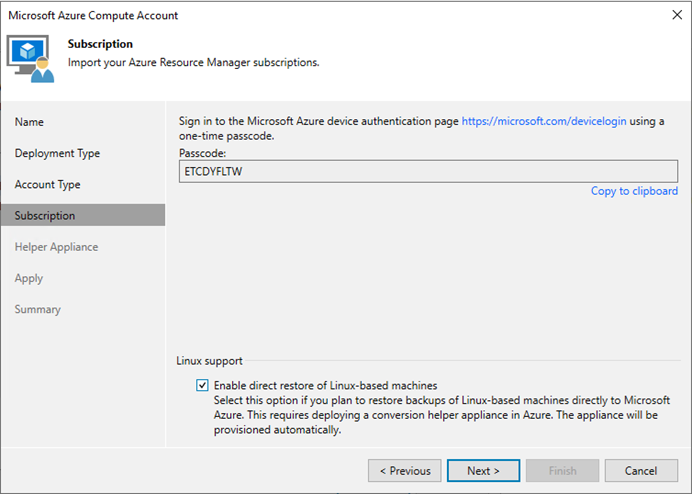
13.Click Copy to clipboard to copy the passcode on the Authentication page.
14.Click the https://microsoft.com/devicelogin link.
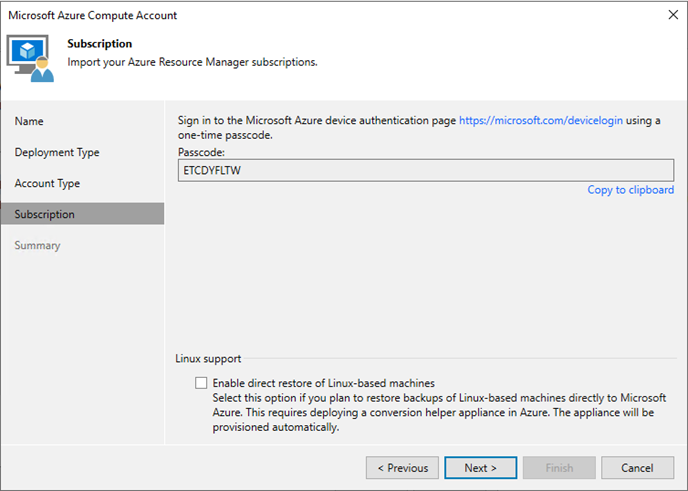
15.Paste the code on the Microsoft device authentication page and click Next.
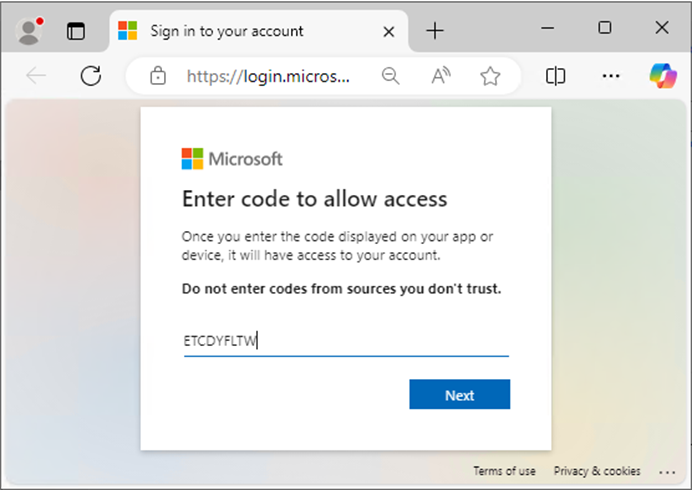
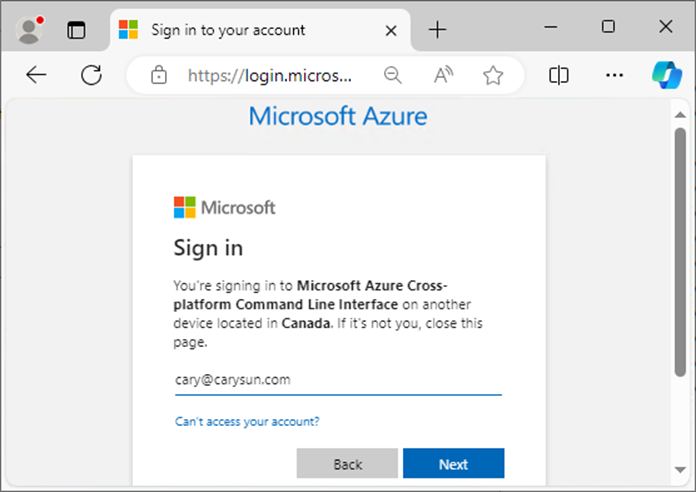
16.Enter a Microsoft account that will be used to create an application and click Next.
17. This account must have Global Administrator privileges and an Owner role.
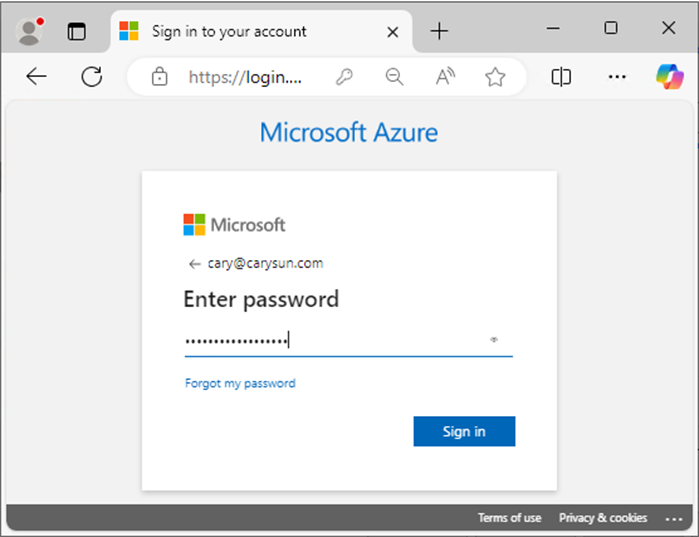
18.Enter the account password in the Password field and click Sign in.
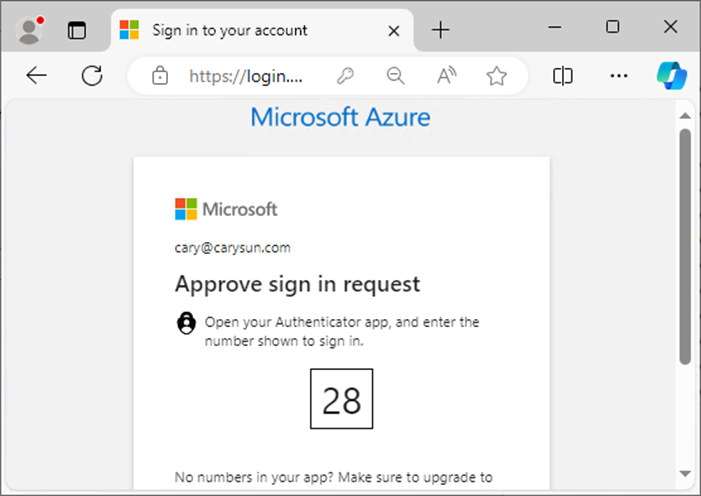
19.Enter the MFA code in the Authenticator APP.
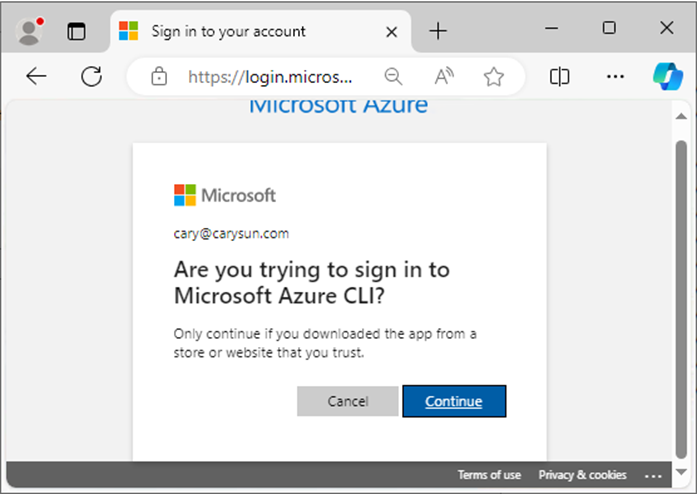
20.Click Continue on the sign-in to Microsoft Azure CLI page.
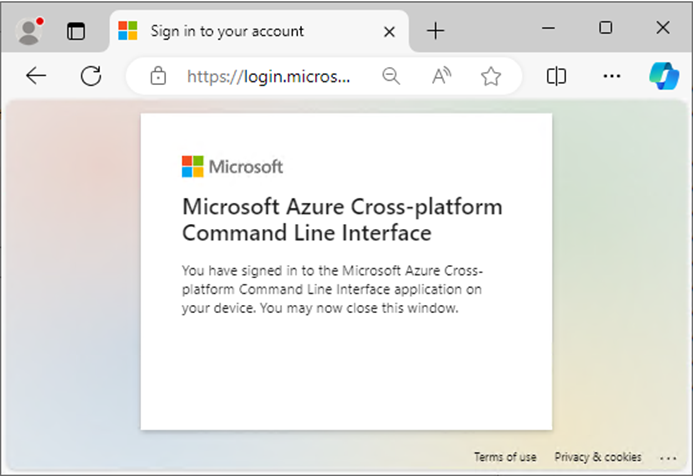
21.Close the browser.
22.Select Enable direct restore of Linux-based machines on the Subscription page and click Next.
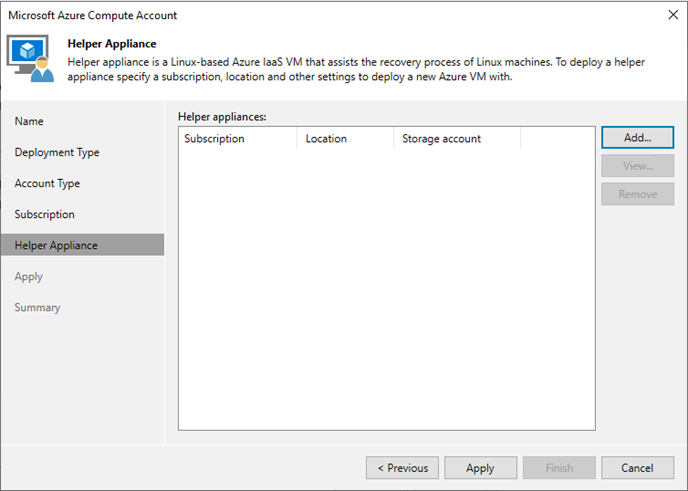
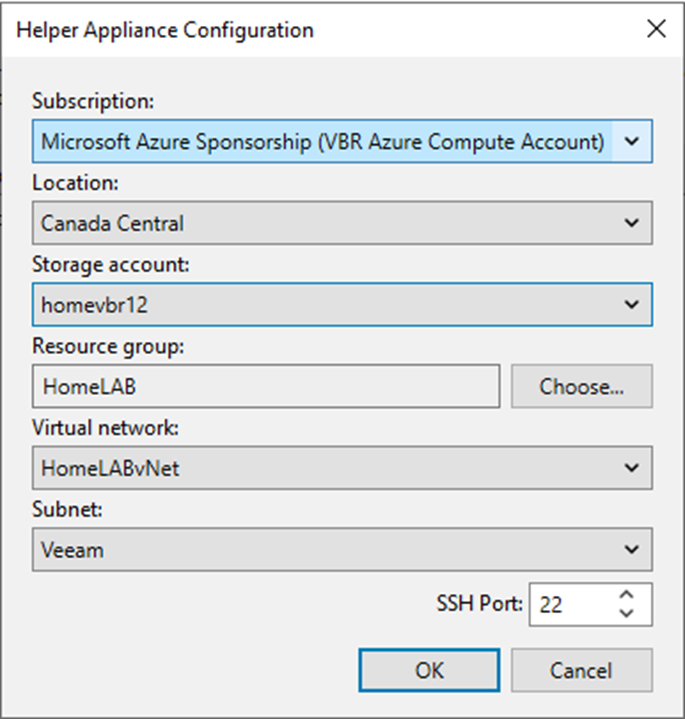
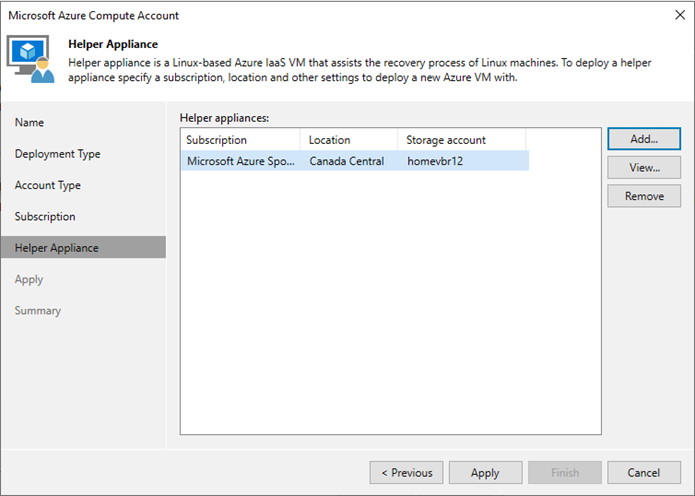
23.Click Add on the Helper Appliance page.
24.Select your subscription in the Subscription field on the Helper Appliance Configuration page.
25.Select your location in the Location field.
26.Select an existing storage account in the Storage account field.
Note:
You cannot use a storage account with the ZRS or GZRS replication option.
27.Select an existing resource group or create a new one in the Resource group field.
28.Select the existing Virtual network in the Virtual network field.
29.Select the existing subnet in the Subnet field.
30.Change or keep the default port number in the SSH Port field.
31.Click OK.
32.Click Apply on the Helper Appliance page.
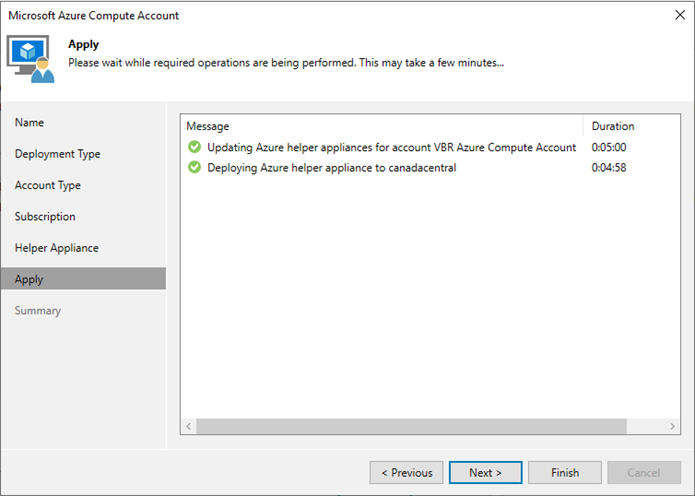
33.It may take a few minutes to deploy the Azure help appliances.
34.Click Next on the Apply page.
35.Click Finish on the Summary page.
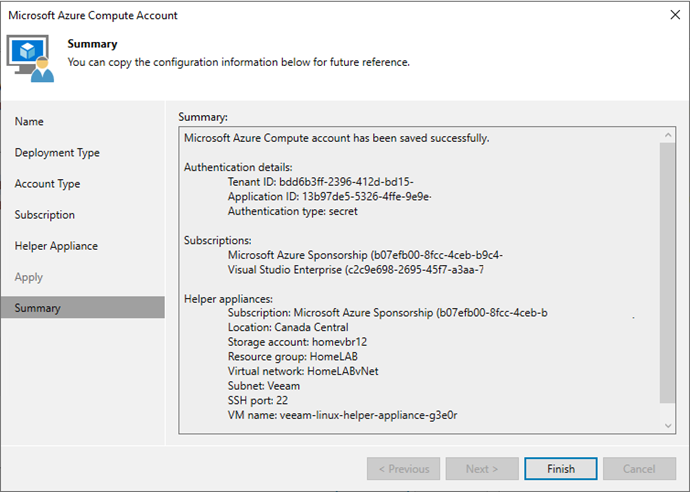
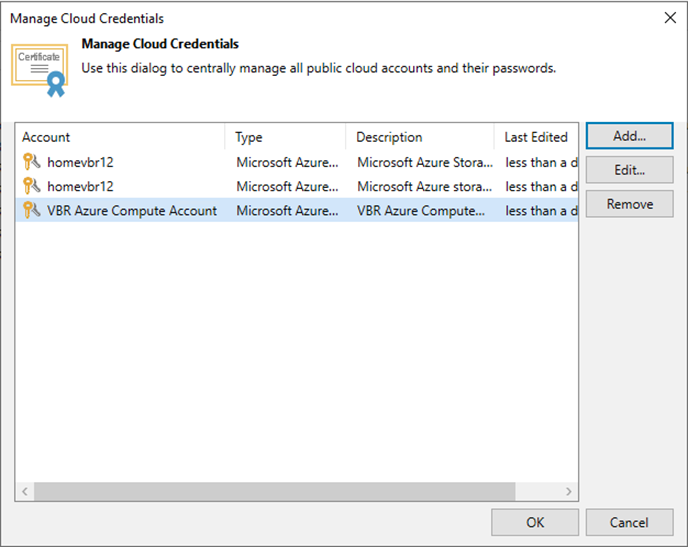
36.Verify and ensure the Microsoft Azure Compute Account was created.
37.Click OK.
I hope you enjoy this post.
Cary Sun
X: @SifuSun
In: www.linkedin.com/in/sifusun
Web Site: carysun.com
Blog Site: checkyourlogs.net
Blog Site: gooddealmart.com
Amazon Author: Amazon.com/author/carysun
