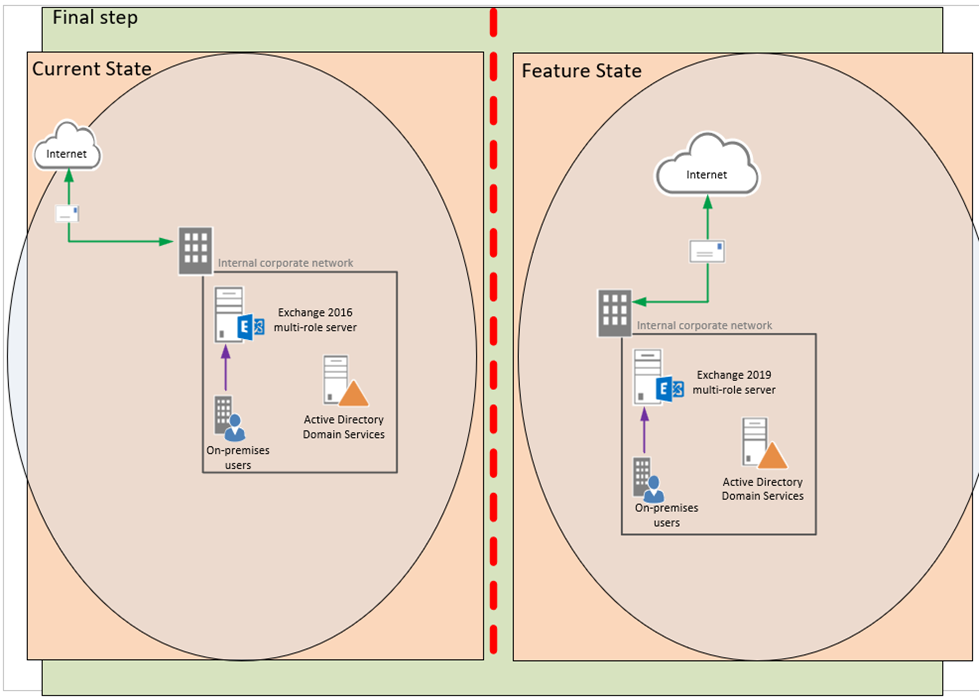
Deploying Exchange Server 2019 involves several steps, including preparing the Active Directory environment, installing the necessary prerequisites and software, configuring Exchange Server roles and services, and migrating user mailboxes and other data to the new environment. It’s essential to properly plan capacity and ensure that the hardware, software, and network infrastructure meet the minimum requirements for Exchange 2019.
Microsoft provides detailed documentation and tools to assist with the deployment process, but consulting with an experienced Exchange consultant or engineer is recommended to ensure a successful deployment.
The specific steps and requirements for deploying Exchange Server 2019 may vary depending on your environment and business needs.

The Mailbox server in Exchange 2019 includes all the server components from the Mailbox and Client Access roles. Before installing the Exchange 2019 mailbox Server Role on a Windows Server, you must ensure that prerequisites are installed.
1. Login to the Exchange 2019 Server.
2. Open Windows PowerShell as administrator.
3. Run the below cmdlet.
Install-WindowsFeature Server-Media-Foundation, NET-Framework-45-Features, RPC-over-HTTP-proxy, RSAT-Clustering, RSAT-Clustering-CmdInterface, RSAT-Clustering-Mgmt, RSAT-Clustering-PowerShell, WAS-Process-Model, Web-Asp-Net45, Web-Basic-Auth, Web-Client-Auth, Web-Digest-Auth, Web-Dir-Browsing, Web-Dyn-Compression, Web-Http-Errors, Web-Http-Logging, Web-Http-Redirect, Web-Http-Tracing, Web-ISAPI-Ext, Web-ISAPI-Filter, Web-Lgcy-Mgmt-Console, Web-Metabase, Web-Mgmt-Console, Web-Mgmt-Service, Web-Net-Ext45, Web-Request-Monitor, Web-Server, Web-Stat-Compression, Web-Static-Content, Web-Windows-Auth, Web-WMI, Windows-Identity-Foundation, RSAT-ADDS
4. Download and Install Microsoft .NET Framework 4.8 and reboot the server.
Note:
Bypass this step if it’s Windows Server 2022.
5. Download and Install Visual C++ Redistributable Package for Visual Studio 2012.
6. Download and Install Visual C++ Redistributable Package for Visual Studio 2013.
https://download.microsoft.com/download/2/E/6/2E61CFA4-993B-4DD4-91DA-3737CD5CD6E3/vcredist_x64.exe
7. Download and Install IIS URL Rewrite Module.
8. Download and Install Unified Communications Managed API 4.0.
9. Restart the Exchange 2019 server.
I hope you enjoy this post.
Cary Sun
Twitter: @SifuSun
Web Site: carysun.com
Blog Site: checkyourlogs.net
Blog Site: gooddealmart.com
