
Veeam Backup and Replication v12 launched on Feb 14, 2023. If you are still using an older version, it is time to upgrade it to v12. To upgrade Veeam Backup & Replication to version 12, you must have version 10a (build 10.0.1.4854) or later installed on the supported operating system.
1. Log in to the existing Veeam Backup and replication manager server.
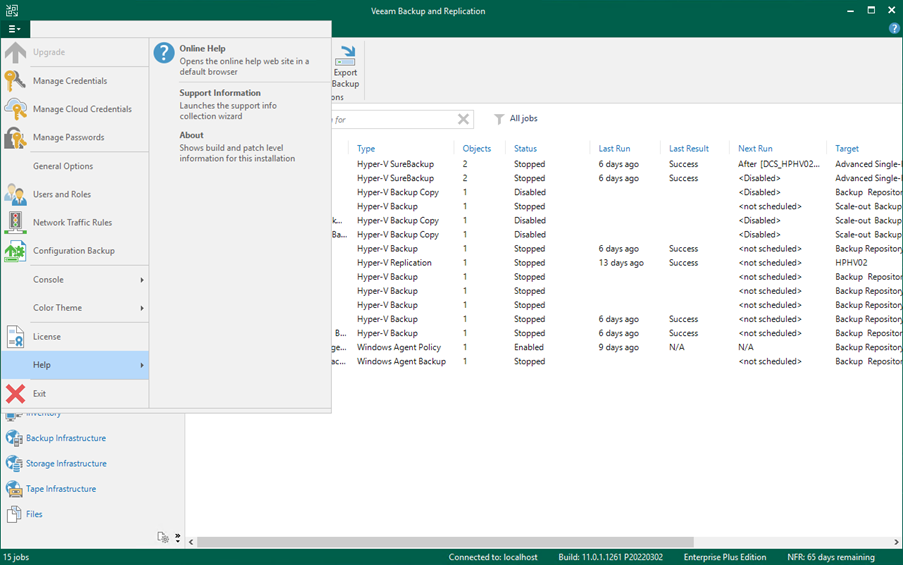
2. Open the Veeam Backup & Replication Console.
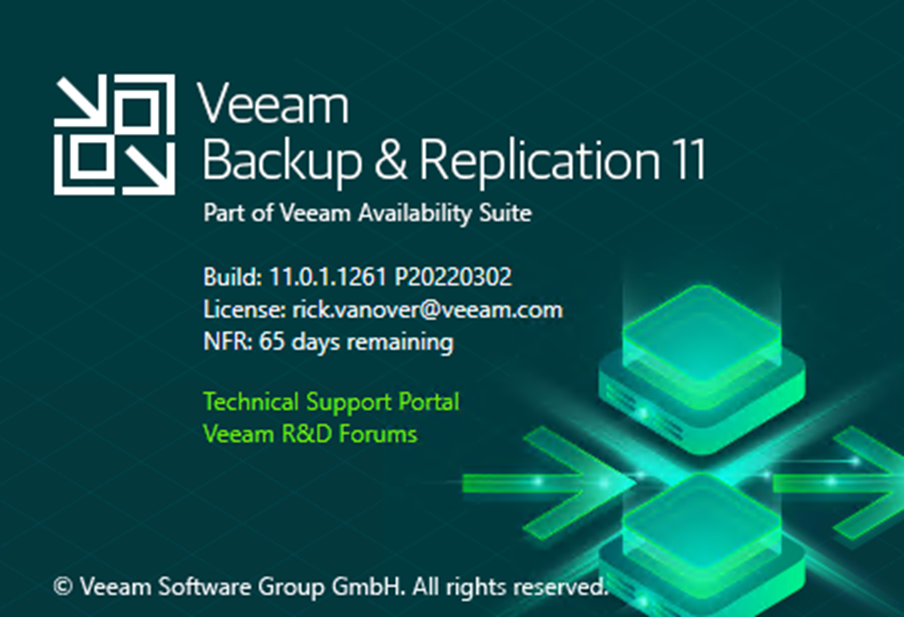
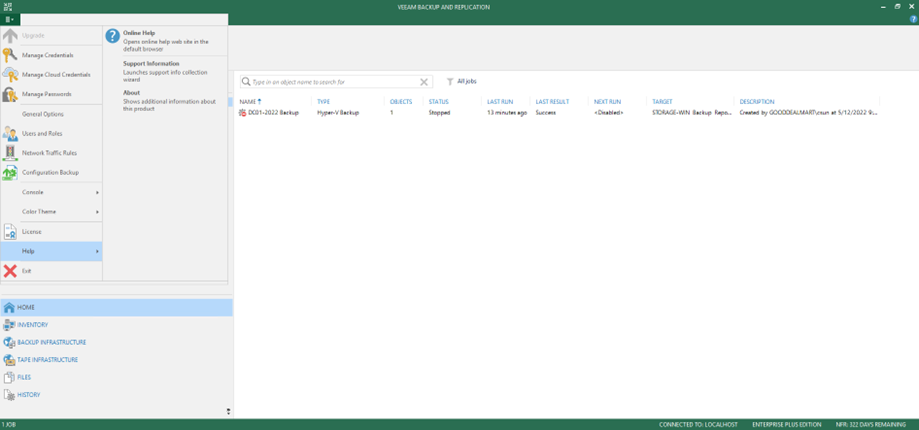
3. Drop down the main menu, select Help, and click About to check Veeam Backup & Replication version.
4. Make sure the existing Veeam Backup and Replication version meets the requirements.
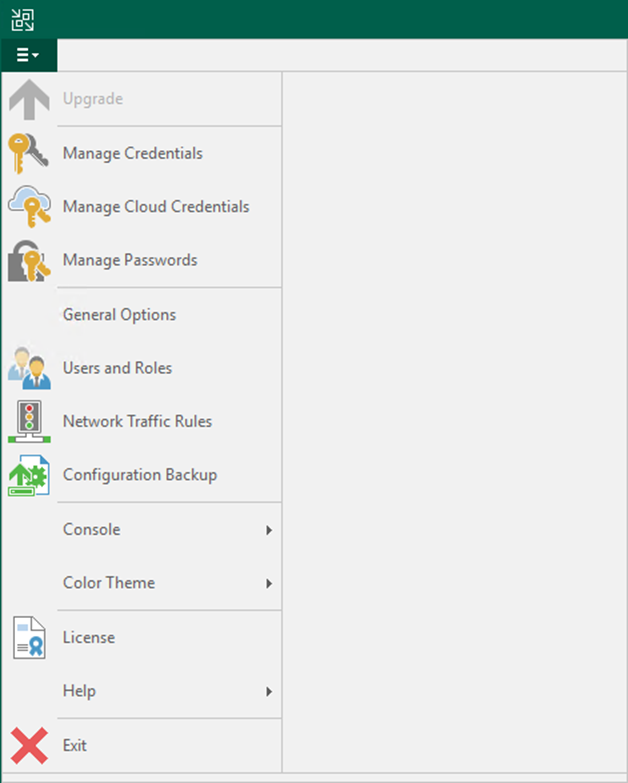
5. Drop down the main menu and select Configuration Backup.
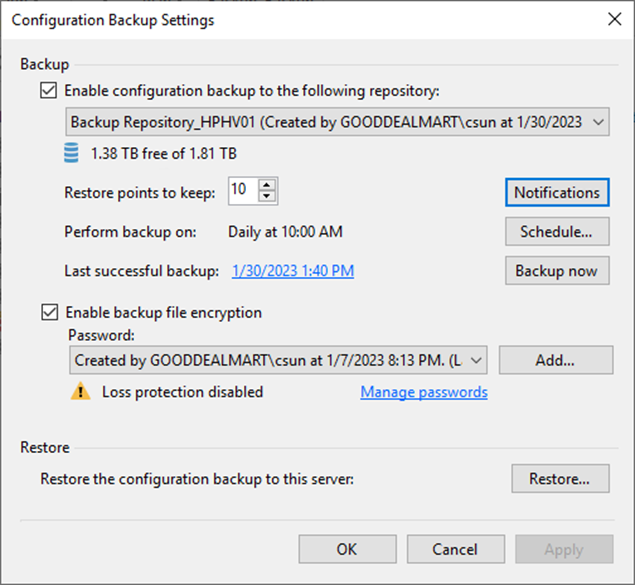
6. On the Configuration Backup Settings page, select Backup now to back up the current configuration.
7. Click OK to close the Configuration Backup Settings after the backup is completed.
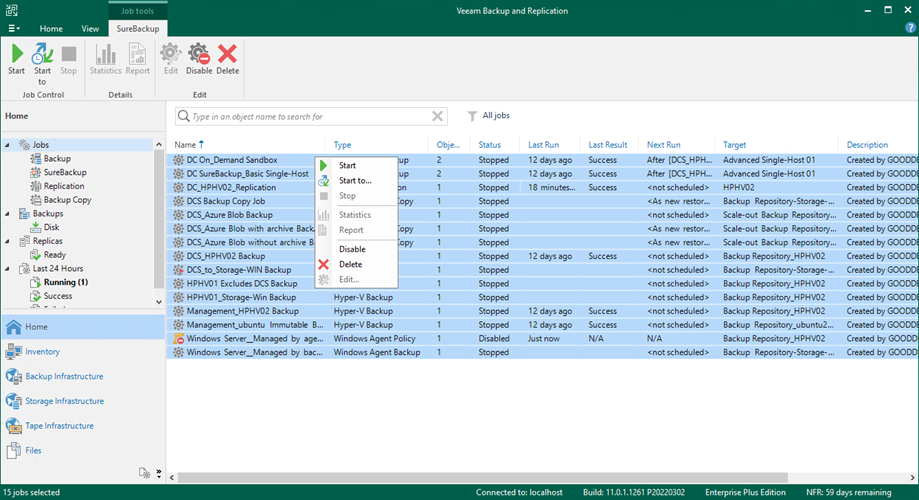
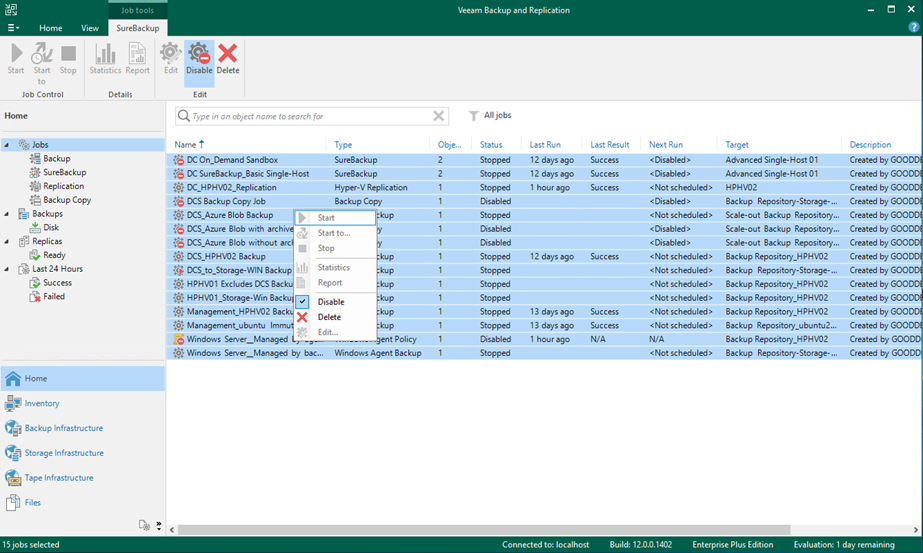
8. On the Home page, select Jobs.
9. Right-click jobs and select Disable to disable all jobs.
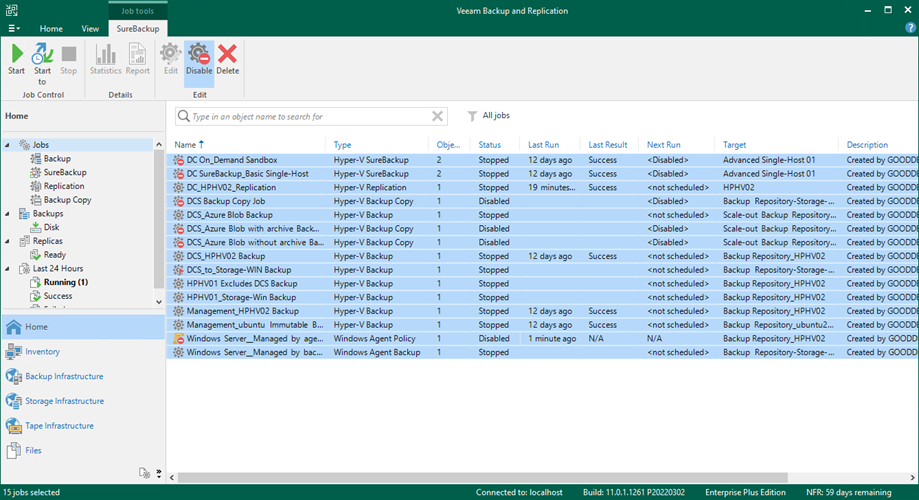
10. Make sure all jobs are disabled and close Veeam Backup & Replication Console.
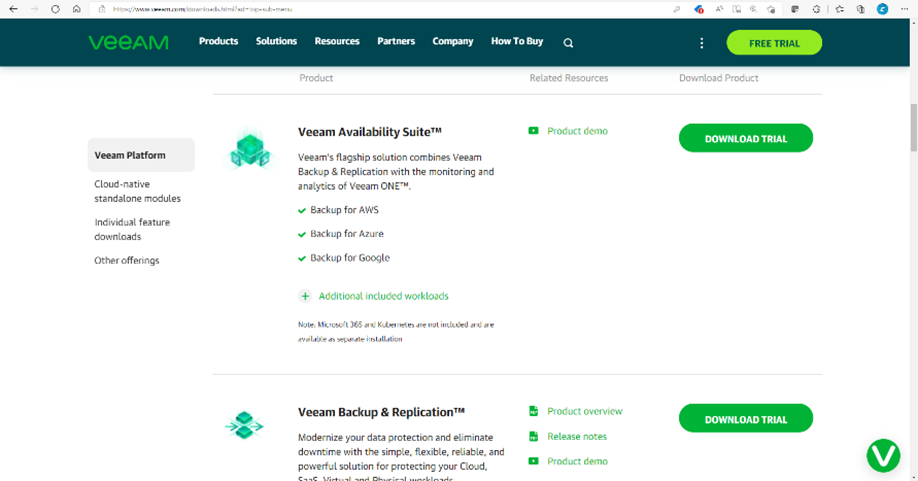
11. Download the Veeam Backup and Replication v12 iso image file from the Veeam website. (Sign-in required).
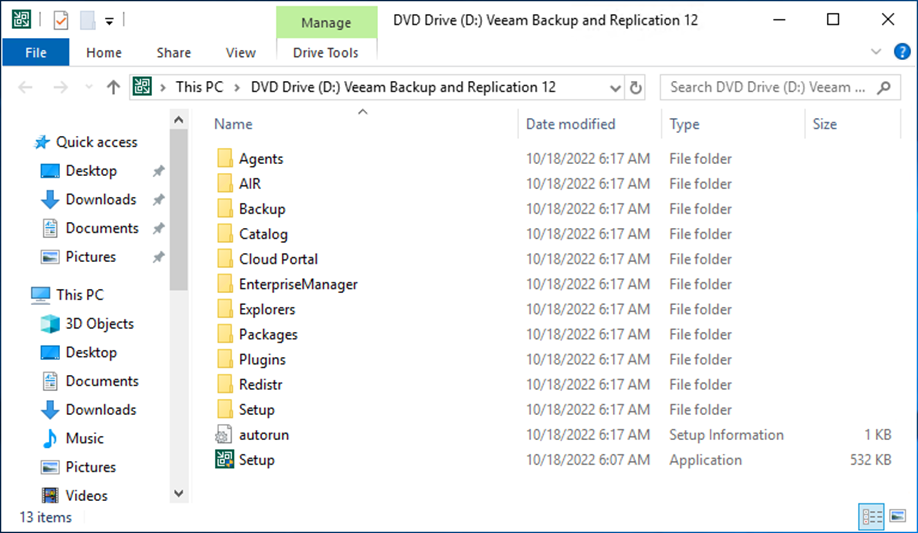
12. Mount the Veeam Backup & Replication v12 ISO image file.
13. Run Setup.exe.
14. On the User Account Control page, click Yes.
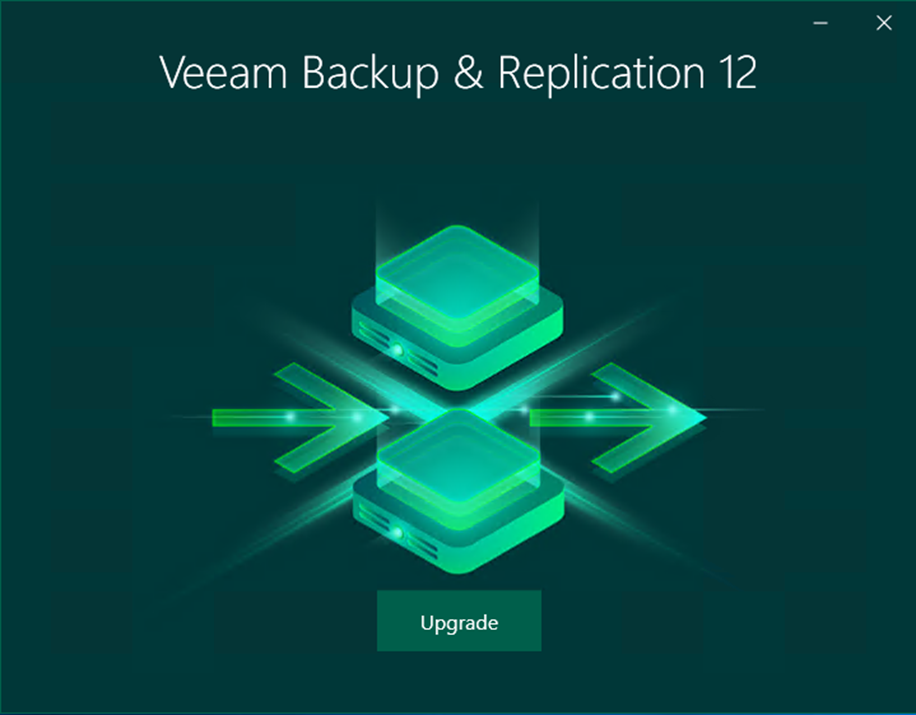
15. On the Veeam Backup & Replication 12 page, click Upgrade.
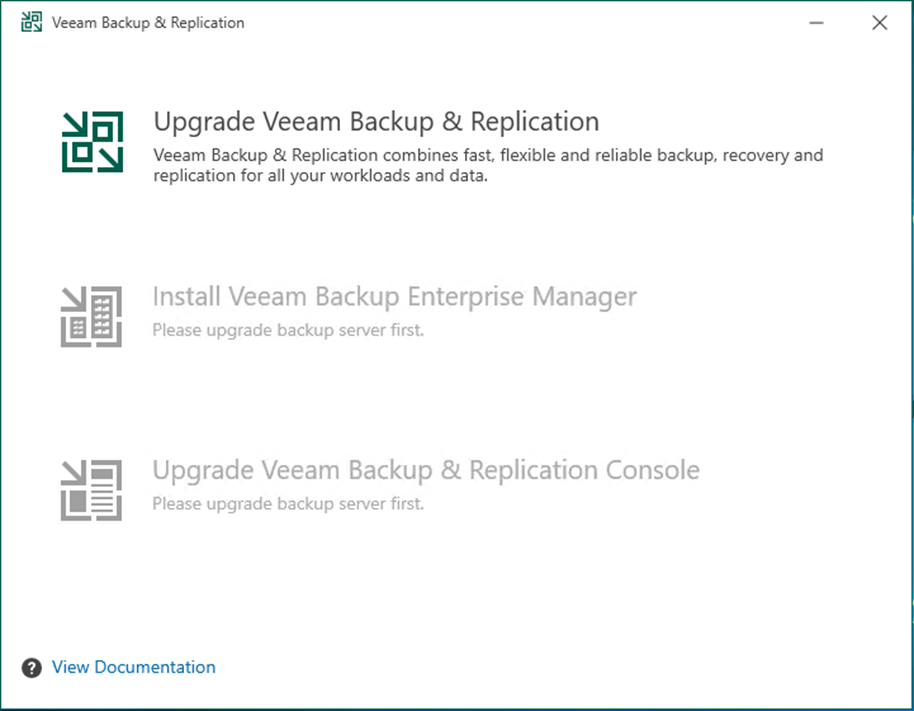
16. On the Veeam Backup & Replication page, select Upgrade Veeam Backup & Replication.
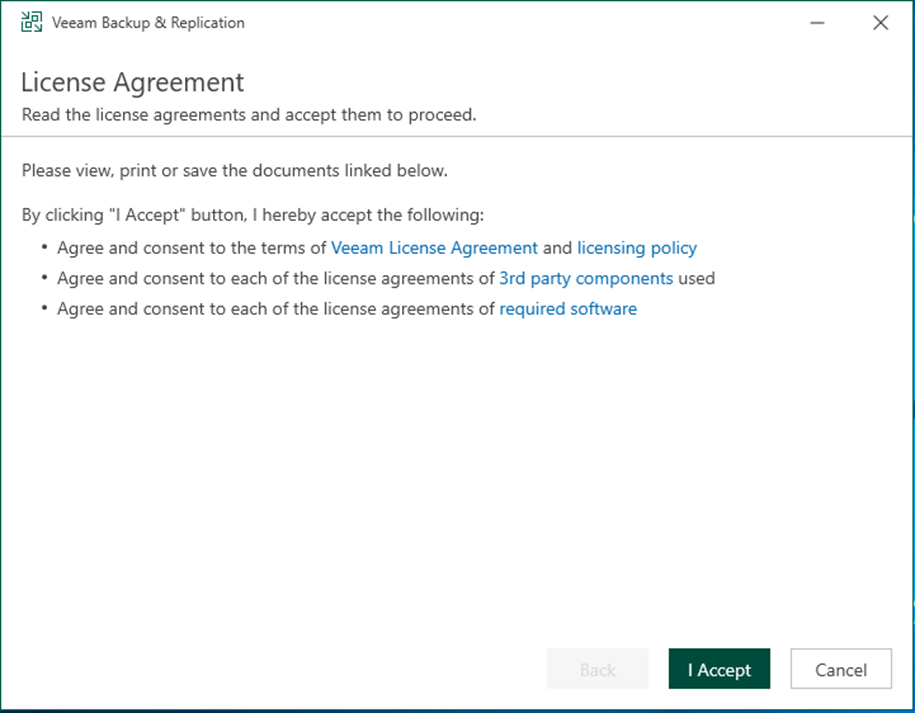
17. On the License Agreement page, click I Accept.
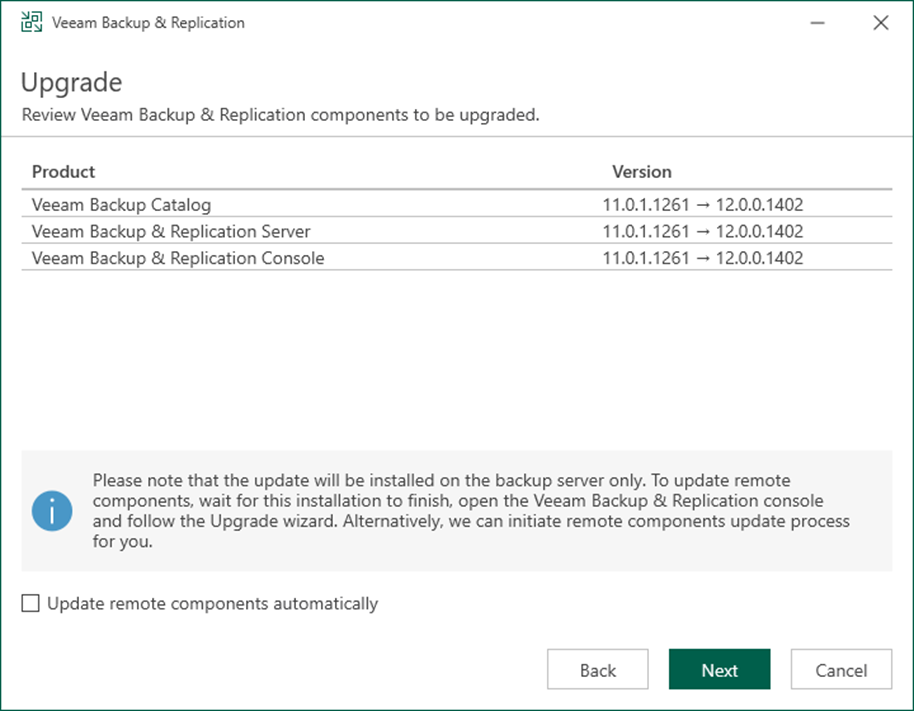
18. On the Upgrade page, click Next.
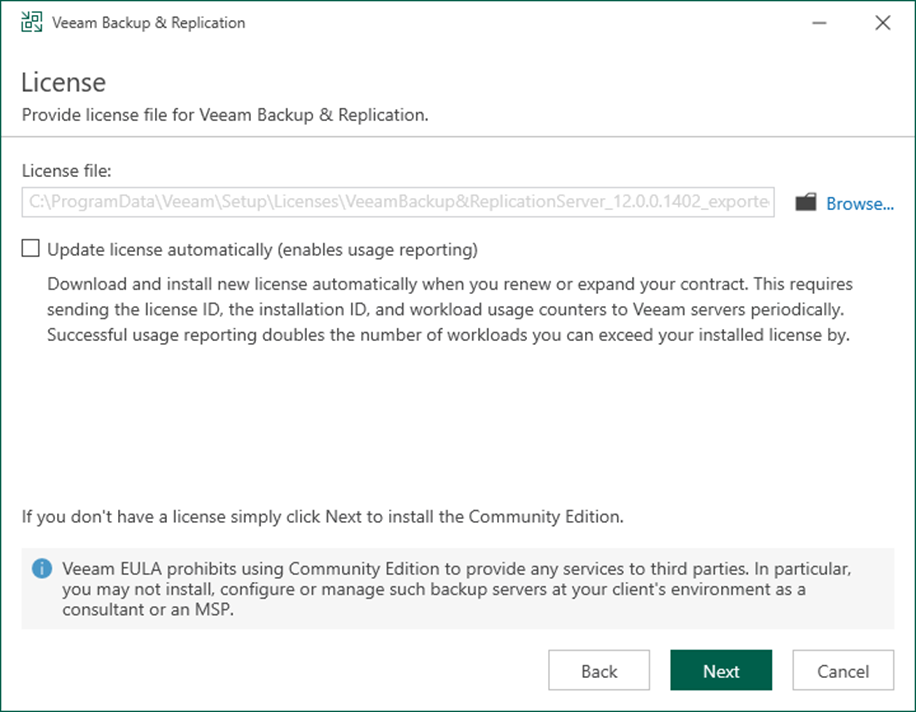
19. On the License page, click Browse.
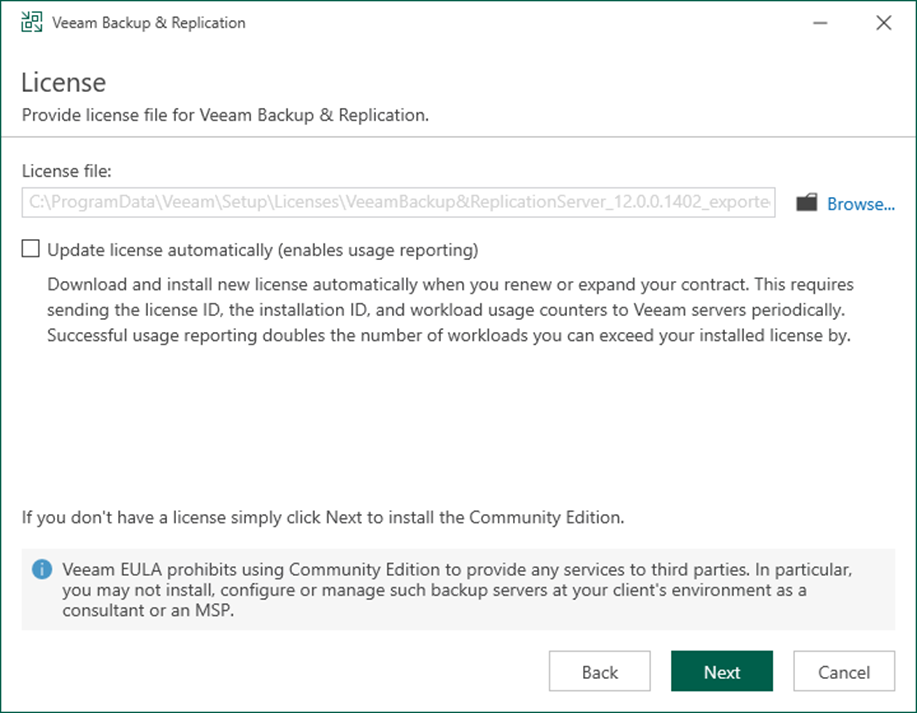
20. Select the Veeam Backup and Replication license file, and click Open.
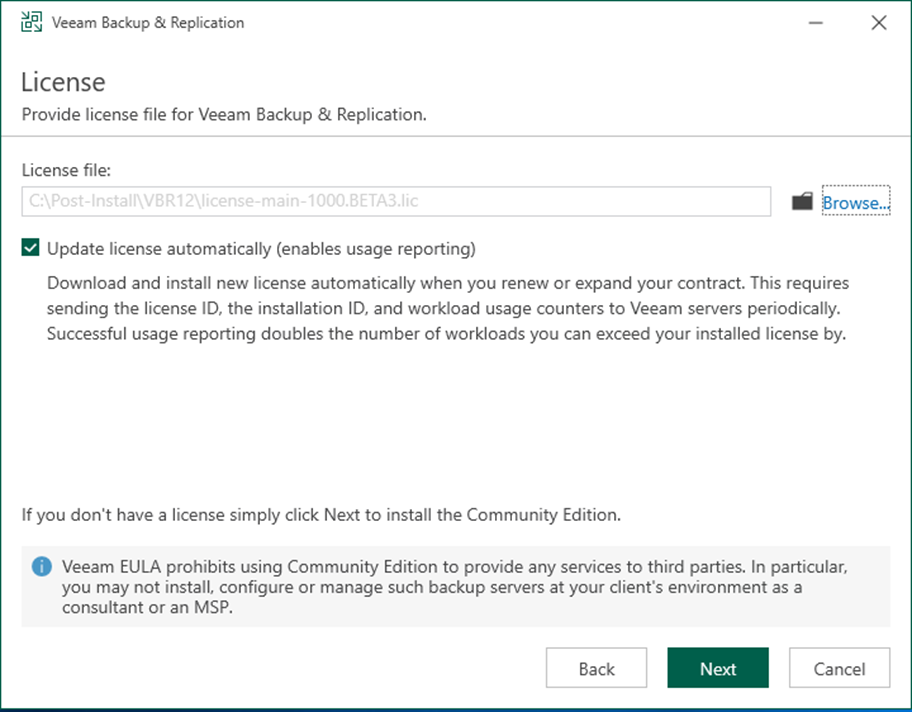
21. Select Update license automatically (enable usage reporting) on the License page and click Next.
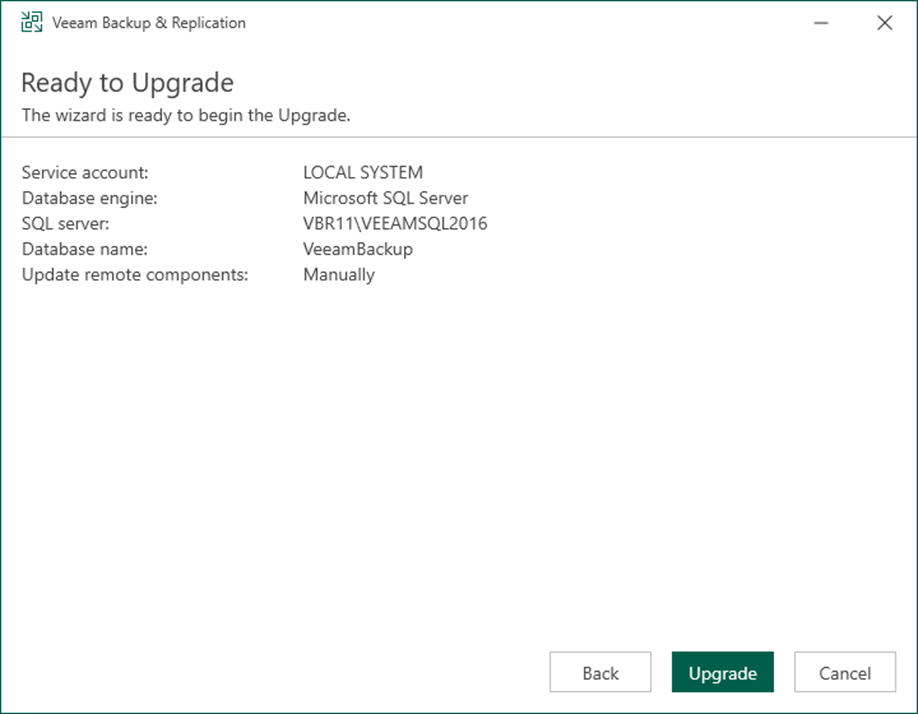
22. Select LOCAL SYSTEM account or specify another user account on the Service Account page and click Next.
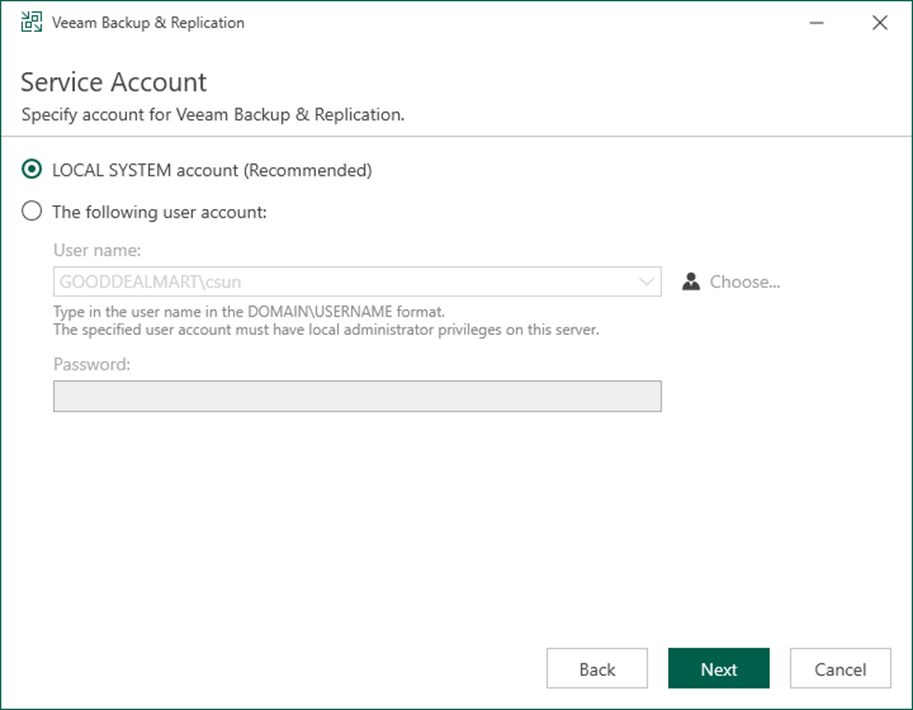
Note:
If you would like to use the specified user account, the user account must be a member of the Administrators group on the Veeam Backup & Replication machine. Also, it must have db_owner rights for the configuration database.
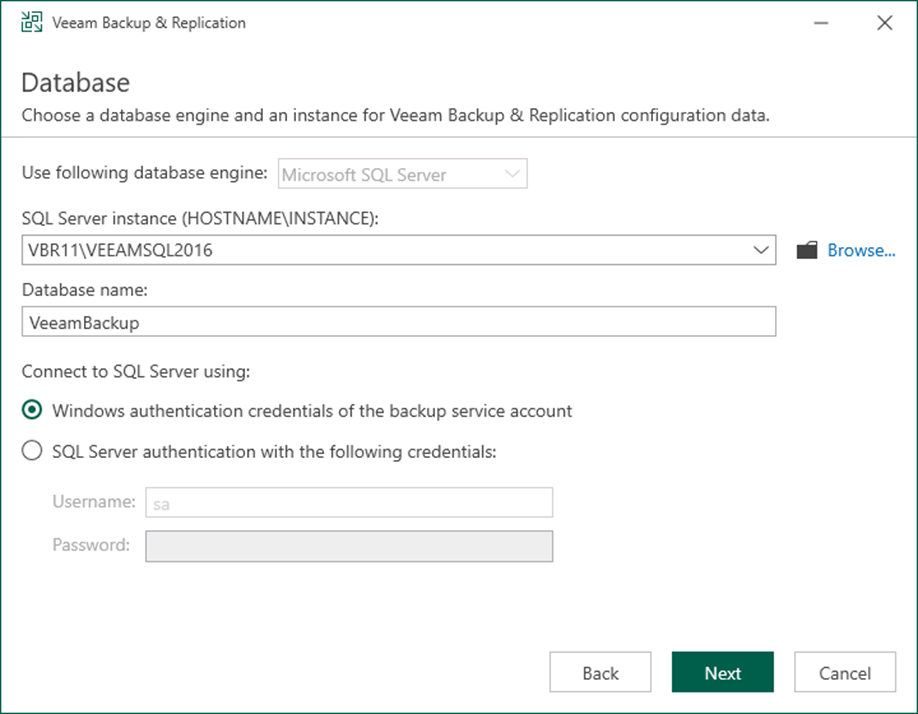
23. On the Database page, click Next.
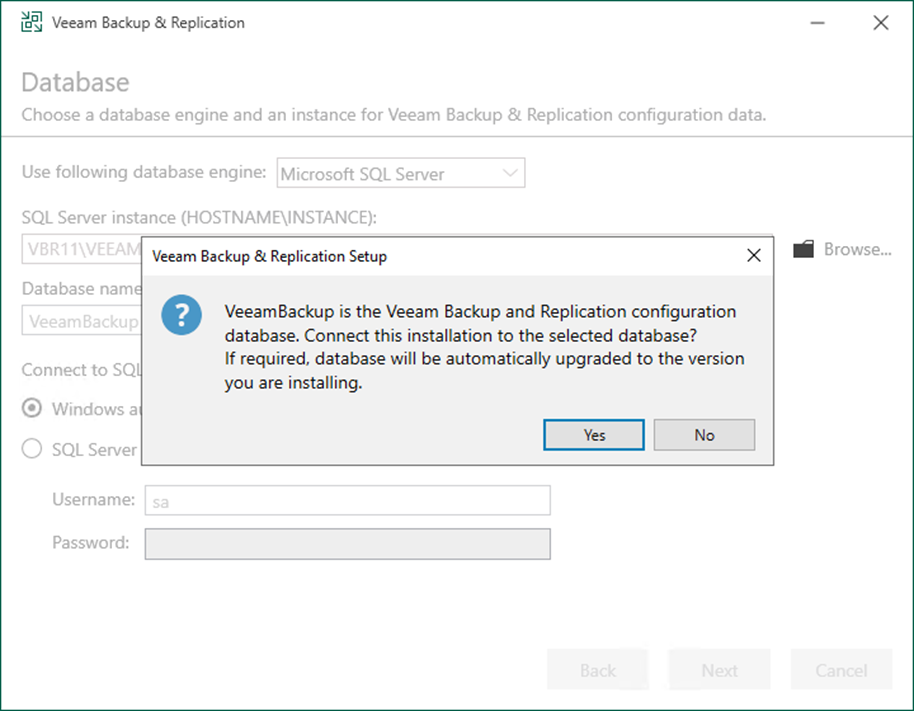
24. Click Yes on the question pop-up message. Veeam will automatically upgrade the database to the version you are installing.
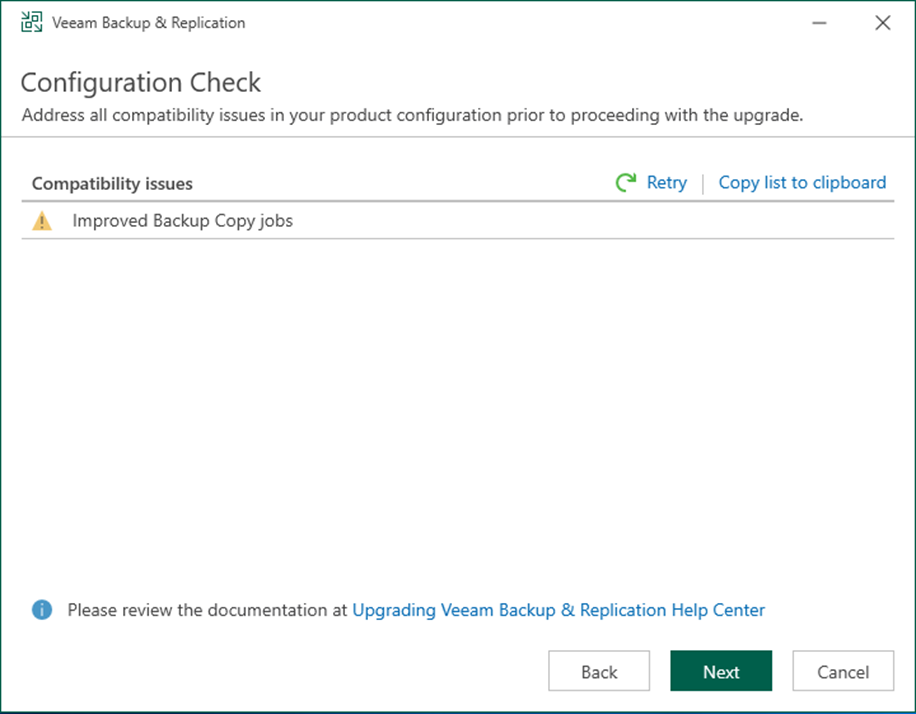
25. If the Configuration Check page returns errors, resolve them before upgrading. If the check produces warning or information messages, you can proceed with the upgrade and deal with them later.
26. Click Next.
27. On the Ready to Upgrade page, click Upgrade.
28. On the Veeam Backup & Replication 12 successfully upgraded page, click Finish.

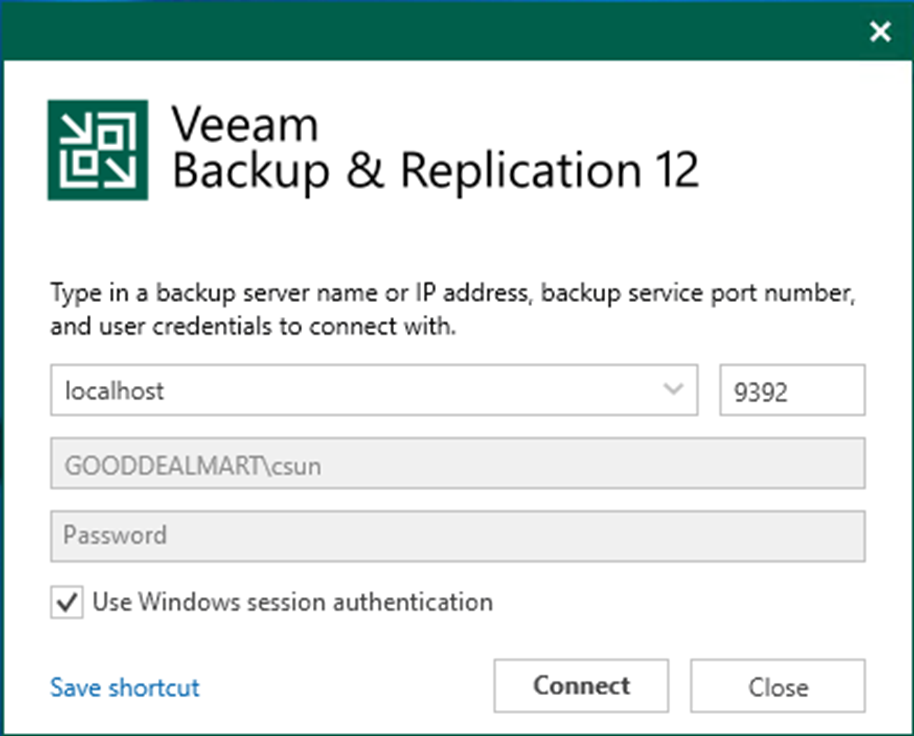
29. Open Veeam Backup & Replication management console and click Connect.
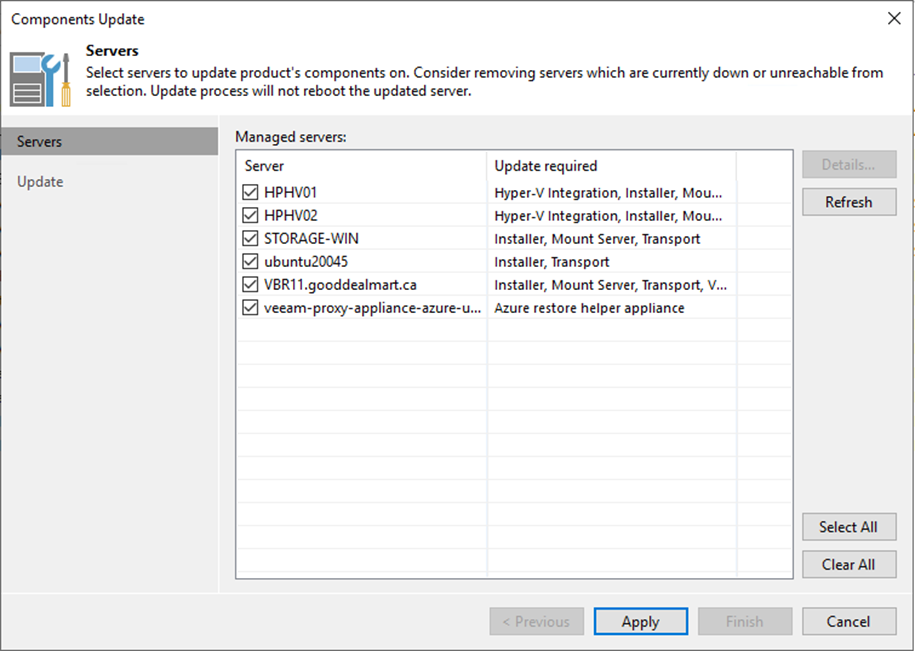
30. Select all servers checkbox on the Components Update page and click Apply.
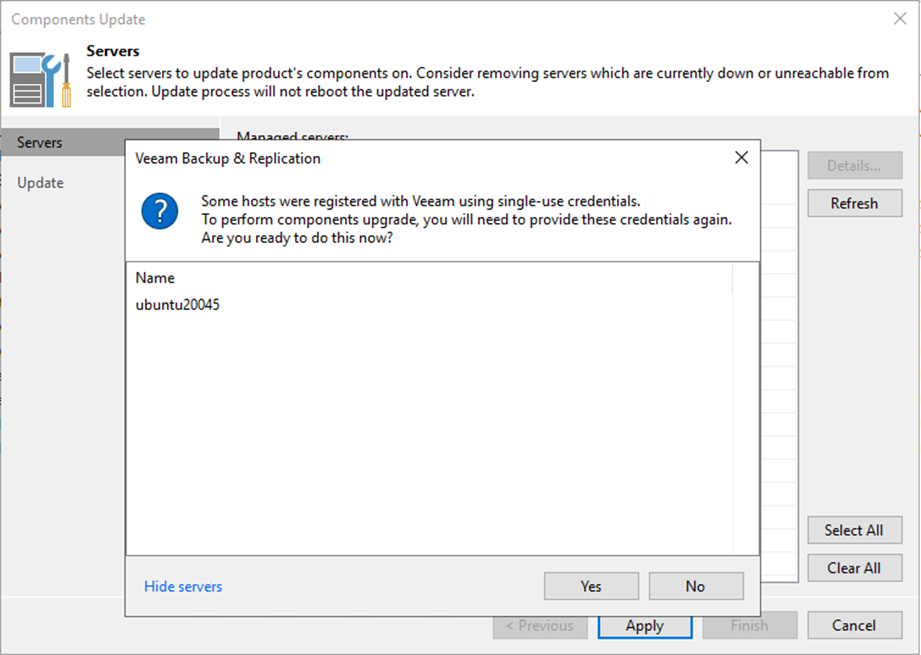
31. Click Show servers on the provide signal-use credentials question page.

32. Review the Server listing and click Yes.
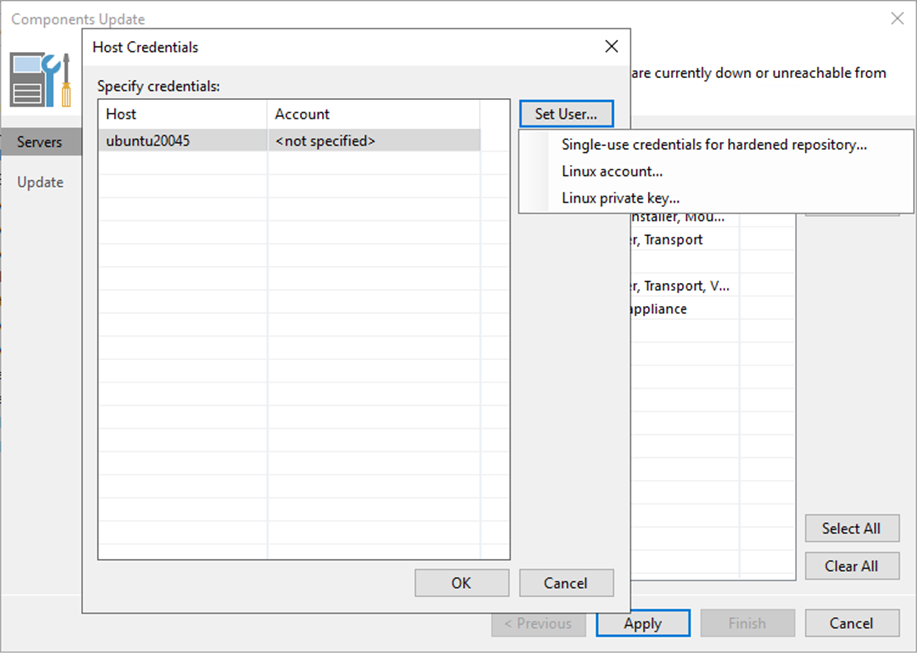
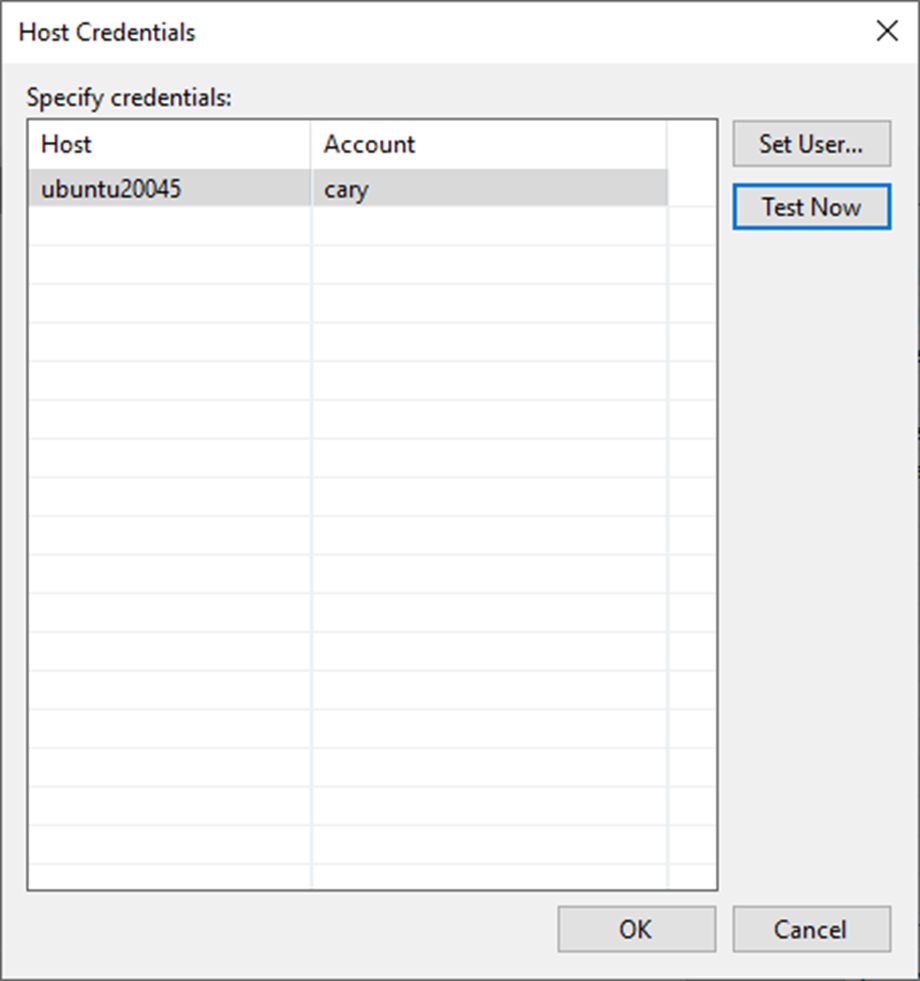
33. On the Host Credentials page, select the host, click Set User and select Singal-use credentials for the hardened repository.
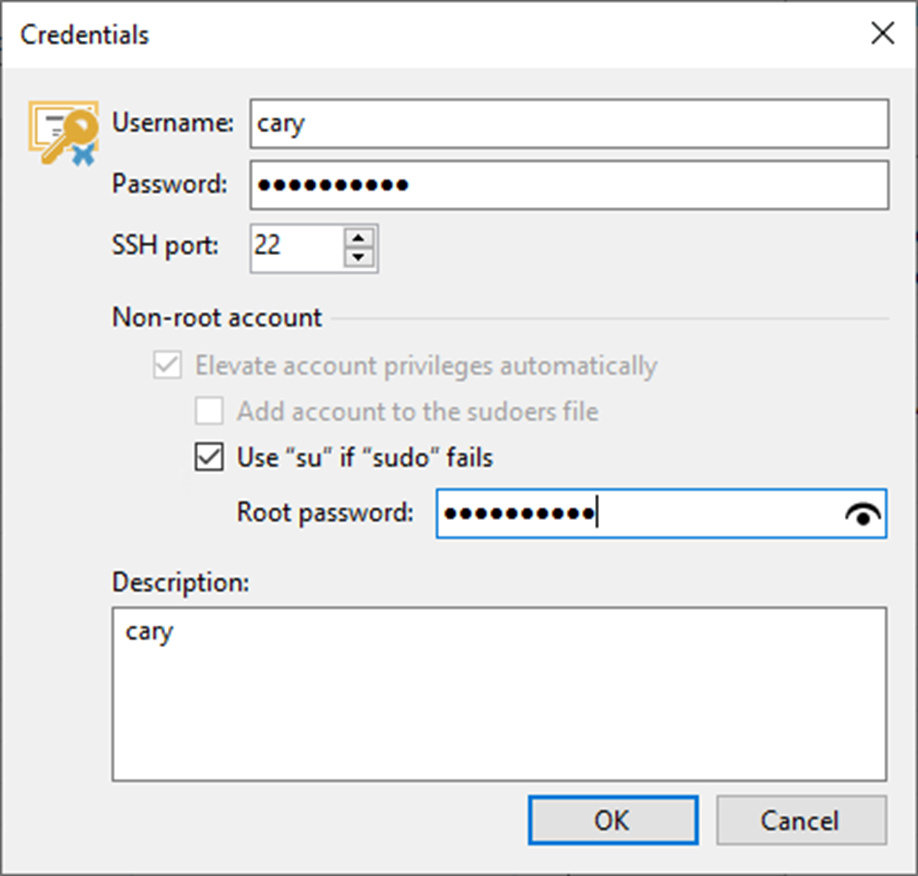
34. Enter your credential information and click OK.
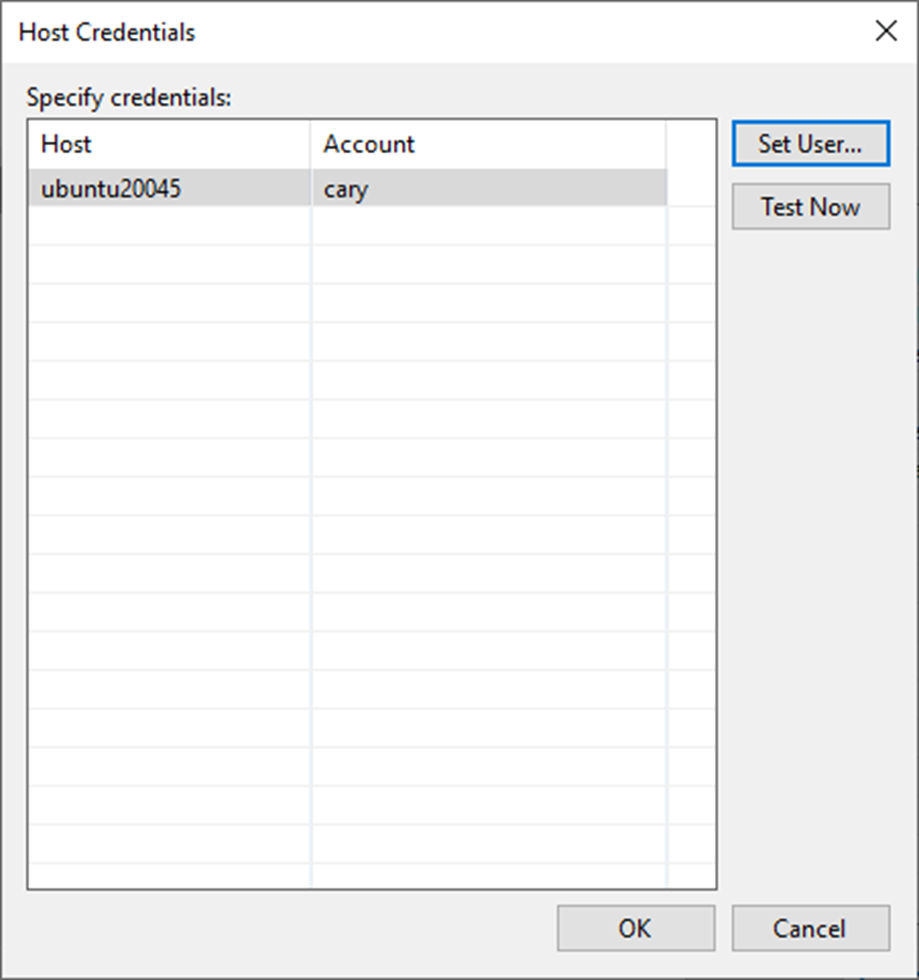
35. Click Test Now on the Host Credentials page.
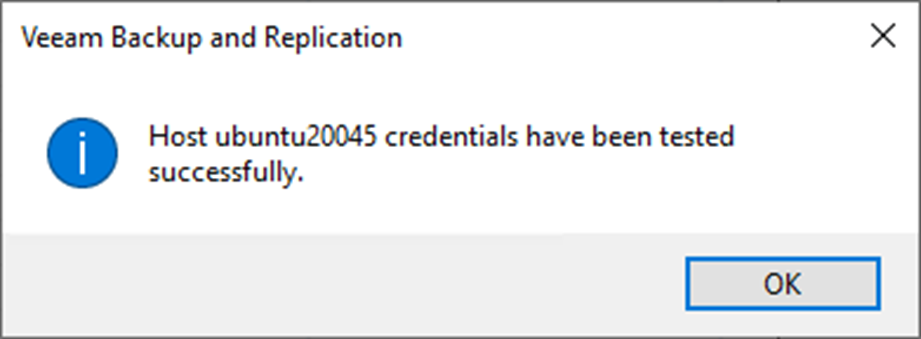
36. Ensure the credential has been tested successfully and click OK.
37. Click OK on the Host Credentials page.
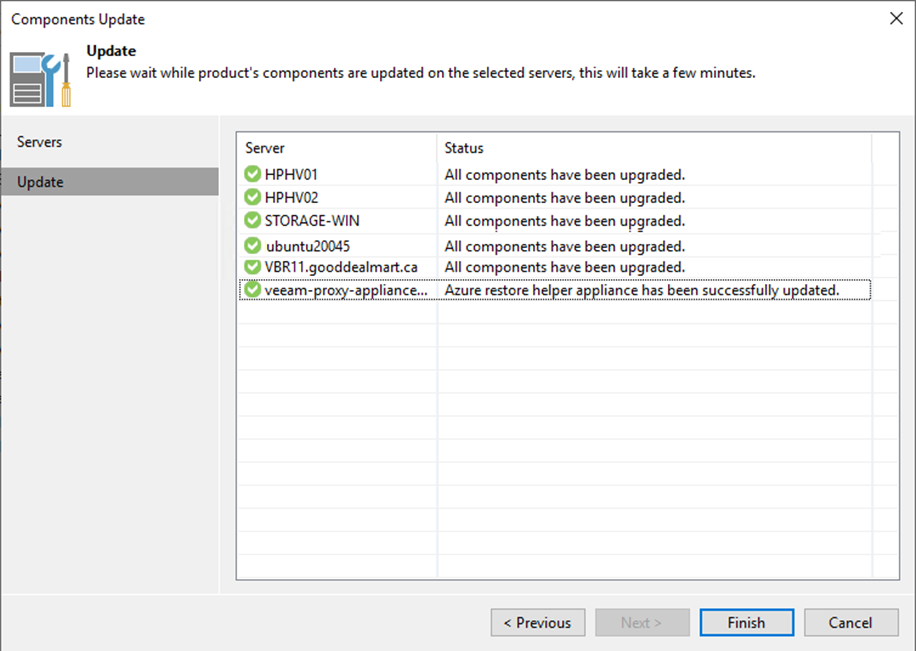
38. Ensure the components update successfully for selected servers and click Finish.
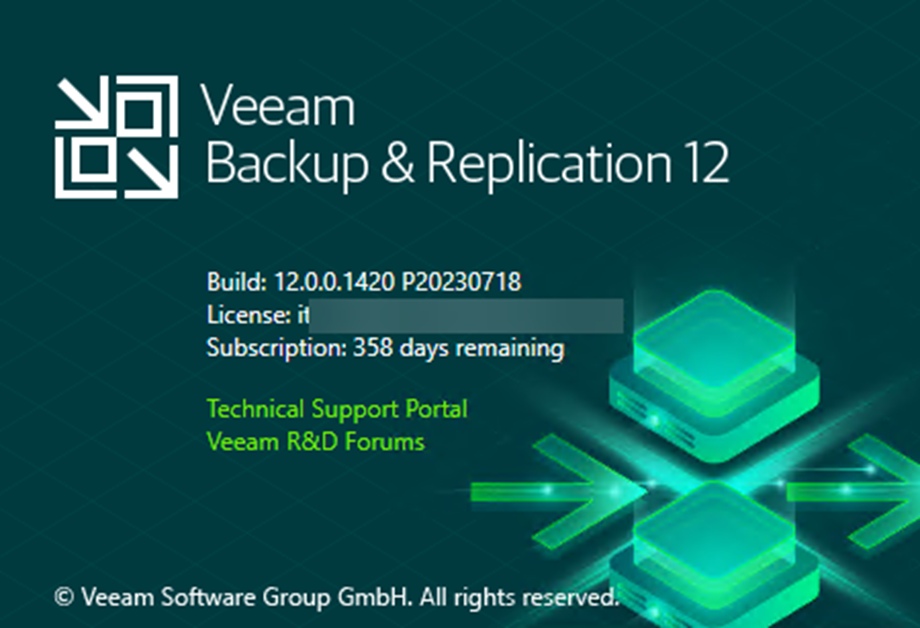
39. Drop down the main menu, select Help, and click About to check Veeam Backup & Replication version.
40. Ensure the existing Veeam Backup and Replication version is upgraded.
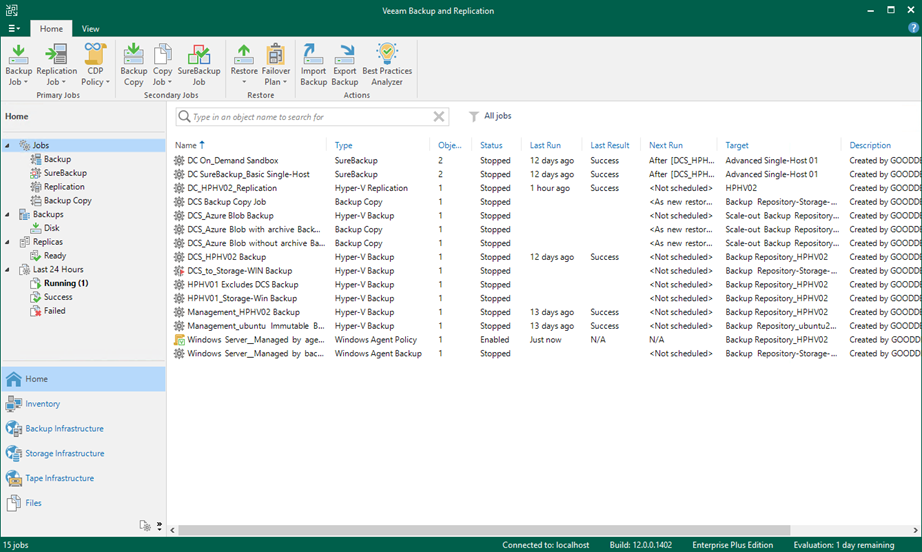
41. On the Home page, select Jobs.
42. Right-click jobs and unselect Disable to enable all jobs.
43. Ensure all jobs are enabled.
I hope you enjoy this post.
Cary Sun
Twitter: @SifuSun
Web Site: carysun.com
Blog Site: checkyourlogs.net
Blog Site: gooddealmart.com