
QNAP QuObjects application is free and certificated for objects with immutability, which means you can use it as object storage within Veeam for a backup repository that supports their immutability feature.
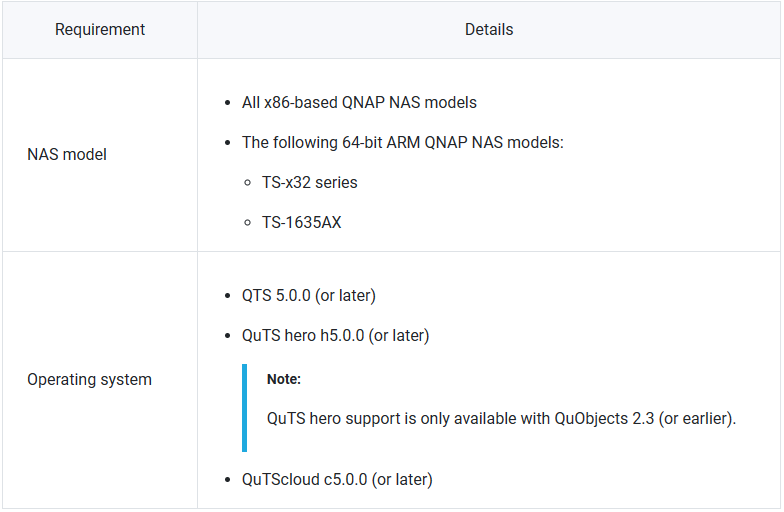
QNAP QuObjects Requirements:
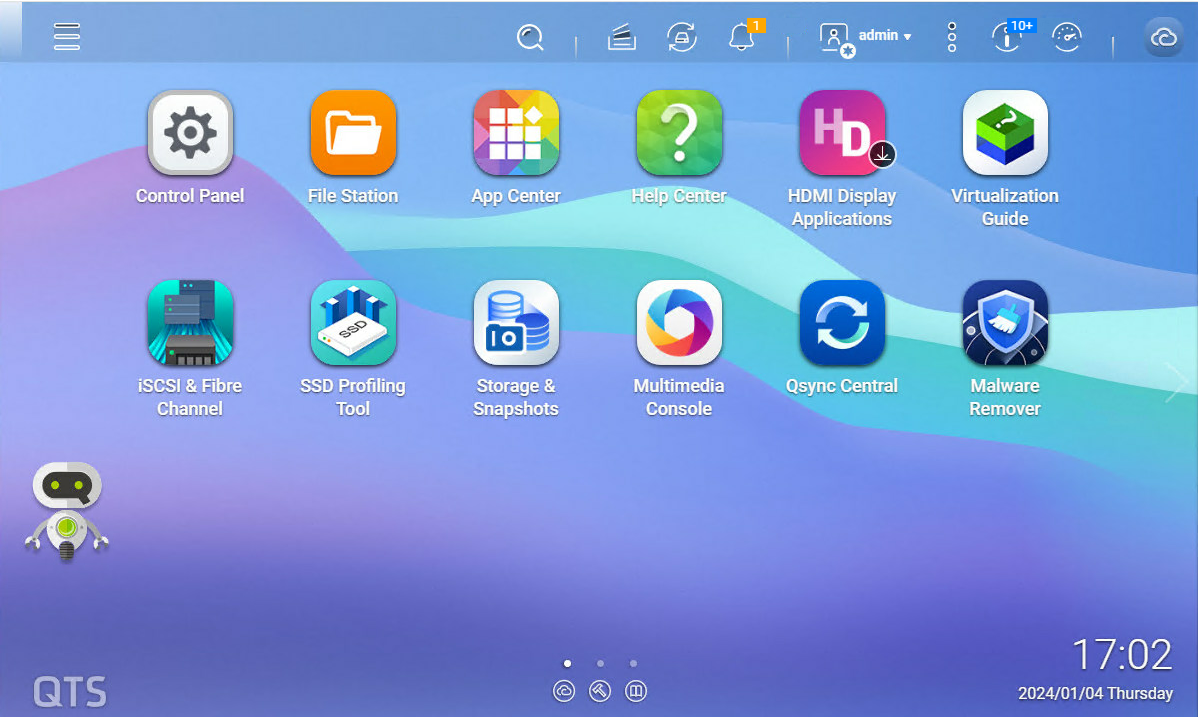
1.Log on to the NAS as an administrator.
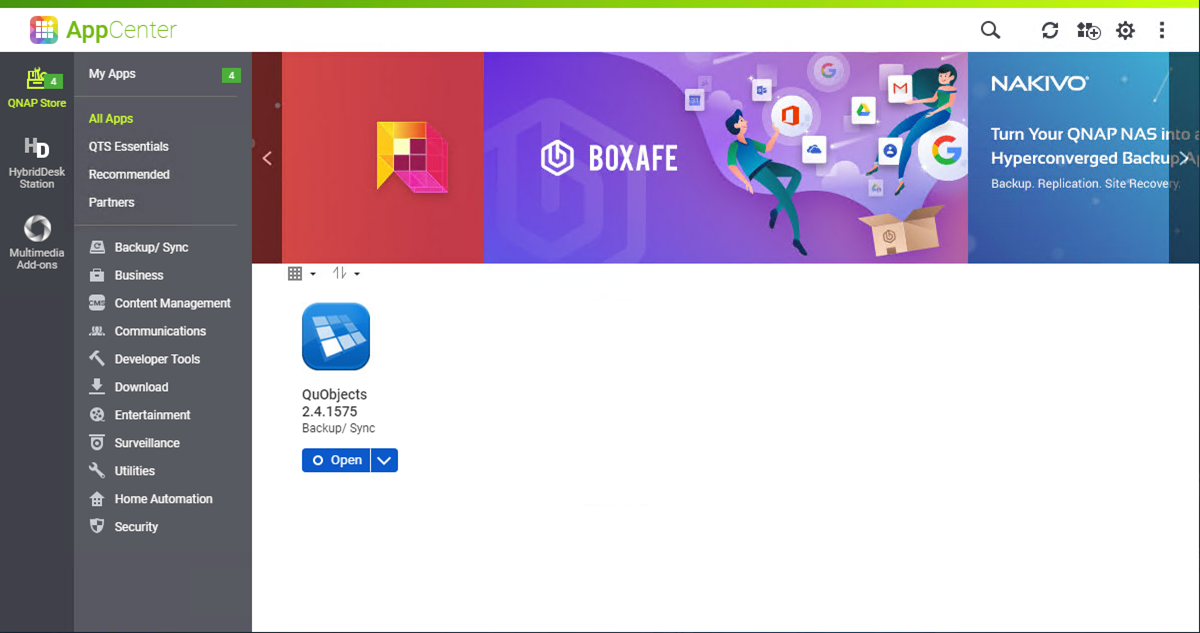
2.Select App Center.
3.Click the Search icon on the App Center page.
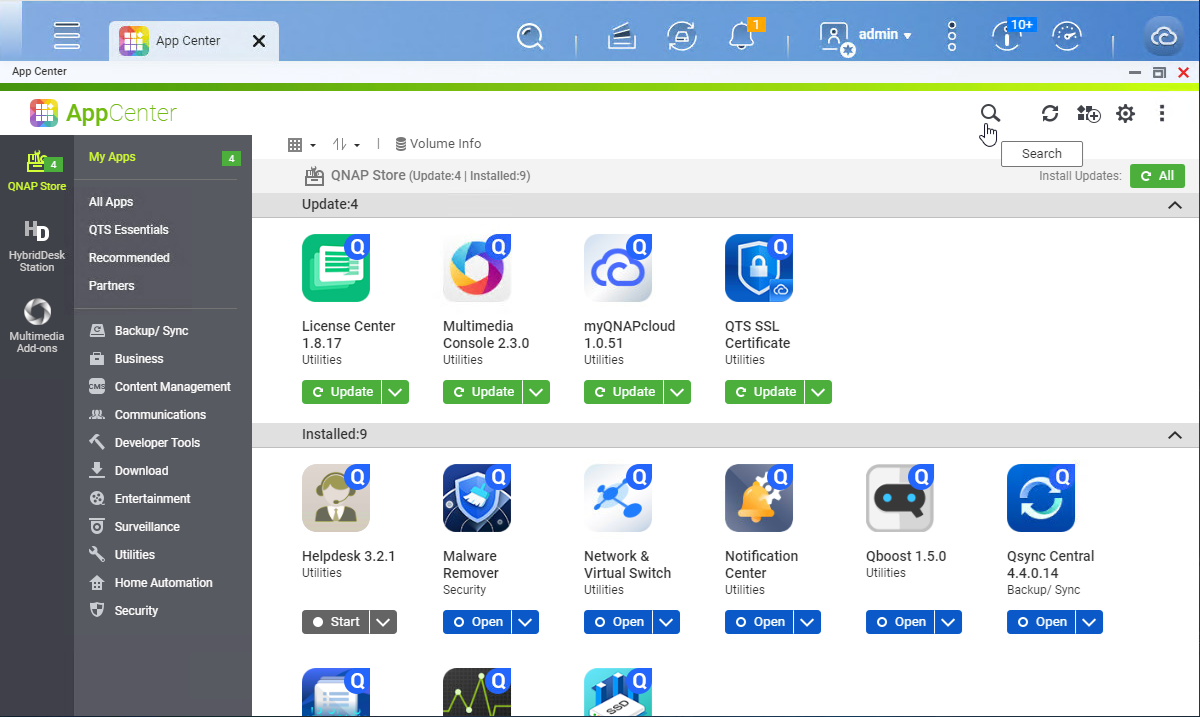
4.Enter QuObjects and select the QuObjects and click Install.
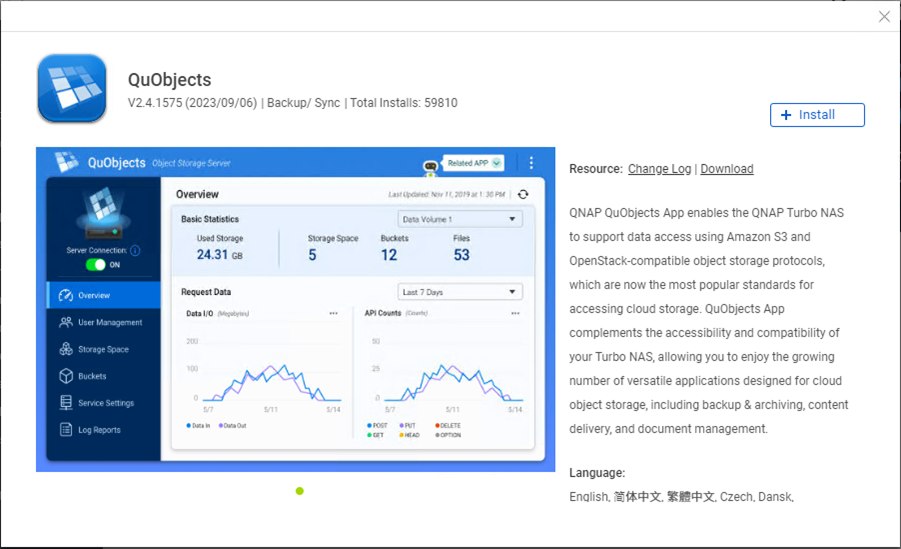
5.Click Open after Installation completed.
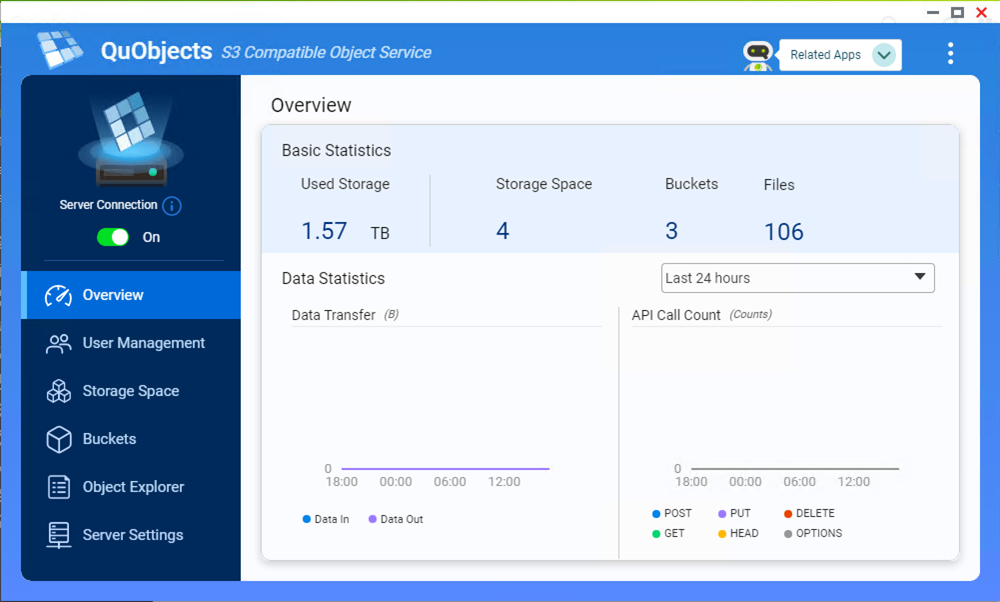
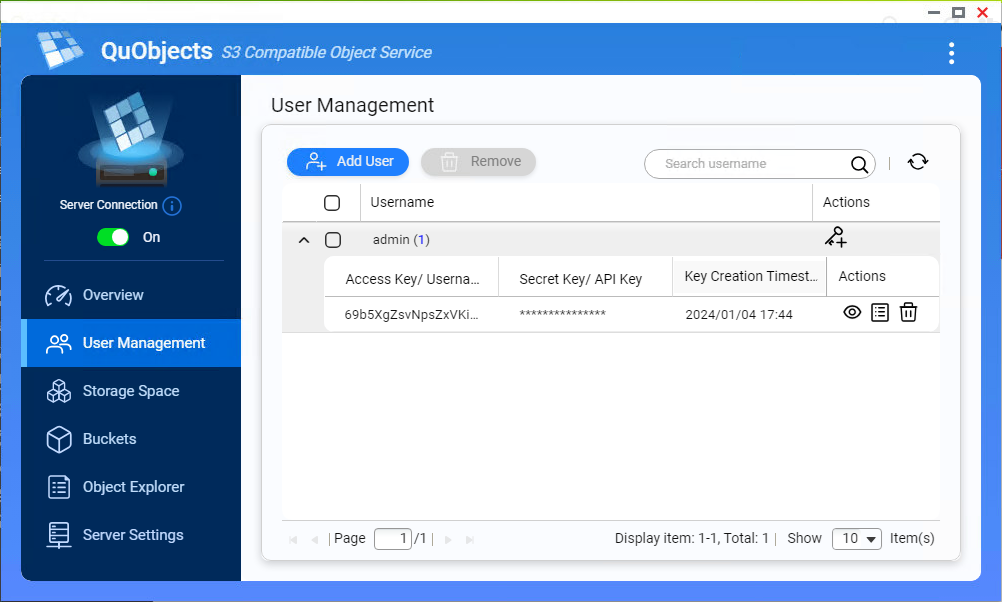
6.Ensure turn on Server Connection on the QuObjects S3 Compatible Object Service page and select User Management.
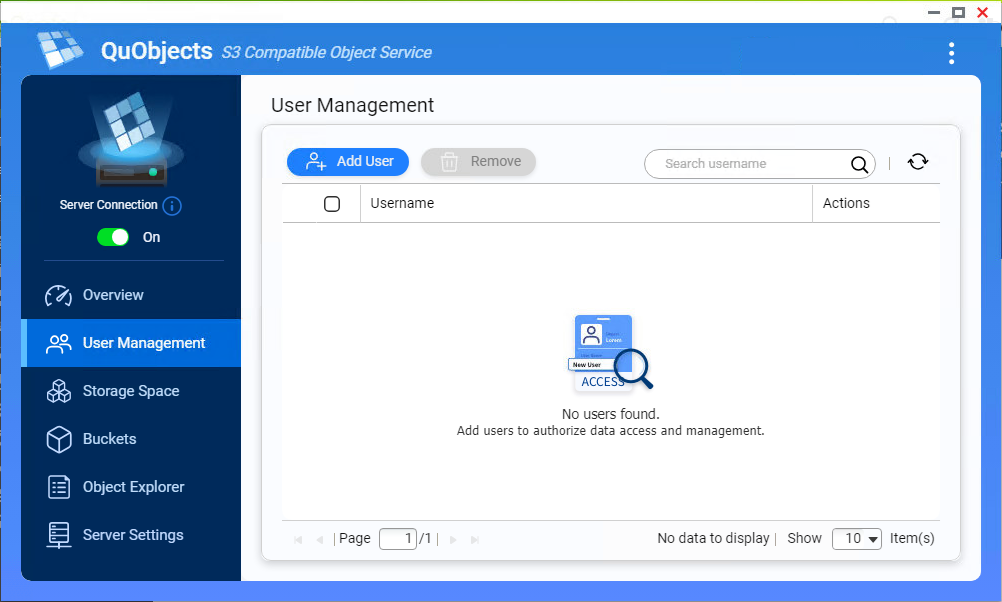
7.Click Add User on the User Management page.
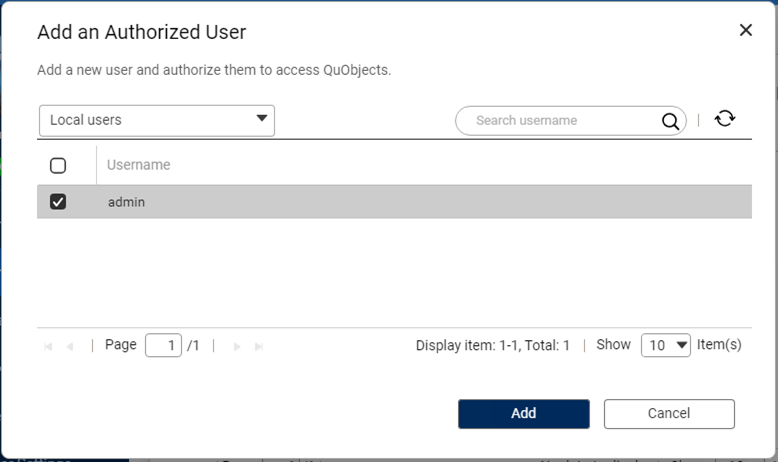
8.Select a user on the Add an Authorized User page and click Add.
9.Click the Add key icon on the User Management page.

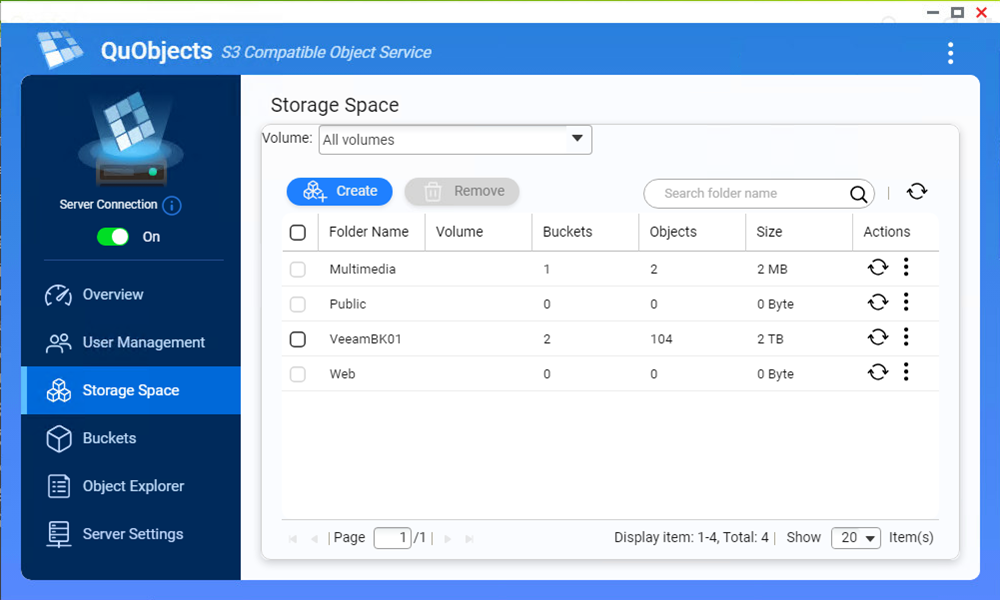
10.Ensure QuObjects creates an access key for the user and select Storage Space.
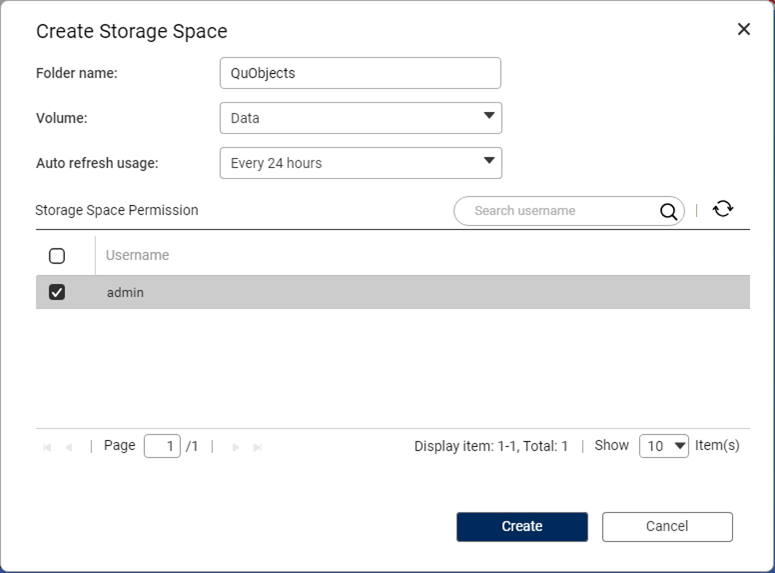
11.Click Create on the Storage Space page.
12.Enter the storage space name in the Folder Name field on the Create Storage Space page, select the user and click Create.
13.Select the new created storage space name from the drop-down list and click Create.
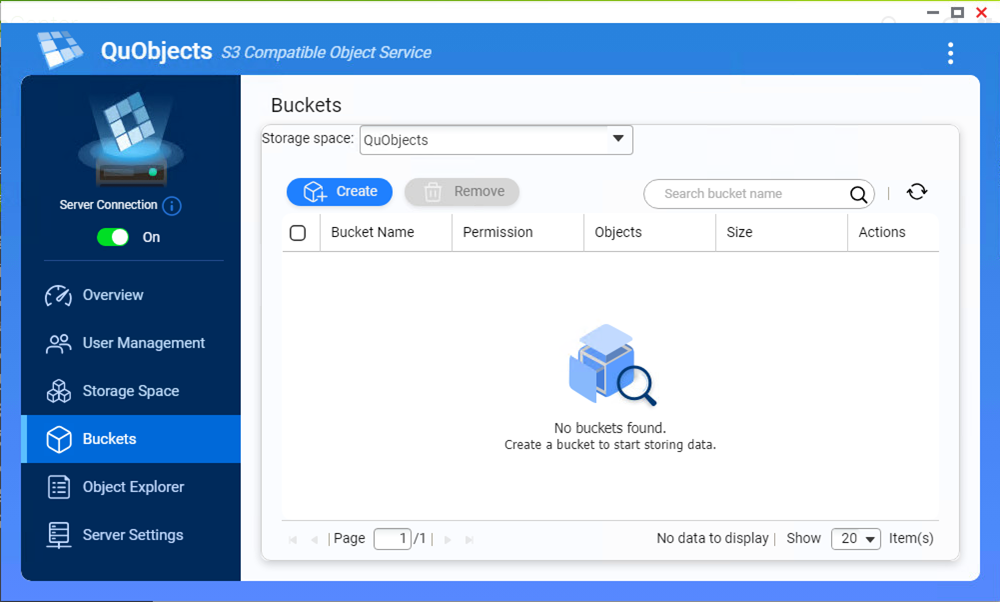
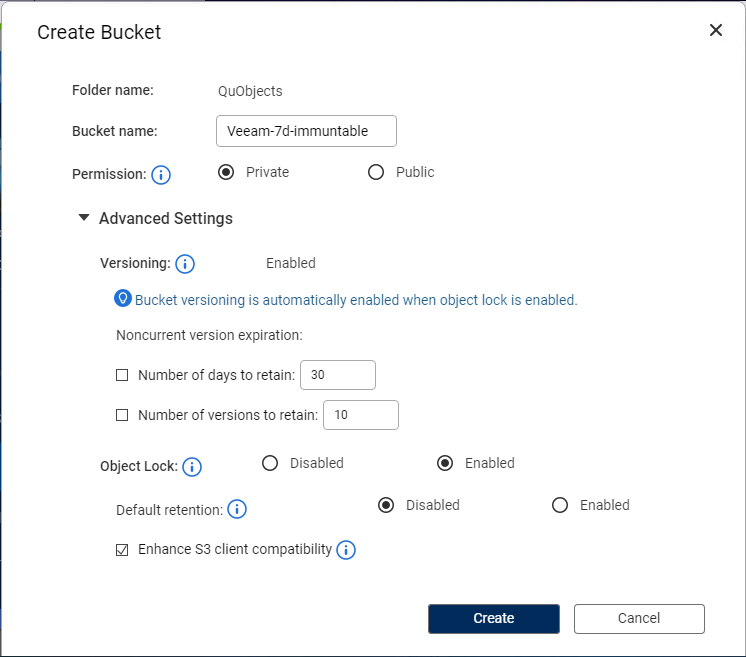
14.On the Create Bucket page, enter the name in the Bucket name field and select Private as Permission.
15. Select Enabled for the Versioning and Object Lock in the Advance Settings.
16. Don’t select the number of days and versions to retain in the Versioning.
17.In the Object Lock, select Disabled as Default retention, select Enhance S3 client compatibility and click Create.
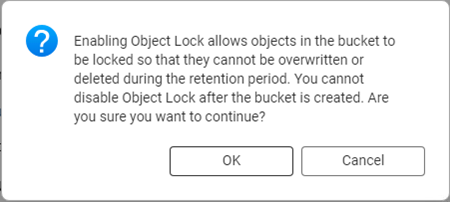
18.Click OK to ensure you want to continue.
19.Log on to the Veeam and Replication 12.1 manager server.
20.Open Veeam and Replication 12.1 Console.
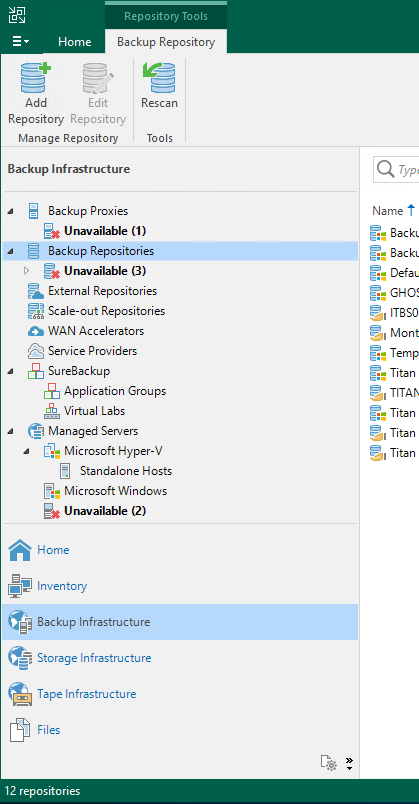
21.Select Backup Infrastructure and click Add Repository.
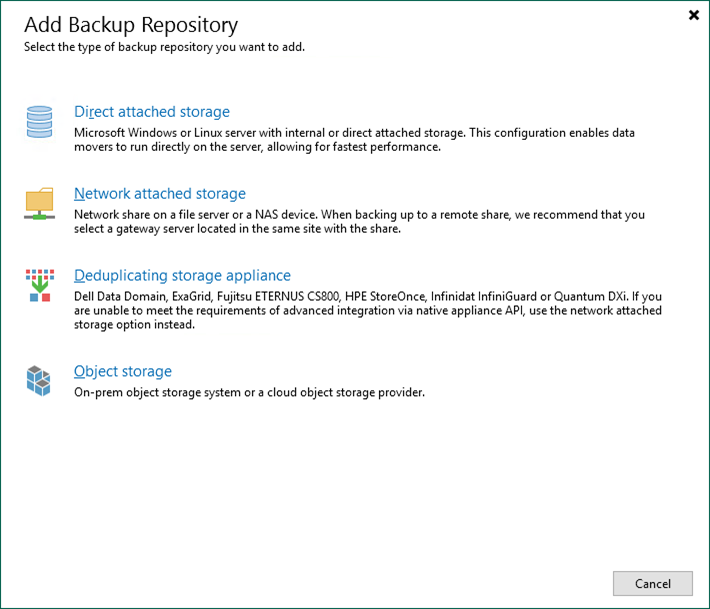
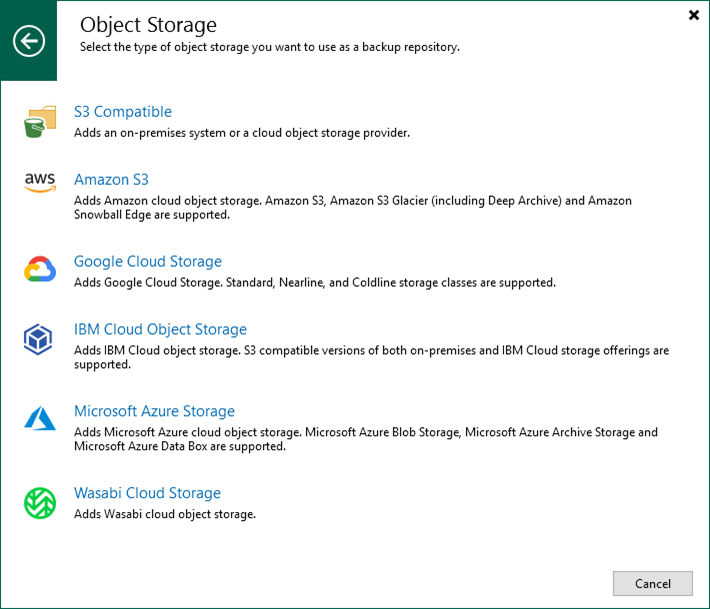
22.Select Object storage on the Add Backup Repository.
23.Select S3 Compatible on the Object Storage.
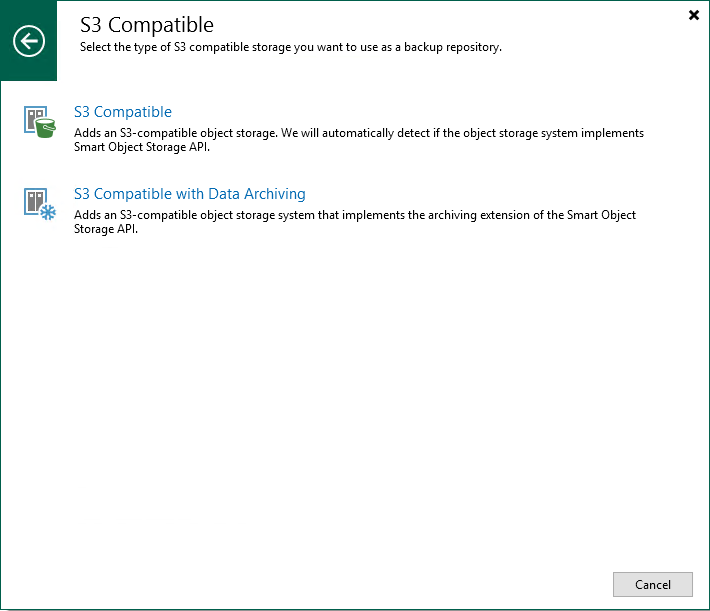
24.Select S3 Compatible on the S3 Compatible page.
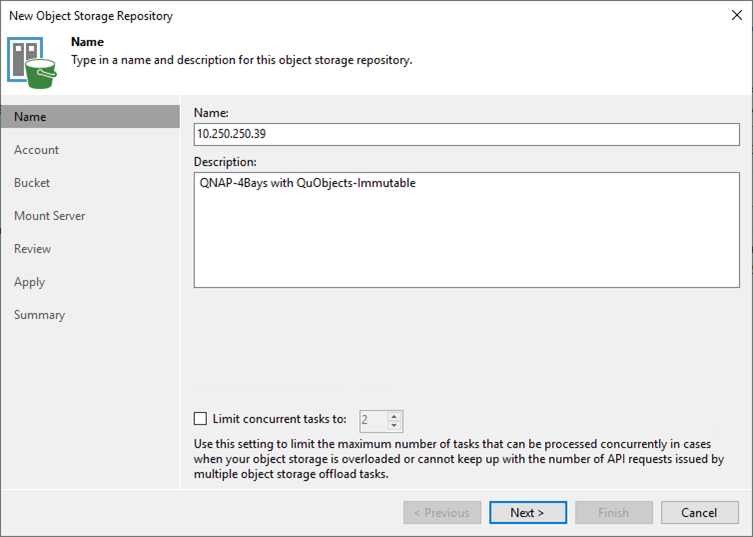
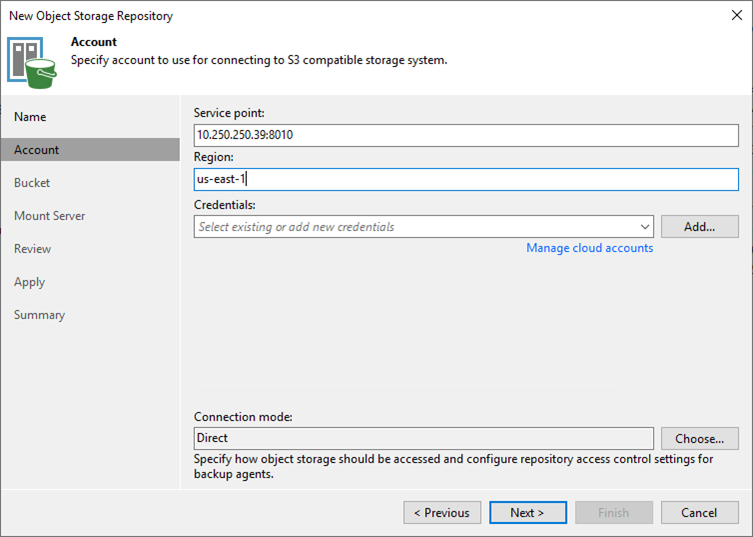
25.On the Name page, enter the IP Address or DNS name in the Name field and click Next.
26.On the Account page, enter the Amazon S3 Service endpoint of QuObjects in the Service Point field. The Amazon S3 Service endpoint name is at Server Settings of QuObjects.
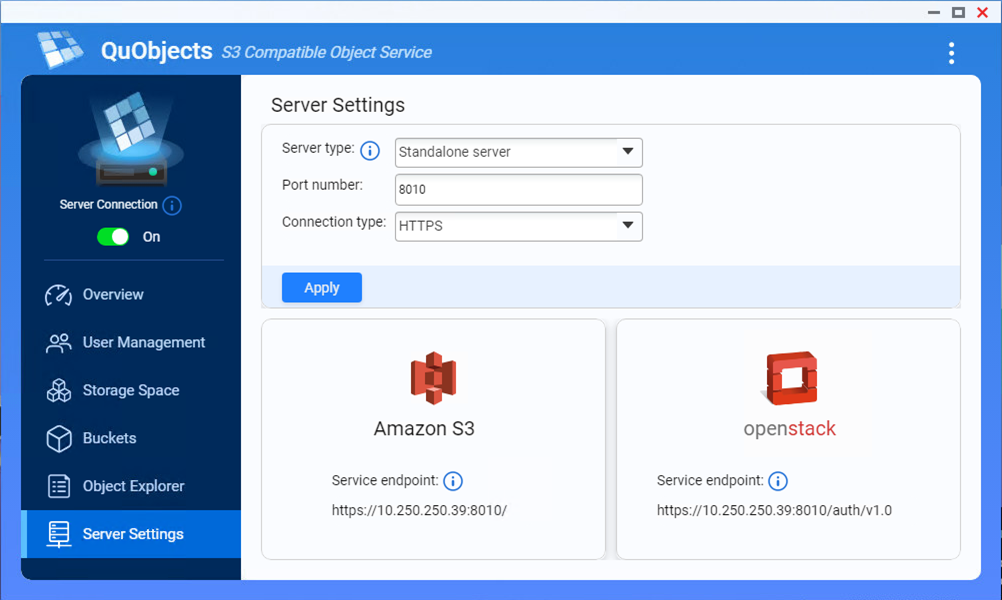
27.You can enter the QNAP device location as region.
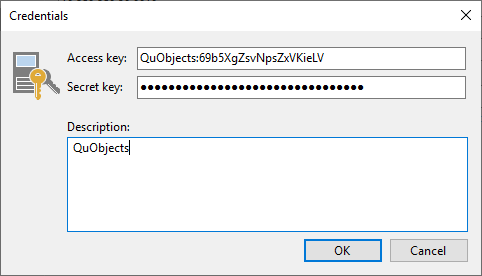
28.Click Add to create a Credential.
29.On the Credentials page, click OK after enter the Access key and Secret key.
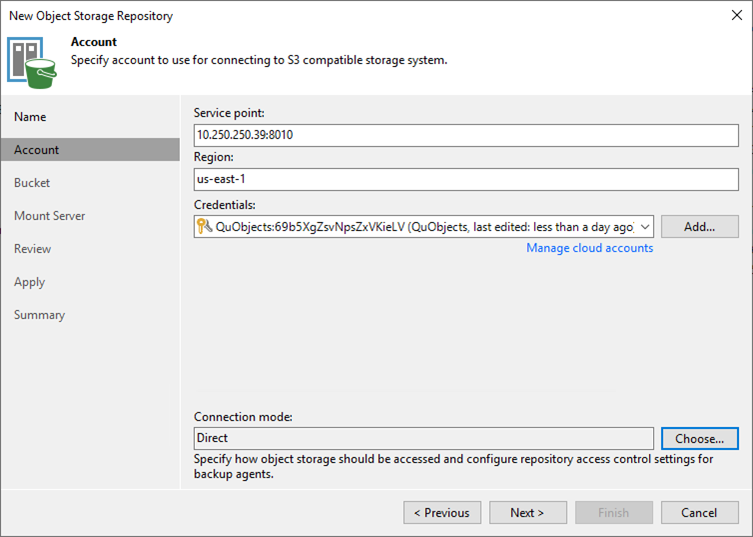
30.The Access and Secret key is at User Management settings of QuObjects.

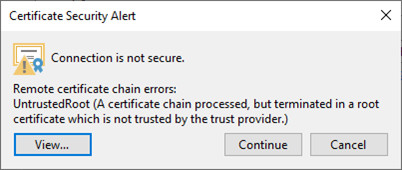
31.Key the Direct as Connection mode and click Next.
32.Click Continue Security Alert on the Certificate Security Alert page.
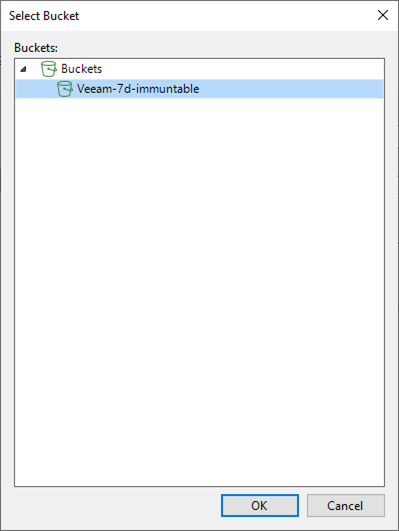
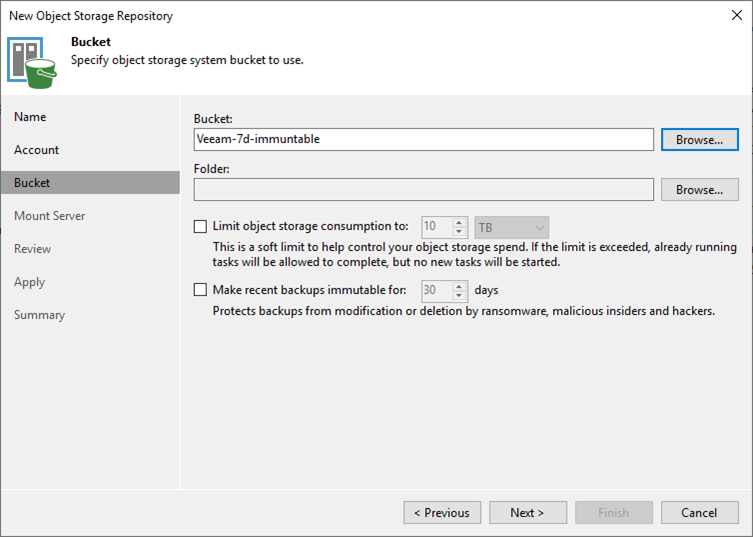
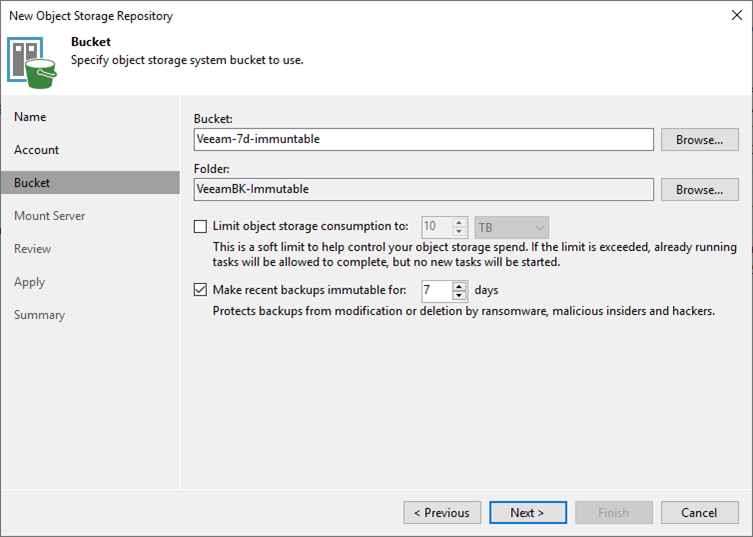
33.On the Bucket page, click Browse in the Bucket field.
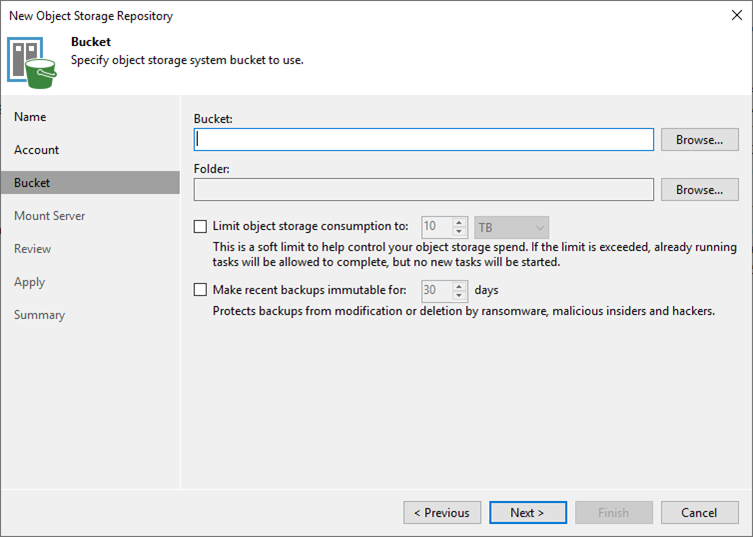
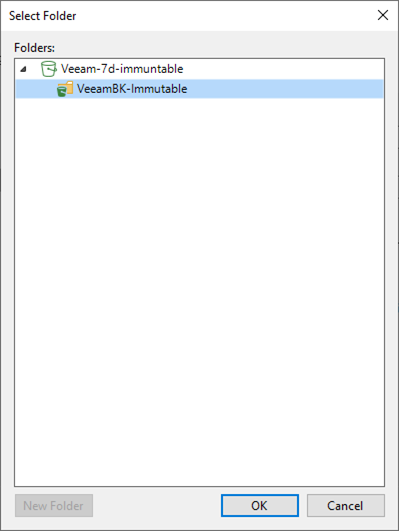
34.Select the Bucket that we created it from QuObjects settings on the Select Bucket page and click OK.
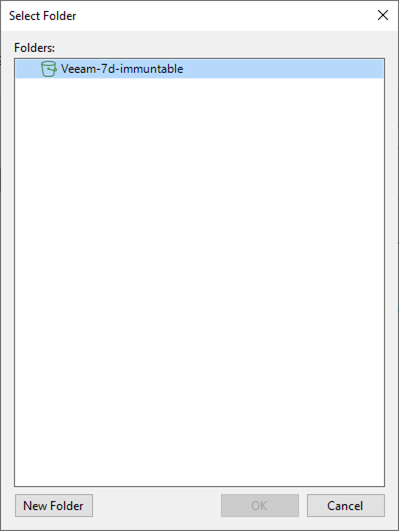
35.Click Browse in the Folder field.
36.Click New Folder on the Select Folder page.
37.Enter the folder name and click OK.
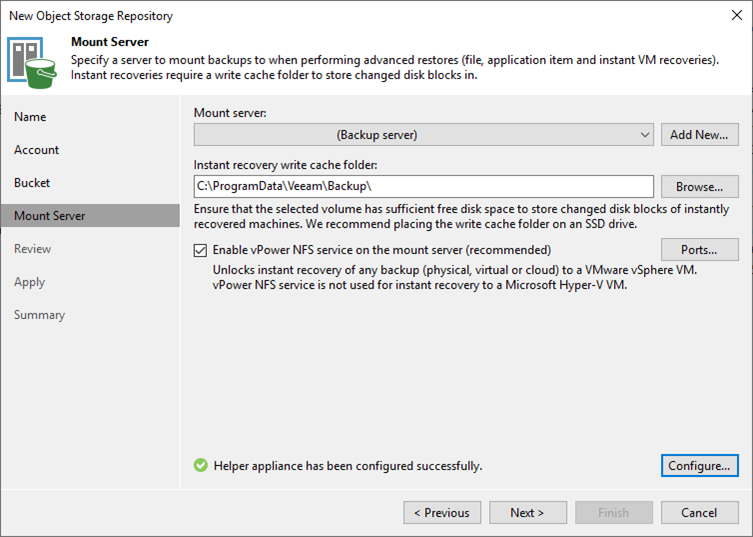
38.On the Bucket page, select Make recent backups immutable and change the days as you need, click Next.
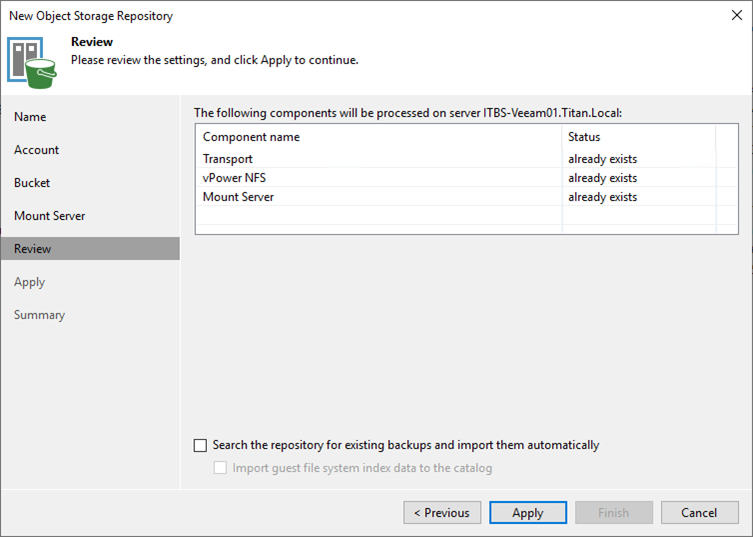
39.On the Mount Server page, keep the default settings and click Next.
40.Click Apply on the Review page.
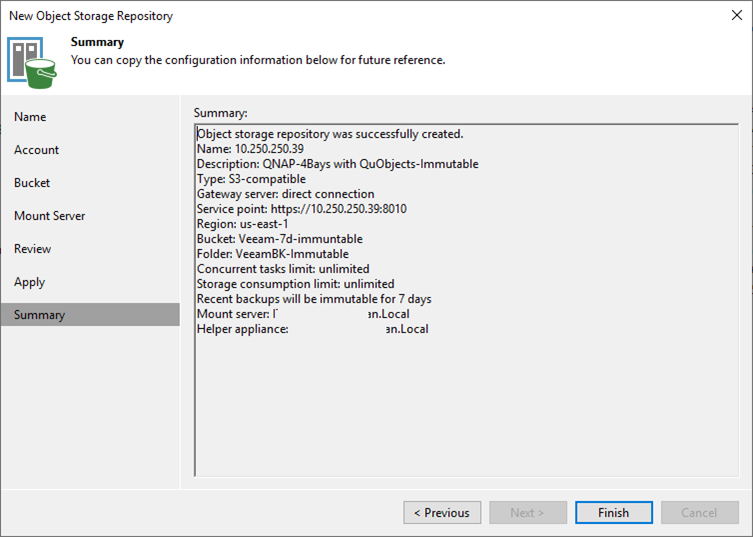
41.Click Next on the Apply page.

42.Click Finish on the Summary page.
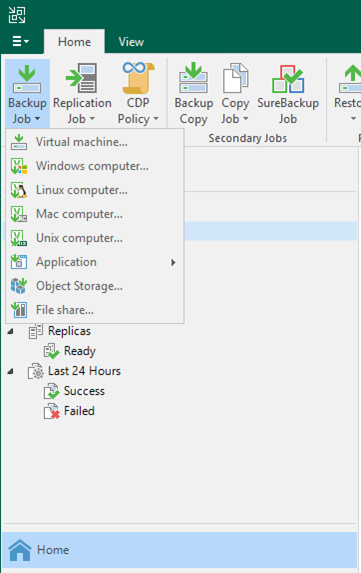
43.On the Home page, select Virtual Machine from the drop-down list of Backup Job.
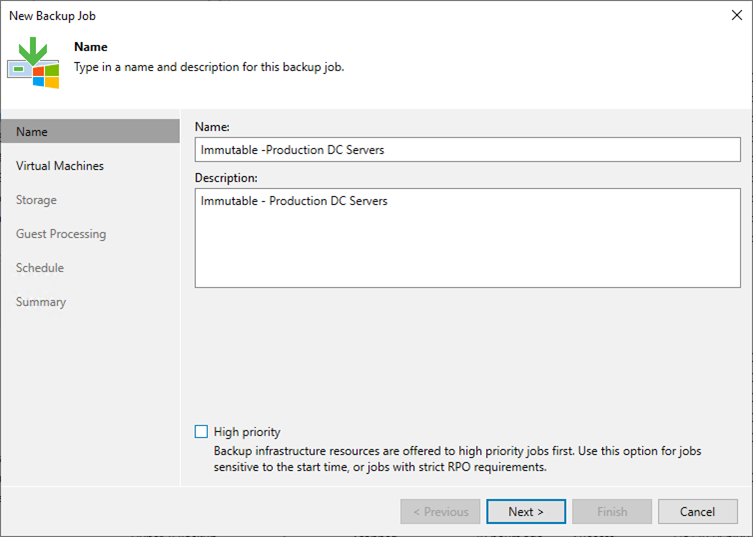
44.On the Name page, enter specific job name in the name field and click Next.
45.Click Add on the Virtual Machines page.
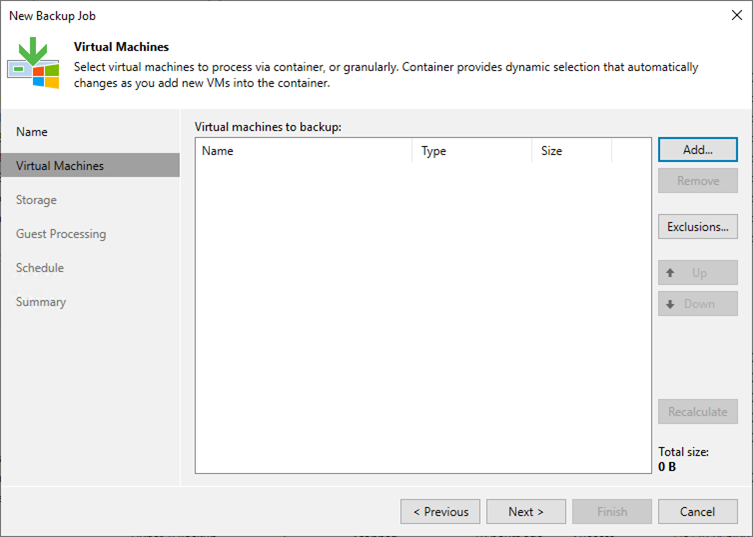
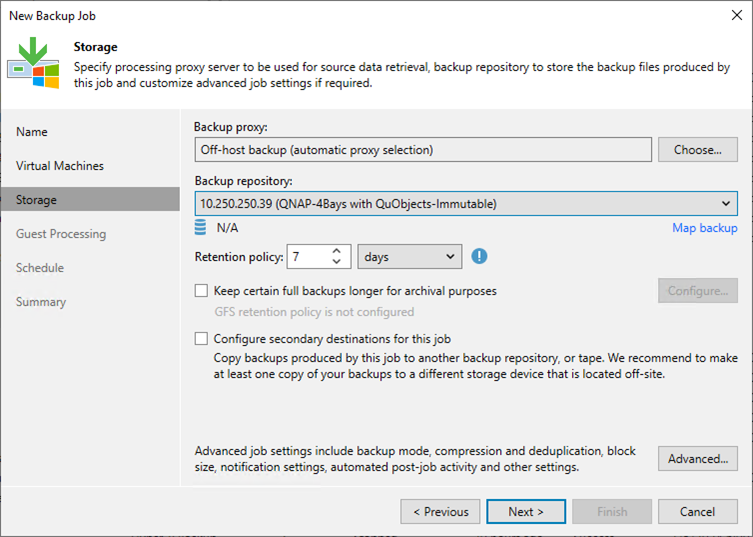
46.Add the Virtual Machines and click Next.
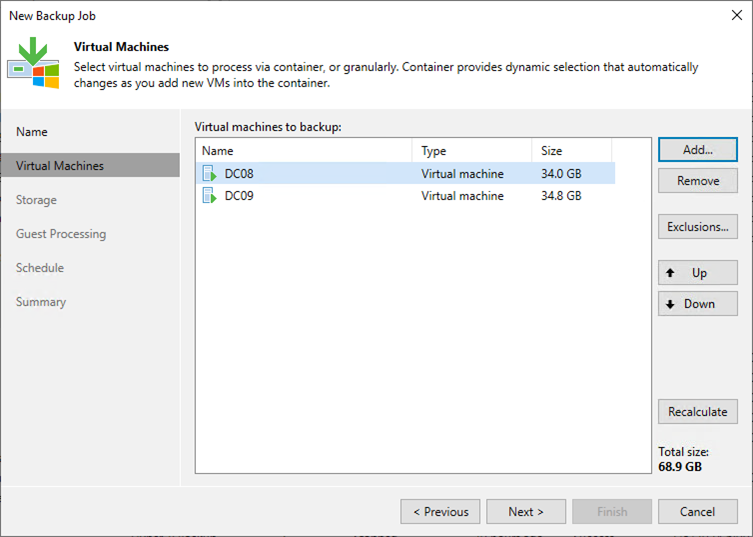
47.Select the new immutable storage from the drop-down list of Backup repository on the Storage page.
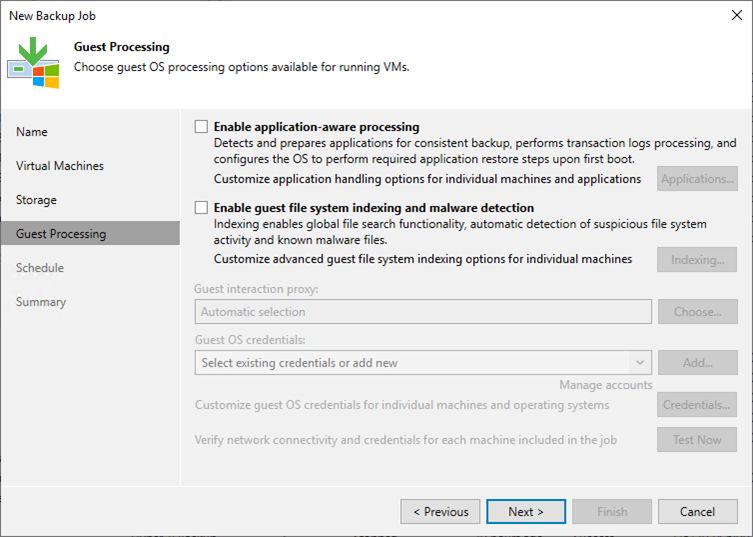
48.Change the Retention policy as you need and click Next.
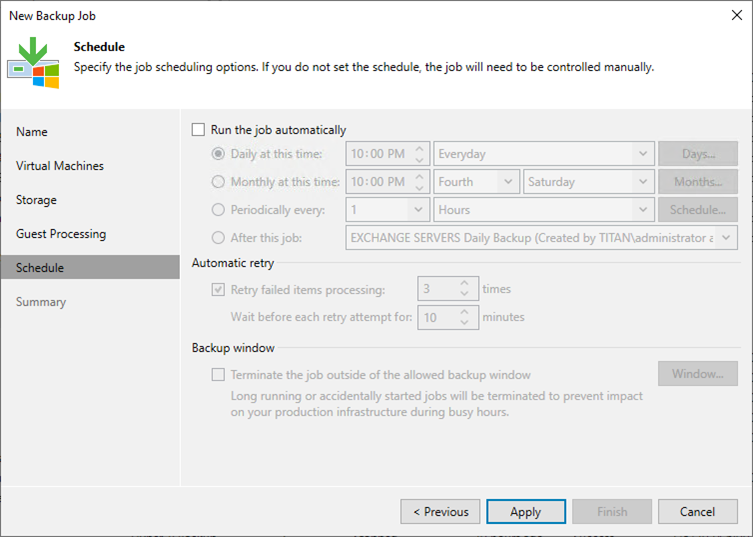
49.Click Next on the Guest Processing page.
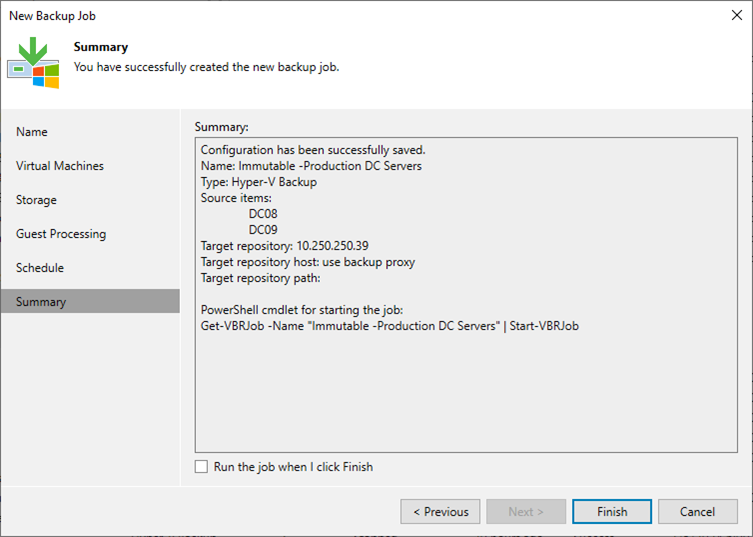
50.On the Schedule page, configure the schedule settings and click Apply.
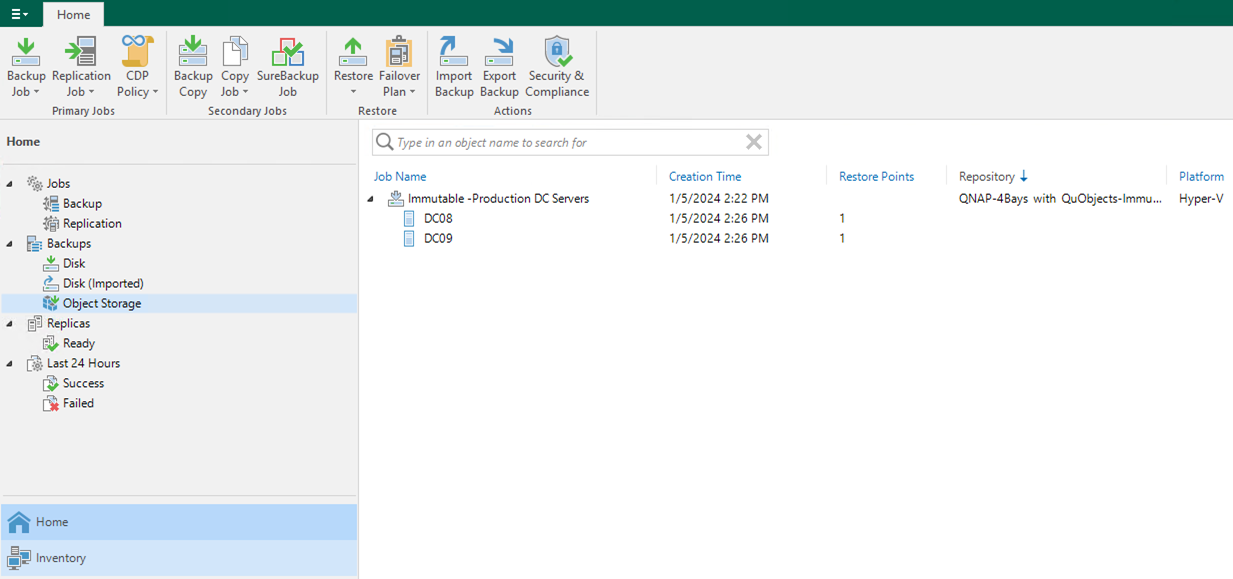
51.Click Finish on the Summary page and run the backup job.
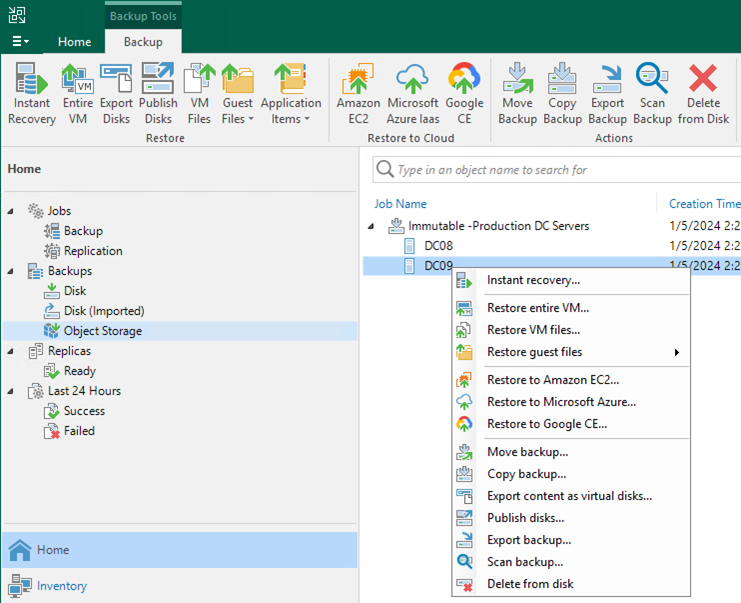
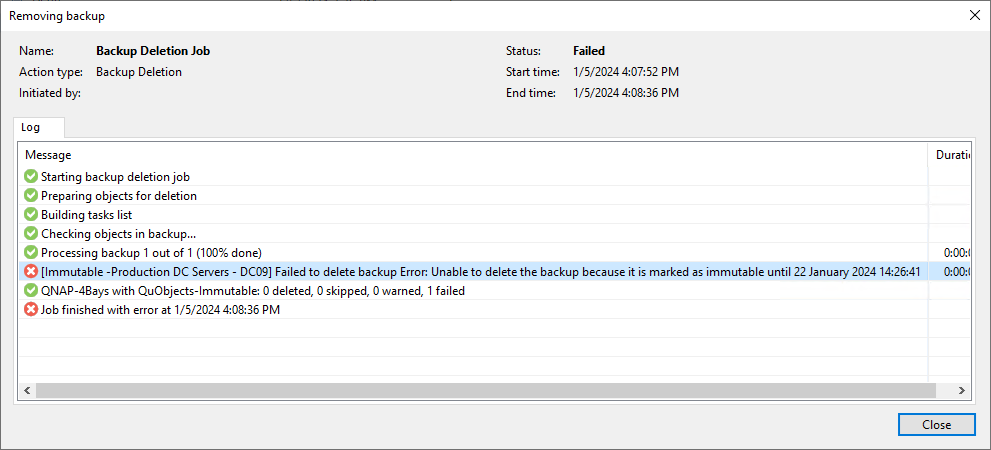
52.Verify the backup result in the Object Storage.
53.If you try to select Delete from disk and it will fail.
54.The error message is Failed to delete backup Error: Unable to delete the backup because it is marked as immutable until 22 January 2024 14:26:41.
I hope you enjoy this post.
Cary Sun
X: @SifuSun
Web Site: carysun.com
Blog Site: checkyourlogs.net
Blog Site: gooddealmart.com
Amazon Author: Amazon.com/author/carysun