
If the original VM fails, you can use Veeam Backup & Replication to restore an entire VM from a backup file to the most recent state or a previous point.
Before the entire VM restore can occur, the VM image must be fully extracted to the production storage. Veeam Backup & Replication copies the VM data from the backup repository to the chosen storage, registers the VM on the desired Hyper-V host, and, if necessary, powers it on.
Veeam Backup & Replication supports secure restore, which involves scanning machine data with antivirus software before restoring the computer to the production environment.
1. Login to the Veeam Backup and replication manager server.
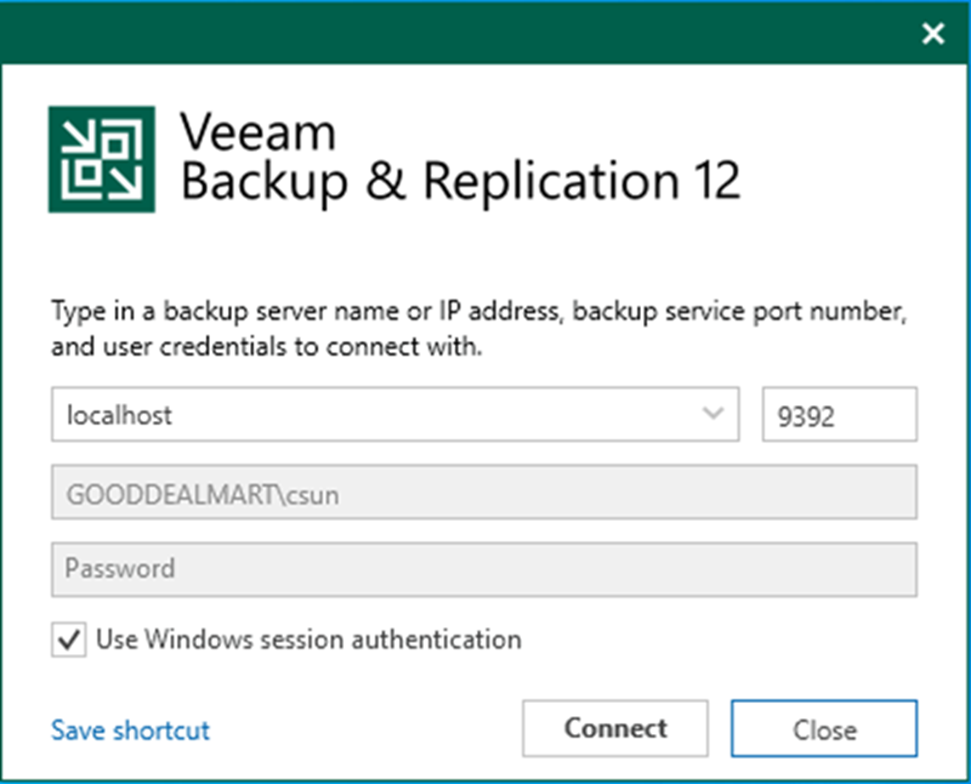
2. Open the Veeam Backup & Replication 12 Console and click Connect.
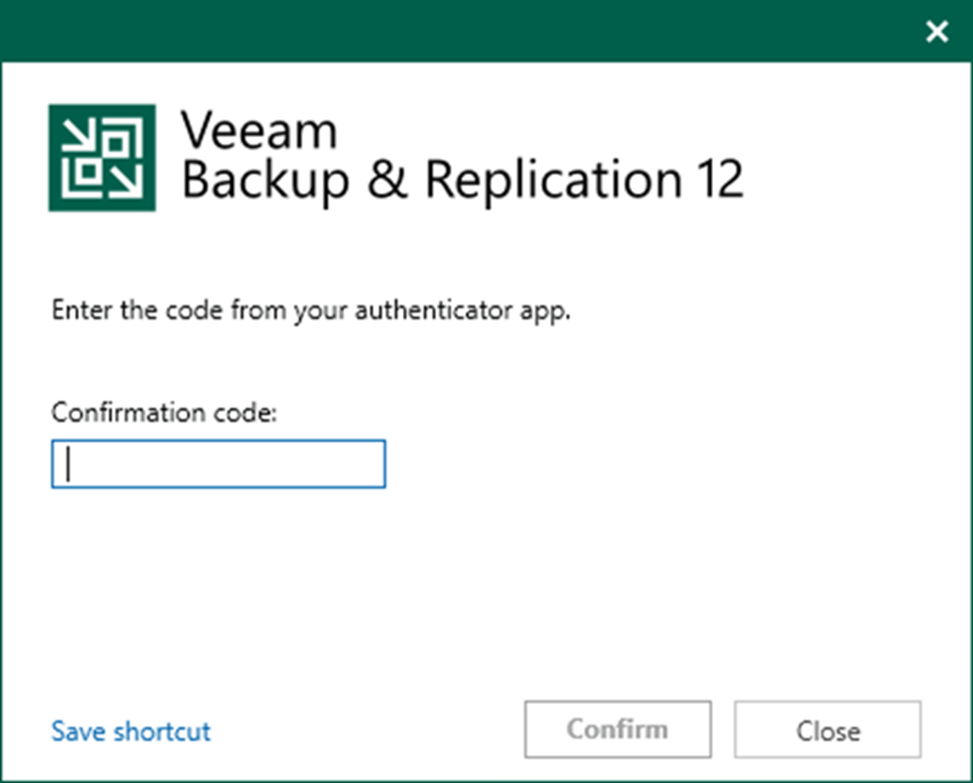
3. Enter the MFA Confirmation code and click Confirm.
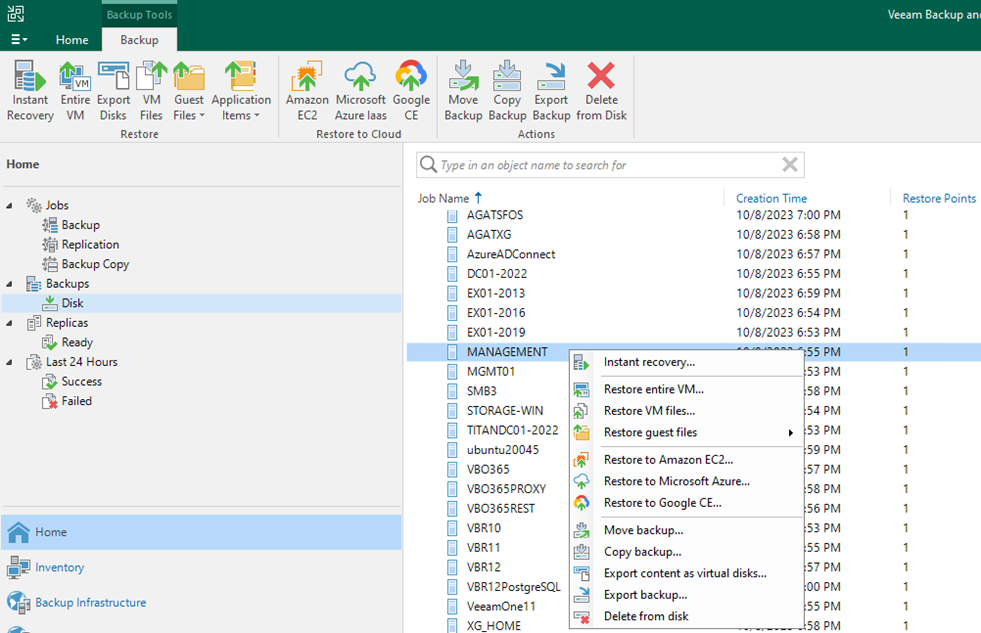
4. On the Home page, expand Backups. Select the Disk.
5. Expand the backup job name, right-click the virtual machine, and select Restore the entire VM.
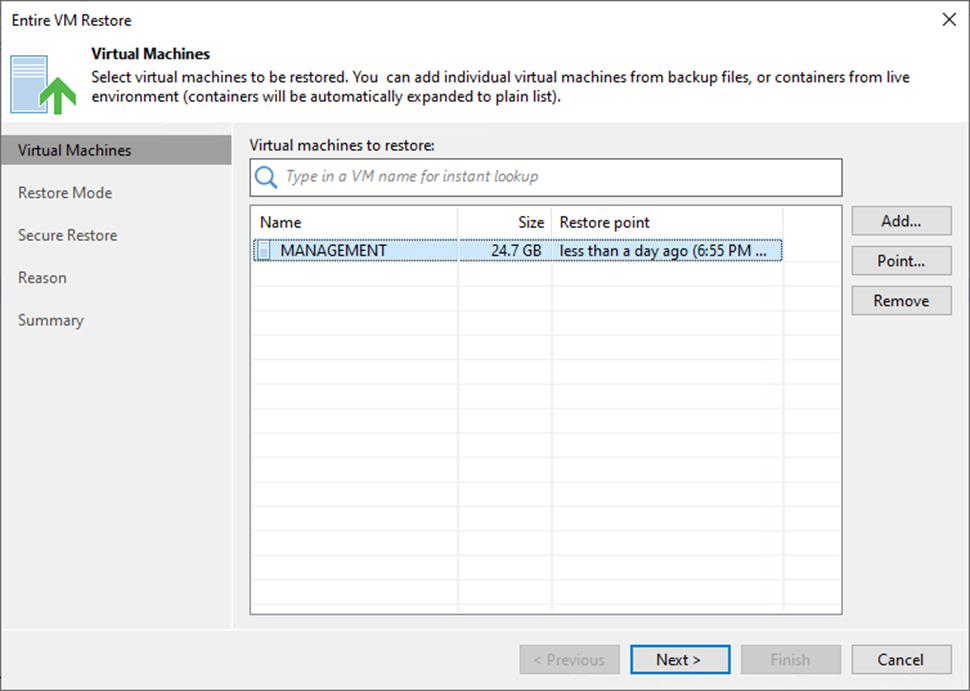
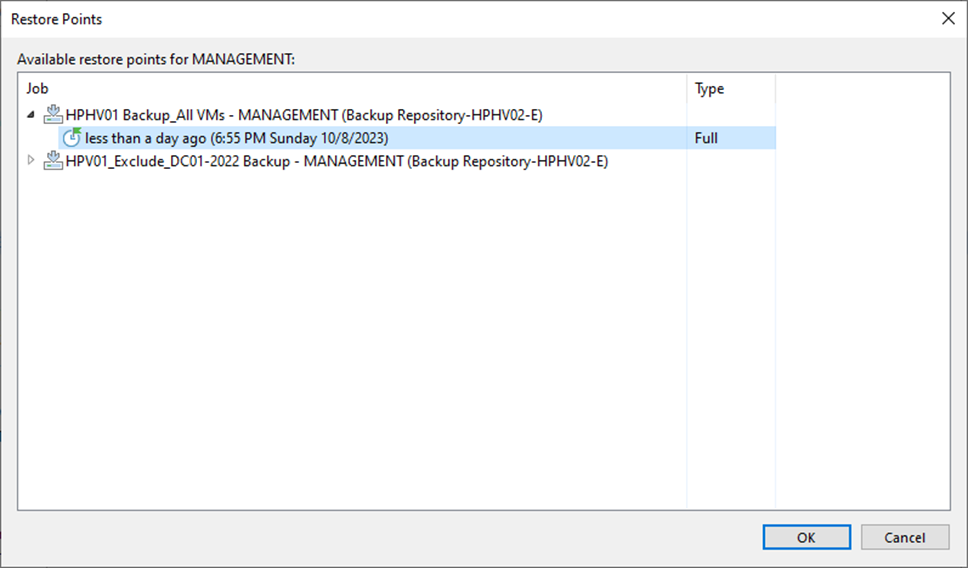
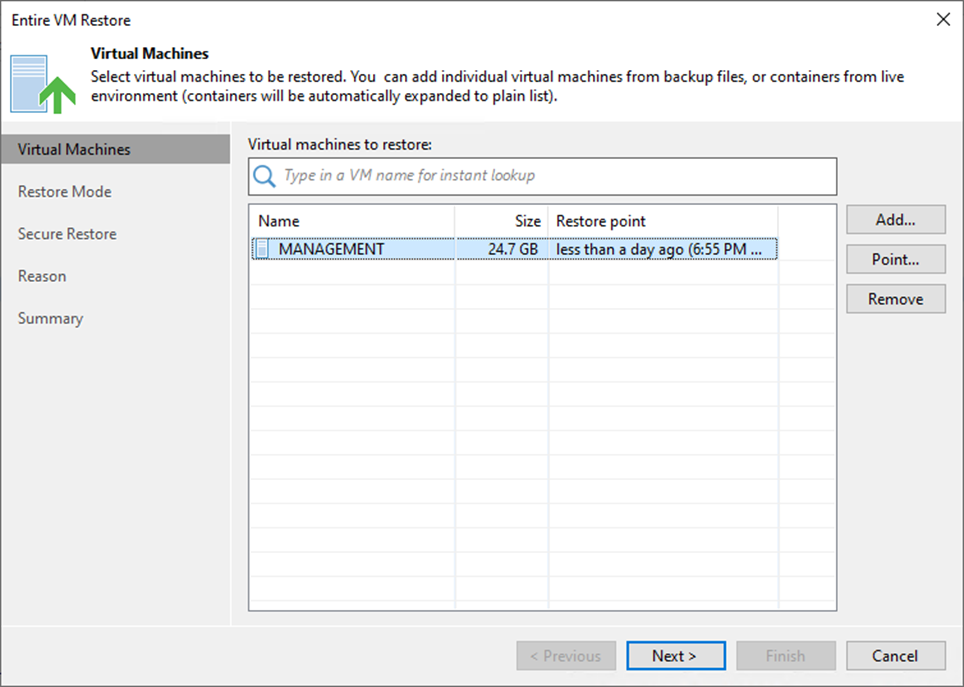
6. Select the virtual machine and click Point on the Virtual Machine page.
7. Expand the backup job on the Restore Point page, select the restore point, and click OK.
8. On the Virtual Machines page, click Next.
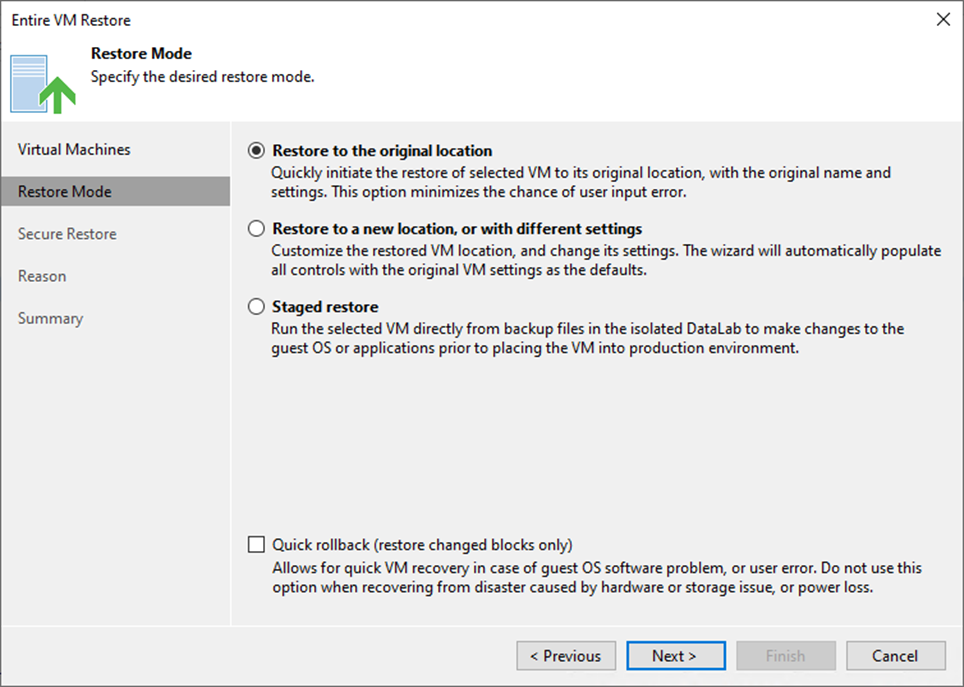
9. On the Restore Mode page, select Restore to the original location.
10. Select the Quick rollback (restore changed blocks only) checkbox If you restore a VM following a problem that occurred at the VM guest OS level.
11. Click Next.
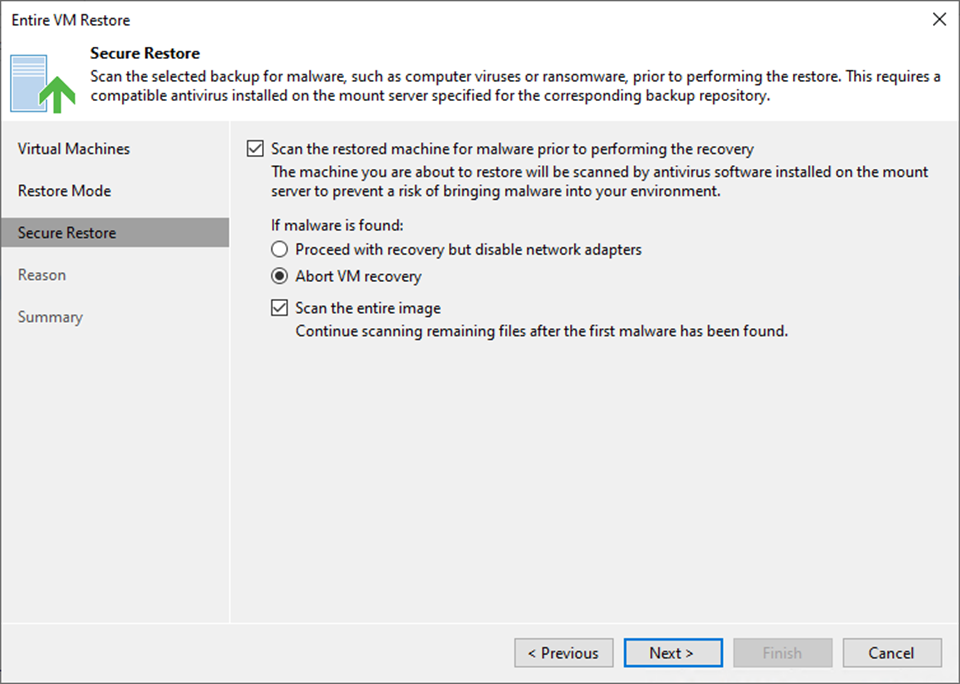
12. Select the Scan the restored machine for malware before performing the recovery checkbox.
13. Select Abort VM recovery if malware is found.
14. Select Scan the entire image checkbox.
15. Click Next.
Note:
- Support Microsoft Windows only.
- The antivirus software must be installed on the mount server and support the command line interface (CLI).
- The antivirus configuration file must be configured on the mount server.
- Veeam Backup & Replication does not perform malware scans for disks or volumes that cannot be mounted to the mount server.
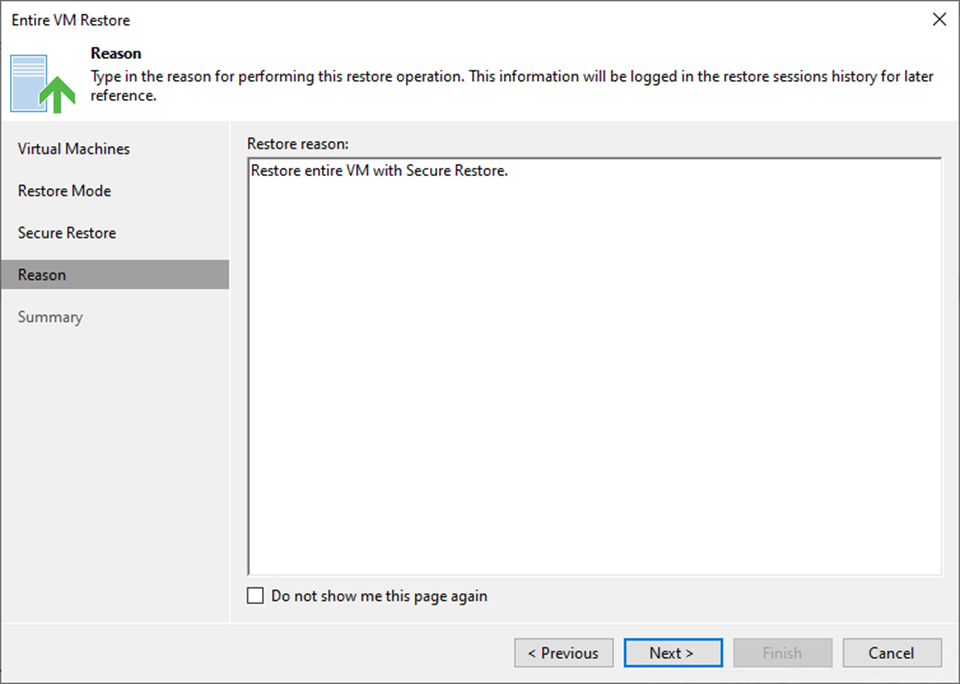
16. On the Reason page, enter a reason for restoring the selected VMs.
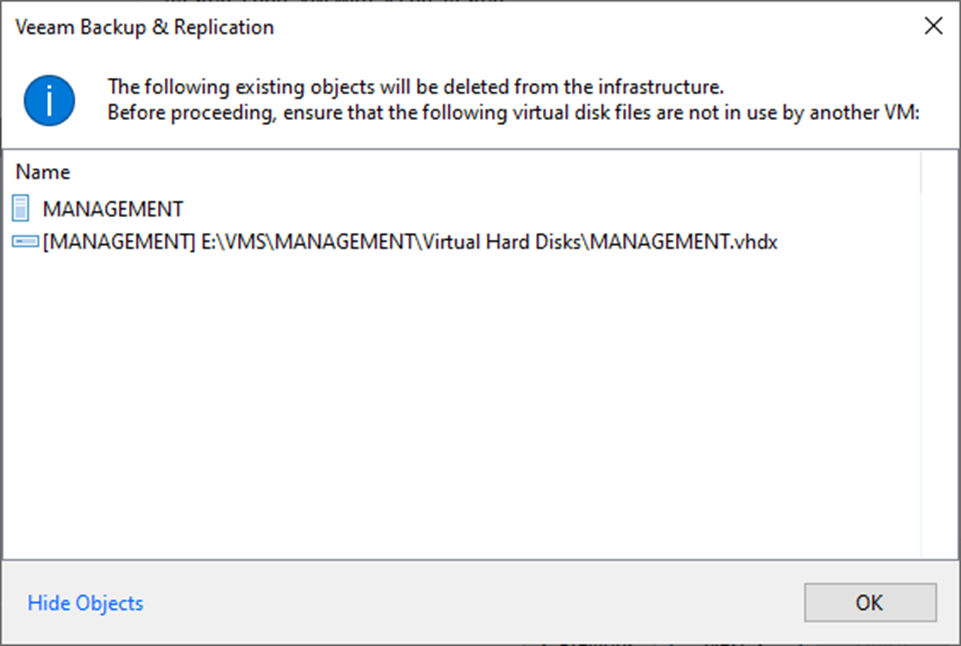
17. Click OK on the object will be deleted the warning message.
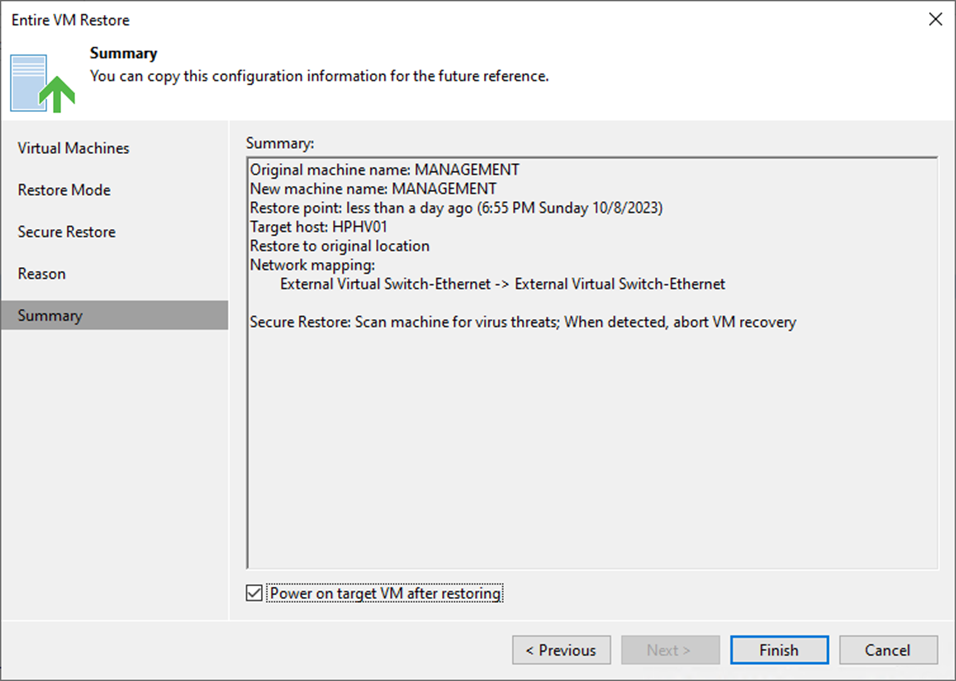
18. Select Power on the target VM after restoring and click Finish on the Summary page.
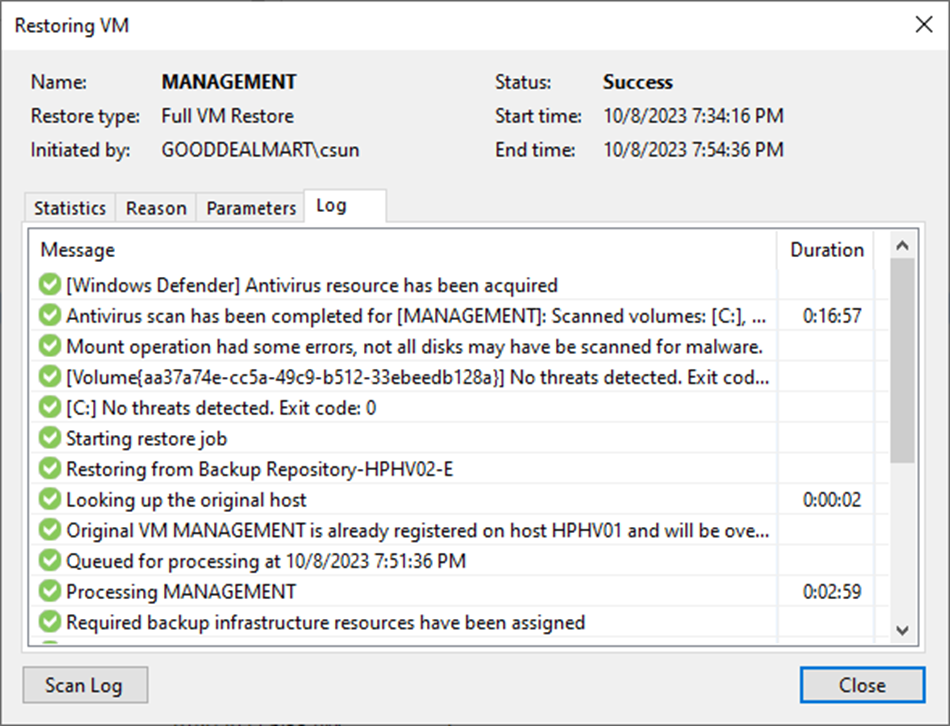
19. On the Restoring VM page, select Log.
20. Ensure the restore VM is completed without threats detected and click Closed.
21. Verify the VM is up and running.
I hope you enjoy this post.
Cary Sun
X: @SifuSun
Web Site: carysun.com
Blog Site: checkyourlogs.net
Blog Site: gooddealmart.com