
This scenario is useful if you want to store backups on multiple external hard drives that you intend to move between locations. The drives that are rotated can be detachable USB or eSATA hard drives.
There are some limitations as below:
- Only one repository with rotated drives can be created on a single managed server.
- You cannot store archive full backups (GFS backups) created with backup jobs or backup copy jobs in backup repositories with a rotated drive.
- You cannot store per-machine backup files in backup repositories with rotated drives.
- You cannot rescan backup repositories with rotated drives.
- Scale-out backup repositories do not support rotated drives.
- Repositories with rotated drives are not supported as primary backup repositories, archive repositories, and secondary target repositories for NAS backup.
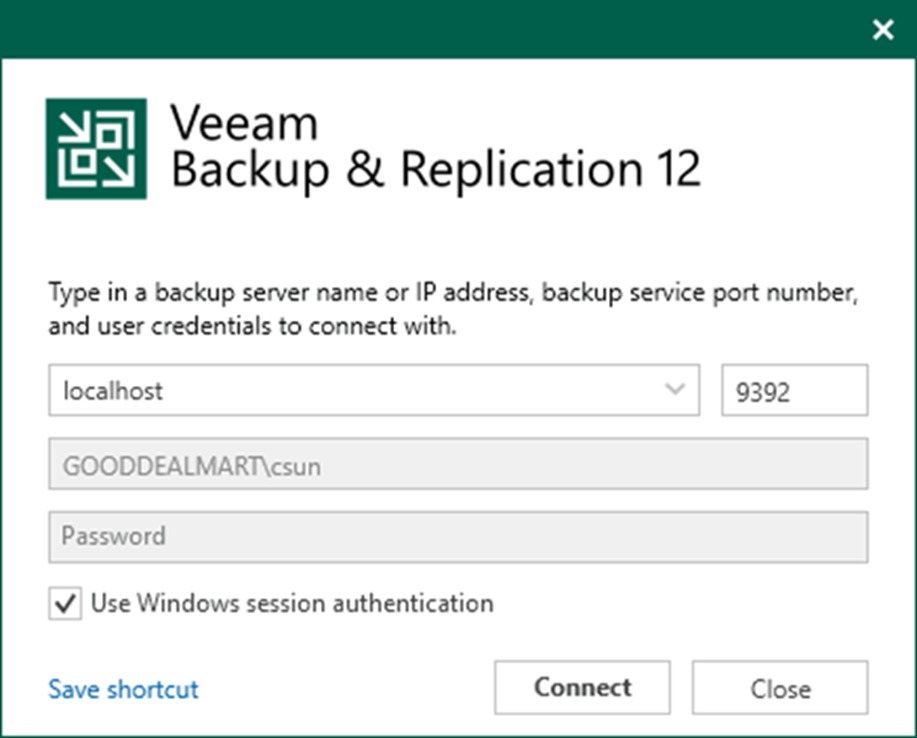
1. Login to the Veeam Backup and replication manager server.
2. Open the Veeam Backup & Replication Console and click Connect.
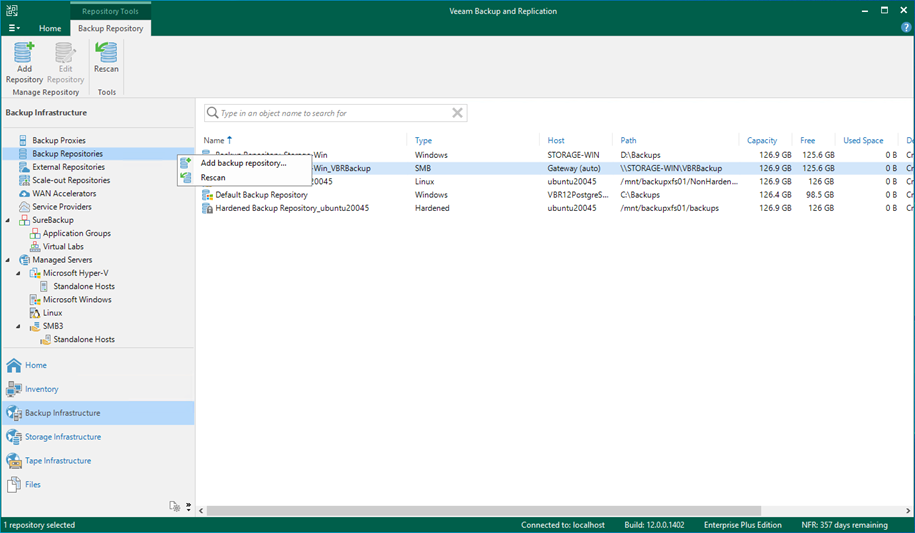
3. Select Backup Infrastructure on the Home page.
4. Select Backup Repositories on the Backup Infrastructure page.
5. Right-click Backup Repositories and select Add backup repository.
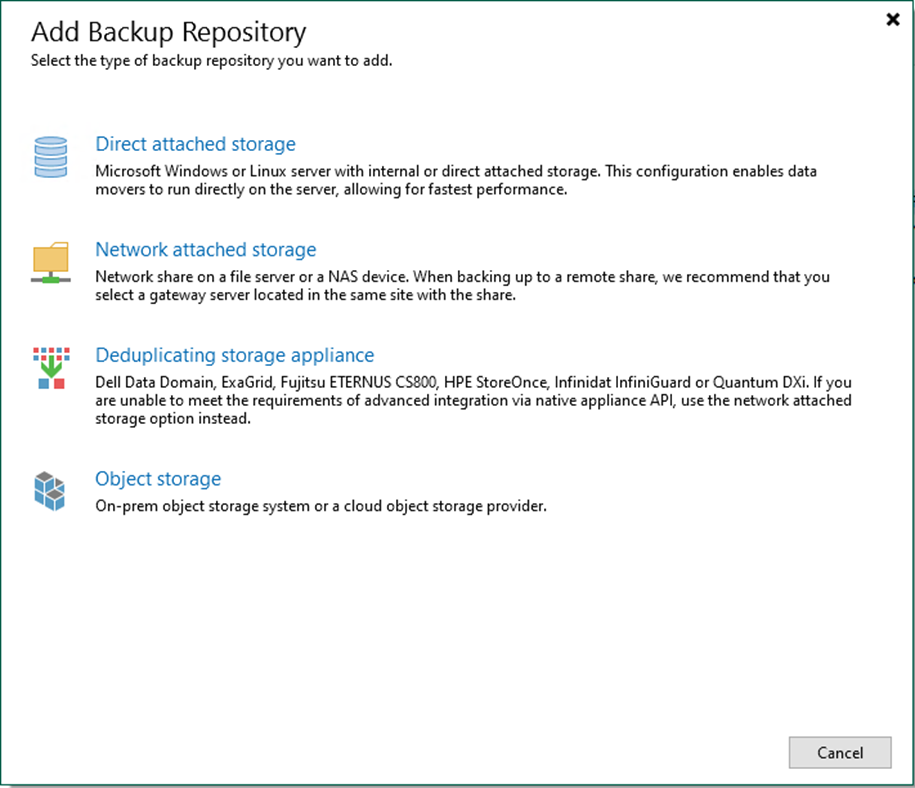
6. Select Direct attached storage on the Add Backup Repository page.
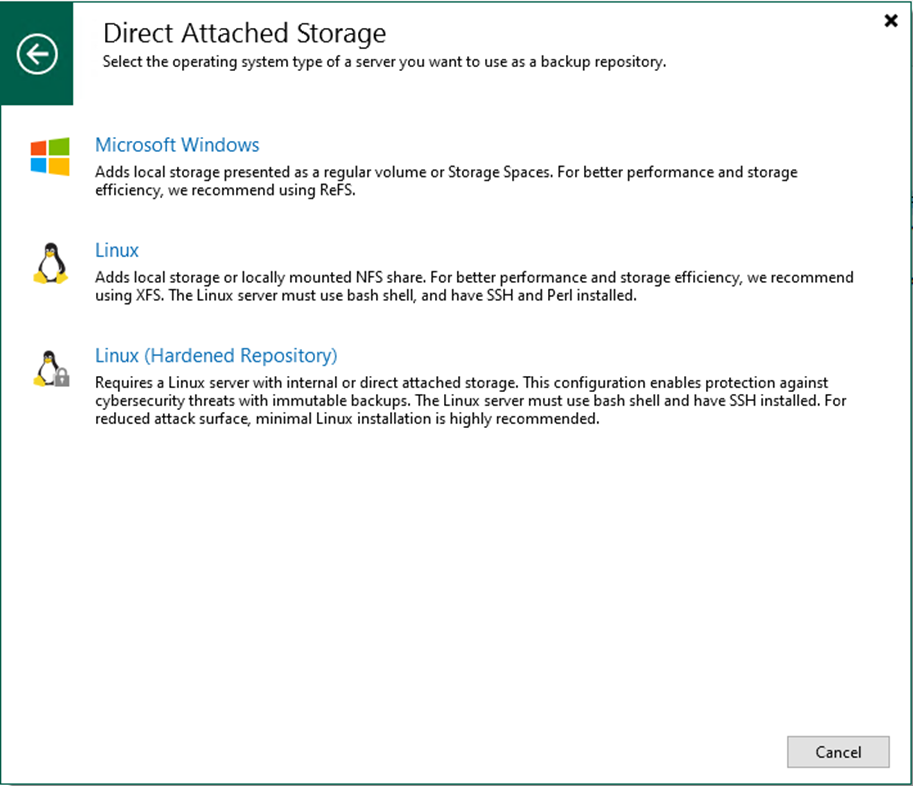
7. Select Microsoft Windows on the Direct Attached Storage page.
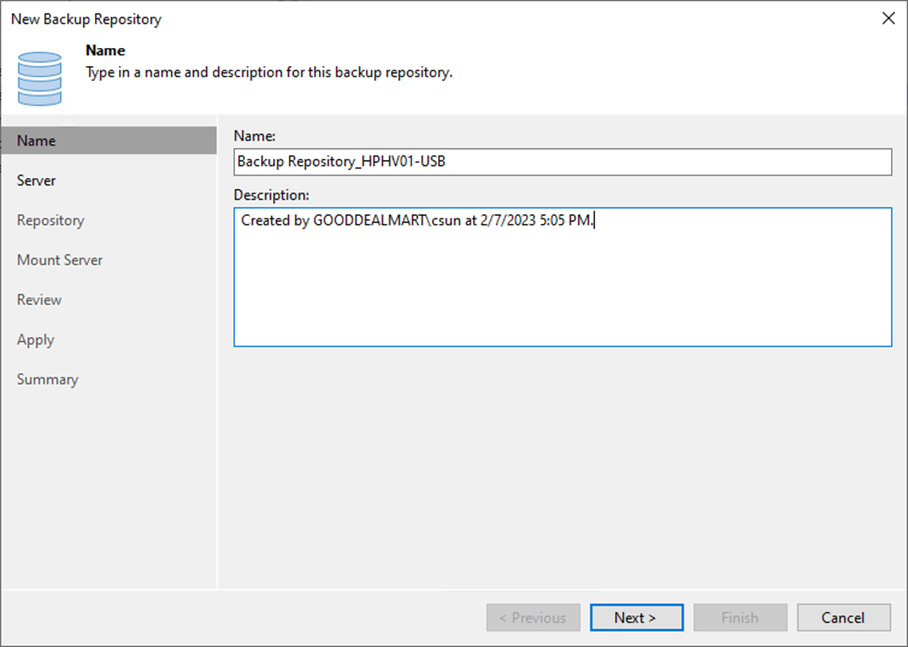
8. On the Name page, specify a Backup Repository name.
9. Give a brief description in the Description field for future reference and click Next.
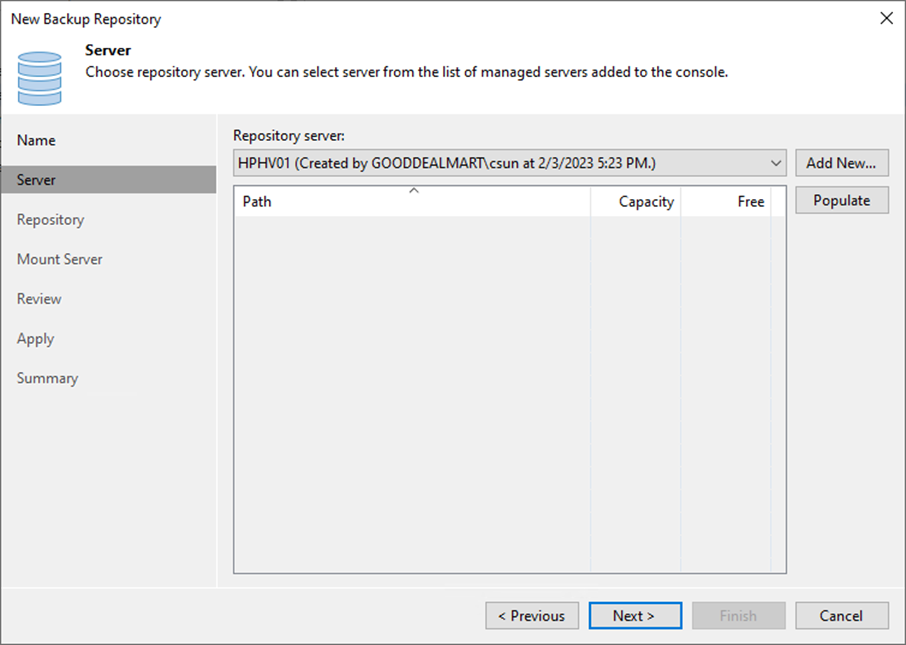
10. On the Server page, select the Microsoft Windows server from the Repository server drop-down list and click Populate.
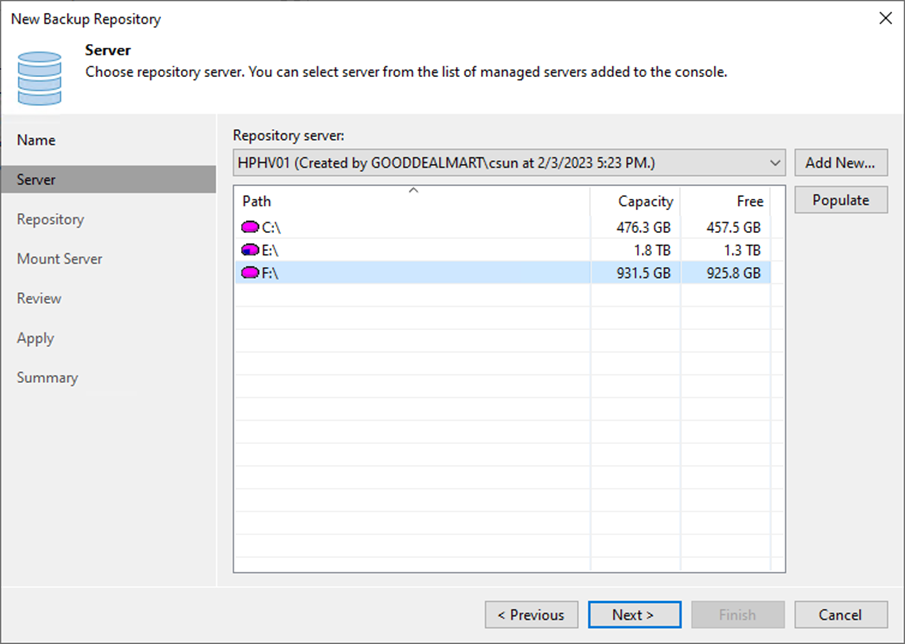
11. Select the disk and click Next.
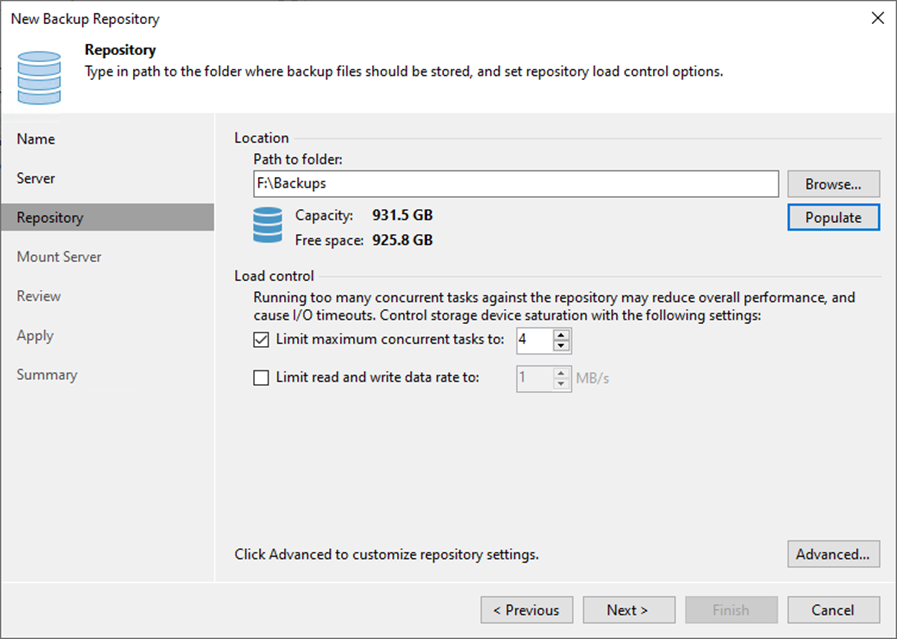
12. On the Repository page, click Populate to review the disk capacity and free space.
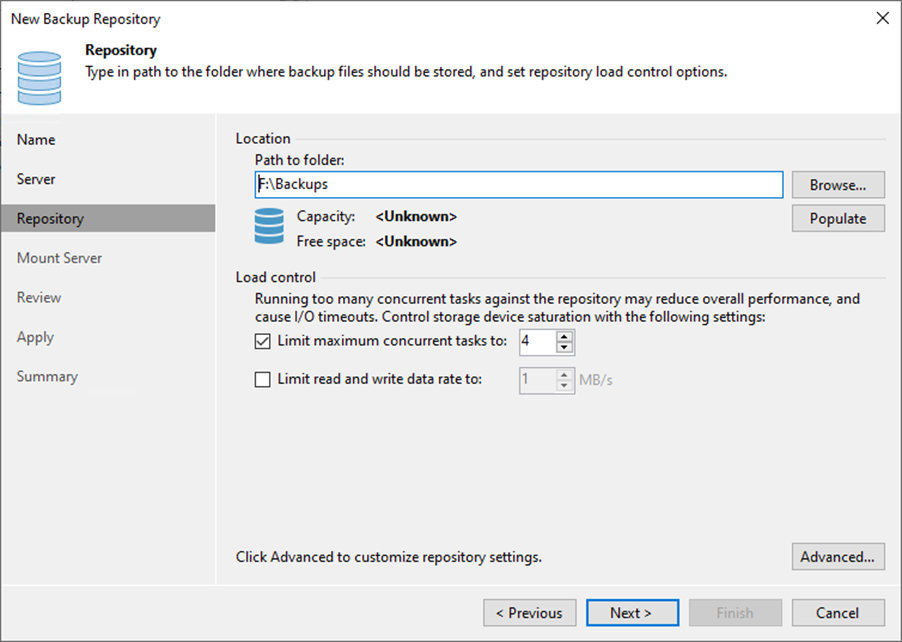
13. Use the Load control settings to manage the load on the backup repository and avoid storage I/O timeouts.
14. Click Advanced.
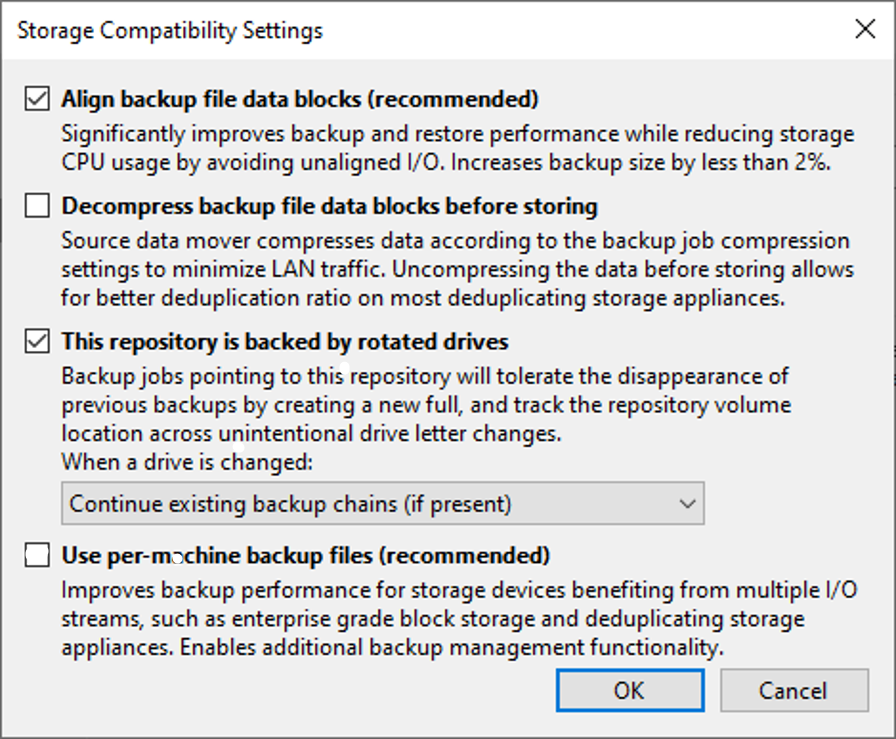
15. On the Storage Compatibility Settings, select Align backup file data blocks (recommended) checkbox.
16. Select This repository is backed by rotated drives checkbox and Specify how Veeam Backup & Replication should react when a drive is swapped.
17.Click OK.
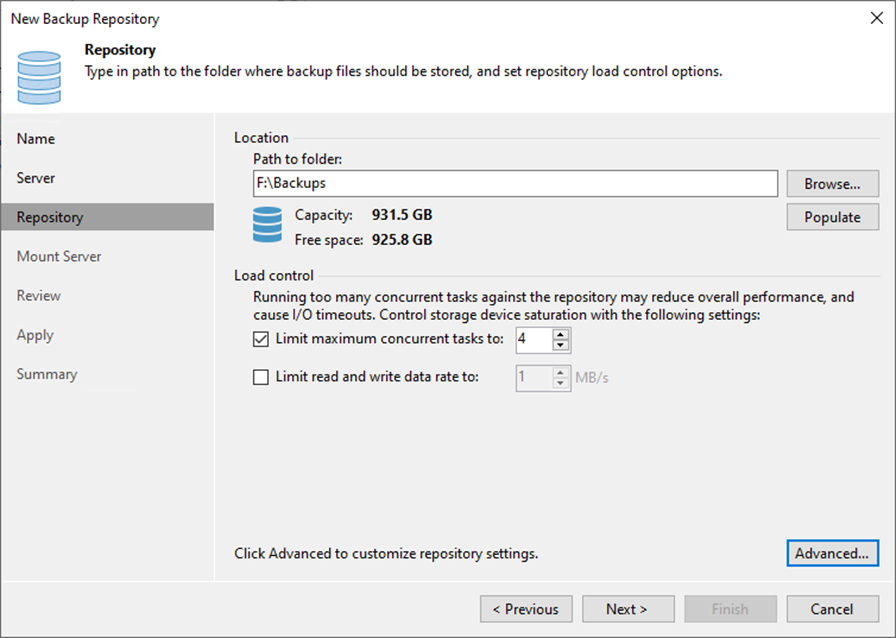
18. Click Next on the Repository page.
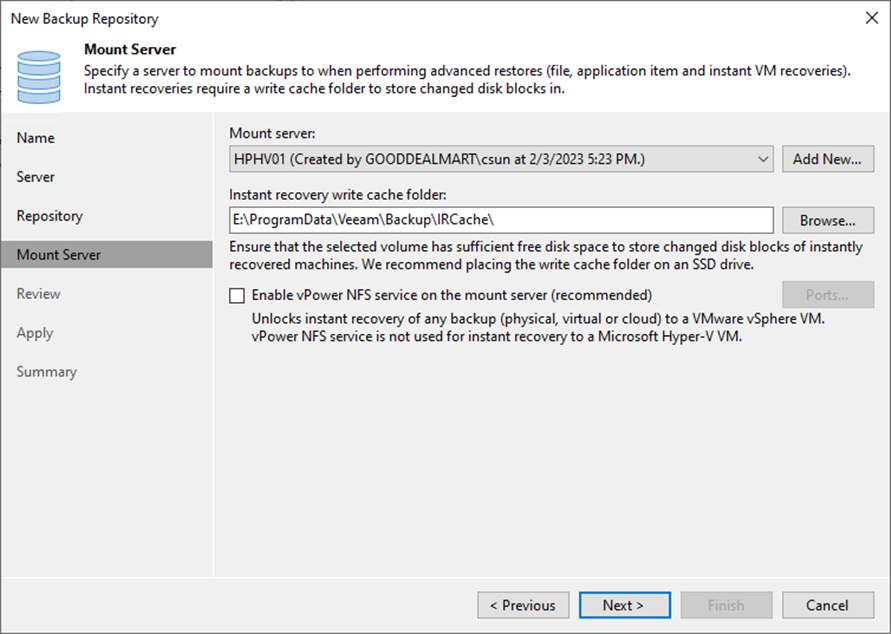
19. Select a mount server from the Mount server drop-down list on the Mount Server page. The mount server is required for file-level and application items restoration.
20. Select a folder in the Instant recovery write cache folder field for writing cache during mount operations.
21. Unselect Enable vPower NFS service on the mount server because the vPower NFS service is not used for instant recovery to a Microsoft Hyper-V VM.
22. Click Next.
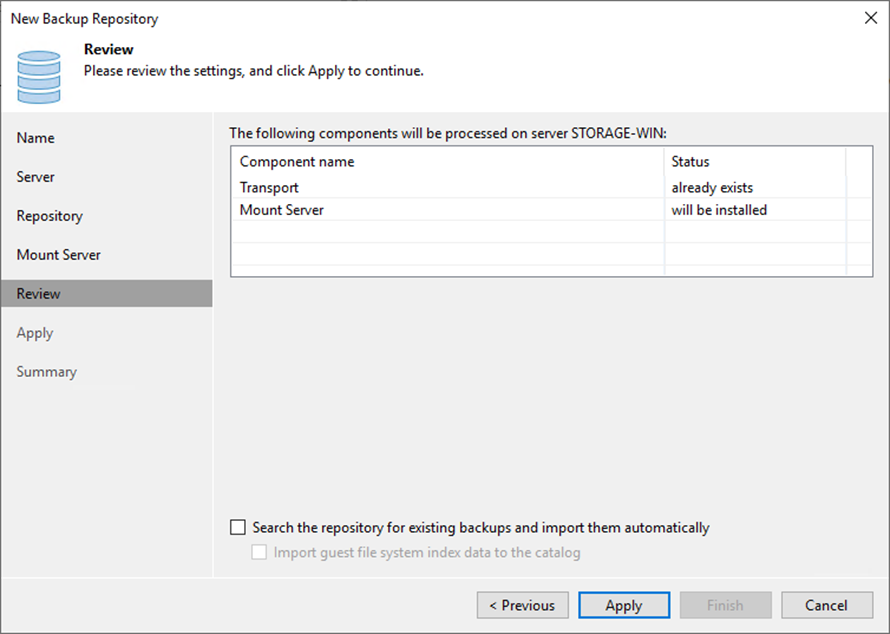
23. Click Apply on the Review page.
24. Select the Search the repository for existing backups and import them automatically checkbox if the backup repository contains backups previously created with Veeam Backup & Replication.
25. Select the Import guest file system index data to the catalog checkbox if the backup repository contains guest file system index files previously created by Veeam Backup & Replication.
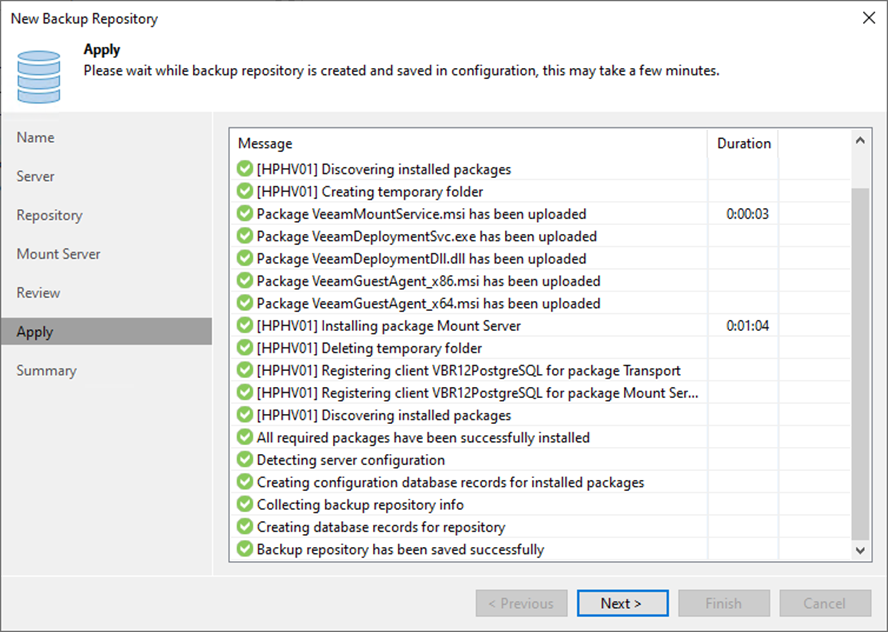
26. Click Next on the Apply page.
27. Click Finish on the Summary page.

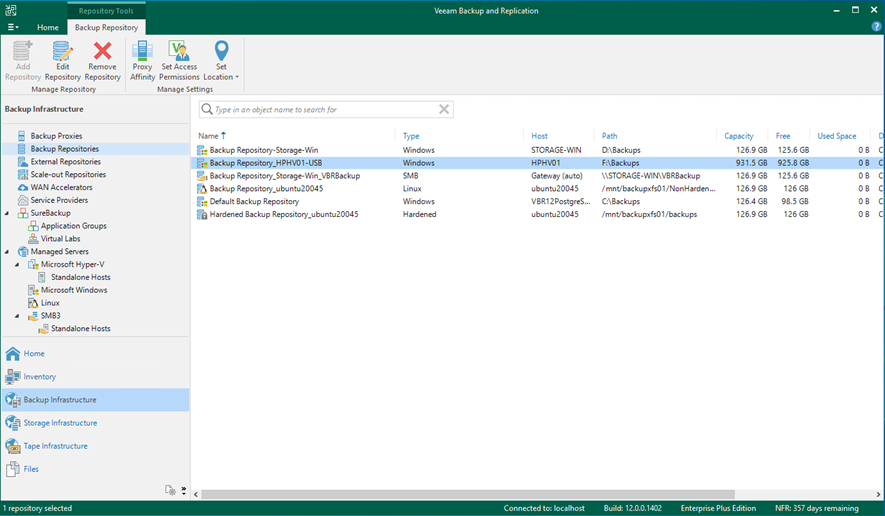
28. Verify that the Rotated Drives Backup Repository has been added.
I hope you enjoy this post.
Cary Sun
Twitter: @SifuSun
Web Site: carysun.com
Blog Site: checkyourlogs.net
Blog Site: gooddealmart.com