
Veeam’s WAN acceleration technology optimizes data transfer to remote locations. It is explicitly designed for off-site backup copy and replication jobs. You must deploy a pair of WAN accelerators in your backup infrastructure to enable WAN acceleration and data deduplication technologies.
Note:
The Veeam Universal License includes WAN acceleration. Veeam Backup & Replication Enterprise or Enterprise Plus editions are required when using a legacy socket-based licence.
1. Login to the Veeam Backup and replication manager server.
2. Open the Veeam Backup & Replication Console and click Connect.
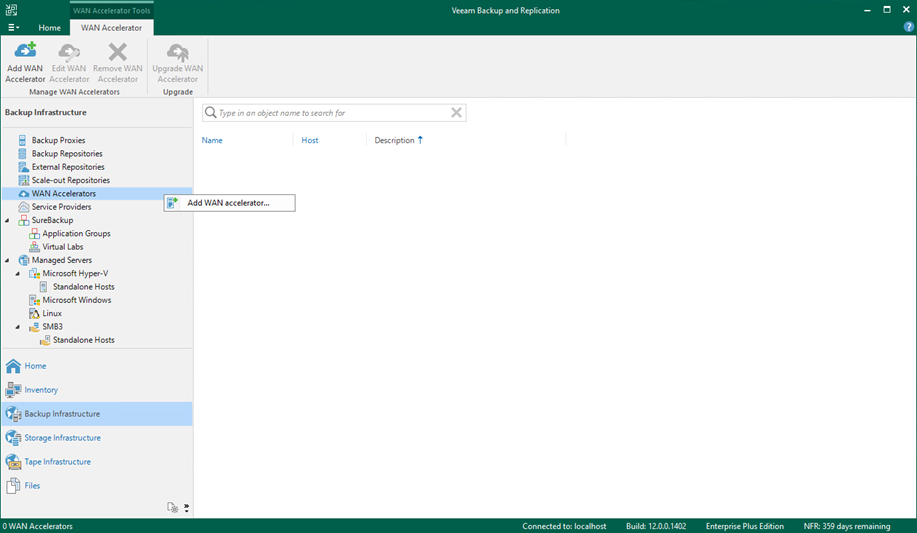
3. On the Home page, select Backup Infrastructure.
4. On the Backup Infrastructure page, select WAN Accelerators.
5. Right-click WAN Accelerators and select Add WAN Accelerator.
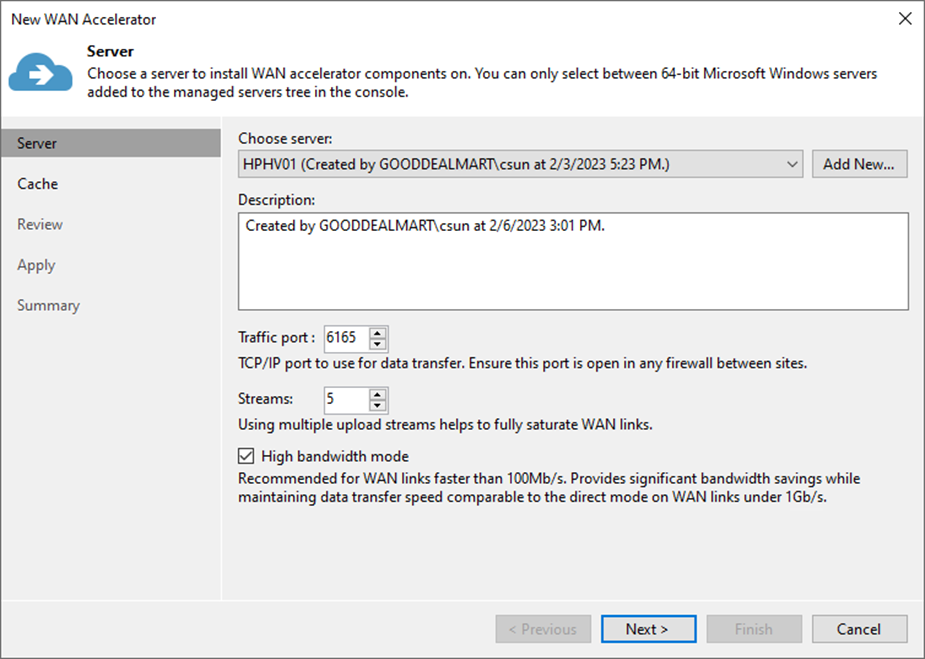
6. Select a Microsoft Windows server from the Choose server drop-down list on the Server page.
7. Give a brief description in the Description field for future reference.
8. Specify the port number in the Traffic port field.
9. Specify the number of connections in the Streams field. If the link has low latency and high bandwidth, the default setting (5 streams) may sufficiently saturate it thoroughly. The link still needs to be fully utilized the number of streams may be increased. According to tests, multiplying the link speed by 1.5 is a good best practice for estimating the number of streams required for high latency.
10. Veeam recommends using the High bandwidth mode option if your network bandwidth exceeds 100 Mbps. This mode offers significant bandwidth savings on WAN links less than 1 Gbps than the direct method.
11. Click Next.
12. Specify a path to the folder in the Folder field on the Cache page.
13. Specify the size for the global cache in the Cache size field.
14. Click Next.

Note:
If both WAN accelerators (source and target) are set to High bandwidth, WAN acceleration does not use the global cache. However, remember that you can deactivate the High bandwidth mode and return to the Low bandwidth mode anytime.
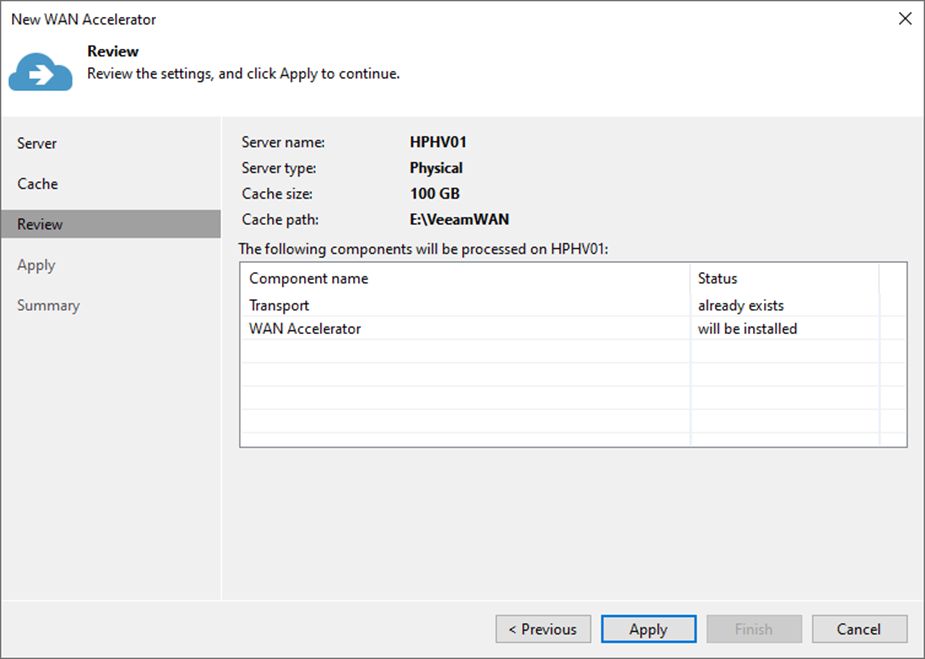
15. On the Review page, click Apply.
16. Click Next on the Apply page.

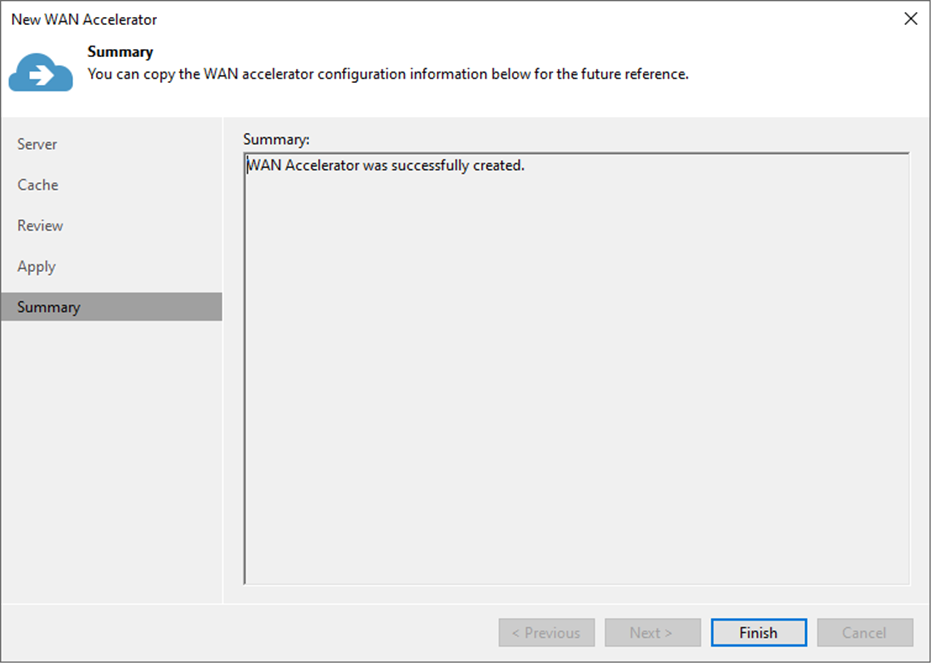
17. Click Finish on the Summary page.
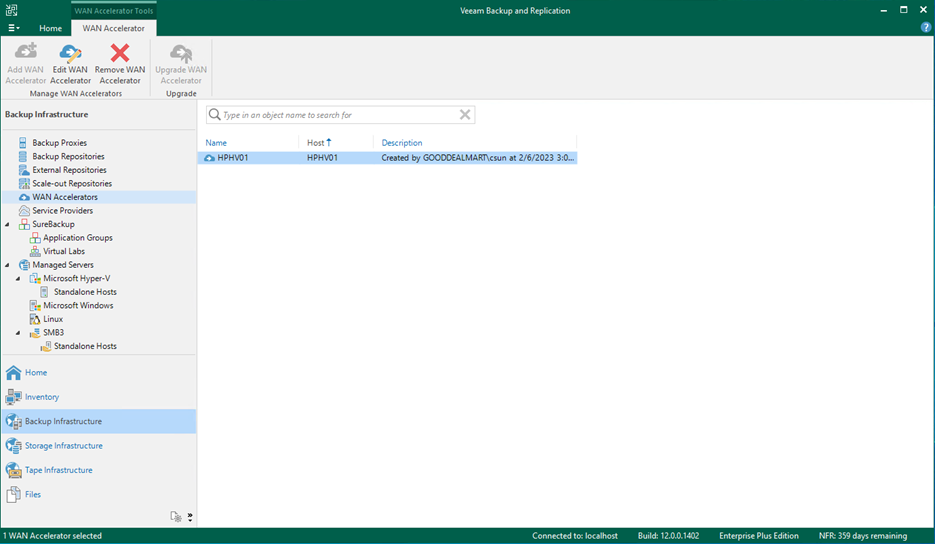
18. Verify that the WAN Accelerator has been added.
I hope you enjoy this post.
Cary Sun
Twitter: @SifuSun
Web Site: carysun.com
Blog Site: checkyourlogs.net
Blog Site: gooddealmart.com