
You can also configure notification settings in Microsoft 365 with an MFA-enabled account. This can be used to send email notifications about the results of backup jobs.
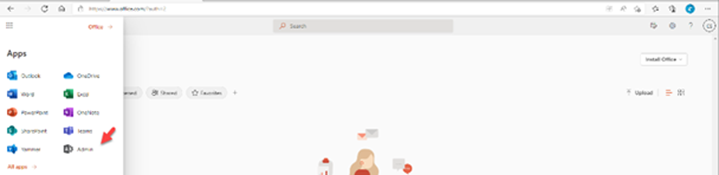
1.Sign in Microsoft 365 portal with a Global Admin account, and select Admin.
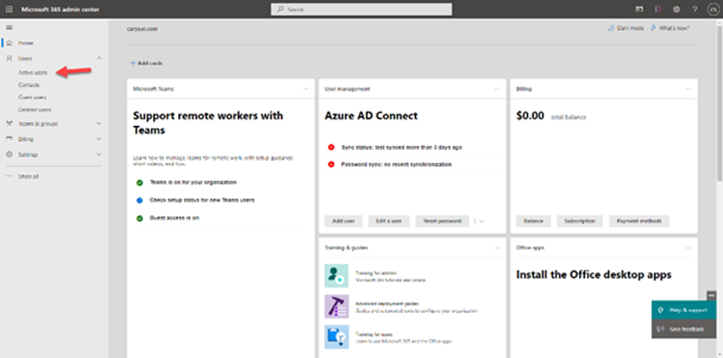
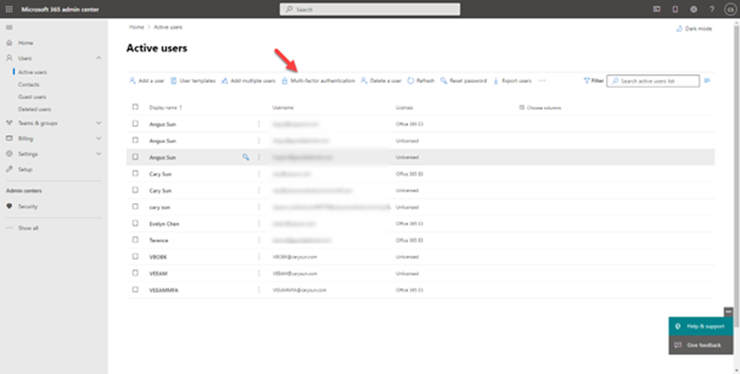
2.Expand Users on the Microsoft 365 admin center and select Active Users.
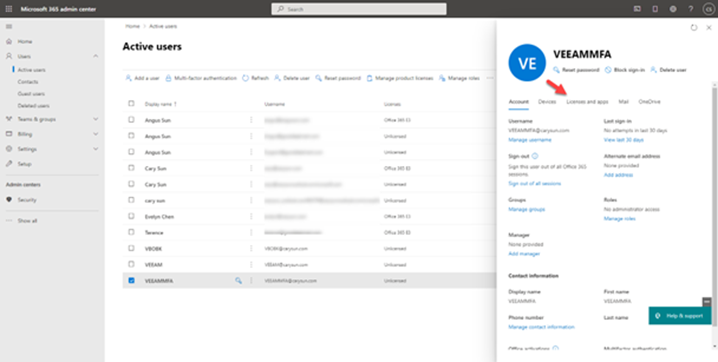
3. On the Active users’ page, click the Veeam service account (in my case, the account name is VEEAMMFA).

4. On the account page, select License and apps.
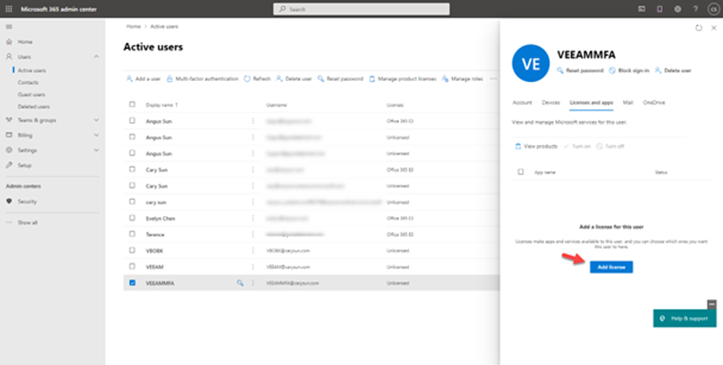
5. On the License and apps page, click Add license.
6. On the Microsoft 365 license page, enable Assign license to the account and click Save changes.
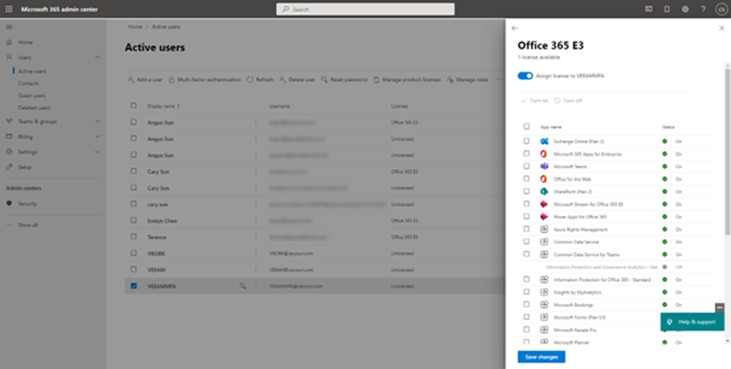
7. Click Back <–.

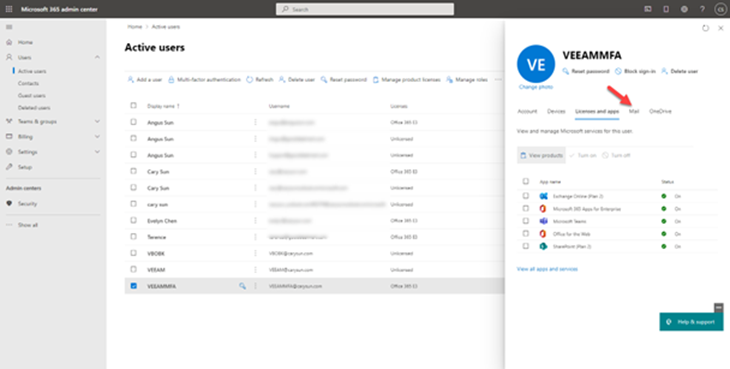
8. On the account page, select Mail. It would be best if you waited a few mins to prepare a mailbox for the user.
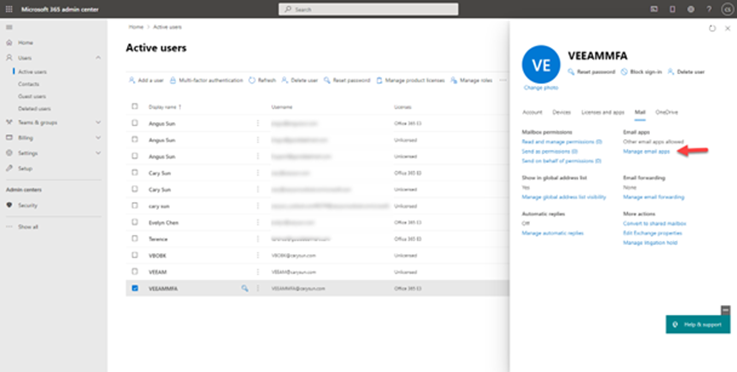
9. On the Mail page, select Manage email apps.
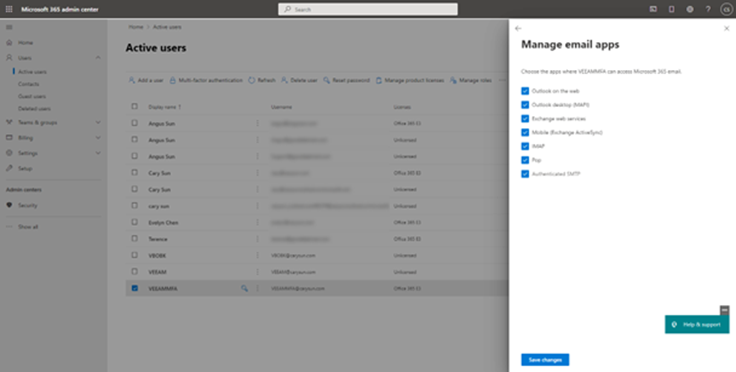
10. On the Manage email apps, select Authenticated SMTP and click Save changes.
11. On the Active Users page, select Multi-factor authentication.
12. Sign in with a global admin account.
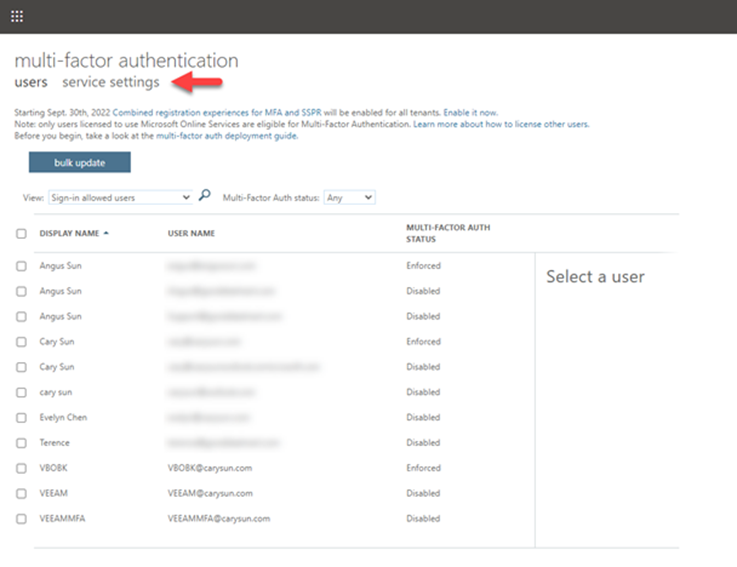
13. On the multi-factor authentication page, select service settings.
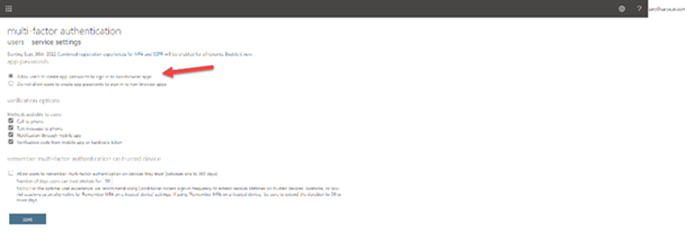
14. Select Allow users to create an app password to sign in to non-browser apps, click save, and sign out from the office 365 portal on the service settings page.
15. On the multi-factor authentication page, select users.

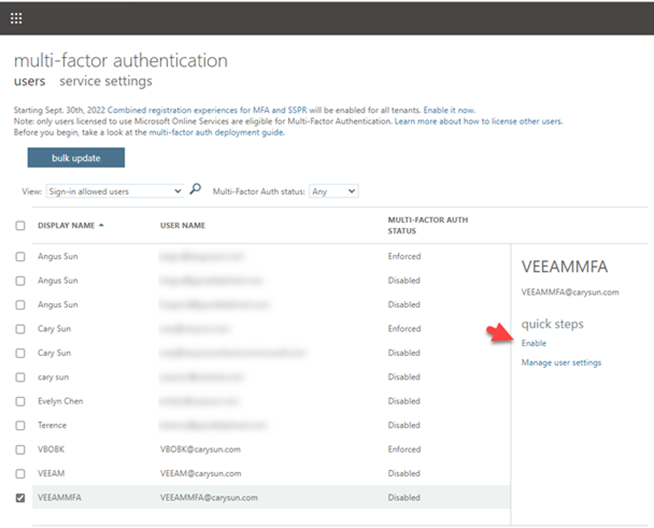
16. If the Veeam service account is a non-MFA account, follow the below steps to enable MFA.
17. On the user’s page, click Veeam service account.

18. On the quick steps page, select Enable.
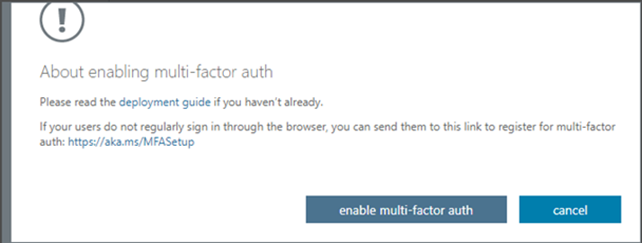
19. Click enable multi-factor auth on the About enabling multi-factor auth page.
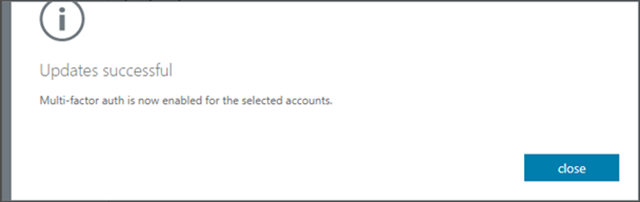
20. On the Updates, successful page, click Close.
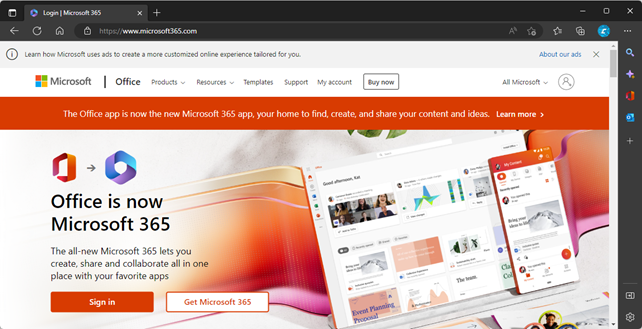
21. Sign in Microsoft 365 portal with a Veeam service account.
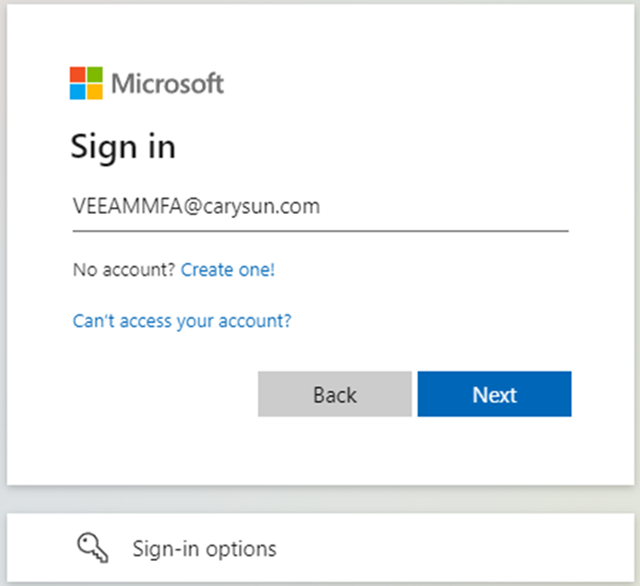
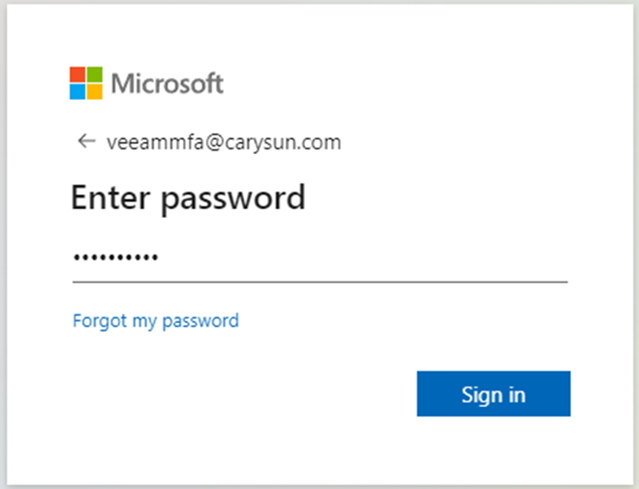
22. Enter the Veeam services account email address on the Sign-in page.
23. Enter the password in the Enter password field.
24. On the More information required page, click Next.

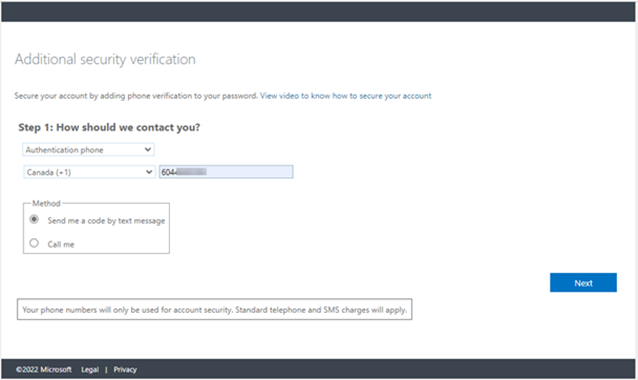
25. On the Step 1 page, select filled-in information and click Next.
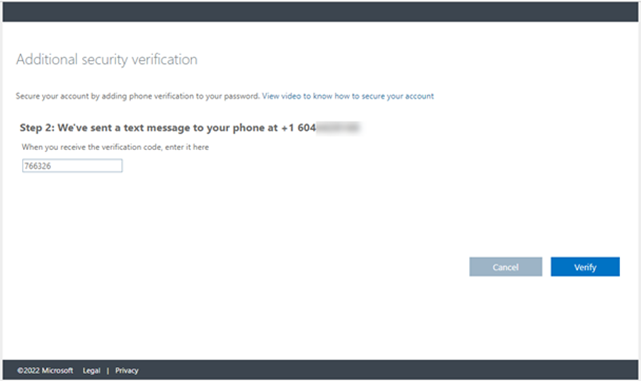
26. Enter the verification code on the Step 2 page and click Verify.
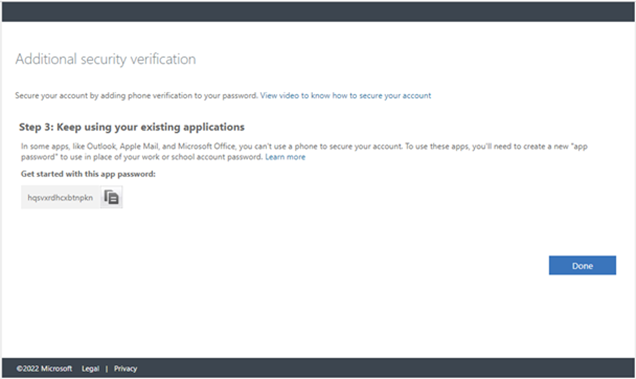
27. In Step 3, copy and save the app password and click Done.
28. If the Veeam service account is an existing MFA account, follow the below steps to add App password authentication.
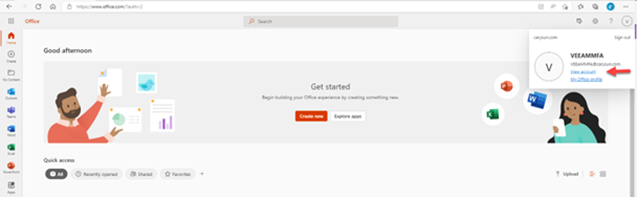
29. Sign in Microsoft 365 portal with the Veeam service account and select View account.
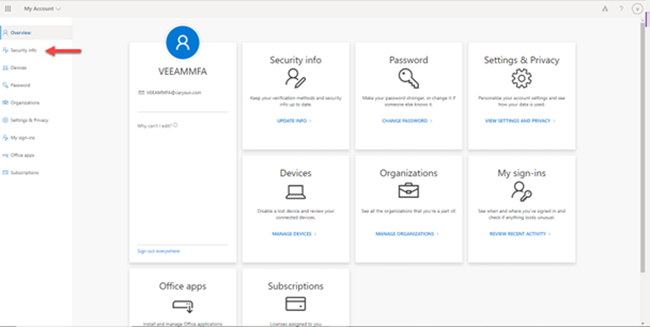
30. On the My Account page, select Security info.
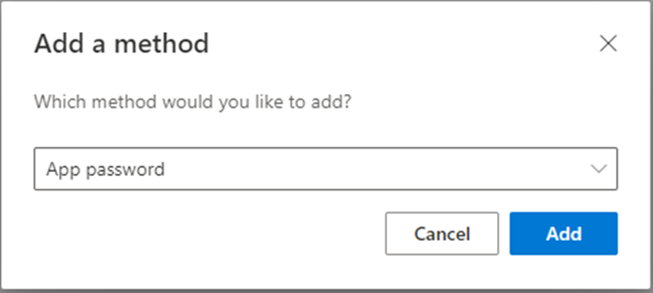
31. On the Security info page, select the +Add method.

32. On the Add a Method, select App password and click Add.
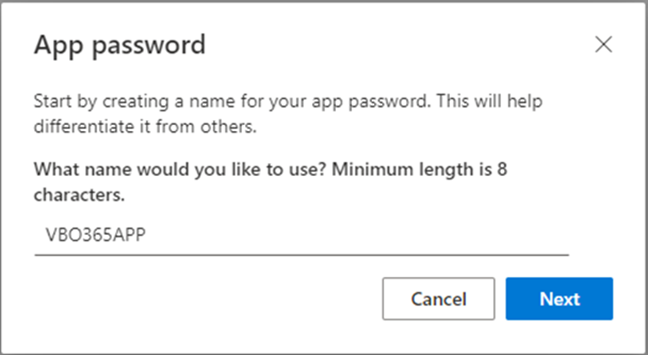
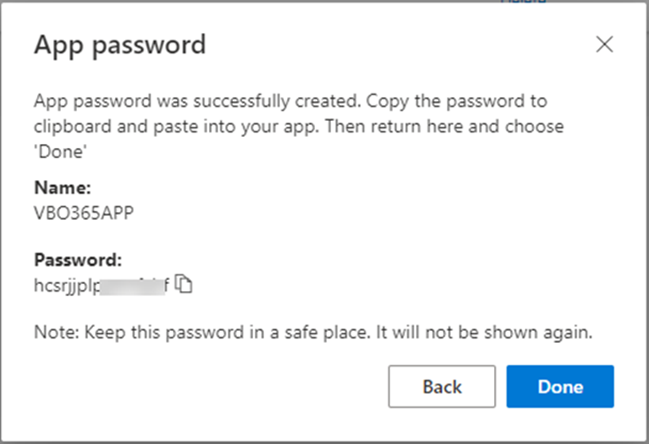
33. Type VBO365APP as the name of the app password and click Next.
34. Copy and keep the password in a safe place. It will not be shown again. Click Done.
35. Log in to Veeam Backup for Microsoft 365 Manager server.
36. Open Veeam Backup for Microsoft 365 console.
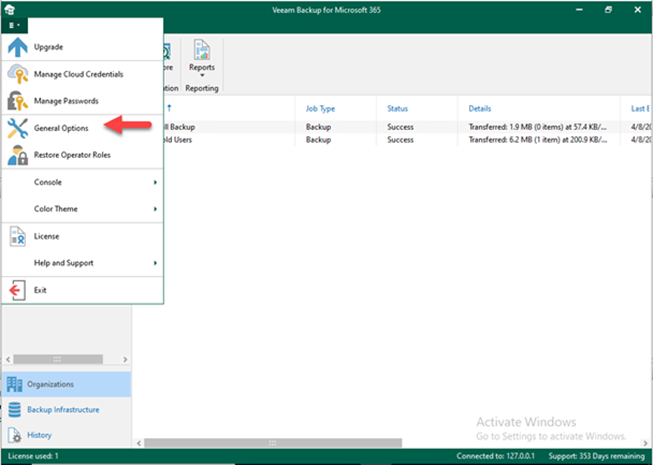
37. On the Veeam Backup for Microsoft 365 console page, In the main menu, click General Options.
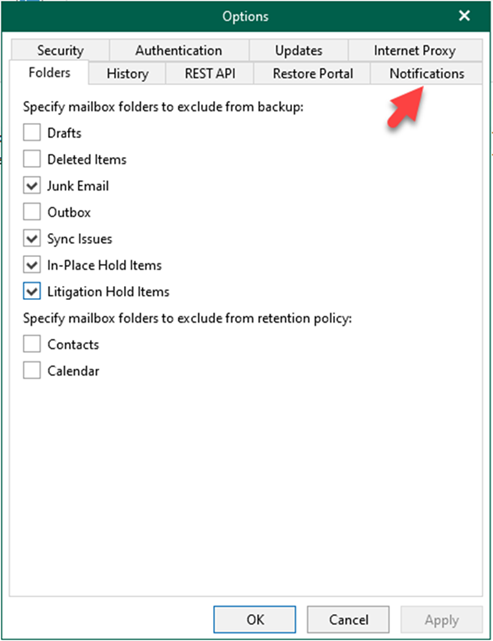
38. On the Options page, select Notifications.
39. On the Notifications page, select Enable email notifications.
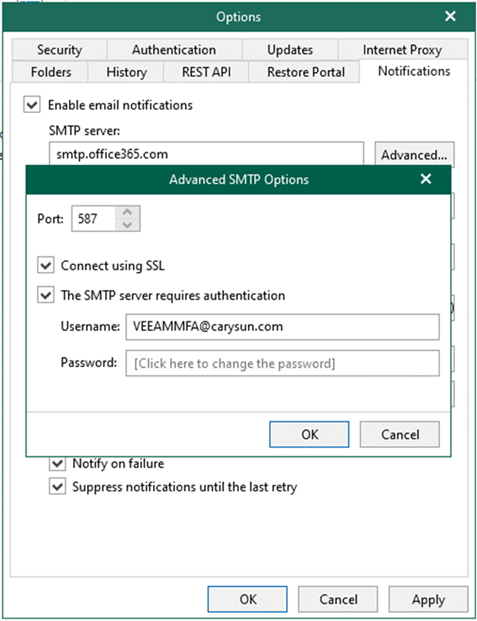
40. Type smtp.office365.com in the SMTP server field and click Advanced.
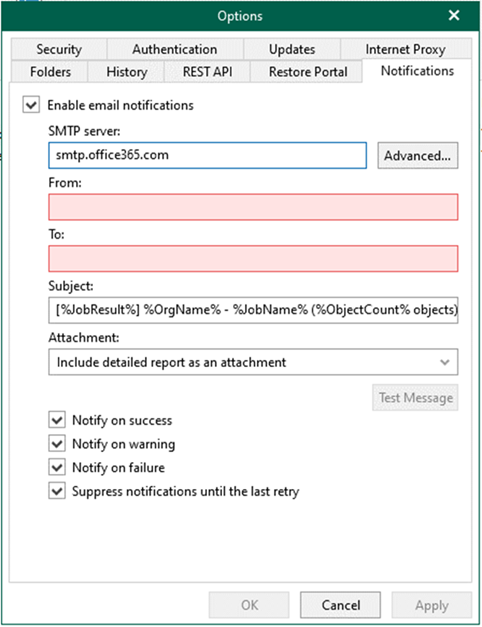
41. On the Advanced SMTP Options page, type 587 in the Port field, select Connect Using SSL checkbox, select The SMTP server requires authentication checkbox, and type the office 365 service account (in my case, the account is VEEAMMFA@carysun.com) in the Username field, enter the App password in the Password field, click OK.
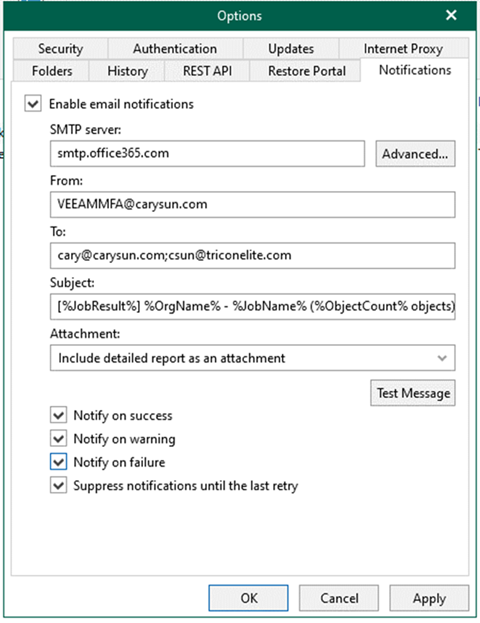
42. In the From field, type VeeamMFA@Carysun.com.
43. Type the email address you want in the notification list in the To field.
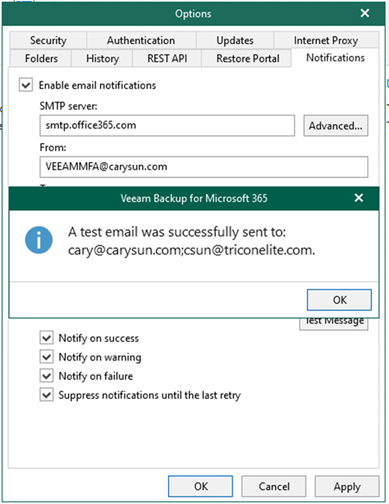
44. Click Test Message.
45. Ensure the test email was successfully sent to recipients. Click OK.
I hope you enjoy this post.
Cary Sun
Twitter: @SifuSun
Web Site: carysun.com
Blog Site: checkyourlogs.net
Blog Site: gooddealmart.com